Every now and again, a little gem drops right into my inbox and I think; Christmas has come early. My eyes light-up! It’s nice to get something different to work on, and hopefully repair, especially when it involves motors, batteries, ball bearings and a gorilla.
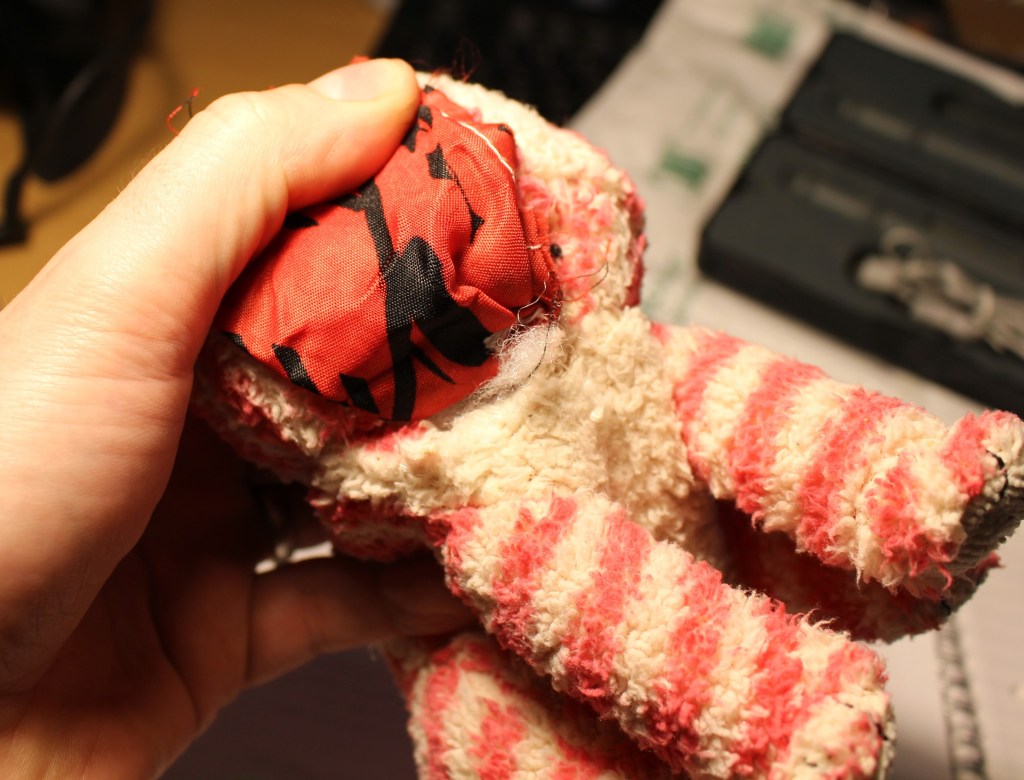
A customer contacted me after rediscovering Kongman in his attic, not literally you understand, but the 1980s hit toy from Tomy. The toy was in wonderful condition, despite being a little dusty. A new battery had been installed, but upon switching it on, nothing happened. Not even a peep.

I should really kick this thing off by saying what Kongman (the game) is. Kongman is an animated vertical game with the objective of getting a small metal ball bearing from the bottom of the wall to the top. The player must defy gravity and move the ball up-stairs, across a bridge, along several steps to a magnetic swing and then into a lift. The zenith of the game is reached with a quick flick of the ball on to Kongman’s magnet hand, which then gets dropped down a hole, ringing a bell on the way down. Fun really doesn’t get any better. If you’ve ever played Screwball Scramble, you’ll have a pretty good idea of what I am talking about. Did I mention that this infuriating game can be set against the clock too? Bonkers!
Tomy’s Kongman comes from a time just before kids games started to contain many electronic gizmos and wizmos within, parts that when kaput, render a toy useless, forever. Luckily, Kongman uses an electro-mechanical animation movement; elegant and clever. Old, but good.
Kongman is powered by a single D-cell, 1.5V battery and the motion of the toy is actuated with a reassuringly simple little motor, connected to a compact gearbox driving a series of levers and rods, which make up the games’ animation. On a slightly different note; are D-cell batteries an endangered species? I mean, really, ‘what the 1980s torch’ takes D-cell batteries any more?!
Make and model: Tomy Kongman, circa 1981
Fault reported: Not working
Cost of replacement machine: £40.00 if you can find one working
Manufacturer support (in the UK): 0/10
Cost of parts (for this repair): £0.99p
My time spent on the repair: 1 hour
Tools needed: Small knife, pliers, small screwdriver
Sundry items: None
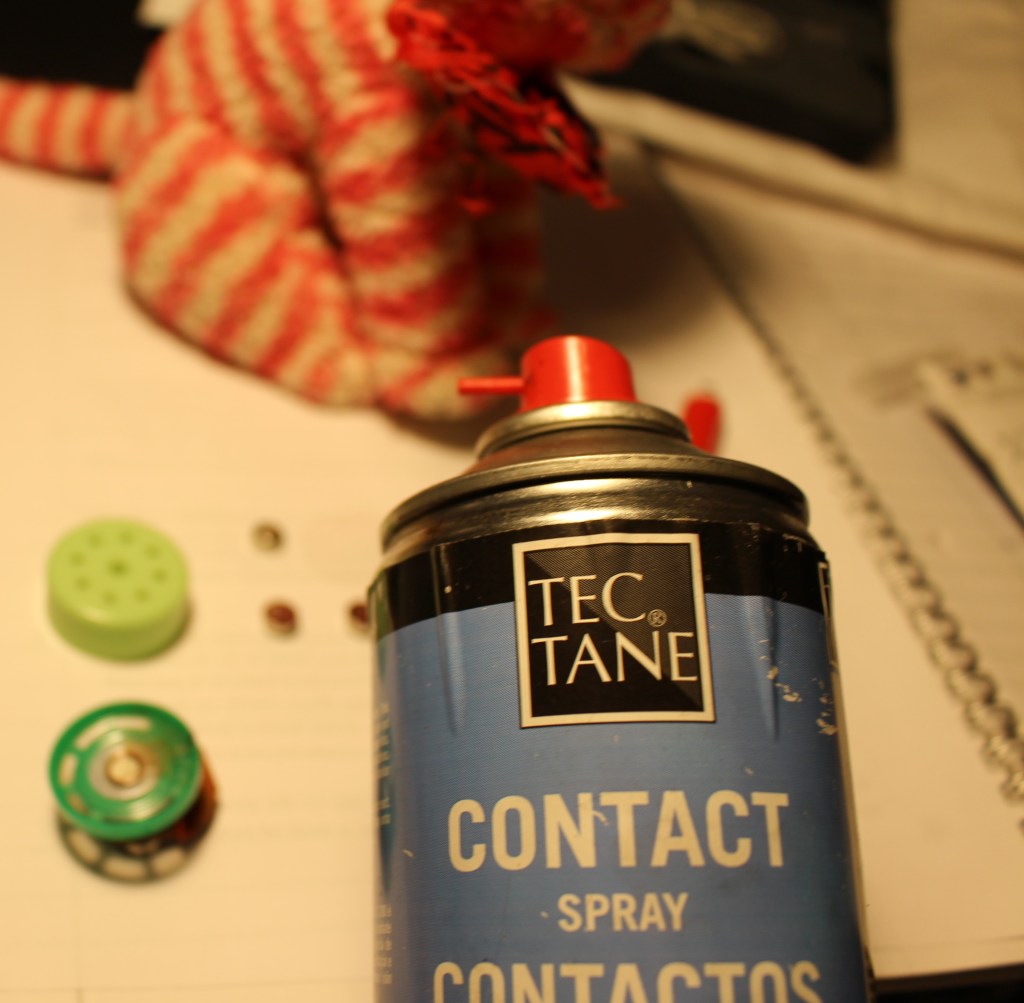
Cleaning materials: Silicone spray, contact cleaner
Repair difficulty: 5/10 (fiddly)
Beverages: 2 teas
Biscuits: 2 custard creams
So, on to the repair.
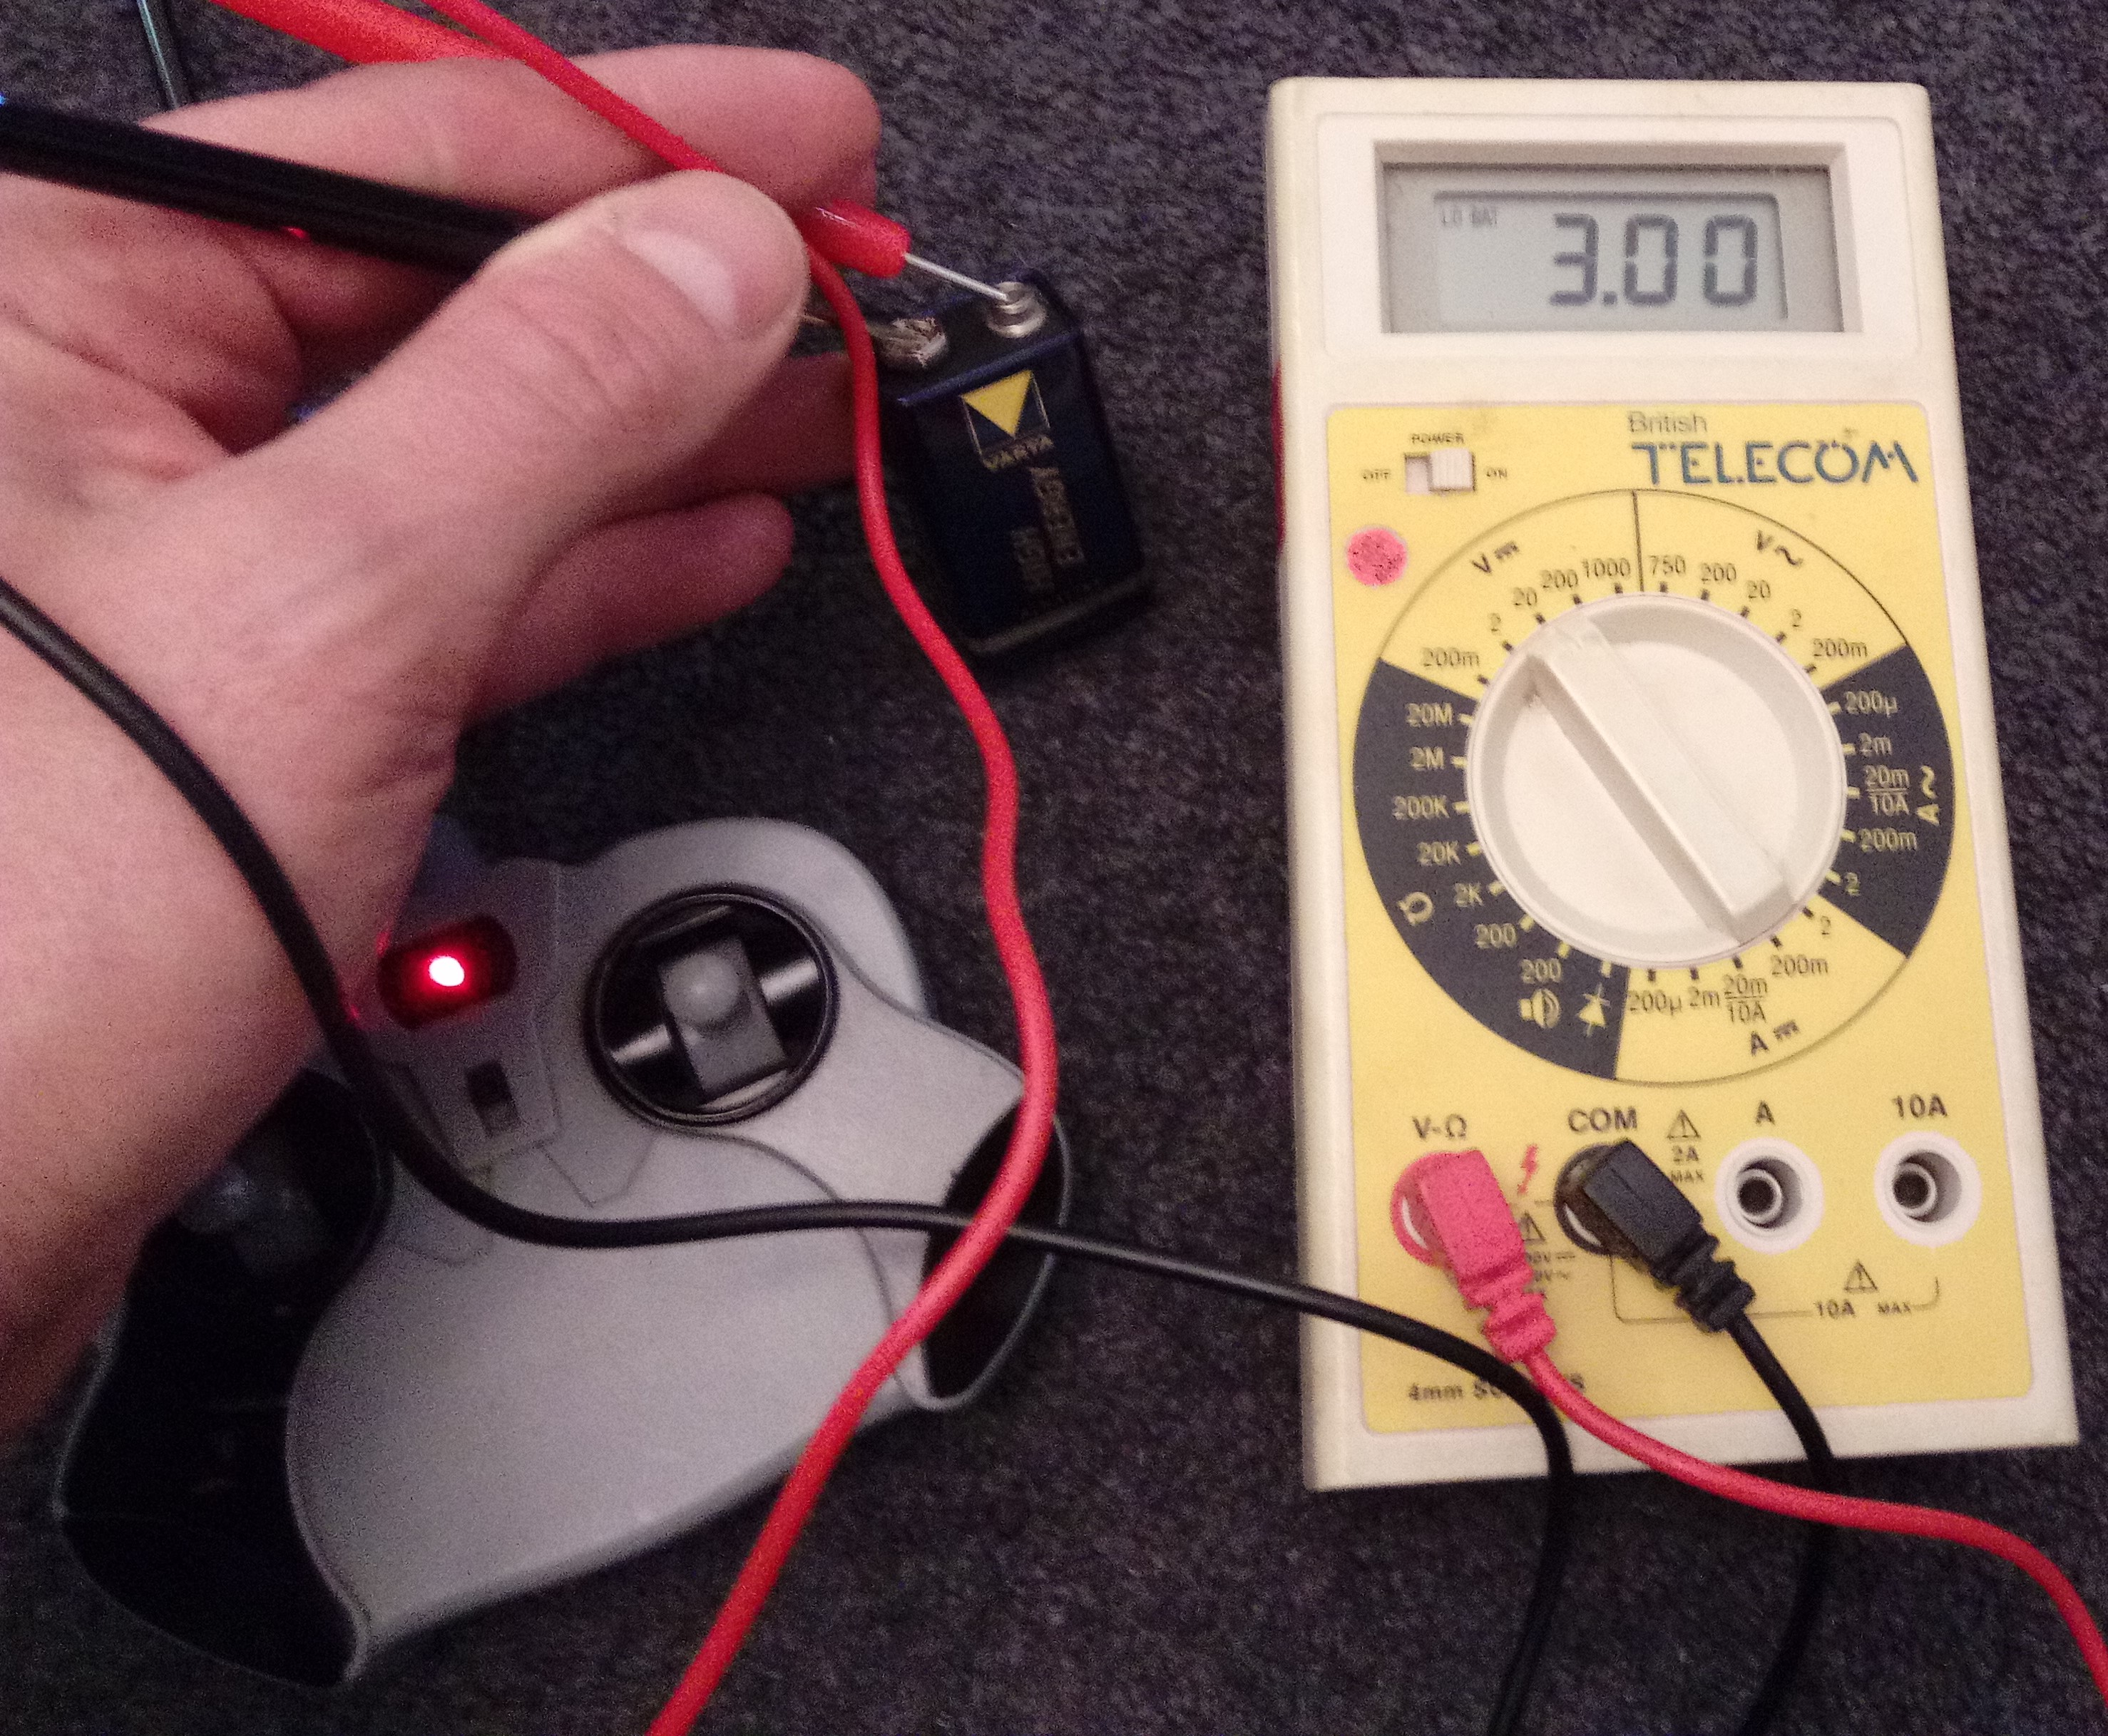
The toy wouldn’t run and after checking the basics like battery contacts and proving that the local wiring from the battery compartment to the main gubbins was OK, it was time to dive in.
One of the things that makes this already difficult game to complete, is the fact that as a player, you’re up against the clock. This seemed to be the next logical place to check.
The timer seemed to be part of the gearbox which is responsible for driving the rest of the game’s motion. I found this a most practical application of sound and efficient design. You can trace the DNA of this toy back to early pinball machines and jukeboxes, something I also love. Anyway, I seem to be getting romantic, not the workshop way.

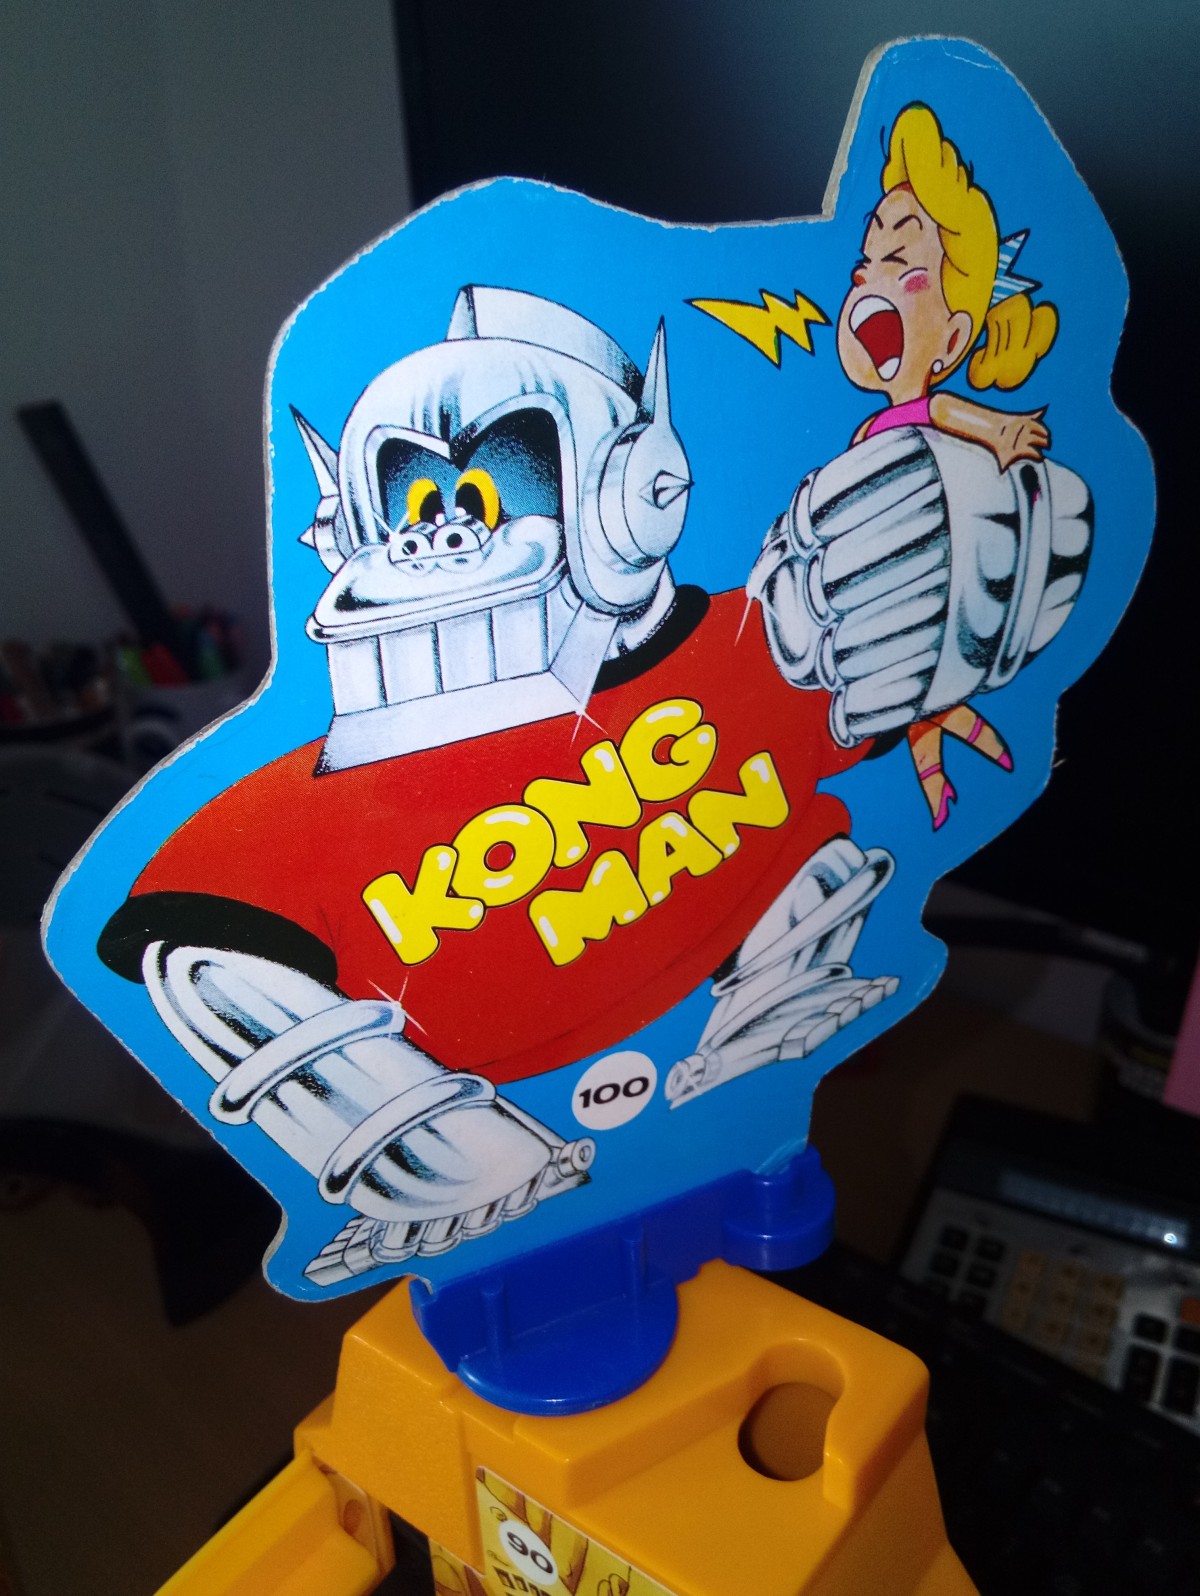
FixItWorkshop, Worthing, June’21, front of game. 
FixItWorkshop, Worthing, June’21, difficult to play! 
FixItWorkshop, Worthing, June’21, back of game. 
FixItWorkshop, Worthing, June’21, animation. 
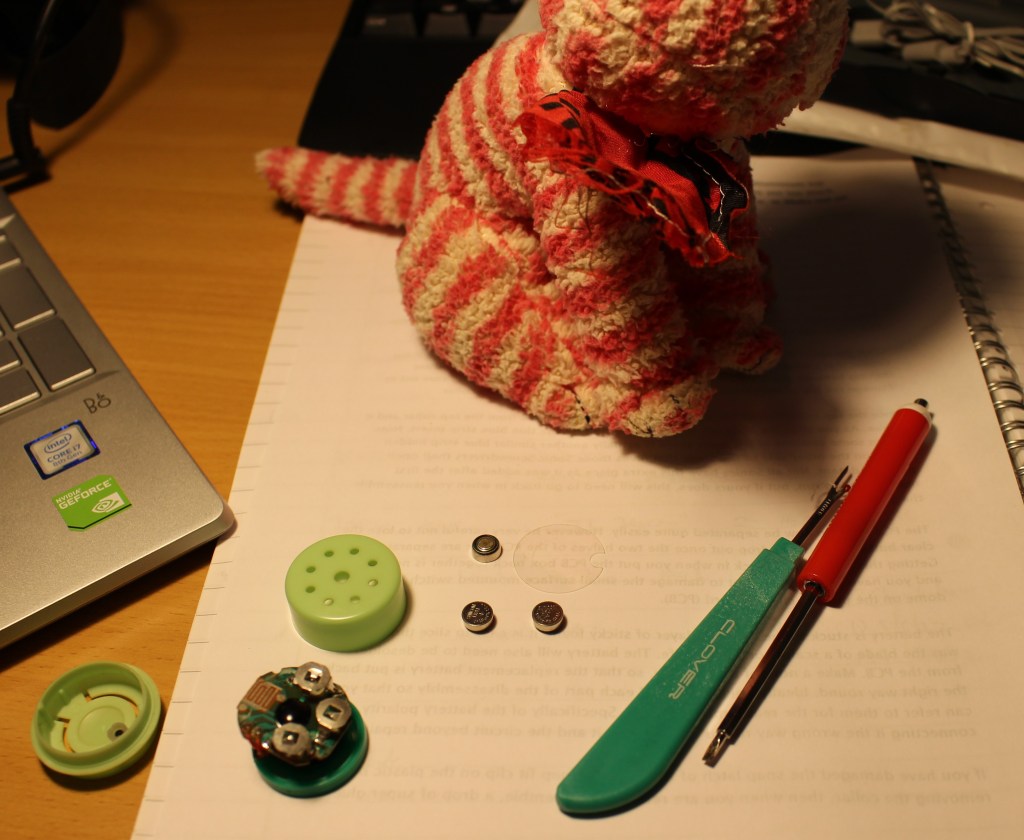
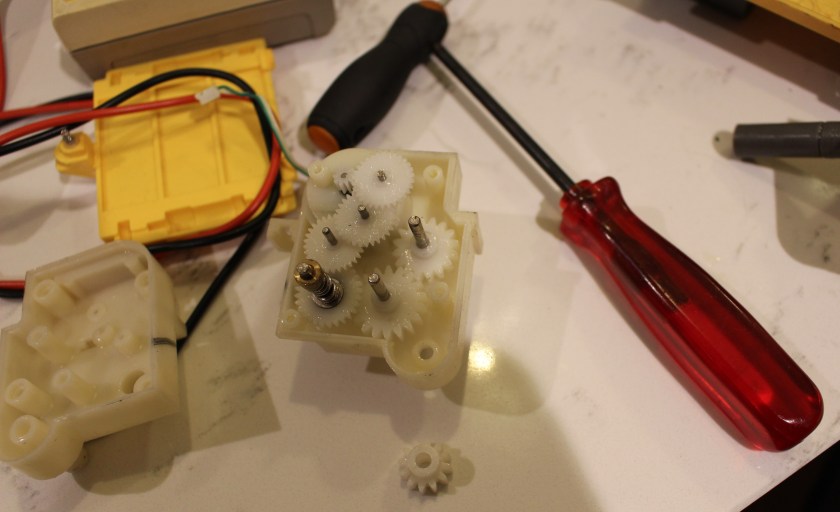
FixItWorkshop, Worthing, June’21, gearbox, cover removed. 
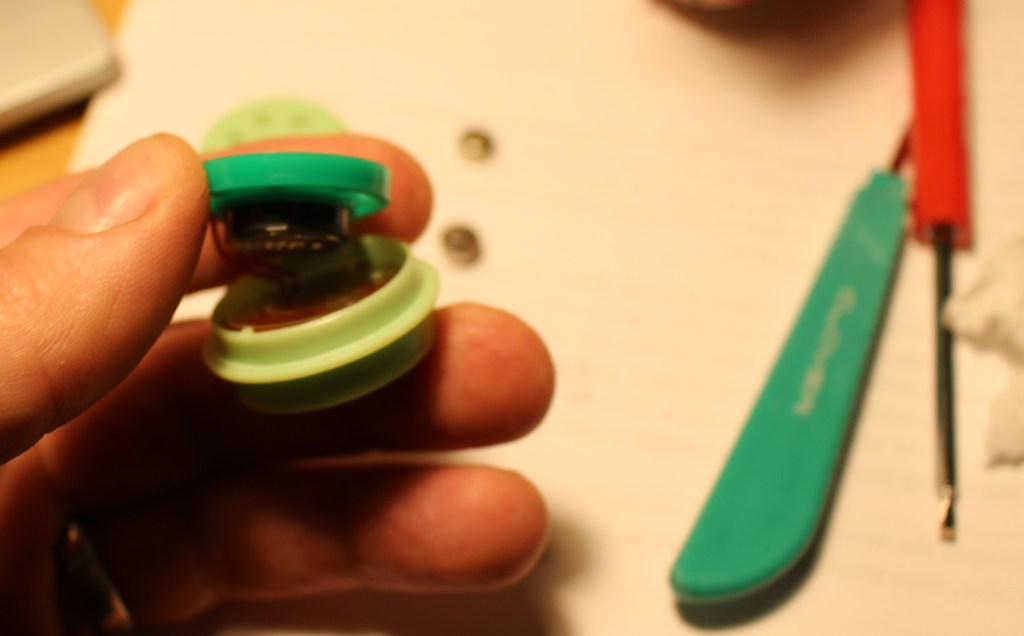
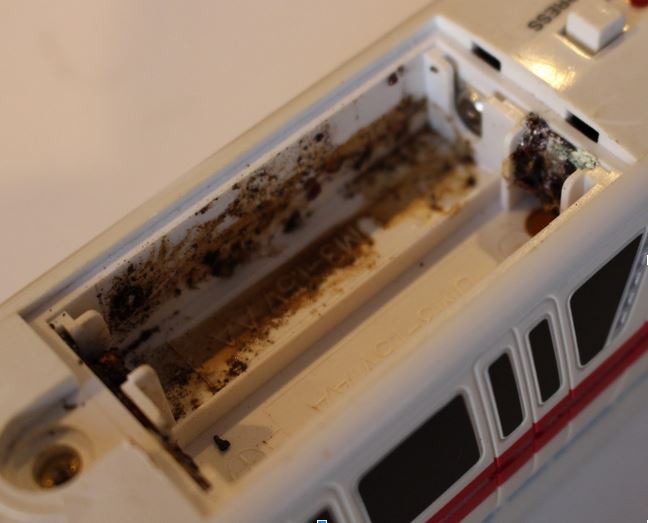
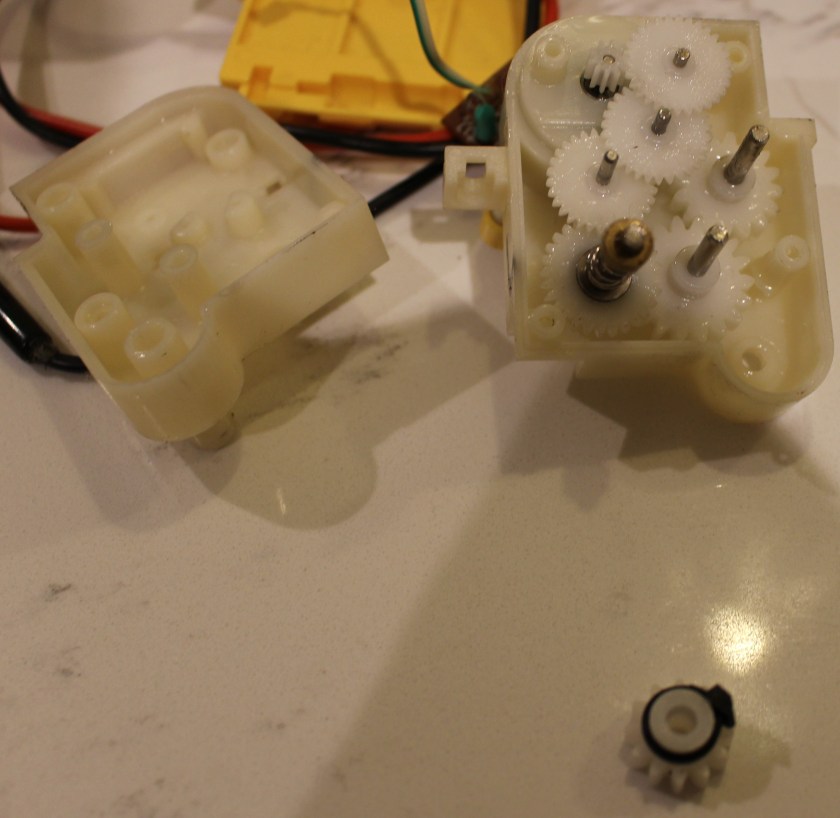
FixItWorkshop, Worthing, June’21, timer contacts. 
FixItWorkshop, Worthing, June’21, timer knob. 
FixItWorkshop, Worthing, June’21, mechanism.
The gearbox was easy to remove, just a few screws, and it was out. The timer’s switch contacts were situated within the ‘box and came apart with a gentle prod of a small screwdriver. This allowed me to apply a small amount of additional tension to the switch’s spring and to clean the contacts with cleaner. Reassembling was pretty much the reversal of the disassembly.
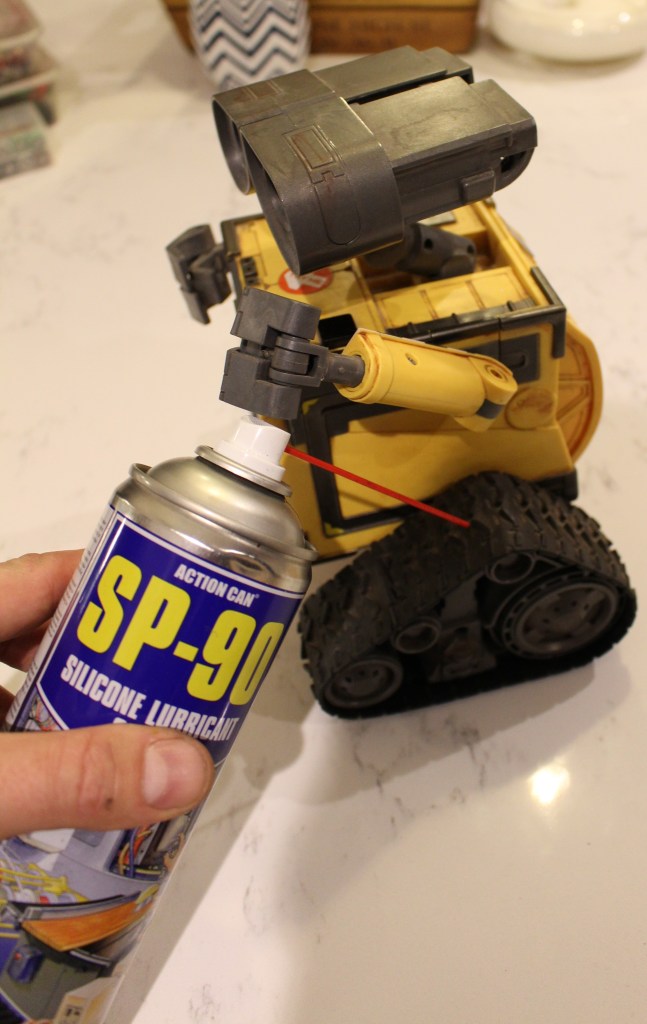
With the gearbox back in, it was time to turn some attention to the mechanism, to ensure smooth, reliable performance. With nearly 40 years’ worth of dust to contend with, it was time to clean all of the game’s nooks and crannies with a small brush and treat some of the sliding parts to a little silicone, plastic-friendly, lube.
With the D-Cell battery installed, a deft twist of the timer’s knob, and the game sprang to life.
I’ll be honest with you now. I tried several times to get the ball the whole course to ring the bell, against the clock, but alas, I failed. I did complete the game, but only with the timer set to ‘auto’… which provides as much time as you need, or at least until the battery runs out.
Until the next time…