
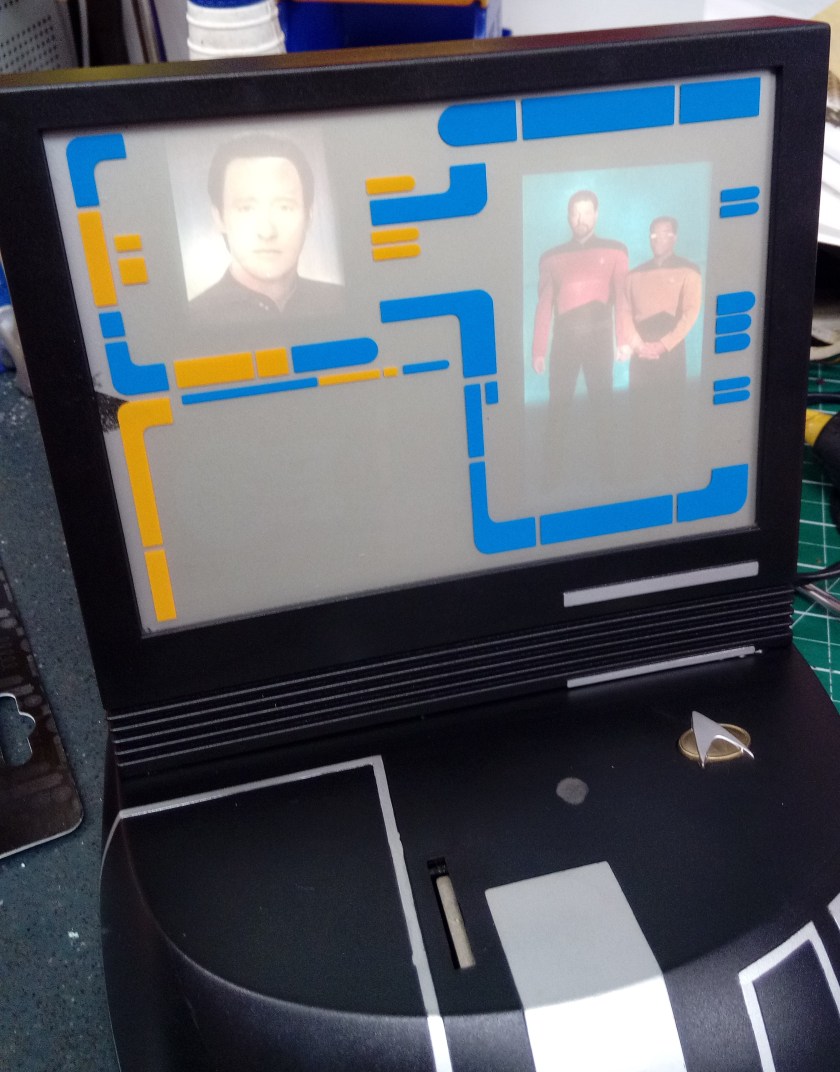
Some things are just cool. I mean look, if this money box doesn’t encourage prudent saving behaviour, then quite frankly, nothing will.
Spoiler alert: Put money in, some of the Star Trek crew (Next Generation) light up, followed by speech and cool sound effects. What’s not to like. Pressing the Star Trek (Starfleet) button, simulates the effects too. What fun.
This money box had once been cherished by its owner, but had been left in the attic for a number of years, with the original batteries still fitted. As anyone who’s done this before will know, old batteries leak in time. If you’re lucky and catch the ensuing corrosion in time, you might get away with just battery removal and a light clean up. If you leave it long enough, like the owner of this toy had, you’ll end up with a lot of rusty mess and no chance of life (Jim, but not as we know it). Remember, take batteries out before putting your toys away, long term.
Make and model: Star Trek money box (make unknown)
Fault reported: Not working/ battery compartment heavily corroded
Cost of replacement: £ Irreplaceable
Manufacturer support: 0/10
Cost of parts: £4.00
Hours spent on repair: 1.5 hours
Tools needed: Screwdrivers, test meter, heat shrink, soldering iron etc
Sundry items: Cleaning materials, paint, contact cleaner
Repair difficulty: 3/10
Cups of tea: 1
Biscuits: none (1 jammy donut, slightly warmed, as they should be)
When I get an item like this, I tend to spend a bit of time researching it online, to see who knows anything about it. It turns out, that this money box isn’t that well represented and after a few Google searches, I simply gave up and got on with the repair.
Parts for something like this are not available from the manufacturer, even if they are still around. Presented with a situation like this, the only thing that can be done is to see if other parts can be bought off the shelf from component suppliers and be made to fit. One simply has to be creative.
Good old eBay came up with the goods. AA and C type battery terminals were available in single and double terminal variants and I ordered a couple of packs from a Chinese supplier, who delivered the bits I needed, within a week. These things are reasonably cheap, so I ordered a pack, just in case I ruined a few, practicing first.
Just a few small screws hold the casing together and after de-soldering the wires going from the battery compartments to the main circuit, I was ready to start. With battery corrosion as severe as this, all you can do is soak the parts in something like WD40 and attack the rusted parts with a small screwdriver and knife, taking time to avoid damaging the (aged) plastic casing..
After an hour, I’d removed 99% of the mess and fitted the new terminals. The AA terminals went in OK, but the C type ones needed adapting with some metal I had lying about in the workshop. A quick re-attachment of the wiring, a quick clean with brake cleaner to de-grease and then touch up with some satin black paint and one would never know that batteries had ever wreaked such havoc.
Sometimes, I want to hang on to some of the things I repair. This was one such item, but alas, I had to give it back.
Time for a brew.

Faux Star Trek, there’s only one Capt Kirk!
LikeLike
We have two (yes, two!) Kenwood Chefs that we hope you can repair. One is a KM350 (China) and the other an A901 (Thorn EMI). We live in Lancing so would be able to deliver them to you. We know it is Valencia Road but would need the number, please. We appreciate that this is not your full-time job! My partner is a retired chef and uses the Kenwood daily – or did before they both packed up.
LikeLike
Hi Both
I’d be happy to have a look for you, no problems. Send me an email through the website as I don’t give out my details in the comments section. I do have a back-log of jobs on at the moment, but if you can wait, then I’d be pleased to help.
All the best
Matt
LikeLike