Moulinex magic in the workshop

Economically unviable, virtually no manufacturer support, practically zero second hand value. I’ve had worse machines through the workshop.

It’s not always about the cash…Better crack on.

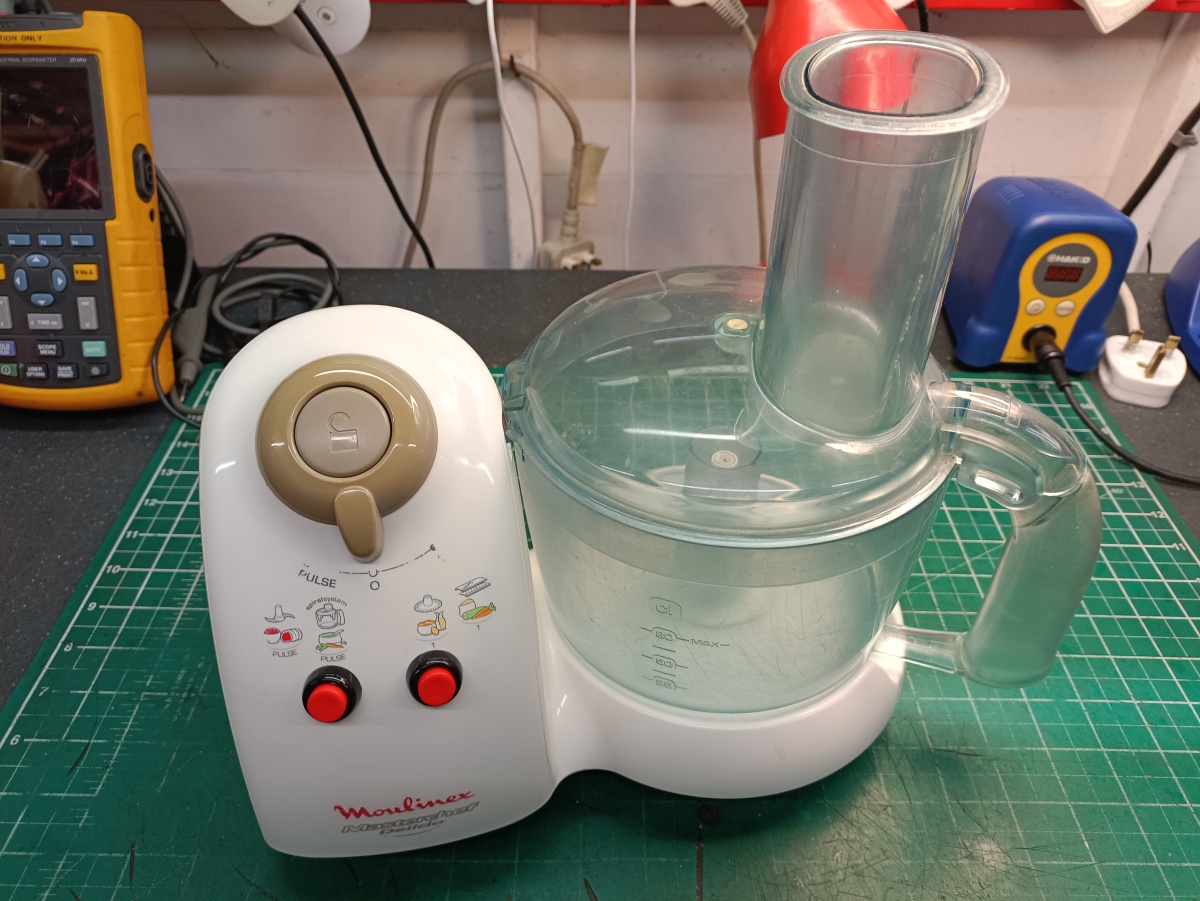
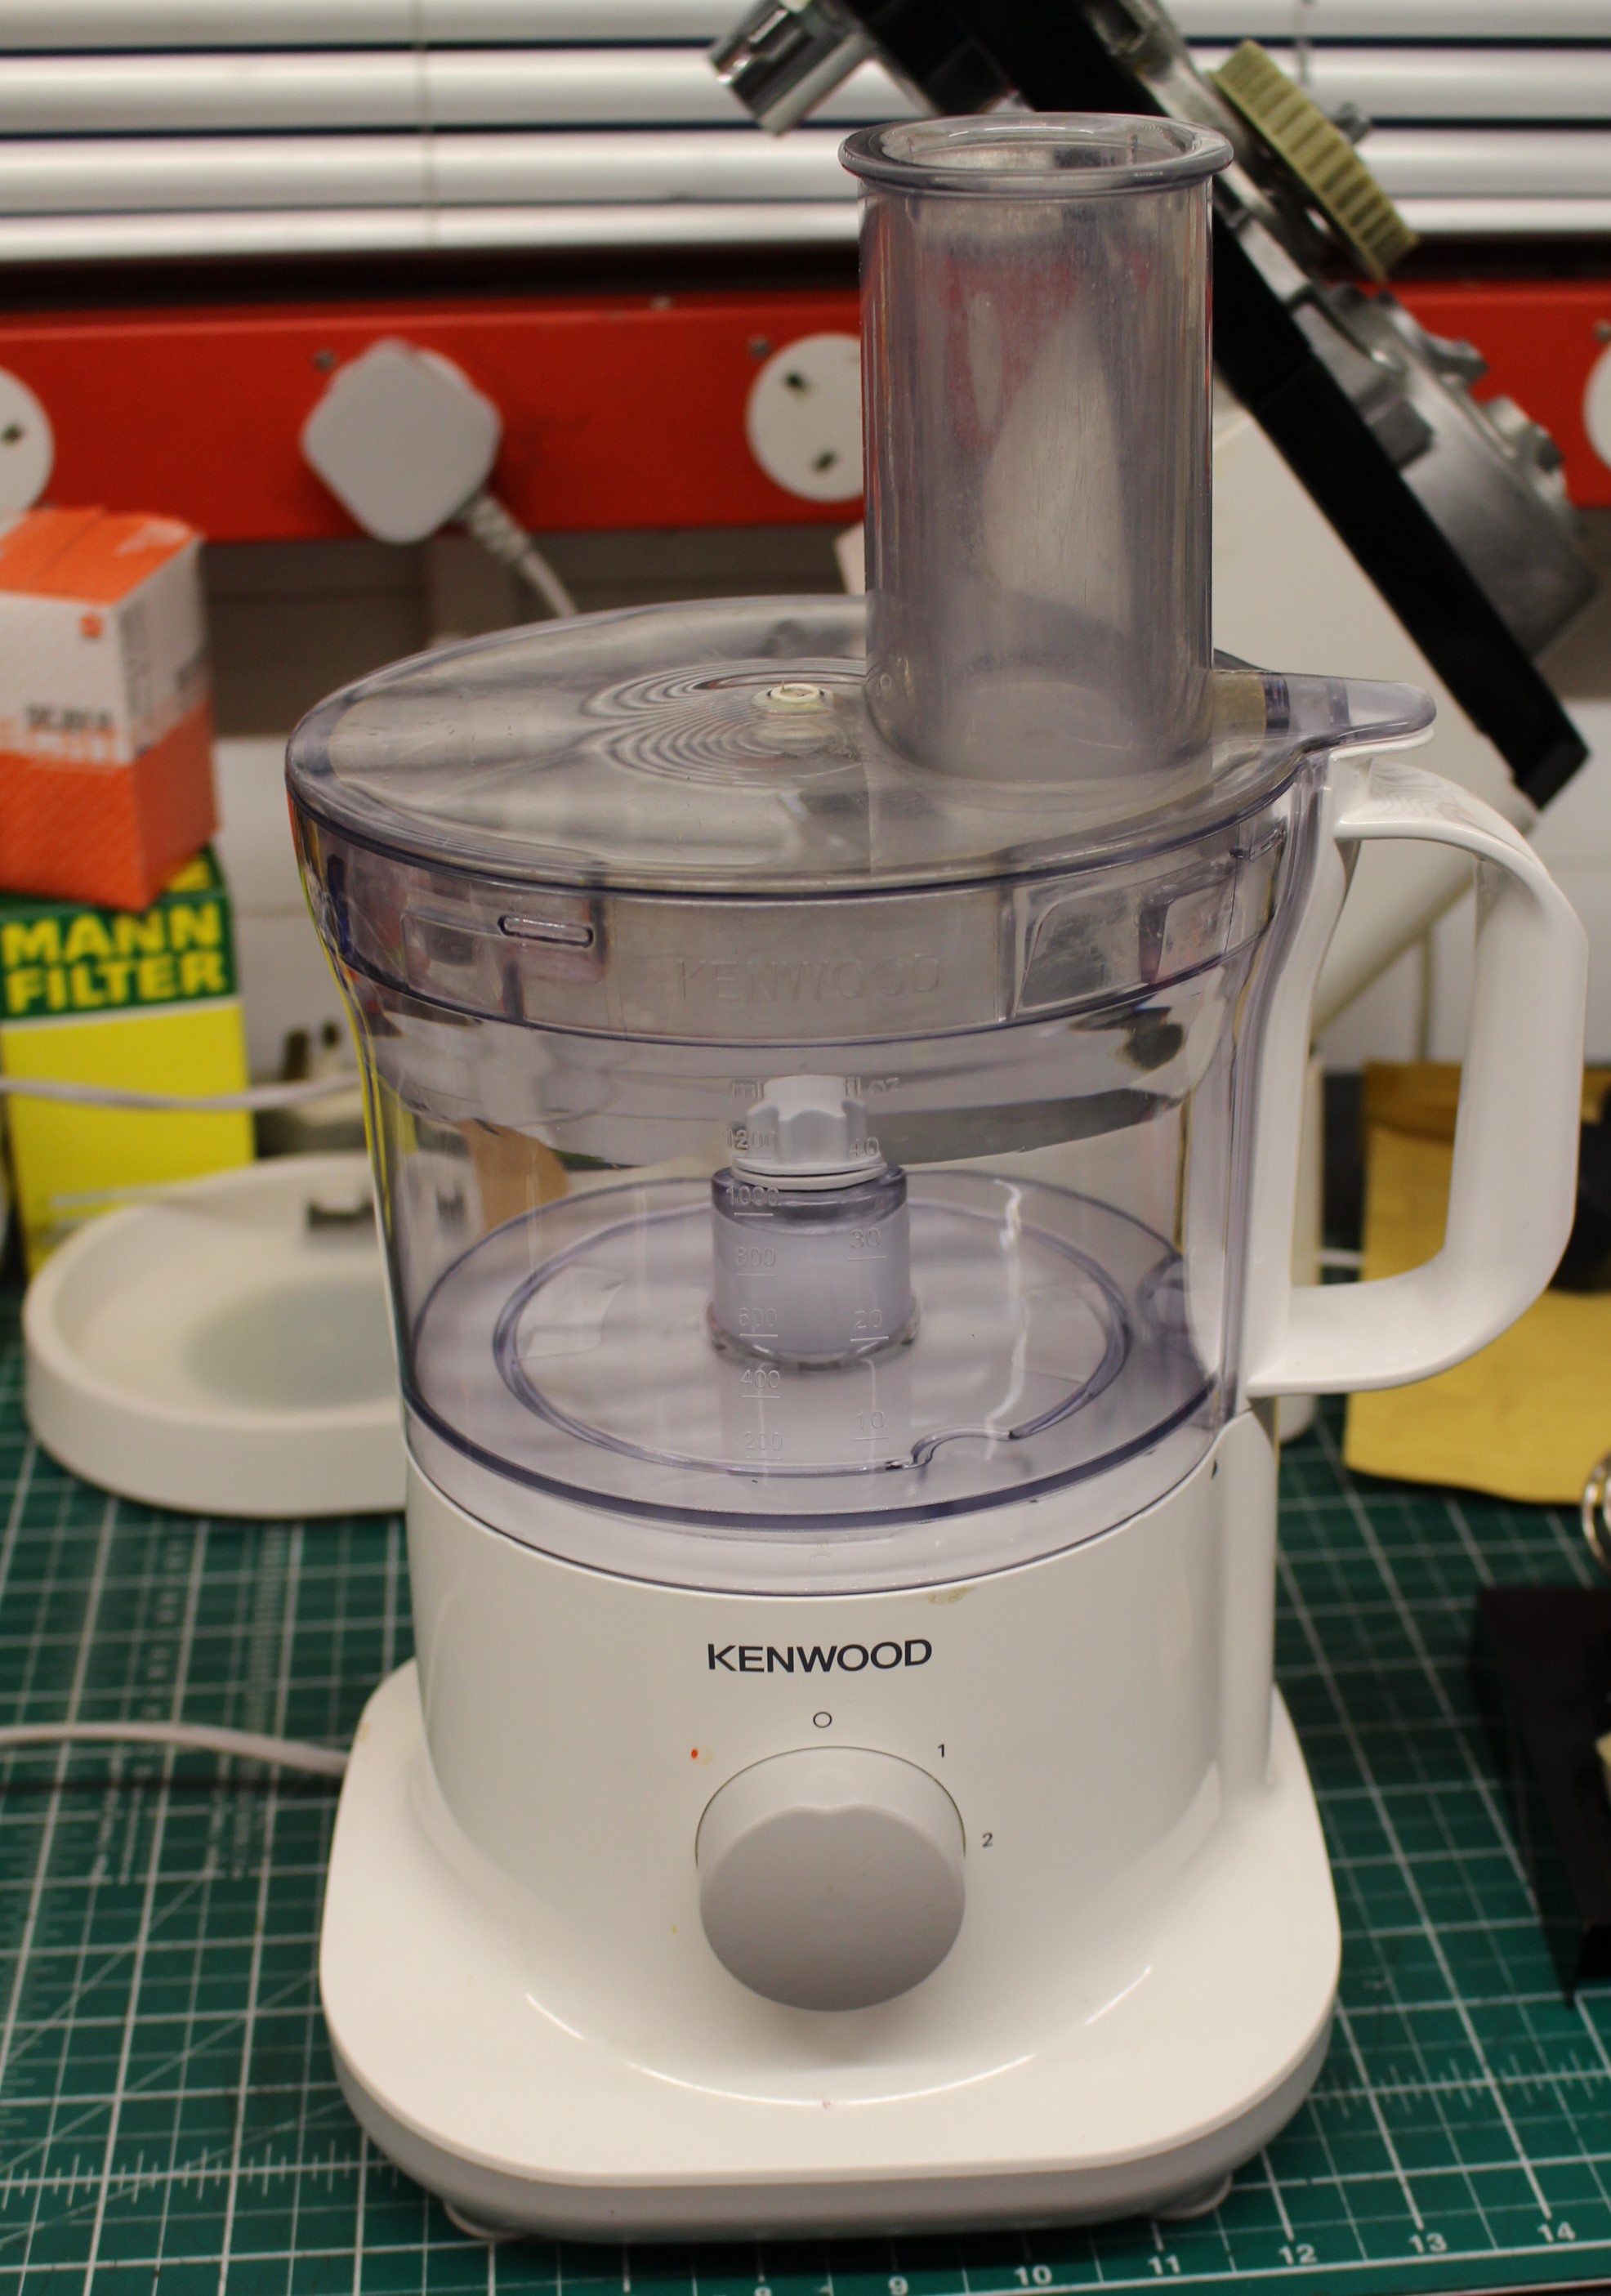
Make and model: Moulinex Delicio (food processor)

Fault reported: Broken switch

Cost of replacement machine: £40.00 – £50.00 for an equivalent

Manufacturer support (in the UK): 0/10

Cost of parts (for this repair): £ under a tenner, including all parts, but not labour

My time spent on the repair: 1 hour

Tools needed: Small knife, pliers, small screwdrivers, soldering iron

Sundry items: Cable, heat shrink

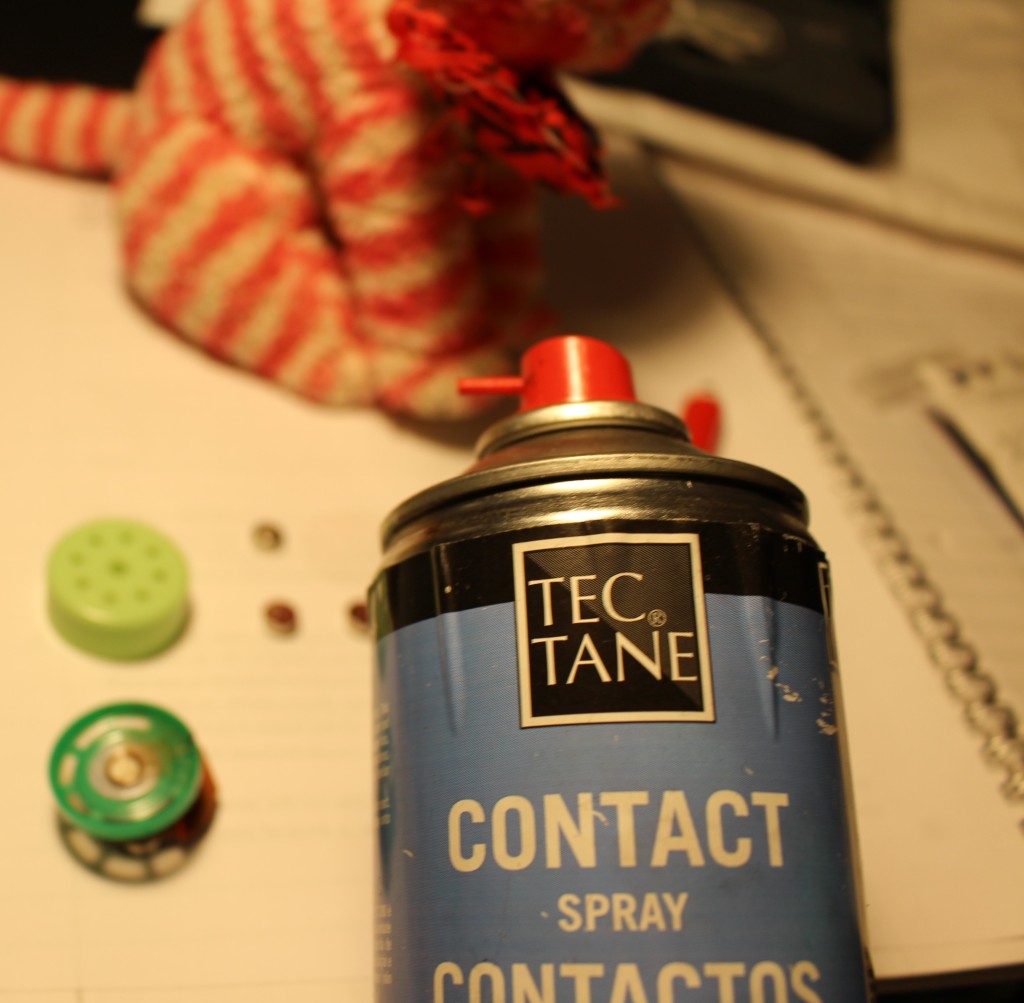
Cleaning materials: Silicone spray, contact cleaner, wipes

Repair difficulty: 5/10 (fiddly)

Beverages: 1 tea

Biscuits: 2 ginger nuts

Bad language: 2/10

It must start early.  An attachment to inanimate objects, a personification if you will, of machines and their mechanical feelings.  Maybe it starts with teddy bears, Lego people or Matchbox cars. Of course, deep down I know that machines do not have feelings, but I do sometimes find it hard to simply give in with something, and throw it away. 

I don’t think that it’s a coincidence that many classic cars, rescued from the crushers’ teeth, tend to have a ‘face’.  Indeed, designers can often hit on a million-seller, if they get the ‘face’ right.  Think VW Beetle, Morris Minor and Mini. Perhaps these shapes bring back childhood memories of a favourite cuddly toy, which might translate to them being taken care of better and cherished for longer.

Anthropomorphism, the attribution of human traits and tendencies, is something many of us experience, but us repair nerds seem to take it to another level.  I’ll have to think of a catchy name for it.

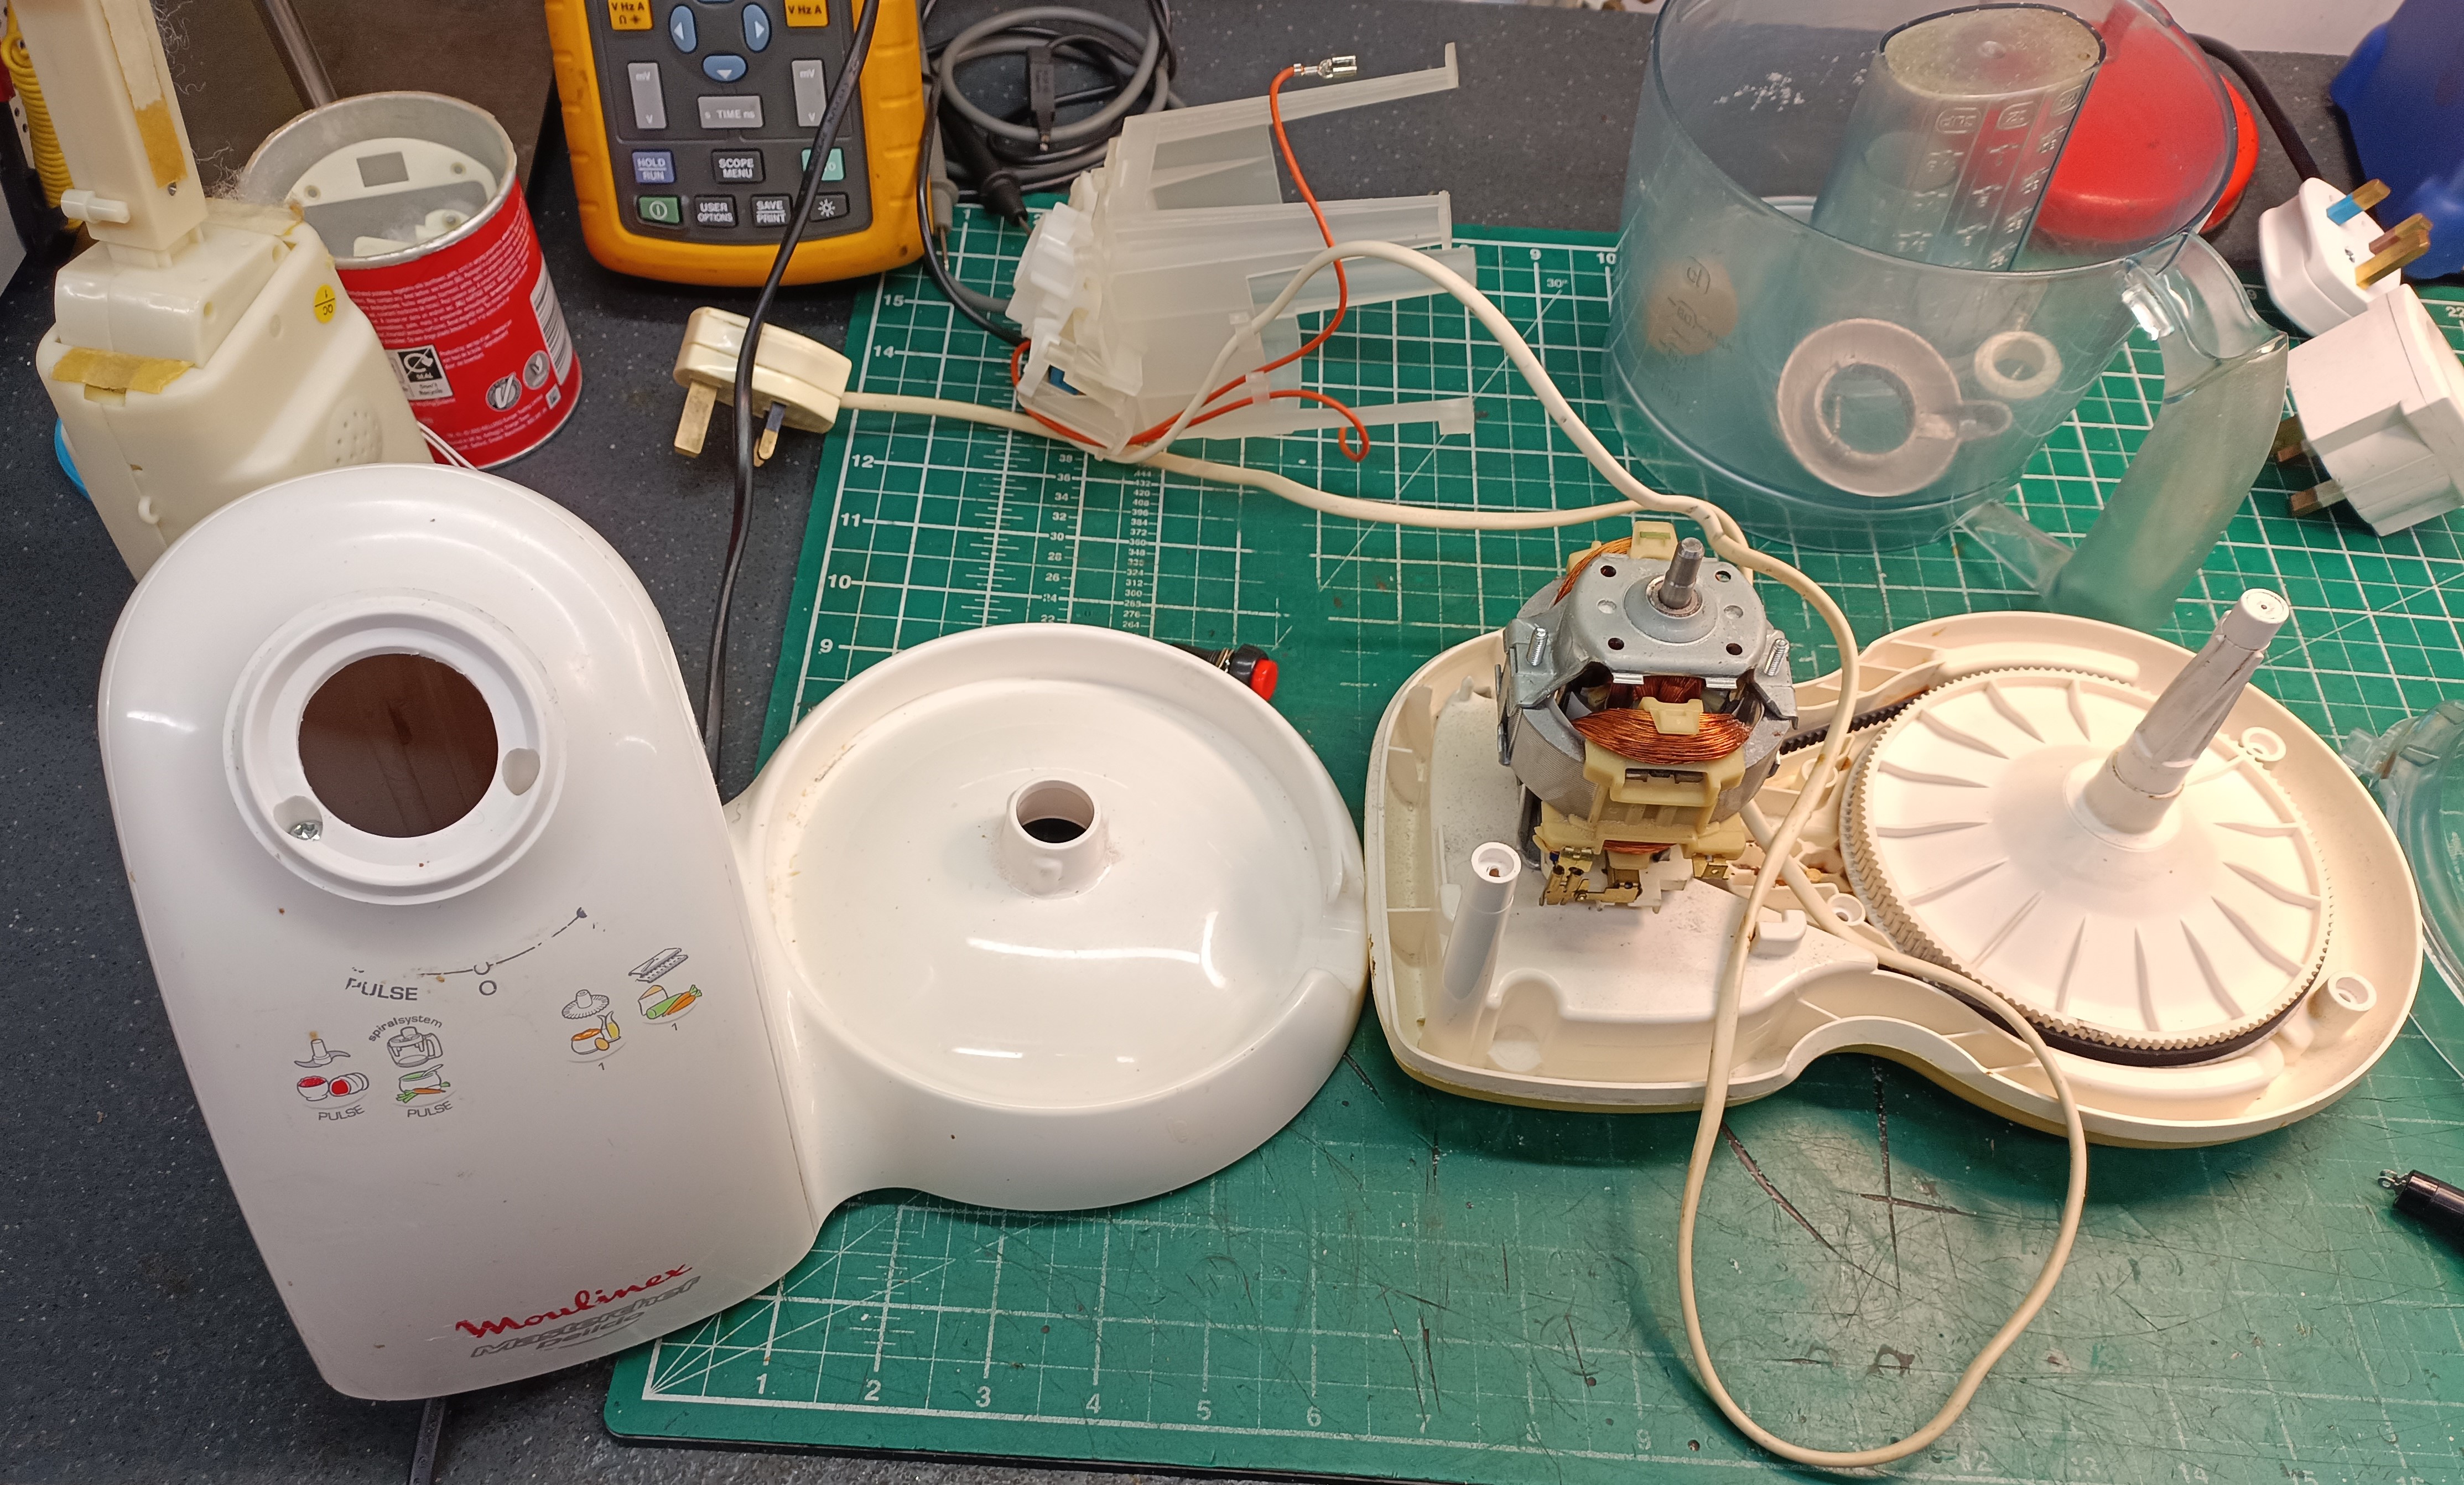
All this has reminded me about a recent such situation where my mum asked me if I could fix her broken Moulinex Delicio food processor, if it wasn’t too much trouble. 

The condition I ‘suffer’ from certainly doesn’t run in families and my mum was at first, ready to recycle the thing. But remembering all the cakes made with it over the years, especially ones made with my two daughters, seemed to put a different complexion on matters. So, I took the mixer away with me and put it on the workshop shelves, awaiting some attention.  At least there were other machines alongside, to keep it company.

Many food mixers tend to be large, heavy and bulky affairs which is OK for many, most of the time, but if you can’t manage the weight of something like an eleven kilo Kitchenaid Artisan every time homemade brownies are called for, something like this little light-weight Moulinex is ideal. So, two compelling reasons to keep the mixer; it’s lack of weight and some fond memories.

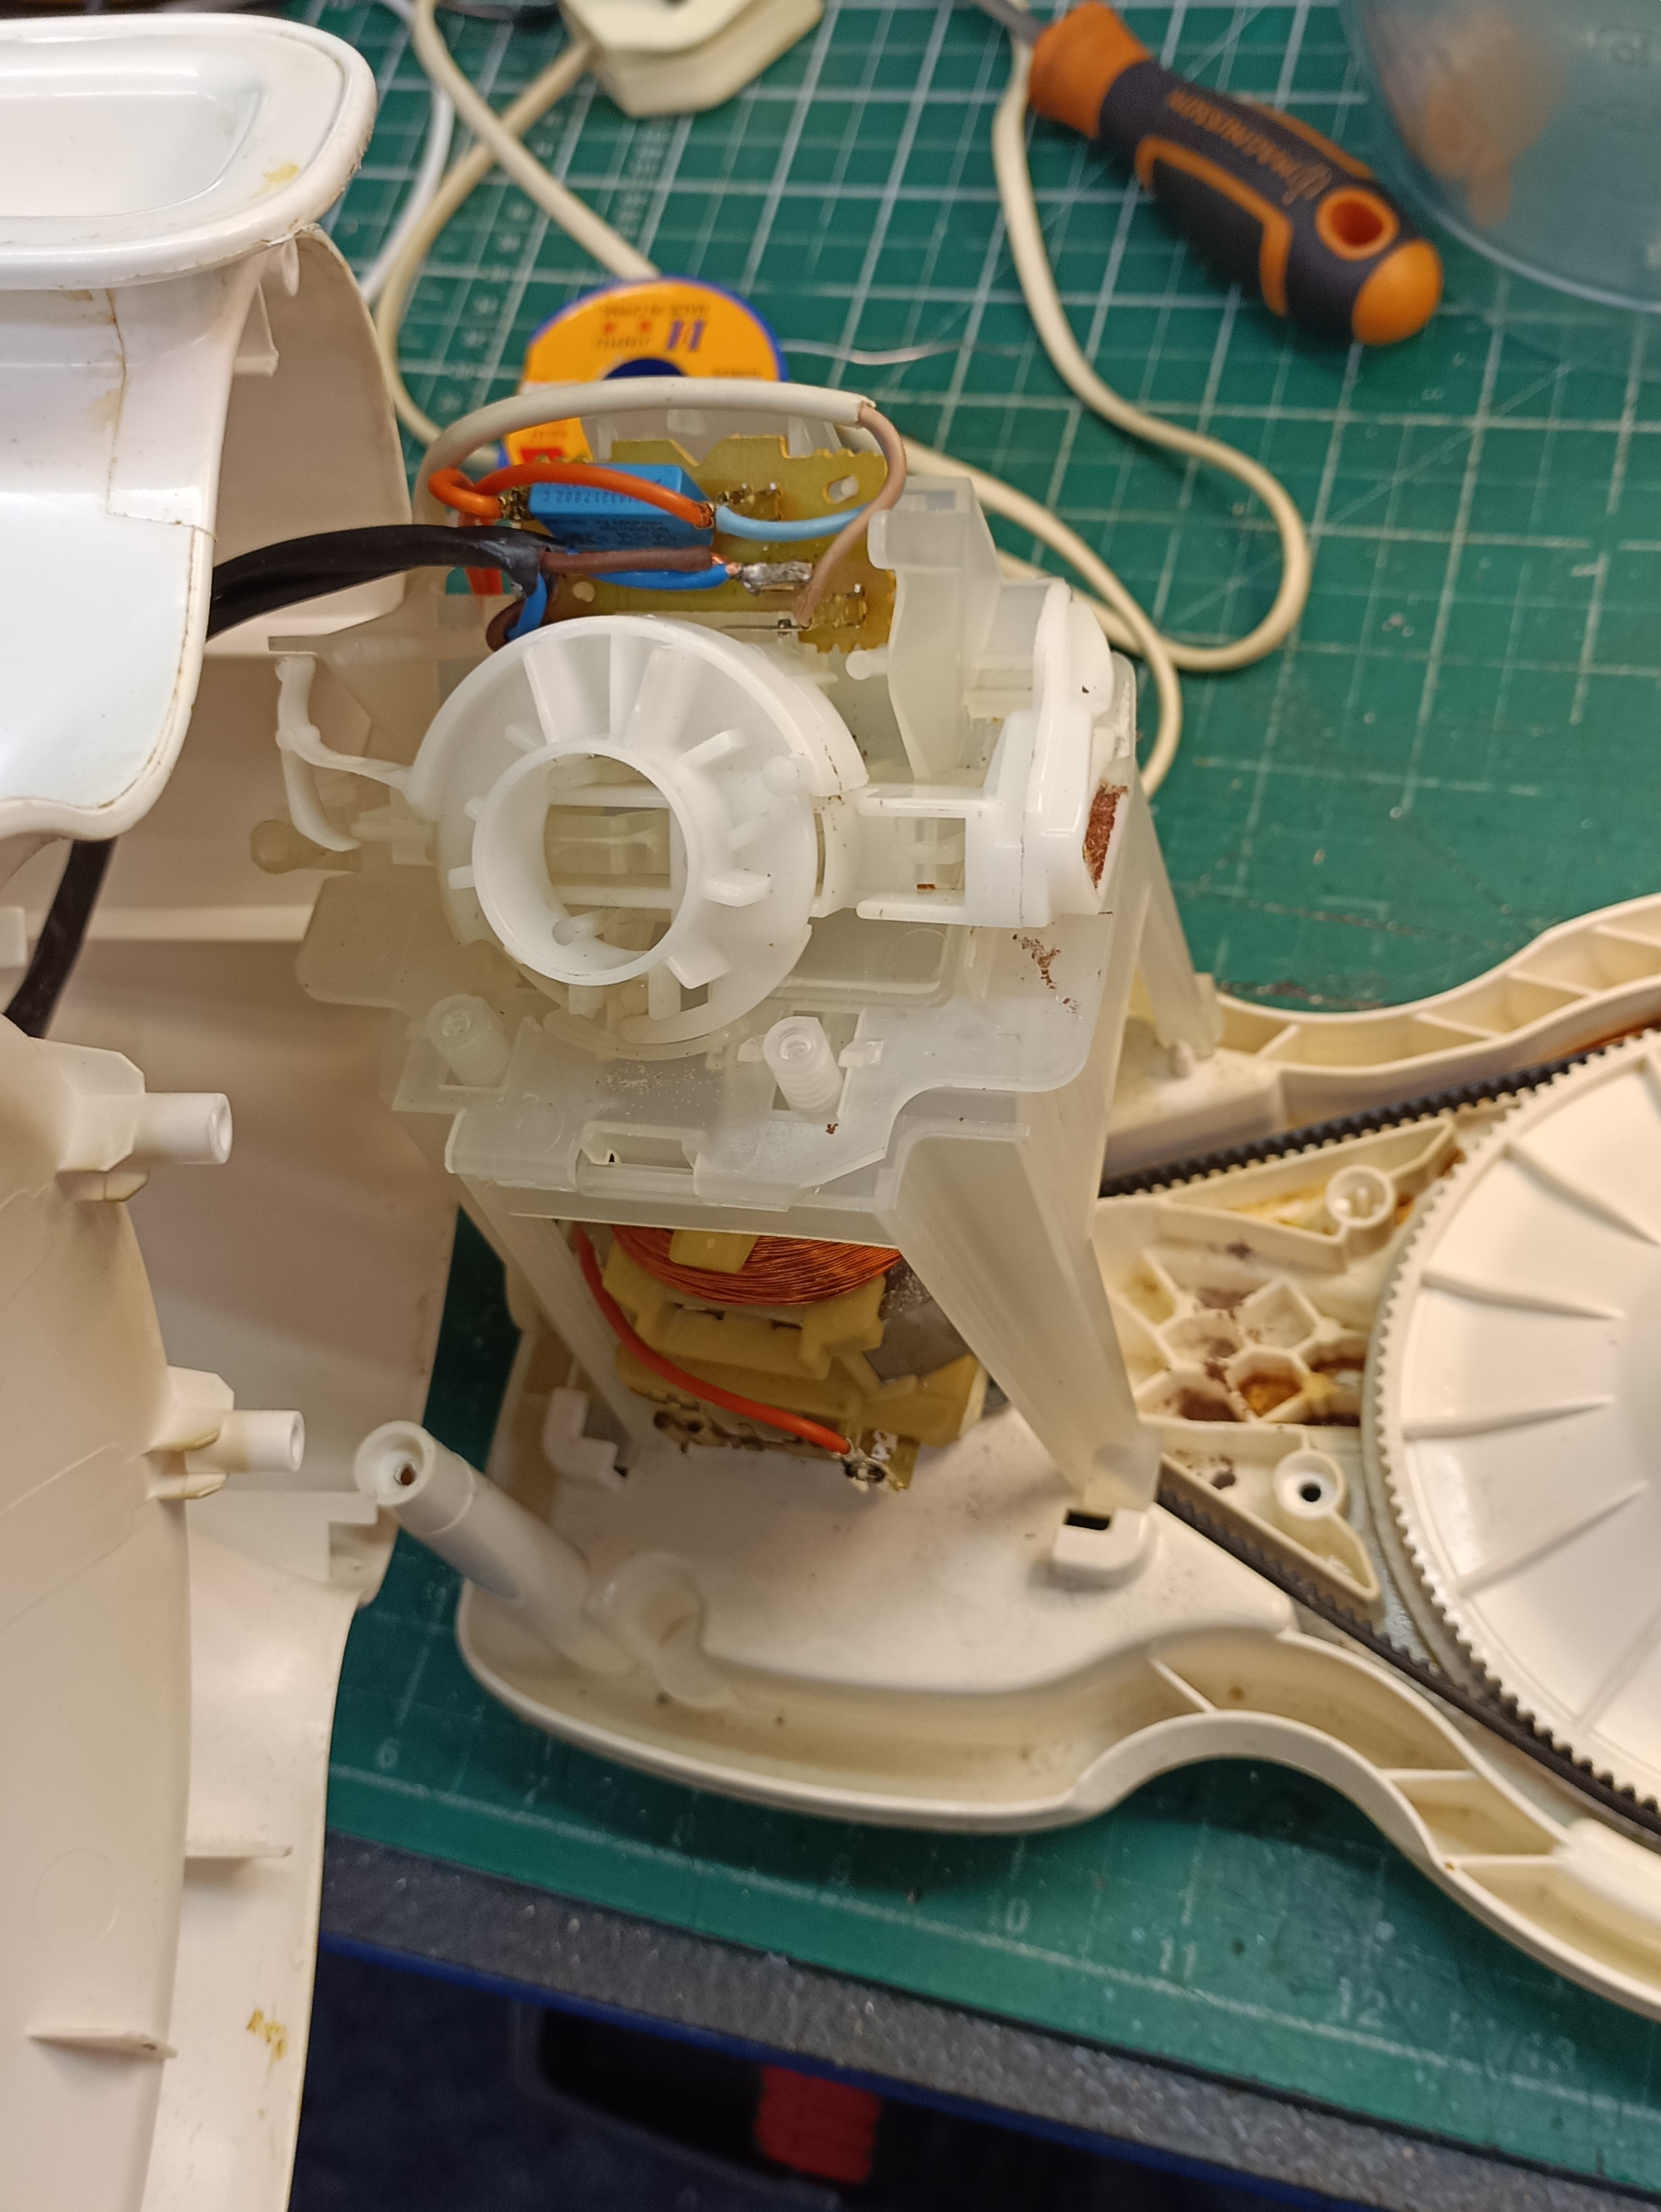
The problem was that the main on/off switch didn’t seem connected with the rest of the machine and to make things more complicated, the integral lid-lock was operated with the same button.  This part is therefore quite important since it might prevent one from shortening their fingers, by not allowing the spinning blades to ever come in to contact with wondering digits.

Now, I’m sure that this all seemed rather lovely in Moulinex HQ at the time, but small plastic switches connected with several thin moving parts combined with knocks and scrapes in a kitchen, is not going to end well.  As a matter of fact, Moulinex offered the offending switch assembly as a spare part until recently, so they must have known that the design was a bit iffy.  Sadly, I missed the boat and despite several attempts, I couldn’t find a replacement part anywhere. eBay revealed a couple of similar machines with faults, so it was back to the drawing board.

3D scanning and printing makes low-volume, but high-quality production a reality, and it’s really something that I need to get into, as I often have the need to copy rare, obsolete parts.  In time, I will. 

In this case, I did consider using one of the many online UK companies now specialising in this kind of thing, but the costs did not warrant it in this instance, so a new strategy was required.  I’ve spent many hours of my life browsing parts like this in catalogues, so I decided that a repair should be possible for under £10.00, using readily available, generic switches. Yes, that should be my budget challenge then, do the whole job for a tenner or under and since it was a family affair, no charges for labour!

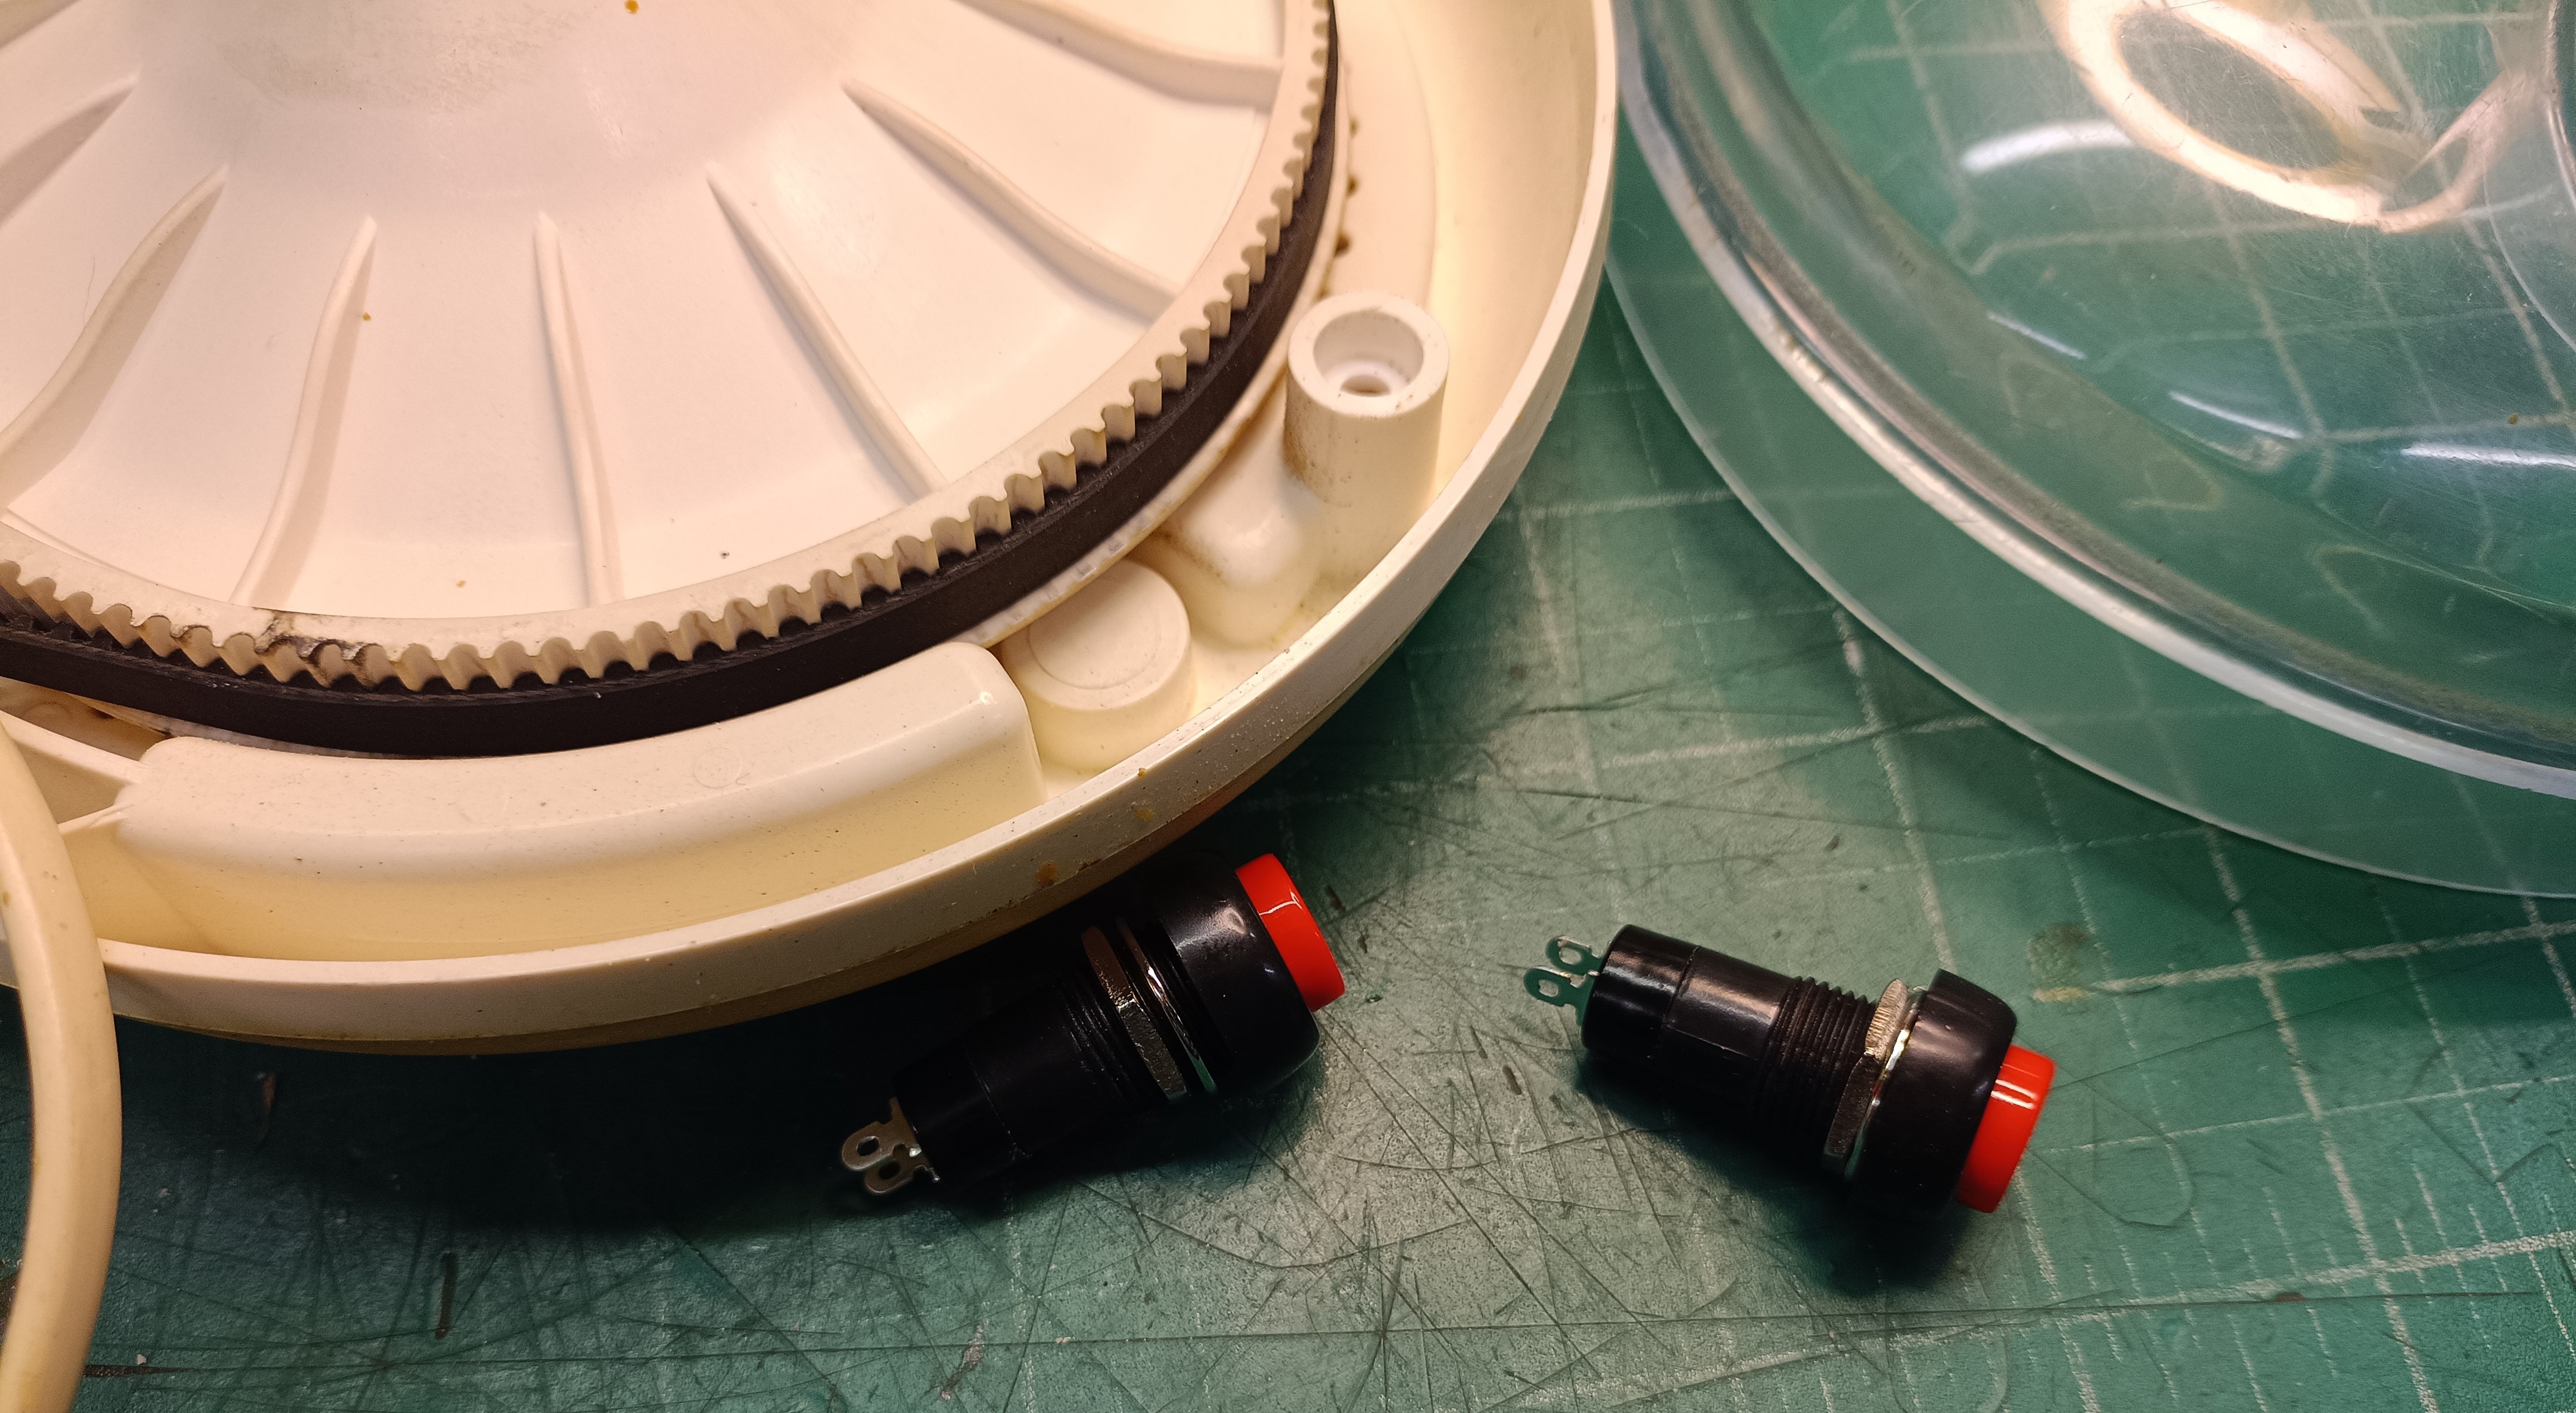
The Delicio is a simple machine; no variable speed controller, just a single speed operation controlled either by latching or push-to-make switch.  It gets the job done quickly and without fuss. After a quick trawl of eBay, I opted for two small round, red button in black bezel switches with solder tags.  The switch series I opted for was available in push-to-make and latching, bingo!  And at £5.98 delivered, a total bargain.

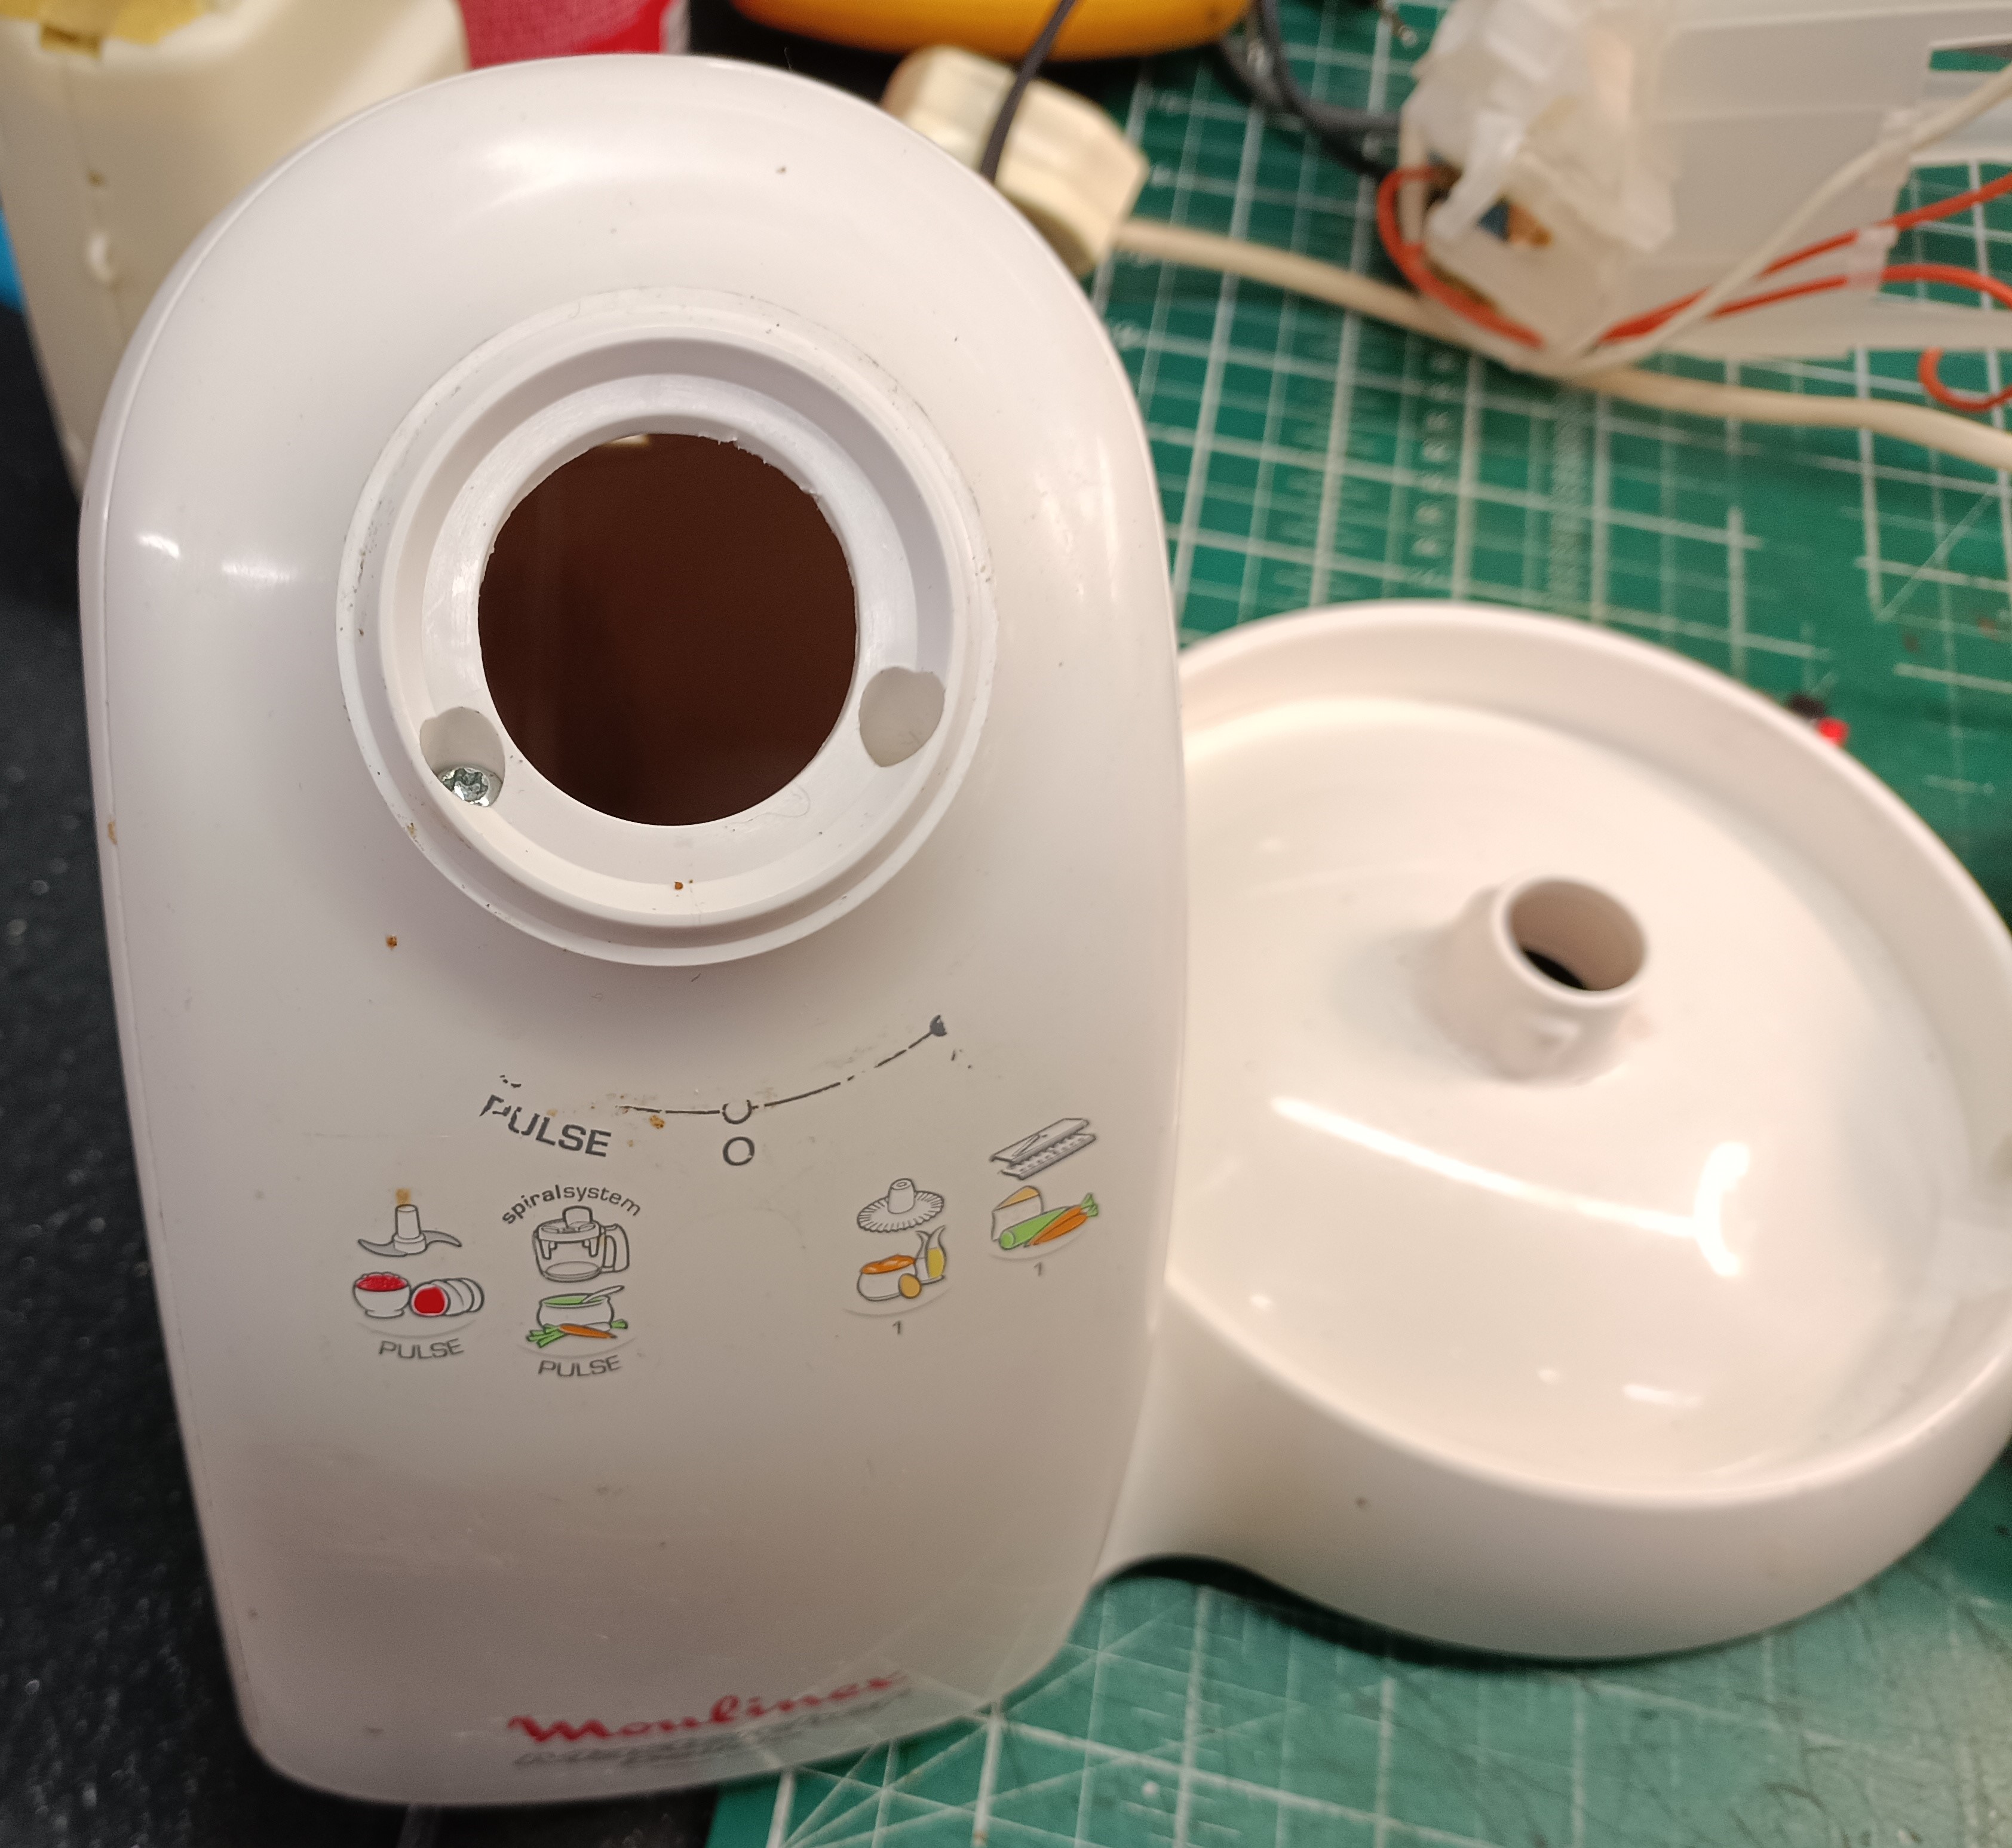
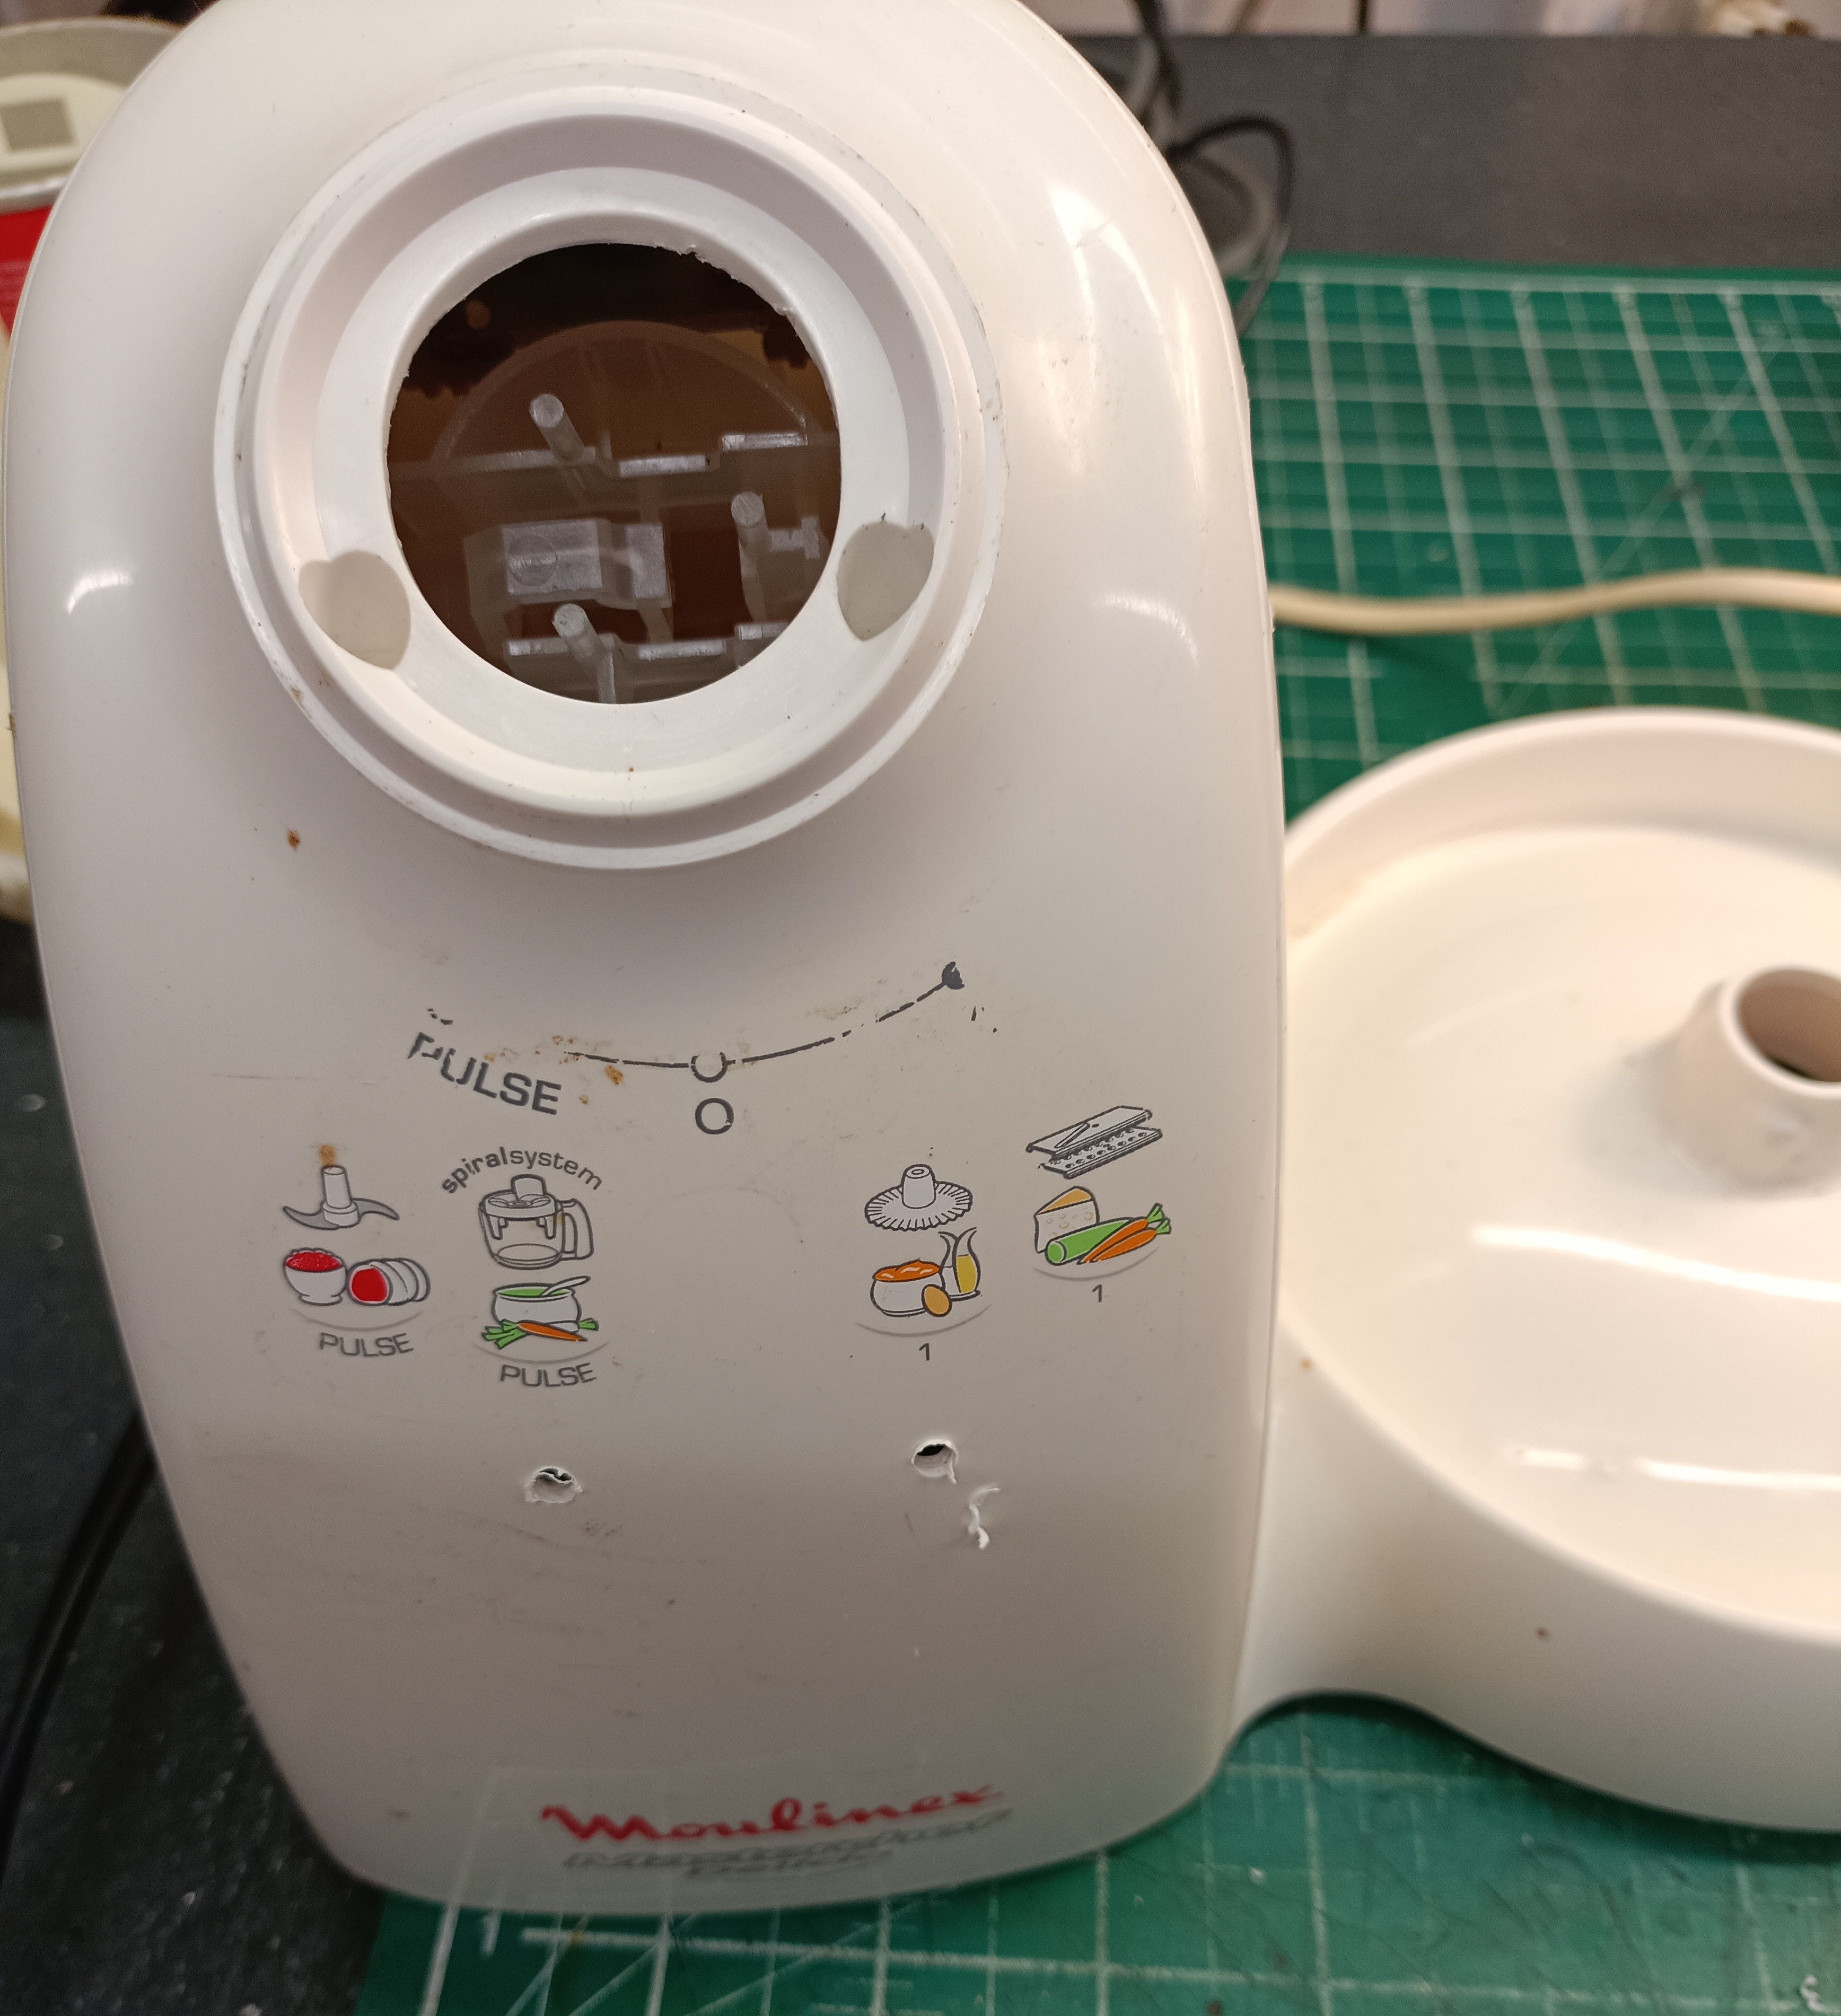
There’s something quite satisfying in selecting an item, taking it apart and then modifying it by way of repair, improvements or both, in such a way that differs little from its original design.  Subtle modifications or improvements, that the casual observer will never notice. If you look closely at the photos, I managed to line up the new buttons with the old printed text, to match the operation. Lucky.

I won’t describe the repair in detail, suffice to say that I found a suitable location for the new switches in the machines’ chassis, drilled out the holes and then fitted them in place with the nuts supplied in the switches’ kit. No special tools required for this job really, just a selection of standard screwdrivers, some 0.75mm wire, heat shrink, cutters and a 12mm drill bit.  I already had some cable, I connected the new switches to the existing wiring harness, by-passing the original.

I was able to retain the original switches’ interlock by keeping the original switch in situ with a little epoxy resin.  This ensured both safety and the original aesthetic.  See what you think in the photos. I was quite pleased with it.

I completed the repair within an hour, which I almost forgot to report, included a wipe over and polish. And I managed it on only one cup of tea with a couple of my favourite ginger nuts.  Oh, and I didn’t go over budget. Any chance of a Vicky sponge, mum?!

Bagpuss, oh, Bagpuss, oh, flat battery cat puss…

A much loved soft toy gets new (apparently non-replaceable) batteries…

For a change, this one’s just for me. I don’t often write-up repairs on my own items, but I couldn’t resist dedicating a few words to our beloved Bagpuss soft toy. He’s been around in the family for a good few years and when my youngest daughter decided to dust him down and make his voice work, I wasn’t surprised when no noise came out. Our Bagpuss has an electronic voice box which is activated with a gentle squeeze around the belly. After many years and many hugs, the batteries had gone kaput.

I grew up in the 1980s and remember watching Bagpuss on BBC1. I must have been about four I guess. Bagpuss lived in a shop window, a shop that was owned by a child, a shop that didn’t sell anything. Emily, the shop owner, would bring Bagpuss and friends broken objects to restore and explore. The story would begin once Emily had left and Bagpuss woke up…

Well, this Bagpuss wasn’t waking up anytime soon and to make matters worse, the batteries within appeared to be non-replaceable. Well, that’s not very good is it? So, in the spirit of the original TV program, I decided to take an unpicker tool to the cat and carefully dismantle his seams…See how I get on.

Make and model: Bagpuss talking toy

Fault reported: No talking, no sound

Cost of replacement machine: £10.00 if you can find one

Manufacturer support (in the UK): 0/10

Cost of parts (for this repair): £1.00

My time spent on the repair: 1 hour

Tools needed: Needle and thread, small flat screwdriver

Sundry items: None

Cleaning materials: Contact cleaner

Repair difficulty: 2/10

Beverages: 1 tea (as usual)

Biscuits consumed: No biscuits, just a slice of chocolate cake (I think)

There’s always that moment with a fix like this when you think; shall I just leave it as it is? I mean, it was still a loved toy right? But as my regular reader will know, that’s not quite how we do things in the workshop. Things must work correctly and if there’s a reasonable chance of success, then the repair must go on.

So, here it goes.

I knew that this Bagpuss ran on batteries, but had no battery compartment to gain access etc. He’s a soft toy, made from a mixture of polyester and cotton fabric, which is all neatly stitched together. All I could do is roughly locate the sound box within his chest and neck area and then chose a suitable seam to unpick, in the hope that it would allow me some access to the box without causing too much damage.

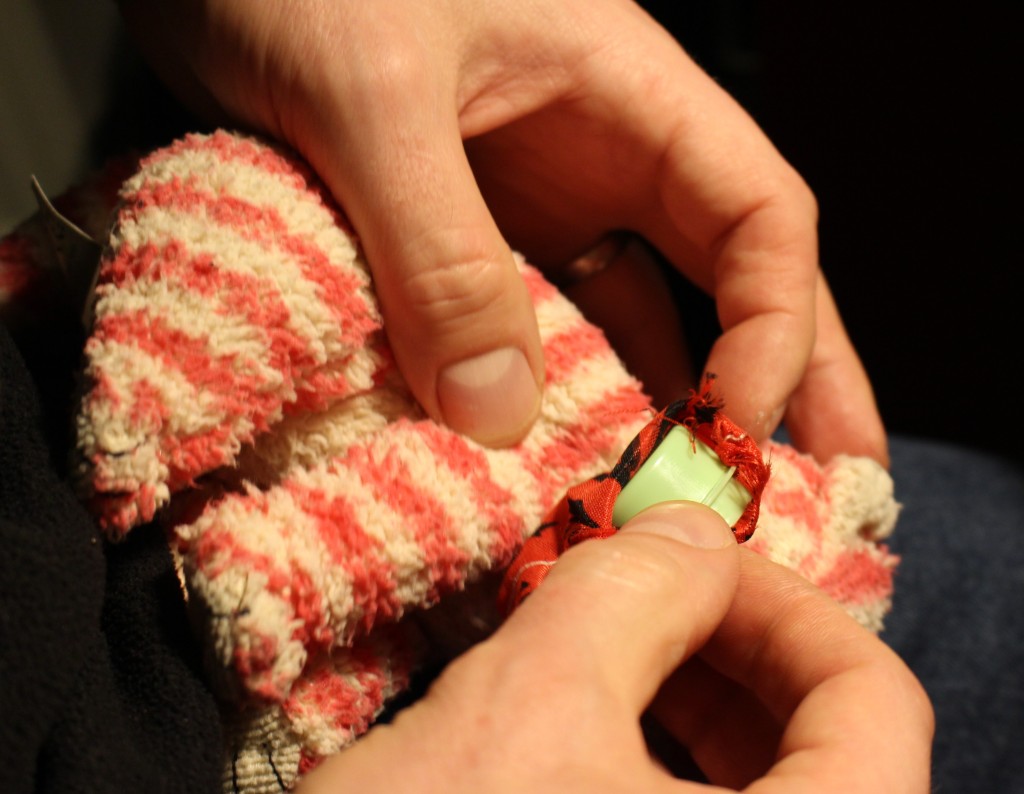
Using a standard stitch un-picker tool, I was able to gently cut into the neck and part of the chest area which gave me access to a small red and black smooth polyester bag, which contained the voice box. At this point, I was starting to feel a bit sick, I mean, what had I done!?

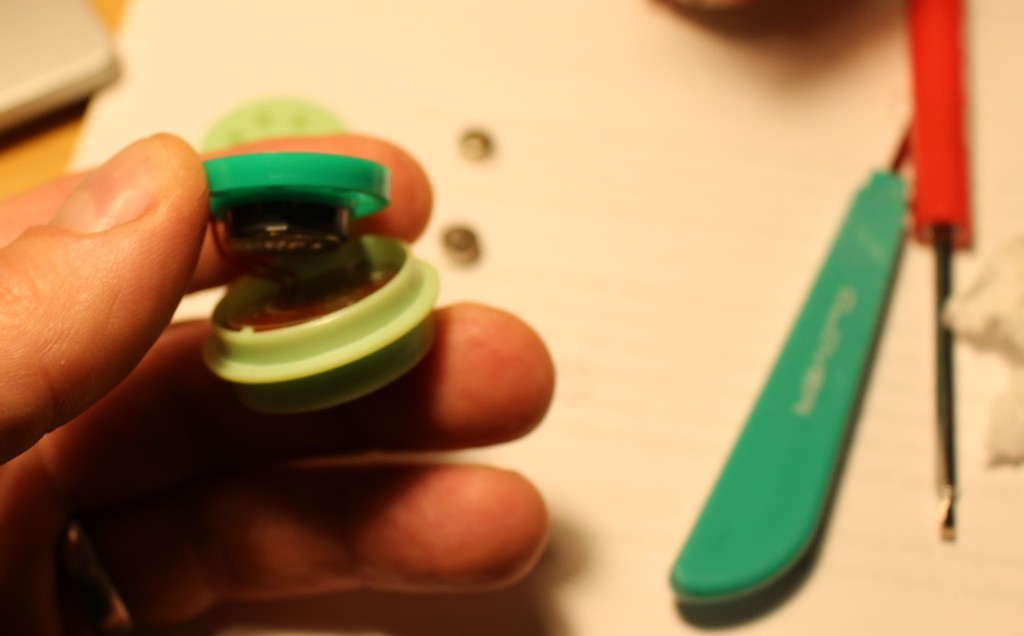
Moving on, the voice box just slide out of the red and black bag and from then on in, it was standard toy-fare. The plastic voice box had a switch on one side and a battery compartment on the other side, all perfectly normal. The battery door was held in place with a small screw and once removed, revealed three LR41 coin cell batteries. Very normal stuff, nothing non-replaceable here.

Luckily, I had some spare batteries in stock and with a little contact cleaner applied to the slightly tarnished battery contacts and the new cells fitted, Bagpuss’ voice was heard for the first time in ages.

Now it was just a case of putting the voice box back in the right place, so that the switch to make the sound work could be reached easily. Once that was done, it was just a case of carefully re-stitching the neck and chest bag together using white cotton thread and lots of neat tack-stitches that would be invisible, once tight.

After a few minutes of finger-pricking sewing, Bagpuss’ head was back on and it was time for a squeeze…

See what you think.

When a label or someone tells you that a battery cannot be replaced, ignore it and try anyway.

Once Bagpuss was back together, I couldn’t help but wonder why the manufacturer hadn’t fitted a hidden zip to allow simpler battery replacement. Perhaps it’s got something to do with safety standards. Who knows. What I do know is that Bagpuss isn’t alone, and I suspect that many toys like this are discarded needlessly each year due to short-term, lazy design.

A much-needed lift for a… Vax Airlift

A Vax gets airlifted to safety

Back in the 1980s, VAX were famous for making bright orange, usually very robust, carpet washers. The products were premium priced at the time, and the sort of thing that ‘someone else had’. It was the sort of thing you borrowed when someone had spilled wine or worse on the floor in a last ditch attempt before condemning the carpet. I’ve only used one a few times, but I can remember that very distinct carpet shampoo smell.

Fast-forward to now and it seems that the VAX badge is owned by someone else and the name is applied to many vacuum cleaner designs. In my own recent experience, the products are a bit flimsy and parts are not easy to obtain. Indeed, on a recent repair, I tried and failed to get hold of a replacement motor for an 18-month-old machine only to be told by VAX that they don’t supply it, but that’s another story. Such a shame.

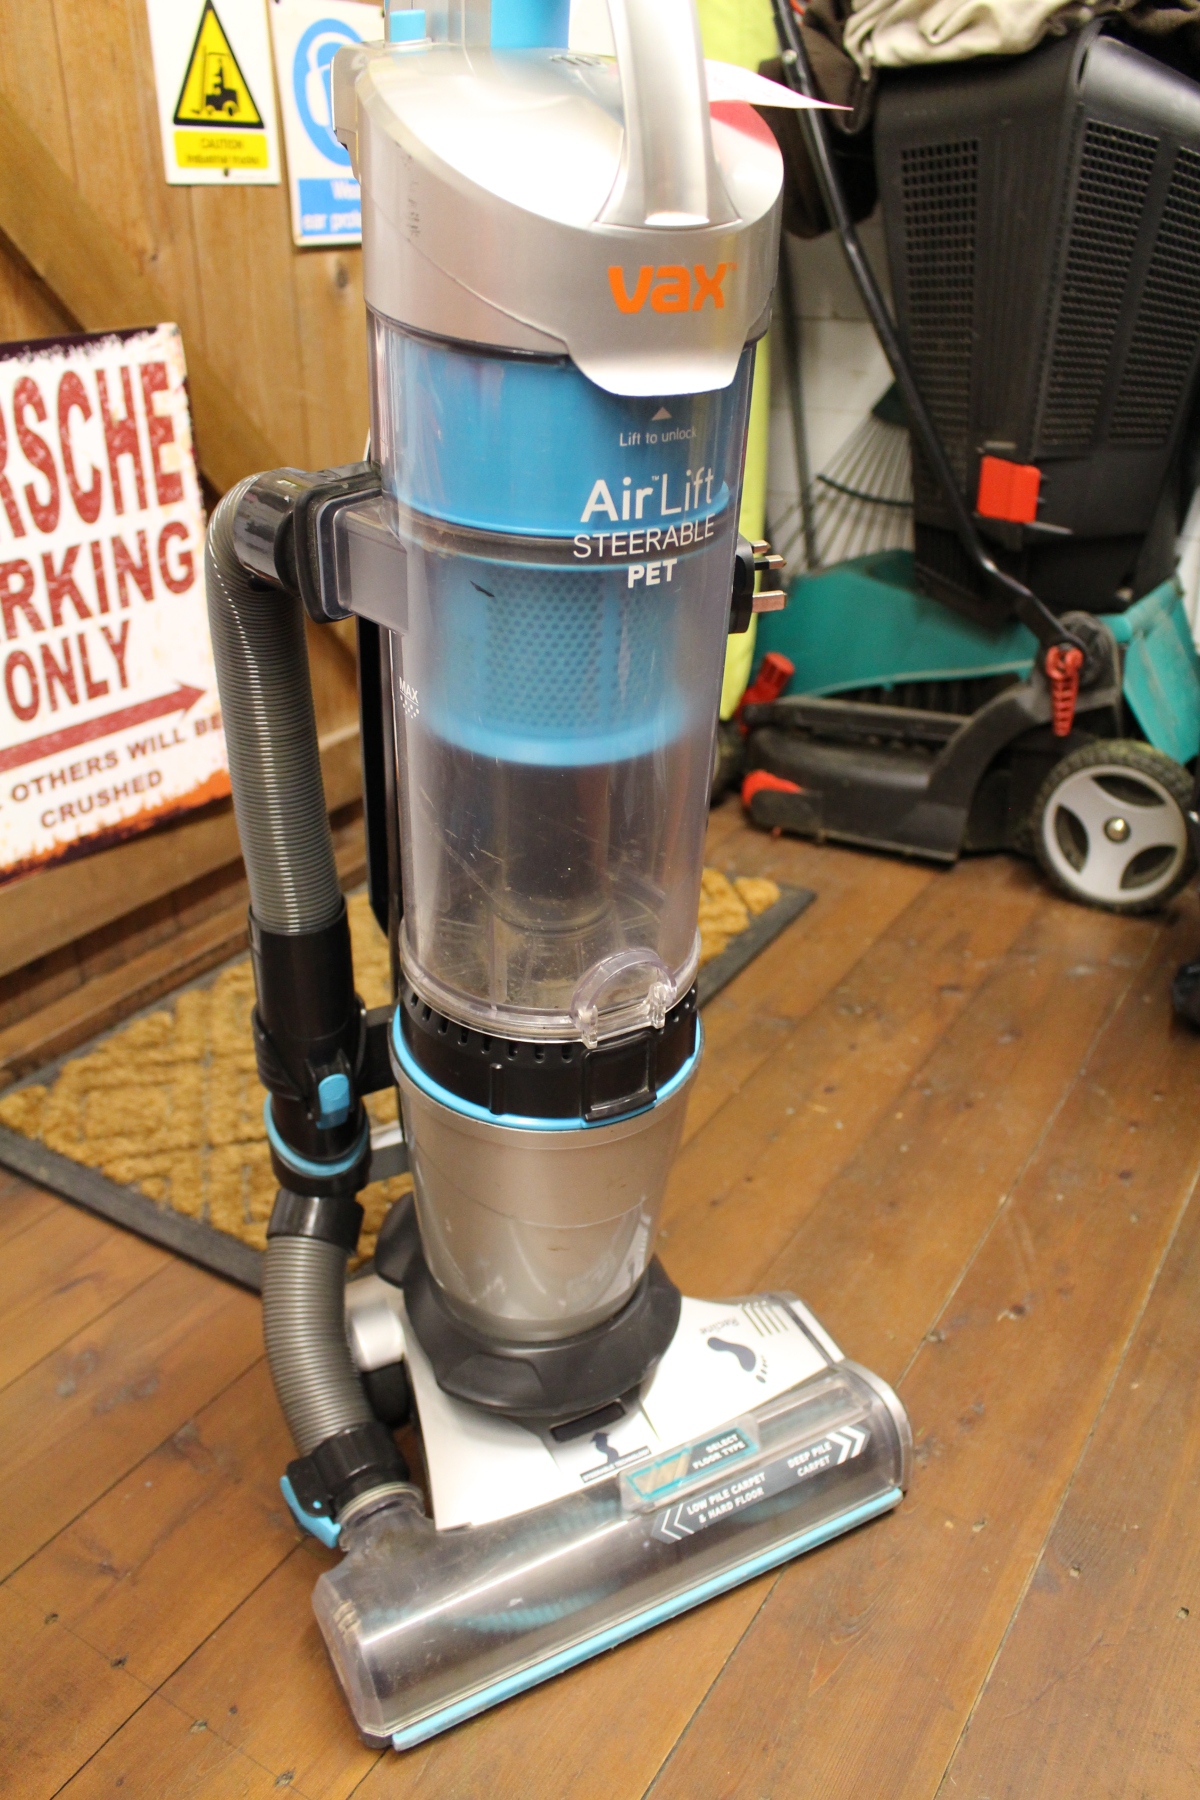
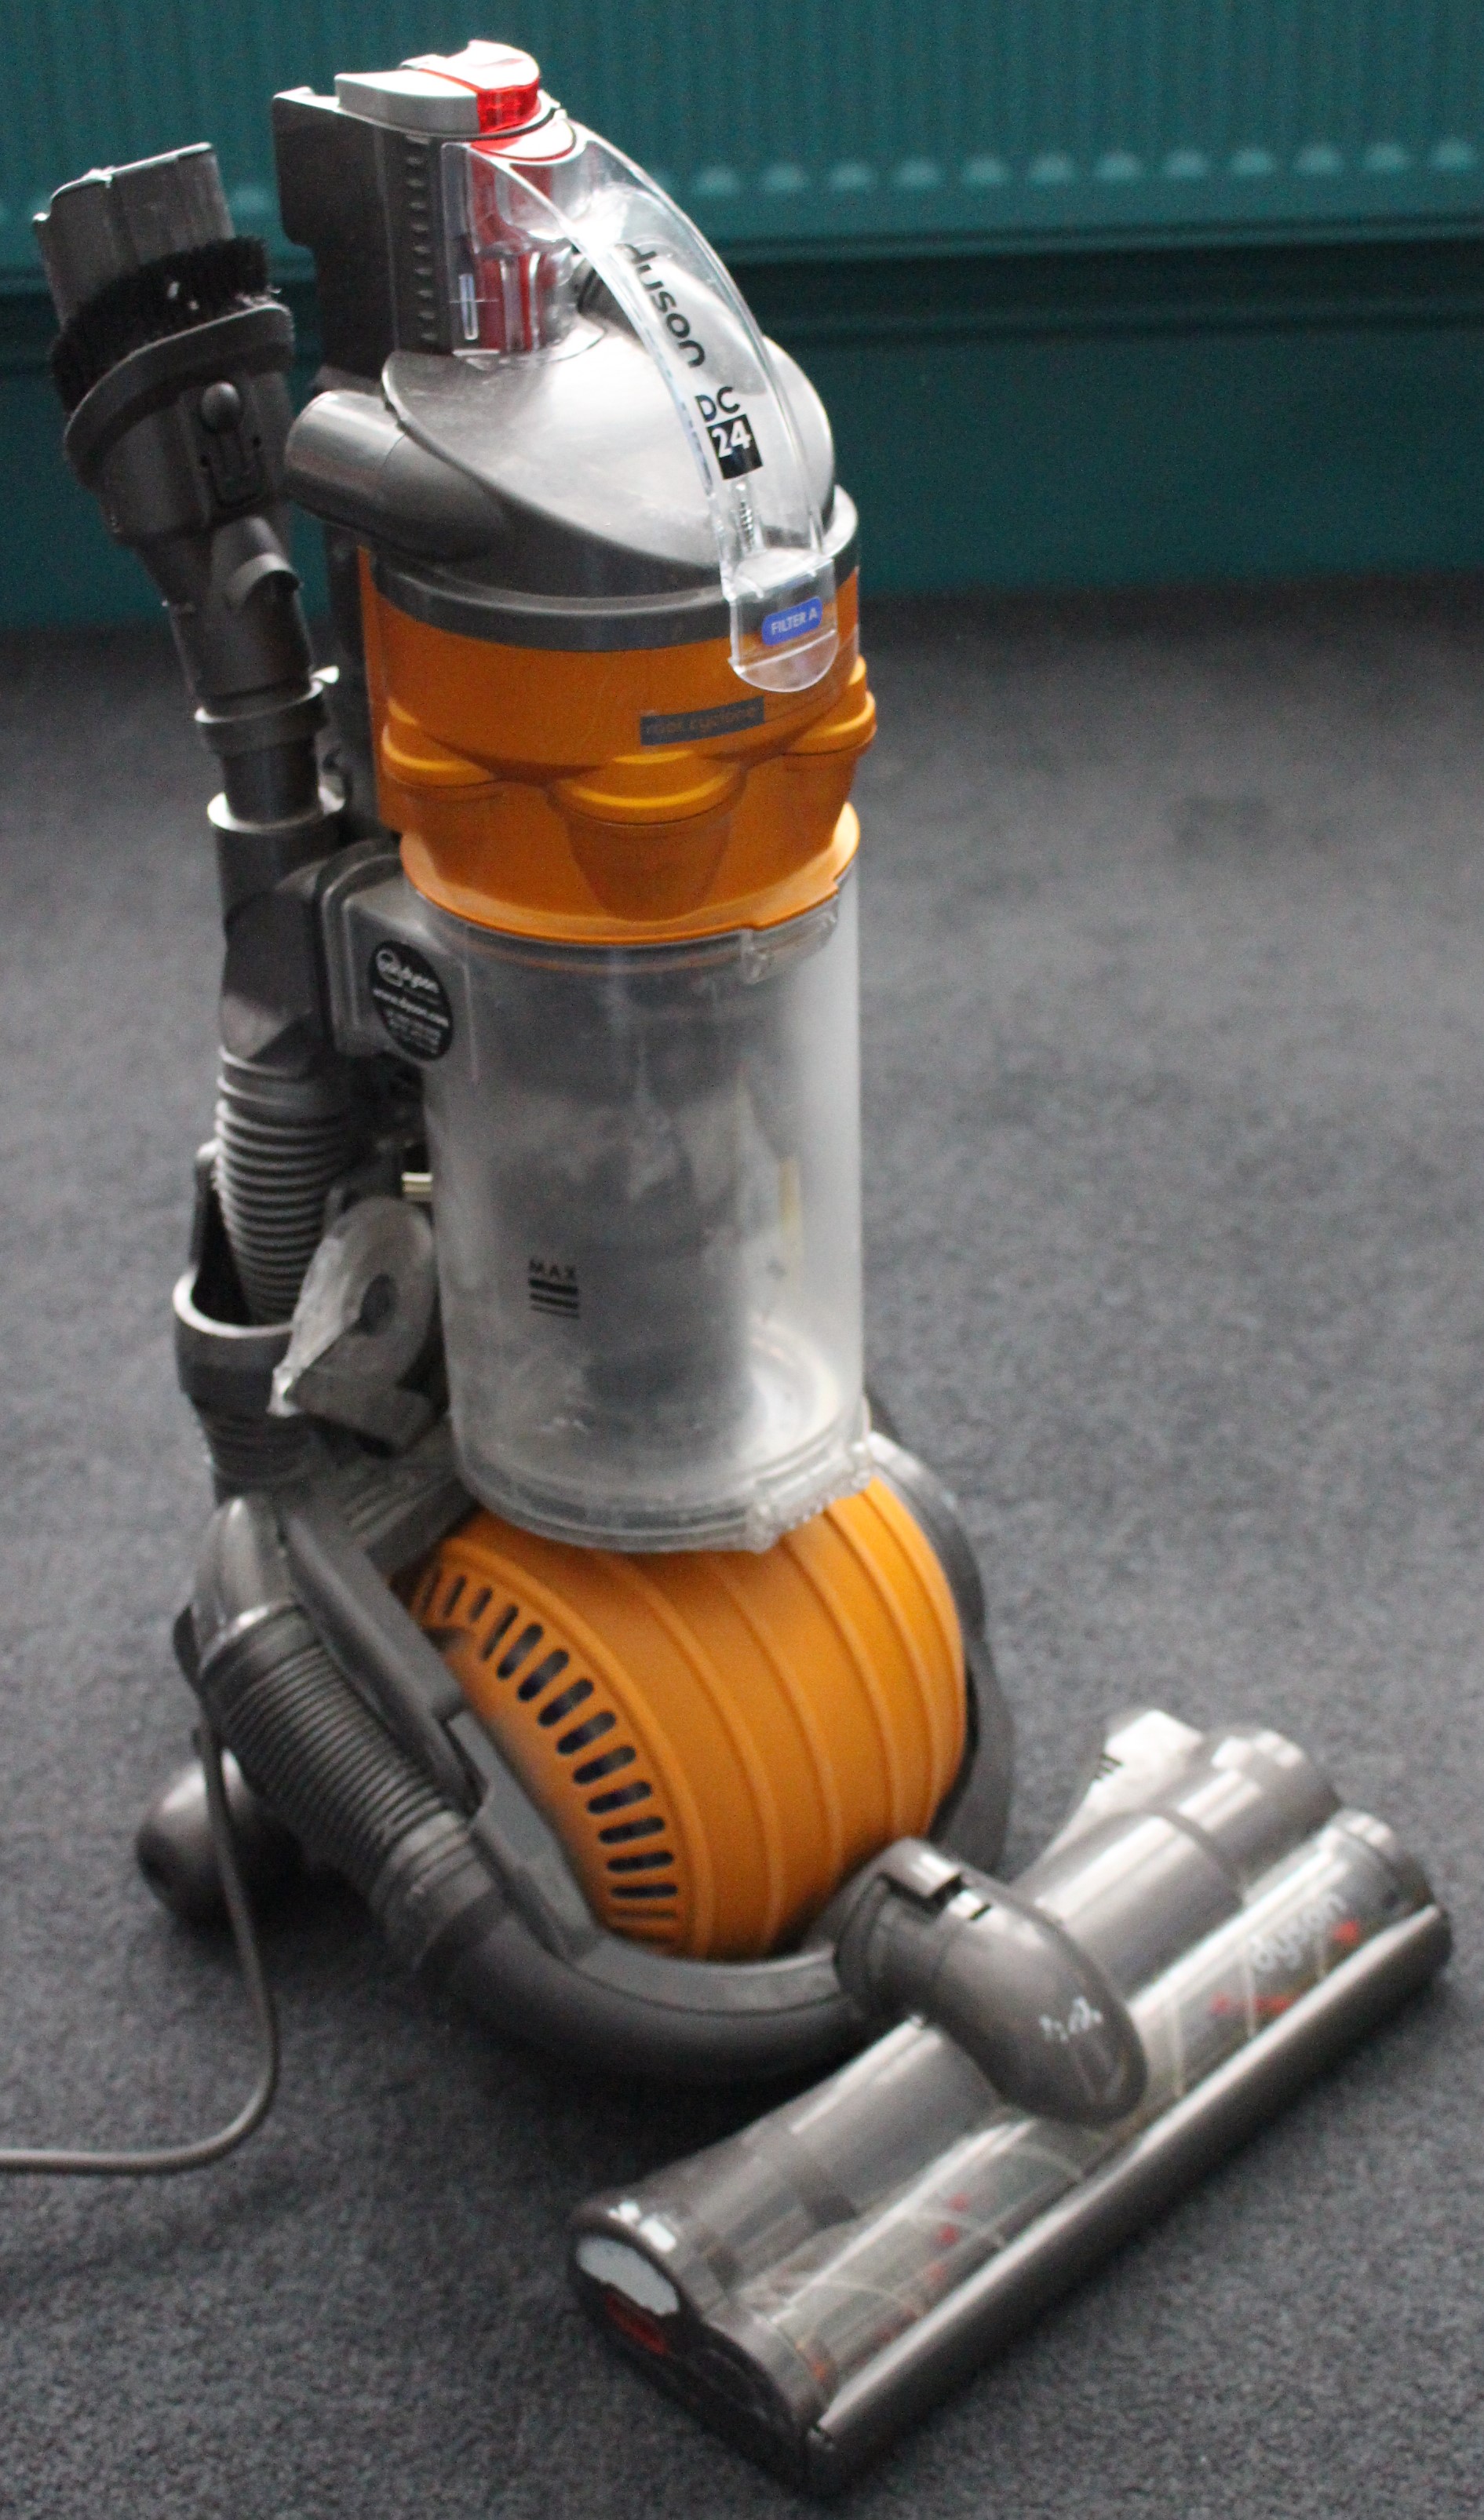
Anyway, on with a more positive story I think. The owner of this vacuum cleaner (not carpet washer) got in touch to tell me that they would like me to repair their VAX Airlift. As the name suggests, the machine is lightweight and slim, which makes lifting and manoeuvrability easier. However, lightweight in this case meant limited lifespan.

Make and model: VAX Airlift

Fault reported: Split hose

Cost of replacement machine: £200

Manufacturer support: 0/10

Cost of parts (for this repair): £1.00

My time spent on the repair: 1 hour

Tools needed: Screw drivers, pliers, cutters

Sundry items: None

Cleaning materials: Silicone spray, damp cloth

Repair difficulty: 3/10

Beverages: 1 X tea

Biscuits consumed: None, 1 slice of cheese on toast instead, must have been lunchtime

This model carries all dust sucking tools, brushes and other ‘extendibles’ onboard, for convenience. It’s neat and tidy and considering the amount of stuff onboard, it’s still amazingly light, hence the name. To be frank, I wish that I’d weighed it, but that might be going a bit far…

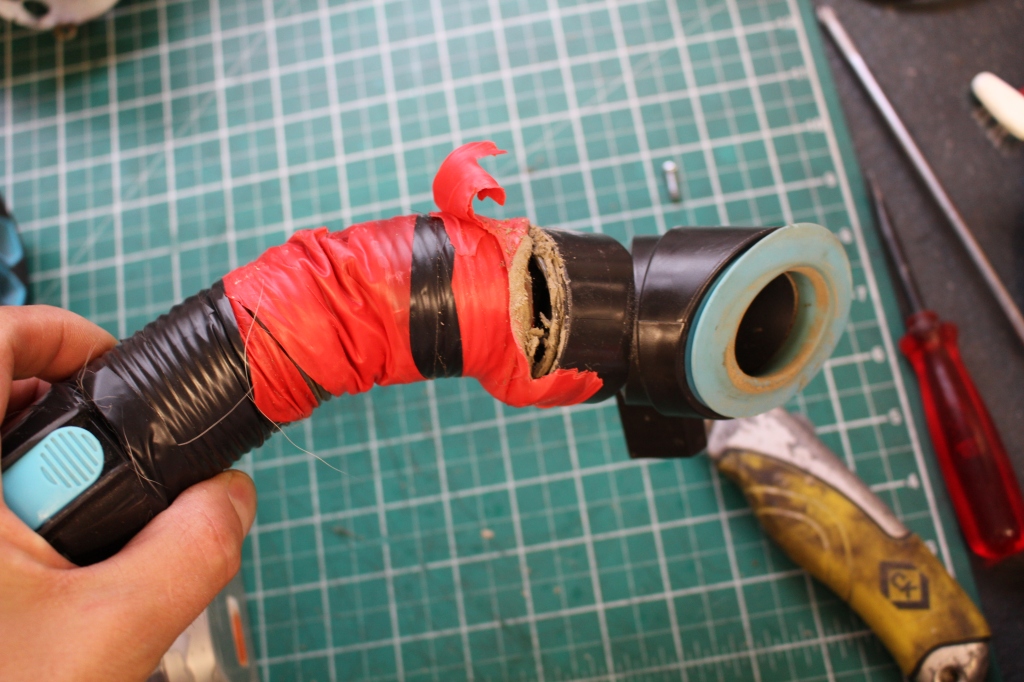
The problem with this machine was that the flexible hose from the brush head to the main machine had split. This caused air to rush into the hose’s hole when the vacuum was in use, which in turn meant that the vacuum simply wouldn’t suck up. The owner had attempted several previous repairs with electrical tape. These repairs had worked for a while, but after several hoovering sessions, the tape repair had failed and the machine was back to square one.

I took on the job and realised quite quickly that VAX’s sporadic spares listings on various websites neglected our poor friend and only certain consumables like filters were still available. Terrible really as the machine was only a few years old. The part I needed certainly wasn’t anywhere and looked unique to this model. When a situation like this confronts me, I do what any other sensible person does. Put the kettle on.

It’s often situations like this that will condemn a machine to waste, even when the rest of it is in serviceable condition. I can see why some may simply throw in the towel.

It soon dawned on me that I’d saved various bits of hose from old Dyson and Numatic vacuum cleaner repairs and that maybe something I’d salvaged might do the trick. That’s the power of a strong cup of Yorkshire Tea.

This was turning out to be my lucky day as some old grey Dyson vacuum hose that I’d salvaged from a knackered Dyson DC25 (if memory serves) looked like it would do the job.

The first task was to remove the bespoke Airlift connectors from the old hose and peel off the metres of horrible hairy electrical tape. Yuk. I needed the old hose, so that I could measure the correct length to allow a good fit in every position the machine would be used in. The hose end connectors were screwed on and bonded with impact adhesive, which just needed brute force to remove.

The Dyson hose was a gnats-whisker wider, but it still fitted the old hose connectors OK, with a little impact adhesive applied. The new-old hose with old connectors simply fitted back on the machine and I think you’ll agree, the new/old part looks like original equipment.

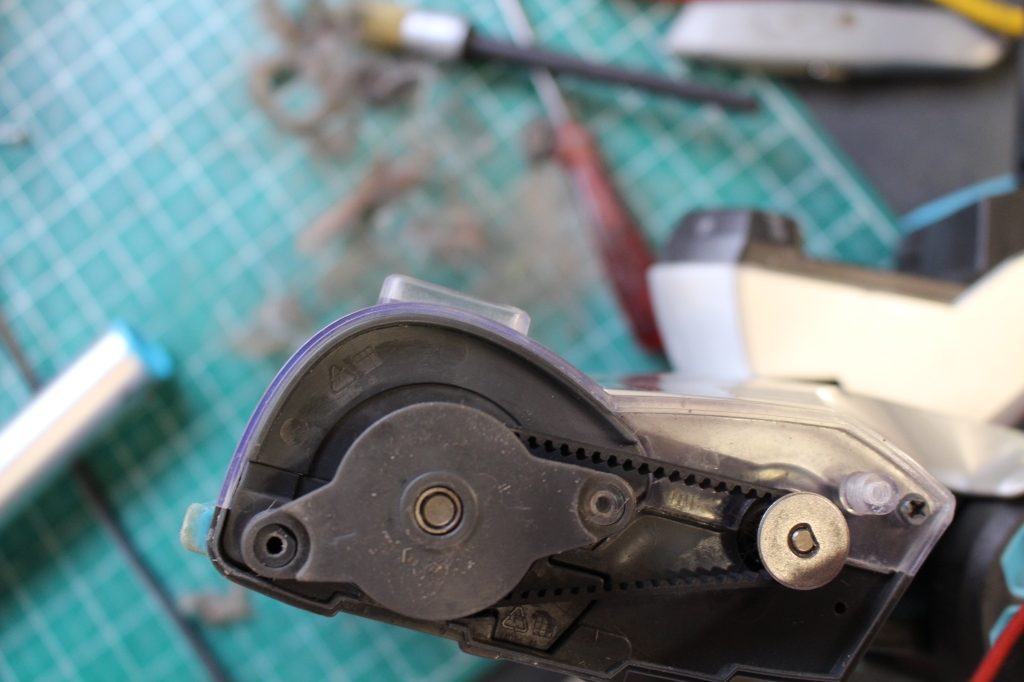
While I had the machine, I took the liberty to clean the seals, dust container and drive belts to the brush head as these were all clogged up. As filters were readily available, I also replaced these as they were only a few quid.

So, for small beans and using some old salvaged parts I already had, this VAX was ready to see another day. Most satisfactory.

Atco Consort 14 (CT14) self-propelled lawnmower repair

A mid-90’s take on a classic design, dodges the tip

When they say; “they don’t make things the way they used to”, they’re right… sadly.

With many repairs that I do, half the battle is identifying the correct or closest-match replacement part.  Half the fun is finding a part to do the job, when the original manufacturer can’t or won’t sell that part.

IMG_2260
FixItWorkshop, Worthing, May’20, Atco Consort 14 (CT14)

Make and model: Atco (Qualcast) Consort 14 (CT14- 002107A)

Fault reported: Intermittent running

Cost of replacement: £300 (approx.)

Manufacturer support:  0/10

Cost of parts:  £24.44, inc. carriage

Hours spent on repair: 1 hour

Hours spent on finding parts: 1 hour

Tools needed: Screwdrivers, spanner, pliers

Sundry items: Silicone spray, WD-40, cleaning materials

Repair difficulty: 3/10

Cups of tea:  X 1

Biscuits: Custard Cream X 1

Some things are just a joy to work on because of the way the original design and engineering teams that came up with the product, saw their machines being used in real life.

Even though this machine was built in the 1990s, the Consort 14’s DNA comes from a long line of designs that include the famous ‘Suffolk Punch’ lawn mower created by Suffolk Iron Foundries of Stowmarket in 1954.  This machine is badged as Atco (and Qualcast in places) but the electric motor was made in Stowmarket, England.  The original factory had a reputation for making everything, literally everything, for its machines, right down to the nuts and bolts and this ethos lives on in the CT14.

I’m not going to bang on about sustainable design and circular economy here, but today, unless one pays serious money, garden equipment is simply not built to last any more than a couple of years.  Many of the mowers and strimmers you can buy for under £100 in B&Q, Tescos (here in the UK) and alike have a built-in obsolescence factor measured in months, not decades.  Personally, I believe that products like this should be banned.  Too many end up at my local tip with the price label still attached…

This slideshow requires JavaScript.

A neighbour asked me to look at their Atco lawnmower, which had stopped mowing recently.  They were wondering if it was worth bothering with a repair, I of course said that the machine that they had was better than many machines available now, so it was absolutely worth repairing!

The mower is a self-propelled, cylinder type with speed control and clutch to engage the propulsion system, as desired.  It’s a neat design that’s hard to better.  The next time you are at Wembley or Wimbledon, just look at the mowers still used by professional grounds maintenance teams.

The Atco is designed to receive occasional maintenance and all items which might require the owner or maintenance engineer to inspect are easy to access.  Forward thinking again, shown by the designers.  The main issue in 2020 is that parts are only available from aftermarket suppliers and although there are still (thankfully) specialists ready to supply, part numbers and cross-referencing is a nightmare and despite me doing this work in the UK and this machine being made in the UK, the repair required a degree of investigation and sleuth work to get the parts needed.

The motor was my first port of call and with only a couple of bolts holding it in place, the motor was soon removed.  It was in good overall condition but the carbon brushes were a little short and needed replacing. This explained why the motor had suddenly cut-out.

You might think that finding carbon brushes for a UK made motor, might be easy.  You would be wrong.  Despite several conversations with mower experts, these brushes were seemingly unavailable, off the shelf.  I did order some brushes for an equivalent model produced a little later, but these were too large.  I could have filed them down to make them fit, but after rooting around in my collection of brushes (as one does) I found that a new pair of brushes from a Kenwood Chef A701 fitted perfectly.

While I had the mower in pieces, I decided to inspect the drive belts which were both in poor condition.  One was split and one had stretched badly.  For smooth, reliable operation, both required a replacement.

Again, the Consort 14 was not on many mower supplier inventories, so finding the correct belts required cross checking with other Qualcast and Bosch (Bosch later acquired Qualcast) models and a little bit of luck to match them up.  Fortunately, eBay sellers came to the rescue again and I managed to find the correct belts which fitted perfectly.

With the mower back together, it was ready to run for another 30 years.  Time for another cuppa.

Footnote:  I’m very aware that I sound like a stuck record…

Look, many products made and sold nowadays are much better than older ones.  I’m not saying that all old things are better. Take old cars for example (although I have a soft spot for old cars):  They were polluting, they didn’t have safety built-in (in general) they rusted-out and broke down, all the time.  New ones generally don’t break down, last for longer and you’ll walk away from many crash situations.

New things are usually safer, more efficient and capable.  However, many older machines were designed to be serviced, repaired and re-used over and over, which in my opinion, is more sustainable.  Many products today, especially mowers and alike are designed to last for 18 months hard-use and then the whole thing is scrapped, but it’s apparently acceptable to society as it ‘only cost 40 quid- I’ve had my monies worth’.

It’s this notion that doesn’t sit well with me and I see a growing cohort of people who are not prepared to accept this waste of resources either.  What say you?


Touch control lamp repair

An old lamp sees the light…

You’ve got to be in the mood for certain repair work.

A friend of ours dropped in a ‘dead lamp’ to the workshop with a message:  “Matt, can you mend it”?  I then sort of forgot about it for er, nine months.  Whoops.  I need to focus on the workshop more.

The lamp was much loved by its owner and its current lack of light was leaving her in the dark.

IMG_1732
FixItWorkshop, Worthing, May’20, Endon Touch Control Dimmable Lamp.

Make and model: Endon Touch Control Dimmable Lamp

Fault reported: Not working

Cost of replacement: £30ish

Manufacturer support:  0/10

Cost of parts: £3 approx.

Hours spent on repair: 30 minutes

Tools needed: Screwdrivers, test meter etc

Sundry items: None

Repair difficulty: 2/10

Cups of tea: 1

Biscuits: Wagon Wheel (Jammie)

These touch lamps were a bit of a novelty back in the day and seem to have fallen out of favour in recent times.  However, the owner of this one was a bit upset when suddenly one day, it wouldn’t work.

When working on anything mains operated, I always start with the basics:

  • Is the bulb working? Yes.
  • Is the mains flex OK?  Again, yes
  • Is the fuse (UK) intact? All OK

Lamps like this are pretty simple; there’s a mains wire, there’s a bulb and holder, a switch and the main lamp unit itself.  Some dimmable lamps, like this one, feature an electronic dimming module, which in this case was built into the base of the unit.

First step:  Remove the base cover

Removing the cover was fairly straightforward and only involved a few self-tapping screws, under the felt pad base.  This exposed the dimmer module, which when tested with the meter, was not outputting any current to the lamp circuit.

Second step: Dismantle the dimmer

Dimmer modules like this are not designed to be repaired and contain no user-serviceable parts (don’t get me started on that!).  But in the past, I’ve had some luck cleaning components and re-heating the odd dry joint with a soldering iron.  In this case, it was no joy.  A replacement module was needed.

Third step:  Find a new dimmer!

I can’t remember what I used to do before finding specialist electronic suppliers on eBay and alike.  Oh yes, I just remembered:  I struggled!

It didn’t take long to find a new (almost identical) dimmer module on eBay for about £3, delivered.  How do they do it for the money?

After 2 weeks of waiting, the new module arrived in the post, hand delivered by our usual friendly posty, Keith.

This slideshow requires JavaScript.

Forth step:  Fitting the new module and test

Comparing the dimmers side-by-side revealed that they were more or less the same, using the same wire colours…but in a different combination.  This meant that it wasn’t a simple ‘cut and re-join’ the new dimmer to the existing wiring.  Oh no, it meant cutting everything out and starting again.  Still, with only four wires, it didn’t take long.  With a little soldering and heat shrink, one would never know I had been tinkering.

A good job, jobbed, even if it did take me months to get ‘aroundtuit’.

Quite literally illuminating.


Wheezy Dyson DC19

Another Dyson not biting the dust, just yet.

A mate asked if it was worth saving his abused Dyson cylinder vacuum cleaner which has been residing in the garage for a couple of years, in the dark, unused. It had last seen service when clearing-up building dust and allsorts of non-domestic detritus and that abuse had now given the vacuum cleaner breathing difficulties. A vacuum with breathing issues means no suction.

IMG_0937
FixItWorkshop, Worthing, January 2020, Dyson DC19.

Interestingly, the reason the Dyson was being called out of retirement was due to a lack of performance from the family’s more recently purchased battery machine. Hopefully I’ll get to see that in the workshop soon as well. I’m getting ahead of myself already.

Make and model: Dyson DC19 (grey and purple)

Fault reported: 70% reduction in suck

Cost of replacement: About £200

Cost of parts: £9.54

Hours spent on repair: 1

Tools needed: Cleaning tools

Sundry items: Silicone spray

Repair difficulty: 1/10

Cups of tea: 1

Biscuits: 2 (M&S Belgium Selection)

This slideshow requires JavaScript.

Like many abandoned vacuum cleaners I see in the workshop or at the tip, there really wasn’t much wrong or really broken, yet its owner was considering its future. What to do. I’ll write about readiness to repair and repair inertia another time!

The repair in stages:

  • Remove, clean (and replace) filters and refit once dry (48 hours)
  • Remove collection cylinder and clean thoroughly and refit once dry (48 hours)
  • Clean all seals with soap and water, dress with silicone to revive
  • Check by-pass valve and clean as needed
  • Check power cable (clean to improve flex rewind system)
  • Check and clean roller brush head
  • Test!

The filters on this machine were so dirty that I decided to invest in a new set which, at under £10, seemed good value and will certainly extend the life of the DC19.

After giving the main unit a good polish the Dyson DC19 was ready to go home to clean-up. Another Dyson not biting the dust, just yet.

Genuine or pattern parts? A Dyson DC40 gets a little tune-up.

Genuine or pattern parts? What to do!?

Article 100!

It’s a dilemma sometimes.  Should you always fit genuine replacement parts or is it OK to fit quality aftermarket or pattern parts.  My answer:  It depends.

Make and model: Dyson DC40

Fault reported: Torn hose and loss of suction

Cost of replacement: About £200.00

Cost of parts: £16.53 (hose and filters)

Hours spent on repair: 1

Tools needed: Screwdrivers

Sundry items: Silicone spray, PTFE spray, rag

Repair difficulty: 2/10

Cups of tea: 2

Biscuits: 1 McVities Gold Bar

A mate of mine contacted me to ask if it was worth fixing his 6 year old Dyson DC40 and as always, I said yes it was.  A couple of days later, it was working again, like new.

IMG_0446
FixItWorkshop, November’19, Dyson DC40.

The DC40 is still supported by Dyson and parts are readily available direct from them.  Problem is that, as my mate did, the price of some spares (although quite reasonable actually) can put some people off, which means that serviceable machinery can end up at the local dump, prematurely.  Which is a shame.

This is where pattern parts can help.  Often, aftermarket manufacturers will make spares for popular models and the advantage of these is that they are often much cheaper than the original part.  However, it’s not as simple as that.

I’ve fixed 100s if not 1000s of things and have used and continue to use a mixture of genuine original (often called OE or Original Equipment) and pattern parts for different reasons.  Assuming original equipment parts are the best, here are my thoughts, in no particular order, to help you if facing a similar dilemma.

In favour of pattern parts:

  • They can make a repair viable, financially
  • Parts can be available, long after original parts become obsolete
  • They can provide enhanced features that were not part of the original design

In favour of genuine/ original equipment parts:

  • They will fit exactly as the specification will be to the original design
  • They maintain manufacturers warranties, where applicable
  • They normally last well and perform as expected

As a further example, I will only fit genuine water pumps (on car engines) but will fit pattern air filters.  Water pumps must work within very exact performance tolerances whereas air filters, although important, don’t so much.  It’s a personal thing at the end of the day.

Back to the repair.  This Dyson wasn’t picking up dirt and the extension hose was torn, so a new hose was ordered from a supplier on eBay for under £10, a genuine part was over £25.  The hose just clicks out and in, so all that was required was a small flat bladed screwdriver to remove and refit the hose.  Nice and easy.

The next job was to sort out the lack of suction.  As with all Dysons with a problem like this, I always check filters.  As suspected, both filters were expired and needed to be replaced as they were too far gone to be washed.  Again, pattern part filters were available on eBay for under £7, genuine ones were much dearer.  All new parts fitted well and soon the vacuum cleaner was breathing easily again.

Another issue with the DC40 is the switch lever which diverts suction from the beater head to the hose, which was sticking on this machine.  A quick clean up and a small spray of silicone spray on all the moving parts had it all working again.

This slideshow requires JavaScript.

I always clean-up the beaters on any vacuum cleaner in for a service and this one seemed to have half a head of hair stuck in it, which would have impeded performance.  The hair was so bad, I had to remove the beaters (just one screw) and cut off the hair with a knife.

With all the remedial work completed, the Dyson ran well proving once again that it’s usually worth repairing, rather than replacing.


Old school iPod Nano battery replacement

Apple really don’t want you to get into their products- but they’re not alone.

We have two Apple products in our house from the early 2000s; one iPod Nano 1st generation and the 1st generation iPod colour.

IMG_9910
FixItWorkshop, Worthing, August’19, Apple iPod Nano.

Apple tech polarises opinion as it’s always premium priced and is quite locked-down to ‘Apple only platforms’.  Some people love the ease of use that their products seem to offer, others get frustrated with the lack of integration with other products.

Despite being an Android house, we keep the iPods as they are quite robust, but due to age, battery life has recently become an issue.

Make and model:  Apple iPod Nano

Fault reported: Battery not holding charge

Cost of replacement:  eBay, loads out there

Cost of parts:  £8.00

Hours spent on repair:  1

Tools needed:  Spudger, small flat-bladed screwdriver, soldering iron

Sundry items: None

Repair difficulty:  4/10

Cups of tea:  1

Biscuits:  2 (Custard Creams)

Let’s just get it out of the way now.  Apple really don’t want anyone opening up their devices and it was a wrestle to open up the casing, without snapping something (the iPod, not one of my nails or something).

The battery in the Nano is situated beneath the metal cover, which must be removed using a spudger.  A spudger is a small lever with a fine edge that can be used to gently open up small, usually plastic, push-fit, ‘clicked-together’ things.  Spudgers are kind of disposable and I always seem to break one on each job.  I must look out for a strong, stainless steel item.

Using the spudger on the Nano isn’t easy, since (as I later found out) all of the metal tangs located around the metal casing, dig in to the plastic face.  Trying the separate the two halves is a real battle and there’s a real risk of damage should you use too much force.

After a good 15 minutes of wrangling with the Nano, the casing popped off.

This slideshow requires JavaScript.

The battery on this model uses a small fly lead which is soldered to the main PCB, again more evidence to suggest that Apple had no intention of making the Nano’s battery replaceable by most users.  Extreme care had to be taken with the soldering too since the PCB’s components are so close and small, making it too easy to use too much heat, causing irreparable damage.

I took my time and was able to fit the new battery (push fit) and solder the connections OK.

The cover popped back on and fortunately, the screen lit up once more, when the menu button was pressed.  Phew. Tea time.


Why are some spare parts more expensive than a complete product?!
I struggle to buy a replacement part for a reasonable price.

I’ve been meaning to do a little article on this problem for a while and I apologise in advance if (you’re still reading) this seems like a rant.

Why-o-why-o-why are manufacturers still allowed to price spare parts dearer than a complete product?

IMG_20190810_102348
FixItWorkshop, Worthing, Aug’19, Triton Cara and Enrich Showers.

Recently our electric wall shower gave up the ghost and tripped the electrical breaker in the fuse cupboard.  Not great when it happens mid-wash.

The shower was a few years old and registered with the manufacturer for support for things like recalls and so on.  I had fitted the shower myself and it it had been a reliable product until this point.

Out with the screwdrivers and multimeter.

The 8.5kW heating element is split into two circuits, one for half-power and one for full.  Most people would use full power, but you might be able to get away with using it on half or economy mode in summer, when the water feed is generally warmer.

All micro switches seemed to be working OK, which was a bit of a shame actually as it meant that the heater can was probably faulty.  It was.  Half the heater can tested OK, the other half was dead.  Oh dear.

IMG_20190810_102404
FixItWorkshop, Worthing, Aug’19, Triton Cara heater can.

After visiting some shower spares suppliers and the manufacturers’ own website, I discovered that the spare part I needed wasn’t cheap at over £50 delivered.  I saw some advertised for £70 on some third-party sites.

Price of part
FixItWorkshop, Worthing, Aug’19, Triton Cara replacement heater can spare part.  Price sourced from triton.co.uk, correct 10/08/19.

I was fuming.  Why so expensive?  I mean, you’d have to be out of your mind to part with your hard-earned cash on a spare part like this when you can buy the whole unit for less.  See below.

price new
FixItWorkshop, Worthing, Aug’19, Triton Enrich/ Cara – new price listing.  Price sourced from Screwfix.com, correct 10/08/19.

The Cara shower has been replaced by the Enrich and is basically the same product, by another name.  Therefore, the high price of the spare part in this instance cannot be blamed on low manufacturing volumes as the showers are still made, are widely available and have been in production for a long time.   Something is ethically wrong with Triton’s spare parts pricing policies.

Now, I don’t want to beat-up Triton, they’re not alone and many manufacturers do the same, but there are now many forward-thinking companies out there getting it right.  Maybe Triton will revisit their spares listings.

Despite my natural leaning to repair and recondition, I had to admit that simple logic won the day and I bought a whole new unit from Screwfix.  The Enrich shower fitted exactly where the Cara had been and worked perfectly.

I thought about this situation long and hard and decided that for this type of appliance, a spare part should not cost more than 30% of the current retail price.  In this instance, I would have been prepared to pay about £15.00 for a spare part. 

In a world where we need to encourage people to repair appliances (and anything else) manufacturers need to facilitate a reasonable and proportionate spares back up service.  It’s as simple as that.

Still, there is a bright side to this tale.  The old shower’s solenoid, mixer, control knobs and switches all work fine and I’ll keep those as spares to be used again in a shower or something else that comes along.

Kenwood FP220 easy fix

An easy fix for a change

Every now and then an enquiry drops into my inbox where my heart sinks.  It sinks as I know that many products on sale are poorly supported for specific spares which means that when the product fails, it can be impossible to repair.  But sometimes, just sometimes, I’m surprised!

Make and model:  Kenwood FP220 Food Mixer

Fault reported: Mixer not working when main jug used

Cost of replacement:  £120.00 (equivalent new machine)

Cost of parts:  £17.69 (plus my time)

Hours spent on repair:  About 10 minutes (test and cleaning)

Tools needed:  None.

Sundry items: 1 X Grimex cloth

Repair difficulty:  1/10

IMG_9581
FixItWorkshop, Worthing, June’19, Kenwood FP220.

The mixer was a good quality item which had cost over £100 when new and upon inspection, the mixer has failed due to a single component, the main jug.  A little clue from the owner that the blender attachment (not pictured) worked, but the jug didn’t, set me off on the right track.

The mixer features a safety mechanism which is designed to prevent the main drive assembly spinning accidently, potentially with a cutting tool, if the switch is operated without the mixer jug attached.  Many mixers of this type feature such a device.

The FP220 features a double-armed safety mechanism which means that the jug must be fully engaged in the mixer base, with the lid in the correct position.  It’s an unobtrusive and fail-safe design.  A part of the jug’s base, made of a composite plastic, had sheared off, so the jug could not attach to the mixer properly.  The safety device had worked as it should.

At first, I thought that there was no chance of obtaining a spare jug, but after a bit of Googling, I found a brand-new replacement jug, in the right colour, from Sussex Spares (via eBay).  It soon arrived and fitted perfectly, which allowed the machine to work again, once more.  The old lid was still serviceable and fitted the new jug without problems.  I recommended that owner keep the old jug for spares as the handle and drive coupling were still servicable and might come in handy if the new handle gets broken.

After a quick clean up and test, the machine was ready to make Victoria Sponges again.  It just proves that with a bit of research, even seemingly unrepairable items can get a second chance.