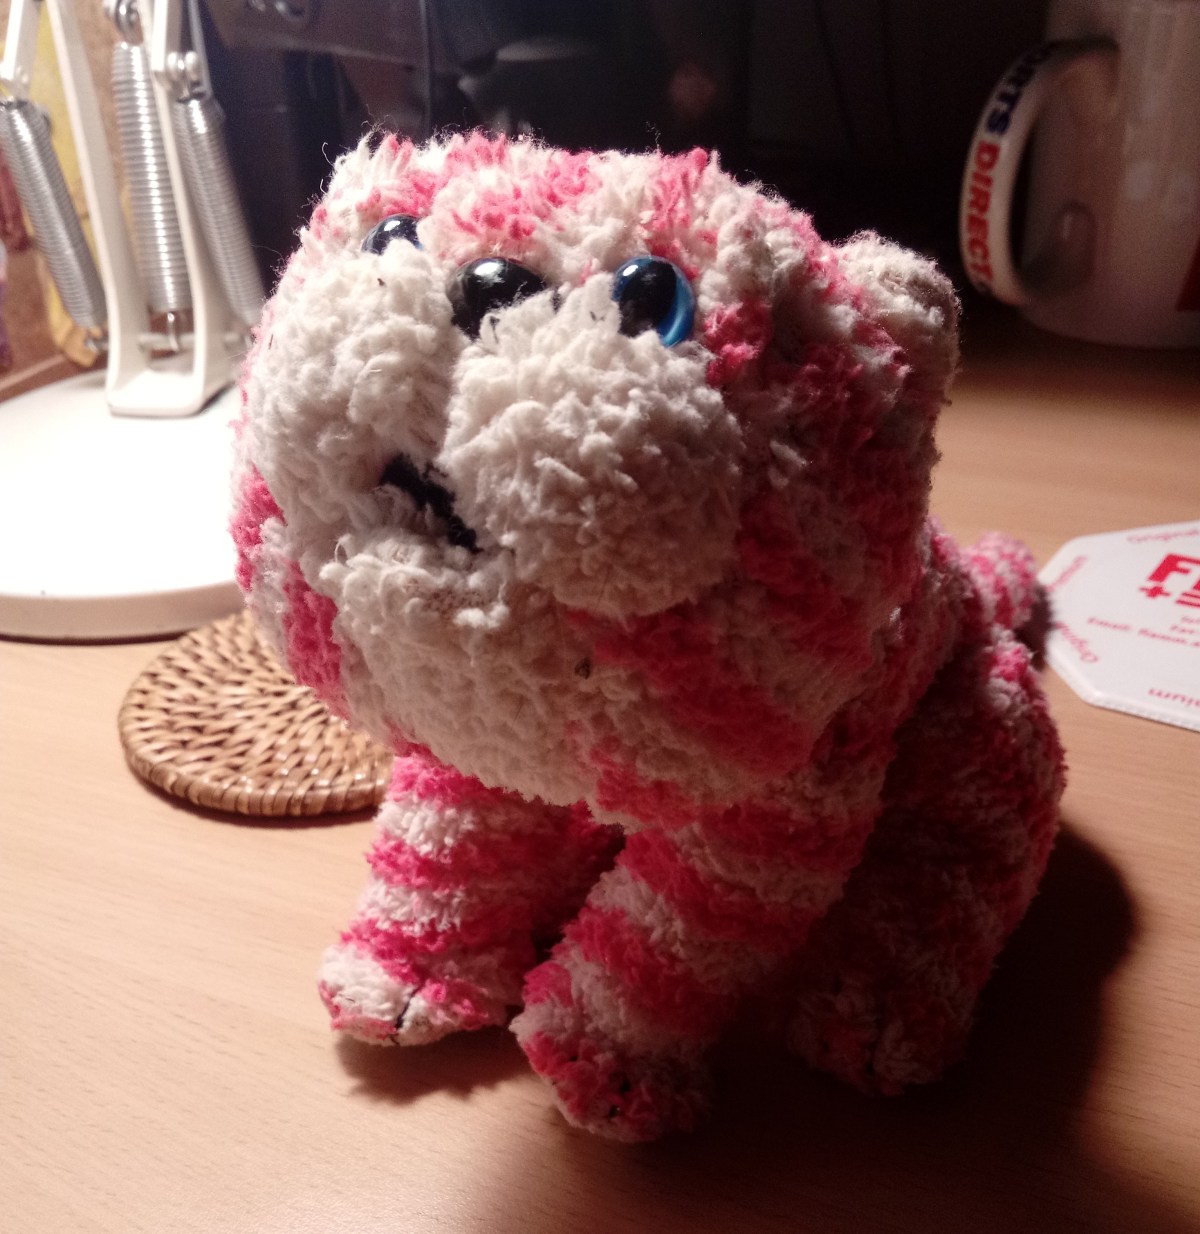
For a change, this one’s just for me. I don’t often write-up repairs on my own items, but I couldn’t resist dedicating a few words to our beloved Bagpuss soft toy. He’s been around in the family for a good few years and when my youngest daughter decided to dust him down and make his voice work, I wasn’t surprised when no noise came out. Our Bagpuss has an electronic voice box which is activated with a gentle squeeze around the belly. After many years and many hugs, the batteries had gone kaput.
I grew up in the 1980s and remember watching Bagpuss on BBC1. I must have been about four I guess. Bagpuss lived in a shop window, a shop that was owned by a child, a shop that didn’t sell anything. Emily, the shop owner, would bring Bagpuss and friends broken objects to restore and explore. The story would begin once Emily had left and Bagpuss woke up…

Well, this Bagpuss wasn’t waking up anytime soon and to make matters worse, the batteries within appeared to be non-replaceable. Well, that’s not very good is it? So, in the spirit of the original TV program, I decided to take an unpicker tool to the cat and carefully dismantle his seams…See how I get on.
Make and model: Bagpuss talking toy
Fault reported: No talking, no sound
Cost of replacement machine: £10.00 if you can find one
Manufacturer support (in the UK): 0/10
Cost of parts (for this repair): £1.00
My time spent on the repair: 1 hour
Tools needed: Needle and thread, small flat screwdriver
Sundry items: None
Cleaning materials: Contact cleaner
Repair difficulty: 2/10
Beverages: 1 tea (as usual)
Biscuits consumed: No biscuits, just a slice of chocolate cake (I think)
There’s always that moment with a fix like this when you think; shall I just leave it as it is? I mean, it was still a loved toy right? But as my regular reader will know, that’s not quite how we do things in the workshop. Things must work correctly and if there’s a reasonable chance of success, then the repair must go on.
So, here it goes.
I knew that this Bagpuss ran on batteries, but had no battery compartment to gain access etc. He’s a soft toy, made from a mixture of polyester and cotton fabric, which is all neatly stitched together. All I could do is roughly locate the sound box within his chest and neck area and then chose a suitable seam to unpick, in the hope that it would allow me some access to the box without causing too much damage.


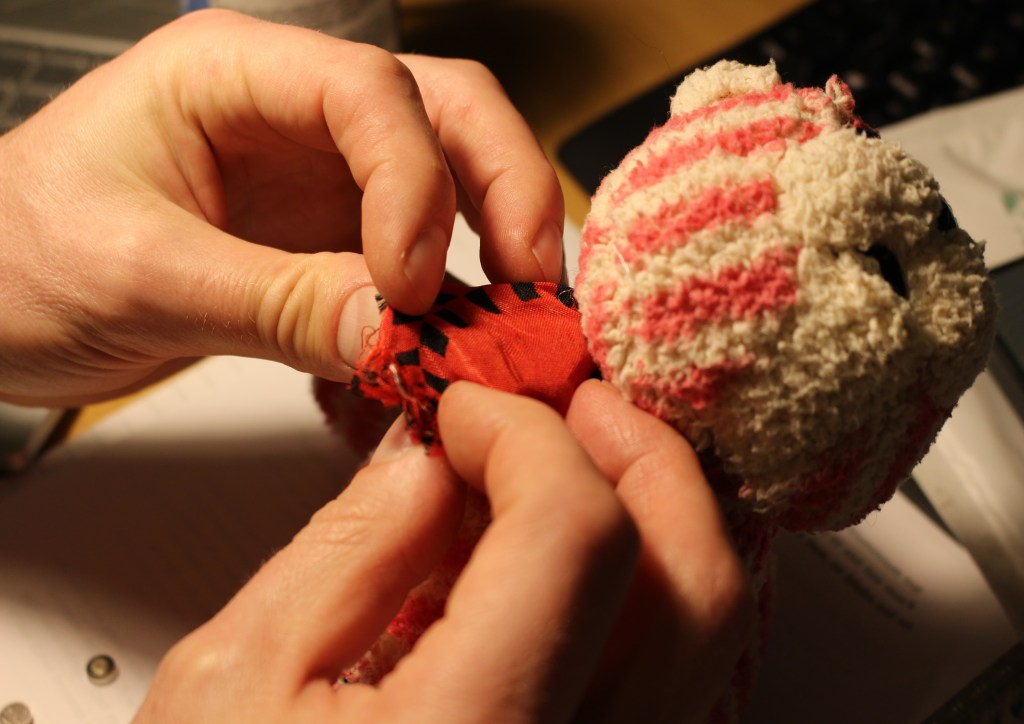
Using a standard stitch un-picker tool, I was able to gently cut into the neck and part of the chest area which gave me access to a small red and black smooth polyester bag, which contained the voice box. At this point, I was starting to feel a bit sick, I mean, what had I done!?
Moving on, the voice box just slide out of the red and black bag and from then on in, it was standard toy-fare. The plastic voice box had a switch on one side and a battery compartment on the other side, all perfectly normal. The battery door was held in place with a small screw and once removed, revealed three LR41 coin cell batteries. Very normal stuff, nothing non-replaceable here.
Luckily, I had some spare batteries in stock and with a little contact cleaner applied to the slightly tarnished battery contacts and the new cells fitted, Bagpuss’ voice was heard for the first time in ages.
FixItWorkshop, Worthing, February’21, Bagpuss, voice box in bag. 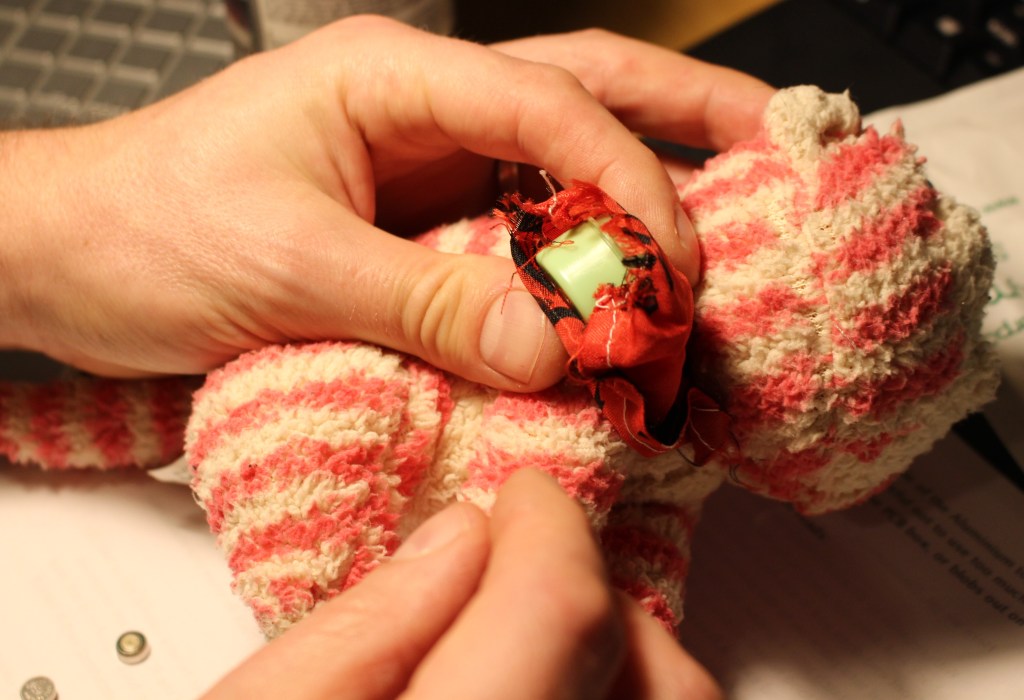
FixItWorkshop, Worthing, February’21, Bagpuss, removing voice box. 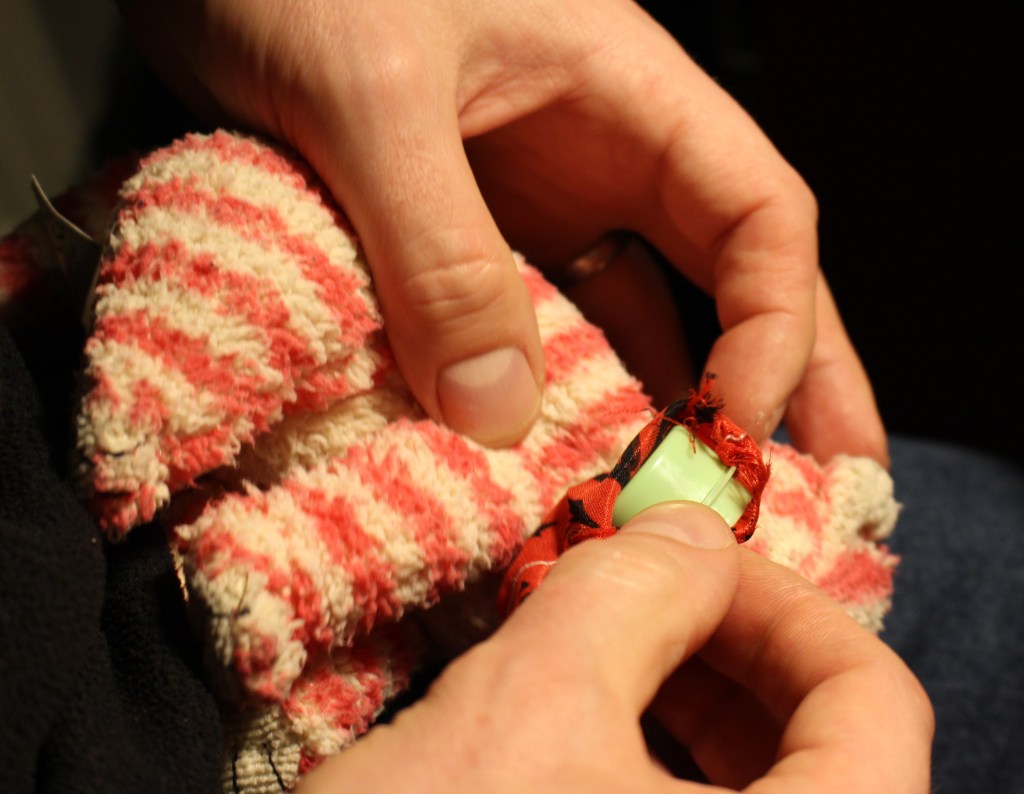
FixItWorkshop, Worthing, February’21, Bagpuss, removing voice box… 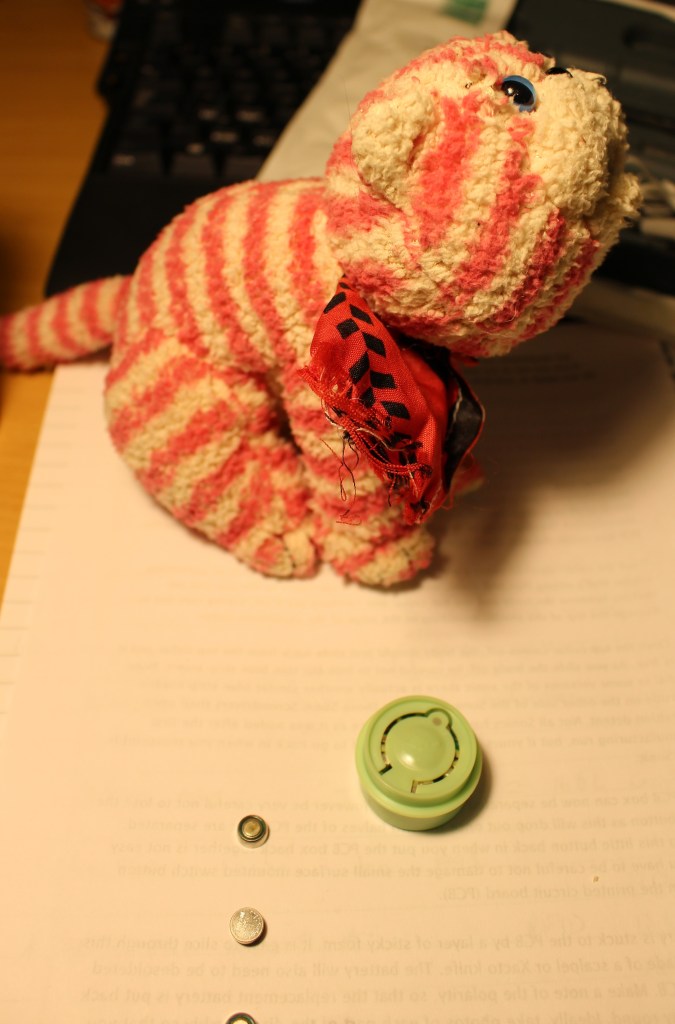
FixItWorkshop, Worthing, February’21, Bagpuss, voice box removed. 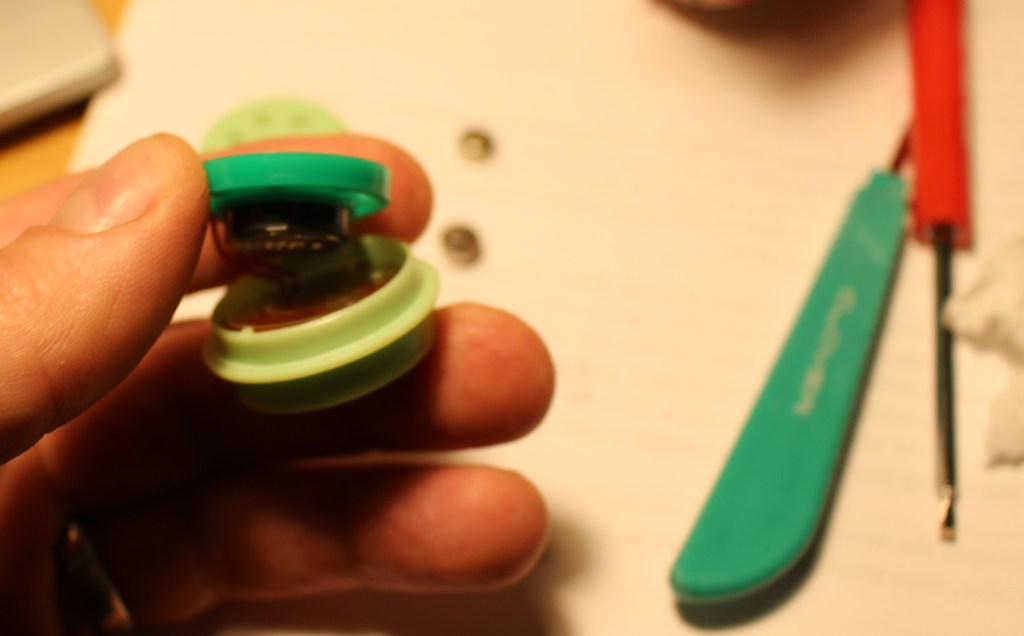
FixItWorkshop, Worthing, February’21, Bagpuss, removing batteries. 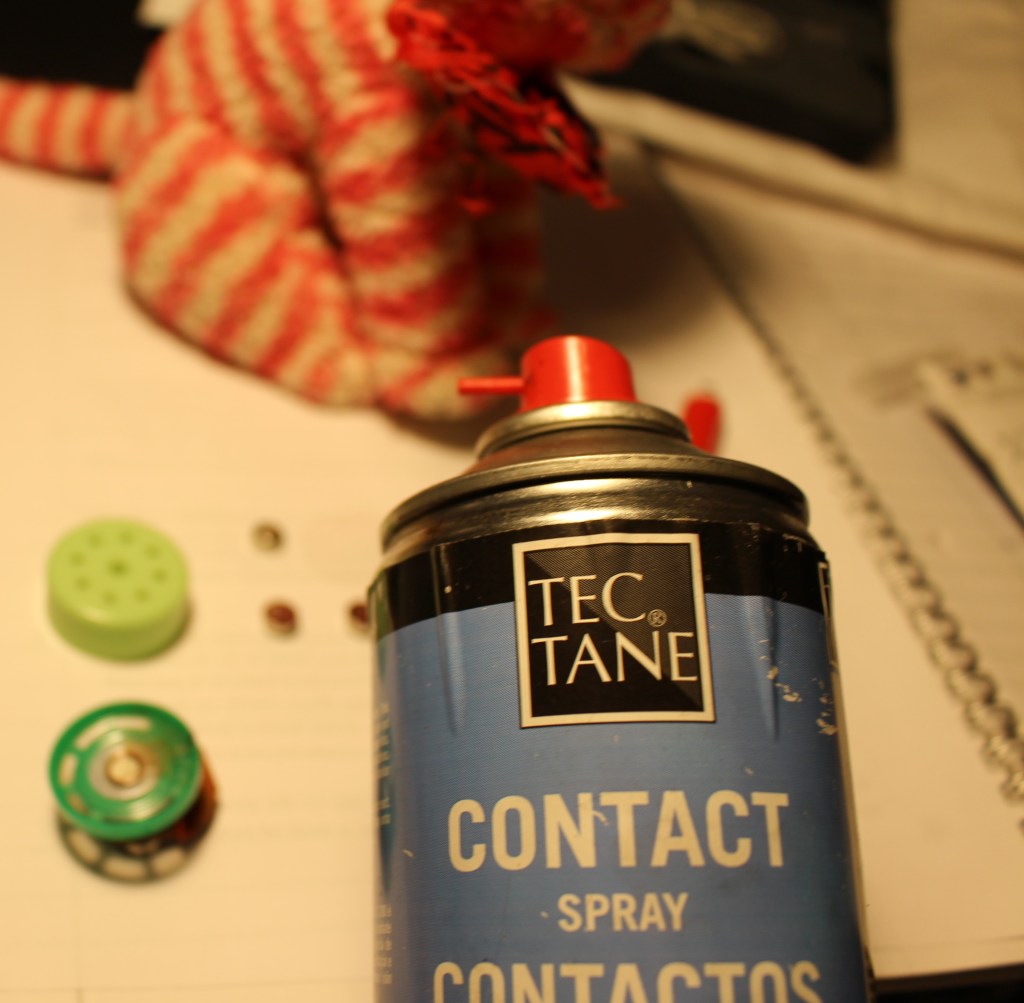
FixItWorkshop, Worthing, February’21, Bagpuss, contact cleaner applied to contacts. 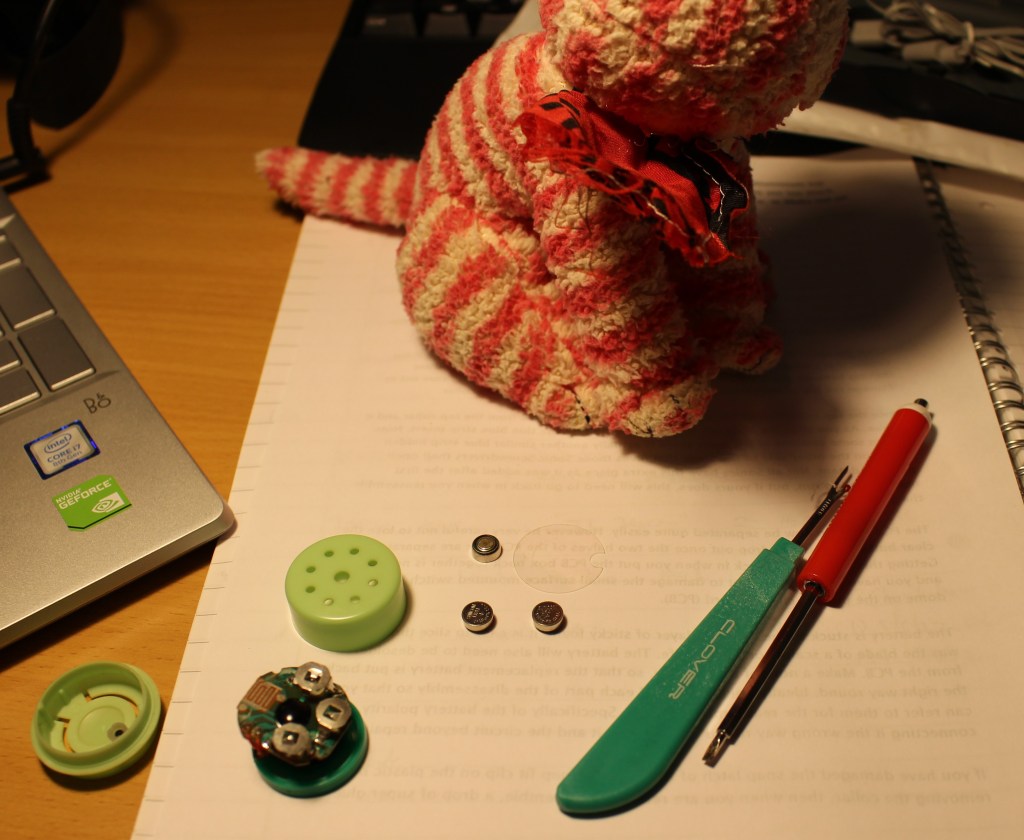
FixItWorkshop, Worthing, February’21, Bagpuss, parts laid out. 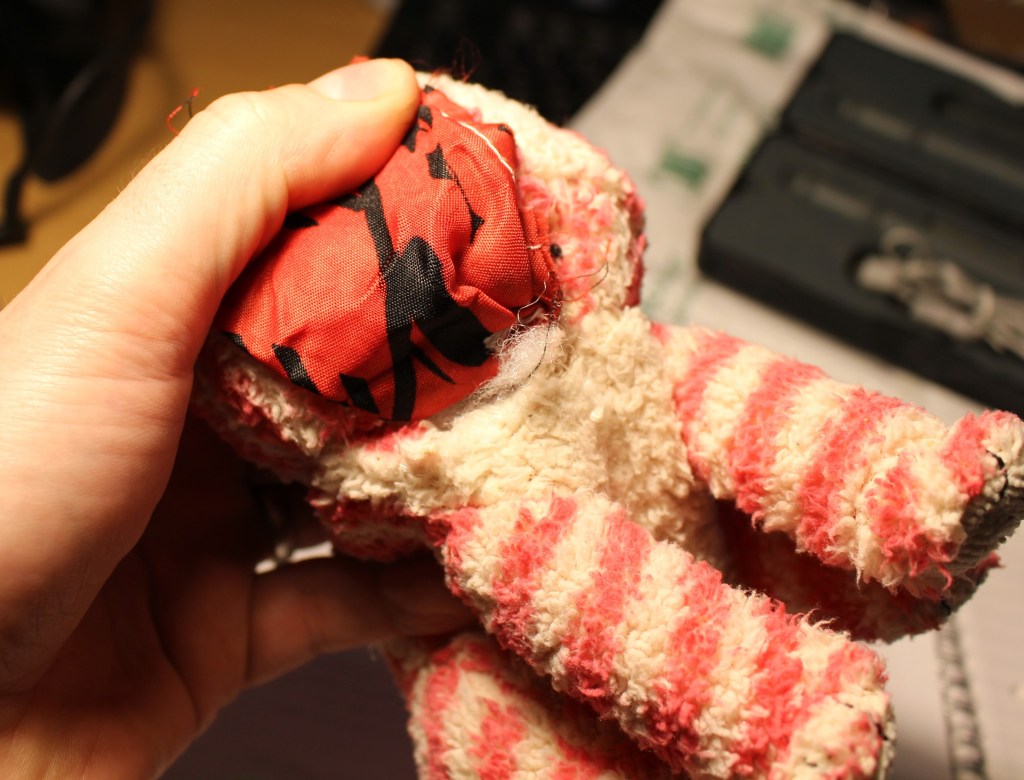
FixItWorkshop, Worthing, February’21, Bagpuss, more surgery. 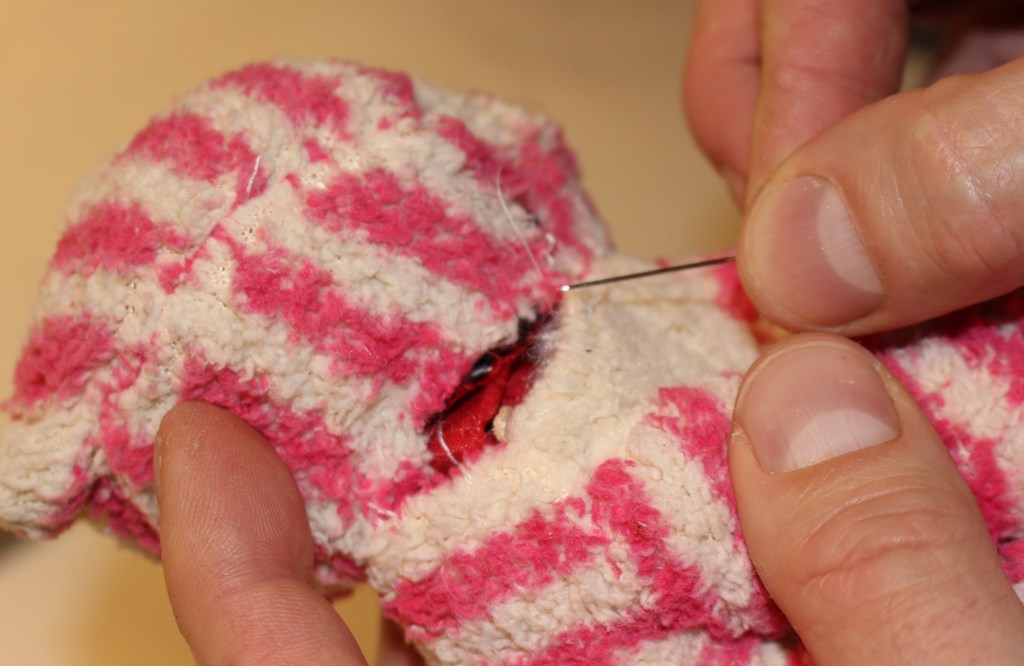
FixItWorkshop, Worthing, February’21, Bagpuss, re-stitching. 
FixItWorkshop, Worthing, February’21, Bagpuss, looking good. What’s new pussycat?
Now it was just a case of putting the voice box back in the right place, so that the switch to make the sound work could be reached easily. Once that was done, it was just a case of carefully re-stitching the neck and chest bag together using white cotton thread and lots of neat tack-stitches that would be invisible, once tight.
After a few minutes of finger-pricking sewing, Bagpuss’ head was back on and it was time for a squeeze…
See what you think.
When a label or someone tells you that a battery cannot be replaced, ignore it and try anyway.
Once Bagpuss was back together, I couldn’t help but wonder why the manufacturer hadn’t fitted a hidden zip to allow simpler battery replacement. Perhaps it’s got something to do with safety standards. Who knows. What I do know is that Bagpuss isn’t alone, and I suspect that many toys like this are discarded needlessly each year due to short-term, lazy design.