KONGMAN lives again!

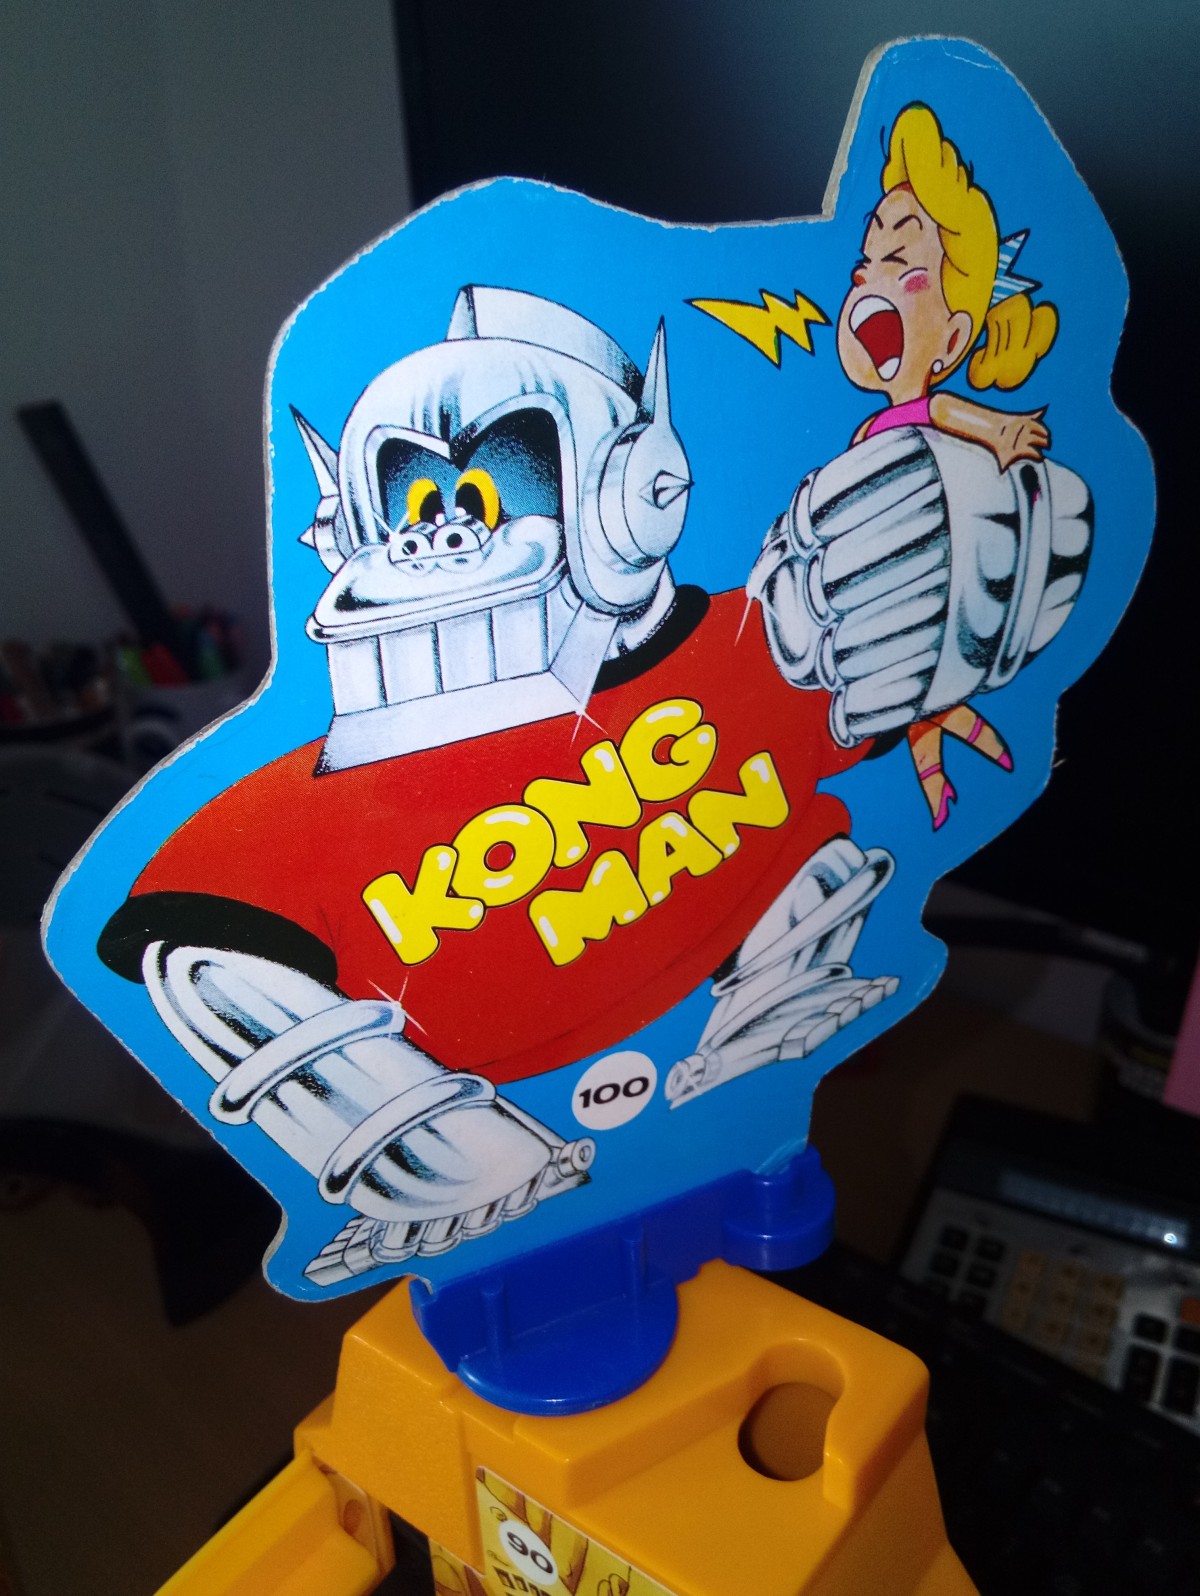
A classic 1980s Tomy Kongman game pays a visit to the workshop, for some much-needed TLC.

Every now and again, a little gem drops right into my inbox and I think; Christmas has come early. My eyes light-up! It’s nice to get something different to work on, and hopefully repair, especially when it involves motors, batteries, ball bearings and a gorilla.

A customer contacted me after rediscovering Kongman in his attic, not literally you understand, but the 1980s hit toy from Tomy. The toy was in wonderful condition, despite being a little dusty. A new battery had been installed, but upon switching it on, nothing happened. Not even a peep.

FixItWorkshop, Worthing, June’21, Kongman box

I should really kick this thing off by saying what Kongman (the game) is. Kongman is an animated vertical game with the objective of getting a small metal ball bearing from the bottom of the wall to the top. The player must defy gravity and move the ball up-stairs, across a bridge, along several steps to a magnetic swing and then into a lift. The zenith of the game is reached with a quick flick of the ball on to Kongman’s magnet hand, which then gets dropped down a hole, ringing a bell on the way down. Fun really doesn’t get any better. If you’ve ever played Screwball Scramble, you’ll have a pretty good idea of what I am talking about. Did I mention that this infuriating game can be set against the clock too? Bonkers!

Tomy’s Kongman comes from a time just before kids games started to contain many electronic gizmos and wizmos within, parts that when kaput, render a toy useless, forever. Luckily, Kongman uses an electro-mechanical animation movement; elegant and clever. Old, but good.

Kongman is powered by a single D-cell, 1.5V battery and the motion of the toy is actuated with a reassuringly simple little motor, connected to a compact gearbox driving a series of levers and rods, which make up the games’ animation. On a slightly different note; are D-cell batteries an endangered species? I mean, really, ‘what the 1980s torch’ takes D-cell batteries any more?!

Make and model: Tomy Kongman, circa 1981

Fault reported: Not working

Cost of replacement machine: £40.00 if you can find one working

Manufacturer support (in the UK): 0/10

Cost of parts (for this repair): £0.99p

My time spent on the repair: 1 hour

Tools needed: Small knife, pliers, small screwdriver

Sundry items: None

Cleaning materials: Silicone spray, contact cleaner

Repair difficulty: 5/10 (fiddly)

Beverages: 2 teas

Biscuits: 2 custard creams

So, on to the repair.

The toy wouldn’t run and after checking the basics like battery contacts and proving that the local wiring from the battery compartment to the main gubbins was OK, it was time to dive in.

One of the things that makes this already difficult game to complete, is the fact that as a player, you’re up against the clock. This seemed to be the next logical place to check.

The timer seemed to be part of the gearbox which is responsible for driving the rest of the game’s motion. I found this a most practical application of sound and efficient design. You can trace the DNA of this toy back to early pinball machines and jukeboxes, something I also love. Anyway, I seem to be getting romantic, not the workshop way.

The gearbox was easy to remove, just a few screws, and it was out. The timer’s switch contacts were situated within the ‘box and came apart with a gentle prod of a small screwdriver. This allowed me to apply a small amount of additional tension to the switch’s spring and to clean the contacts with cleaner. Reassembling was pretty much the reversal of the disassembly.

With the gearbox back in, it was time to turn some attention to the mechanism, to ensure smooth, reliable performance. With nearly 40 years’ worth of dust to contend with, it was time to clean all of the game’s nooks and crannies with a small brush and treat some of the sliding parts to a little silicone, plastic-friendly, lube.

With the D-Cell battery installed, a deft twist of the timer’s knob, and the game sprang to life.

I’ll be honest with you now. I tried several times to get the ball the whole course to ring the bell, against the clock, but alas, I failed. I did complete the game, but only with the timer set to ‘auto’… which provides as much time as you need, or at least until the battery runs out.

Until the next time…

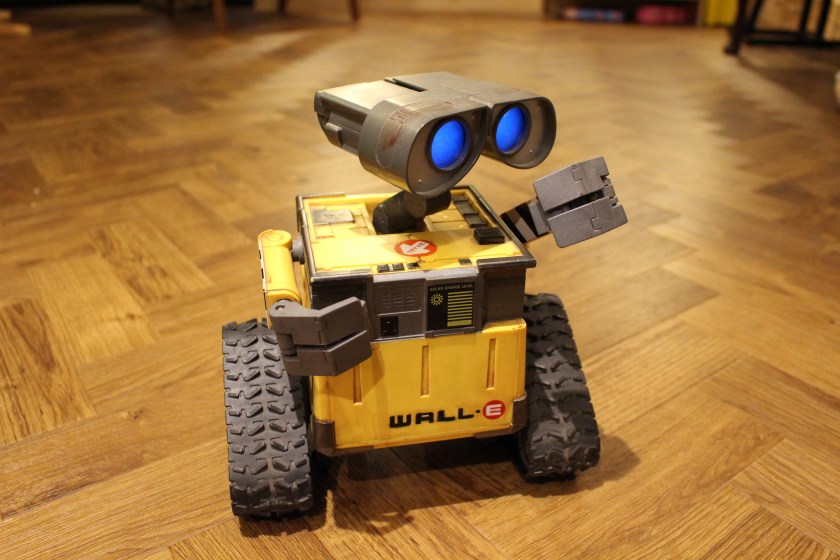
Wall-E gets back on track

A simple cable tie comes to the rescue again.

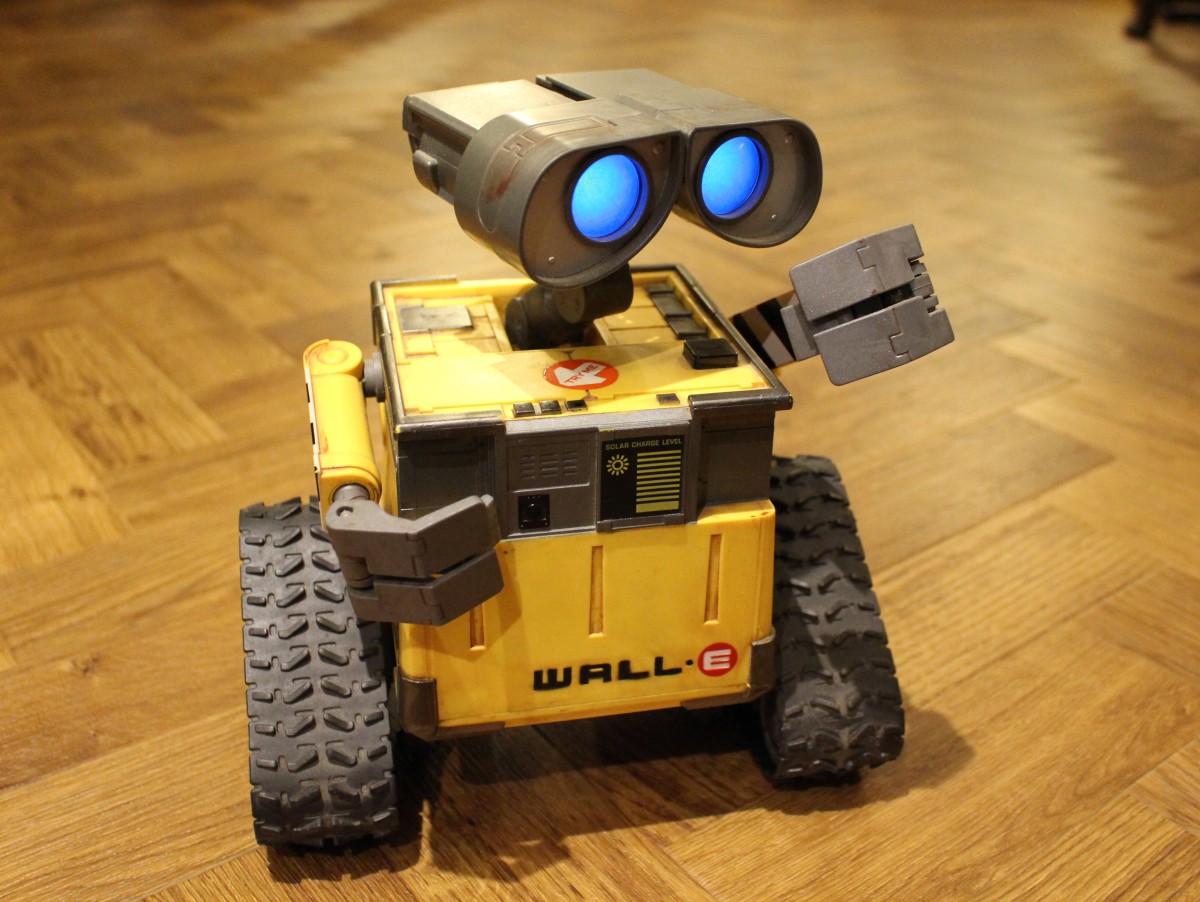
Cast your minds back to 2008, and you might remember Wall-E, a Disney Pixar animated film set in the 29th century, where mass consumerism and environmental disregard have turned Earth into a literal wasteland. I’ll let you Google the rest of the plot yourself, but suffice to say that the film’s protagonist, Wall-E or Waste Allocation Load-Lifter; Earth class, is one of the cutest robots on the big screen. While the film’s environmental messages are extreme, there are clear warnings about the way our species generally looks after its home which were provoking twelve years ago, but are now ever more poignant in 2021.

No one does cinema merchandise quite like Disney, and it’s not without a slight sense of irony that the company produced many Wall-E related products to accompany the film’s release, all around the world. I wonder what proportion of those items are now in landfill? Something to ponder over a cup of tea or two.

Wall-E and I have quite a bit in common as we both have a penchant to collect discarded items. It’s not unheard of for me to collect broken objects from skips and from the side of the road, but that’s a blog entry for another day.

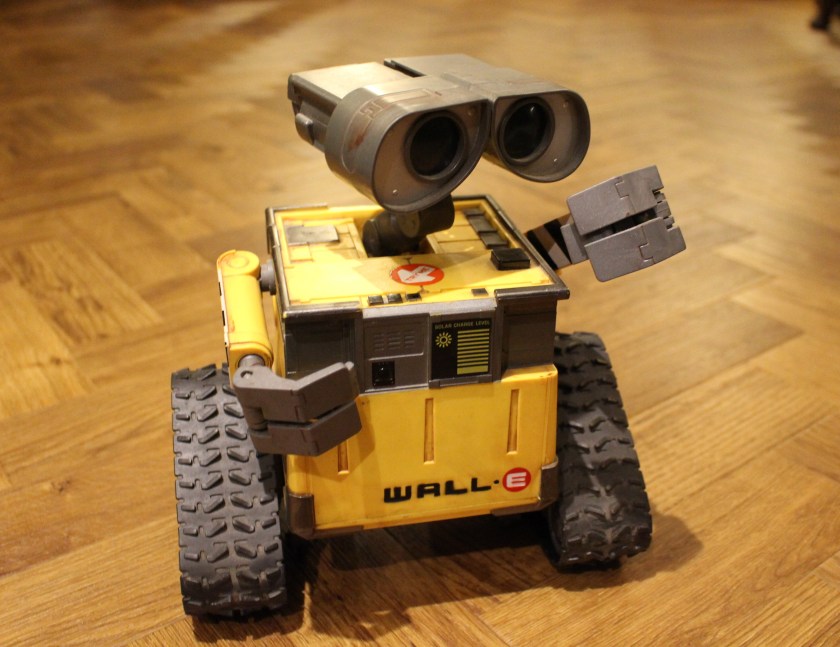
A local Worthing lady got in touch to ask if I would repair her much beloved Wall-E robot. How could I resist? A broken toy robot in need of some TLC, what’s not to like.

Make and model: Mattel Remote Control Wall-E

Fault reported: No drive on one side/ track

Cost of replacement machine: £75.00 (Amazon.co.uk, December 2020)

Manufacturer support: 0/10

Cost of parts (for this repair): 1p

My time spent on the repair: 1 hour

Tools needed: Screw drivers, pliers, cutters

Sundry items: None

Cleaning materials: Silicone spray, damp cloth

Repair difficulty: 5/10 (fiddly)

Beverages: 1 X tea

Biscuits consumed: 1 ginger nut (and maybe a slice of cake)

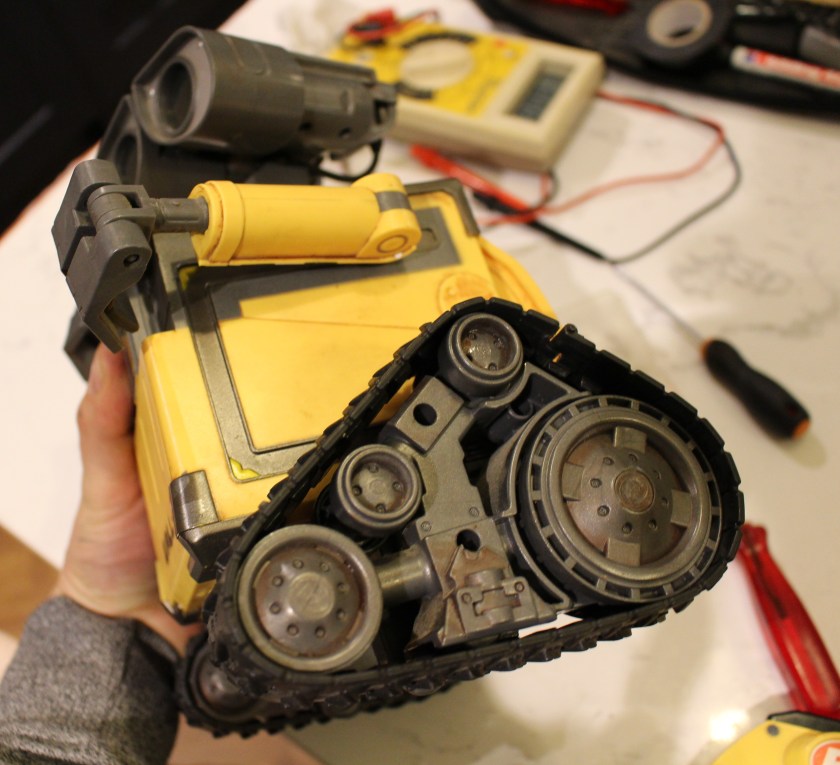
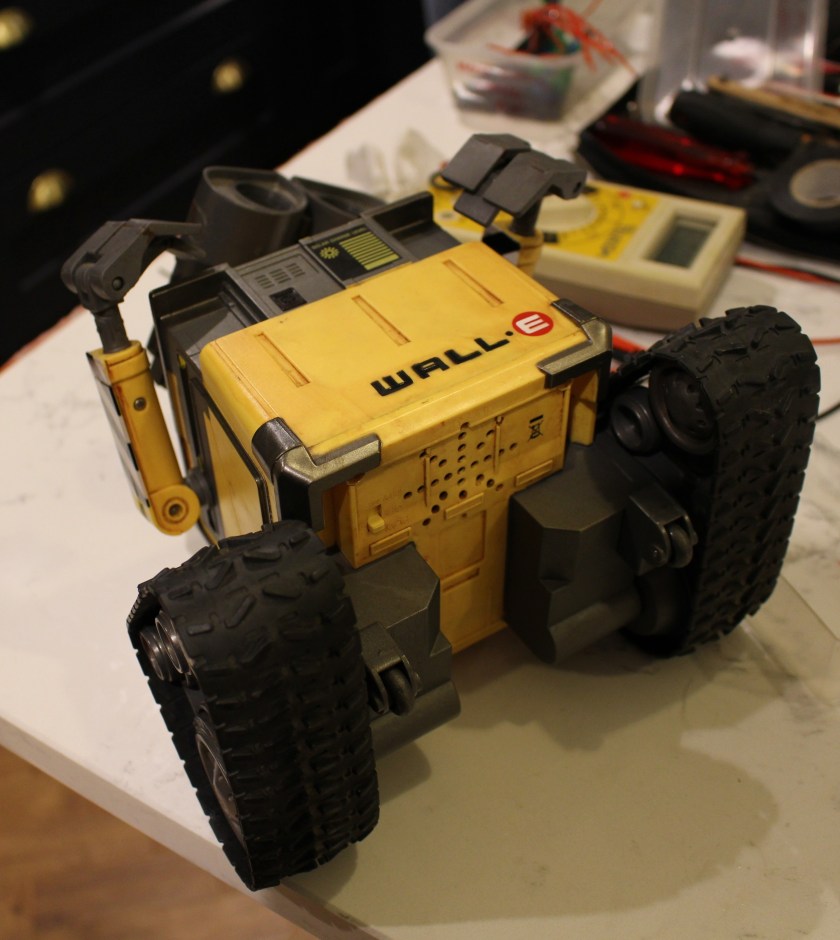
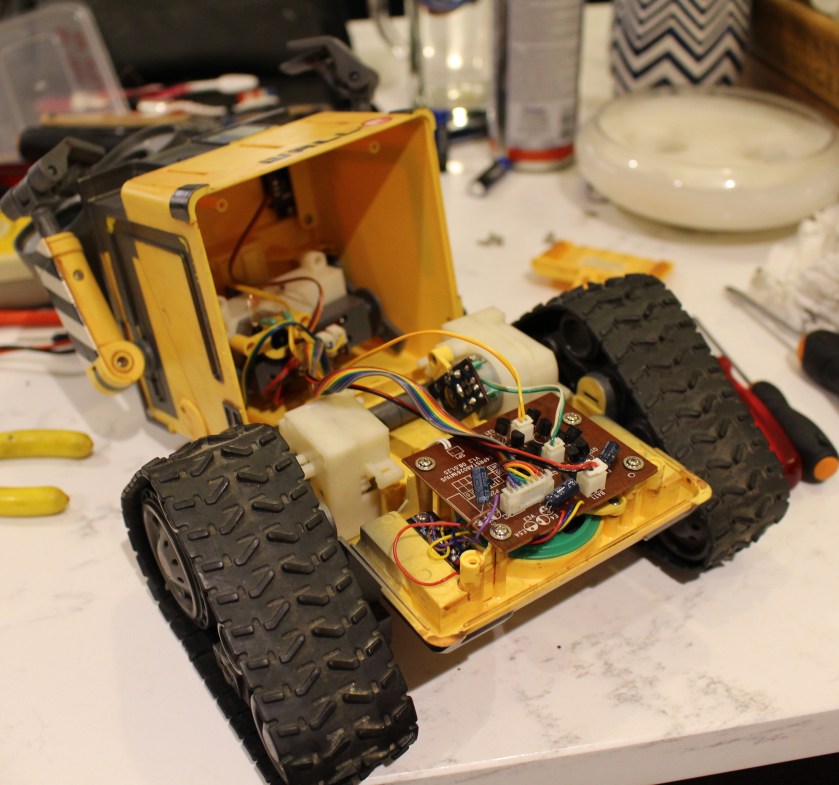
Just to warm you up, here’s a cool little slideshow

Being frank with you, I had my doubts with this one. Toys like this contain lots of small, fragile parts with little in the way of easy service access. My chances of success were 50/50, so I was going to need a bit of luck.

Wall-E’s tracks allow for movement forward (straight along) and also degrees of clockwork rotation. Wall-E isn’t supposed to turn left and right, strangely enough.

The problem with this Wall-E was that ‘he’ (I think) would only move around in circles and would not move forwards. Dizzy stuff. This was because one of the tracks wouldn’t move when operated by the remote control. Time to dig out the screwdrivers.

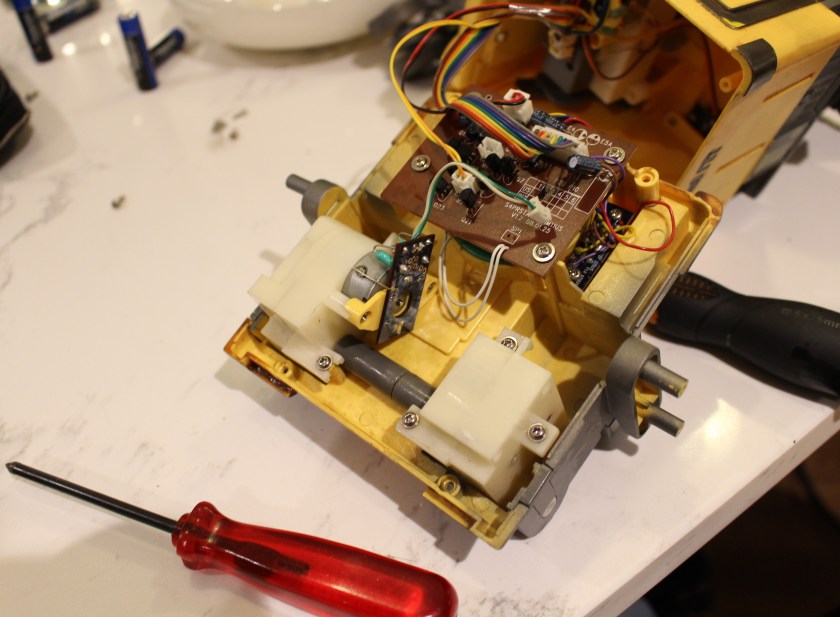
Mattel’s Wall-E comes apart in a fairly modular fashion. Things like the battery cover, main base cover, motor, gearbox and electronics are all neatly housed within the toy’s chassis, and it’s all held together with simple self-tapping screws. This meant that I at least stood a decent chance of getting the robot apart, without causing more damage. Often with toys like this, parts are clipped or glued together, making disassembly a fairly destructive affair. Dismantling this toy was fairly routine, luckily. Despite this luck, I knew that no spares would be available from the manufacturer, so extra care and tea were still needed.

The reason the track wouldn’t rotate was because whatever it was inside that was meant to drive it, was no longer doing its job. The motor was whirring when the ‘forward’ button was operated, so one could assume that the issue was likely to be mechanical. Things were looking up.

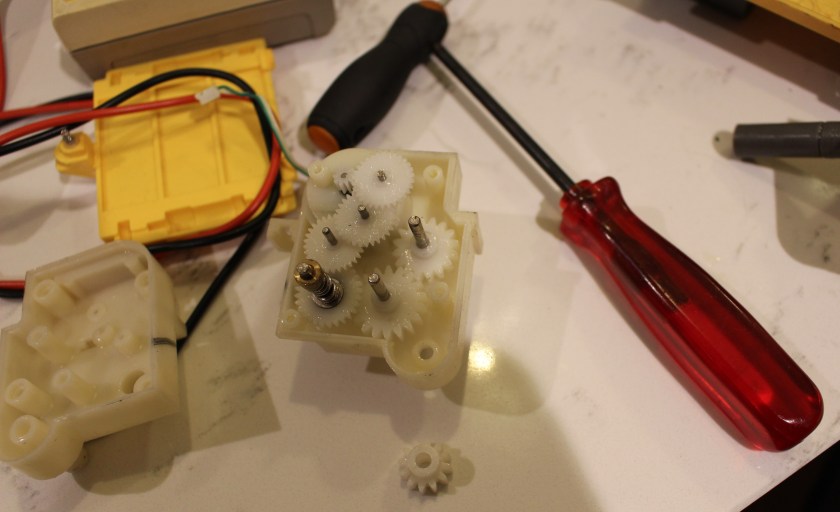
Two gearboxes operated by a single motor, propel the toy along or around in a circle. Depending on the direction of the motor’s spin, one or both gearboxes engage to drive the robot’s tracks. Upon inspection, this ‘motor-gearbox action’ was working well, but the output from one side was not turning, the side with the faulty track. Bingo!

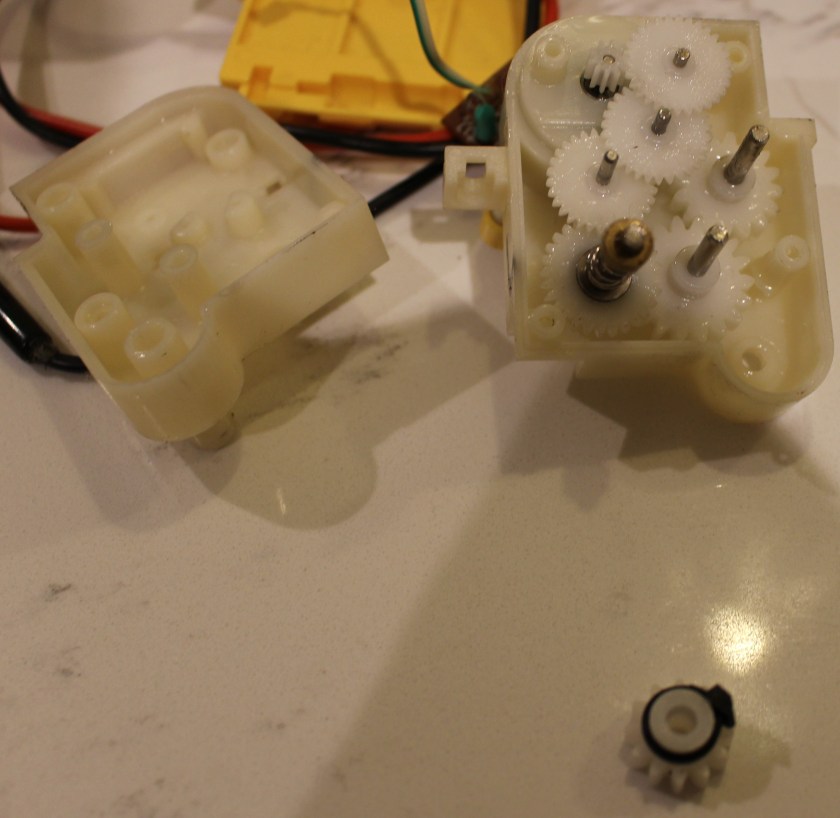
The affected gearbox was simply held together with small self-tapping screws, which meant easy dismantling. At this stage I was wondering what I’d find inside. A shredded gear, pieces of plastic all over the place? Any of those things would have spelled disaster, so I was pleasantly surprised when all I saw was a small crack in the main output cog, which drives the track. Getting a small cog to match the damaged one might have been possible, but would have taken time and a lot of patience. I mean I’m fairly patient, but even I have my limits. As the cog hadn’t totally split in half, I simply put a small cable tie tightly around the cog’s shank. I’m sure you would have done the same.

After a little cog-fettling and a little trim of the cable tie with a sharp knife, I returned the repaired cog to the gearbox, with my fingers crossed.

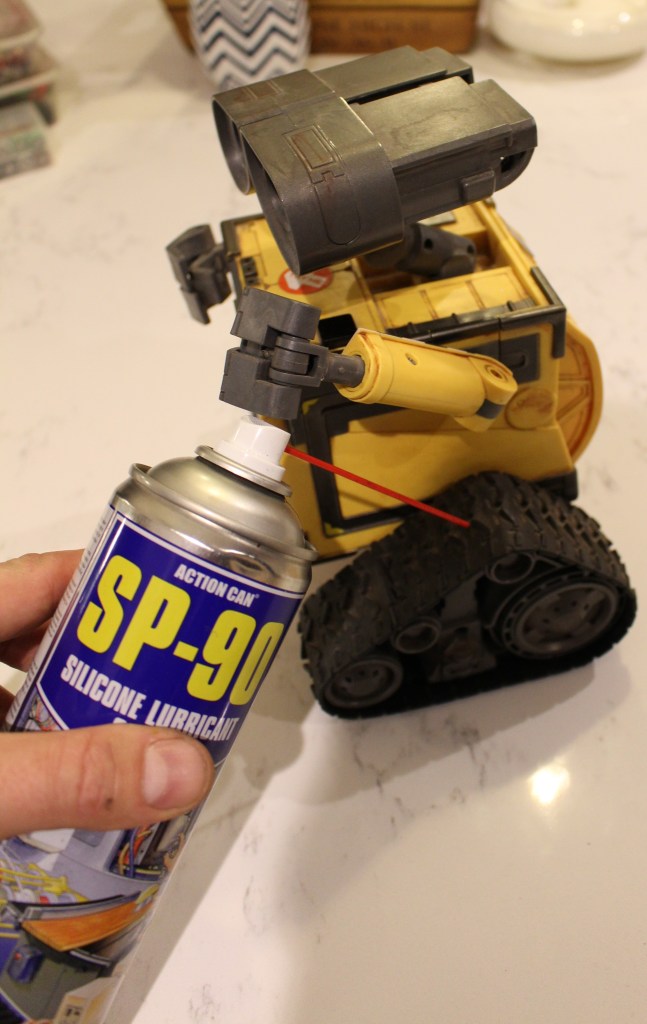
Reassembling the gearboxes, motor and other gubbins to Wall-E’s interior was pretty much the reverse of what I’d done so far, taking care to lubricate things like track belts and sliding parts with a little silicone to ensure smooth service.

There was some evidence of previous battery leakage damage to a couple of the battery contacts, so a little battery compartment spring-cleaning with contact cleaner and an old toothbrush was required before new power was installed. Never throw away your old brush, they’re just so handy for cleaning in those hard-to-reach nooks and crannies.

I had all fingers and toes crossed before firing up Wall-E with fresh batteries for the first time. There were a lot of small fragile parts in Wall-E, and it wouldn’t have been inconceivable for me to have broken a wire by mistake. Fortunately, Wall-E sprang to life, and for the first time on my watch, went along in a straight line. How long would my cable tie fix last? Well, all I can say is that I gave the toy a thorough testing around the kitchen floor maybe once or twice before handing it back to the owner.

Time for a celebratory cuppa and ginger nut.

FixItWorkshop, Worthing, January’21, Wall-E running well!

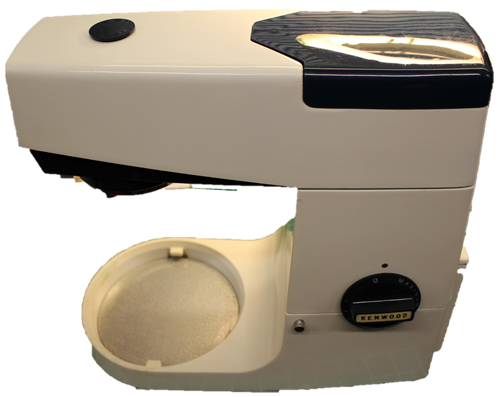
Raucous Kenwood Chef A701a

A noisy Kenwood Chef A701a gets a gearbox rebuild.

This Chef had been sleeping quietly in a kitchen cupboard for some time before being woken up to make cake mixtures once again.  The owner had owned the mixer for many years from new and was sentimentally attached to it.  I fully sympathise, they’re great machines.  It had been used many times in the past and then packed away as new machines came and went.  Having decided that there was still a place for the A701a, it was fired up.

The owner didn’t remember it being quite as noisy and wondered if something was wrong with it.  She got in touch and brought it in to the workshop.   After listening to the mixer at varying speeds, we agreed that perhaps it was a bit noisy and that further investigation was required.

 At this stage I must confess at this repair has been on the bench for a long while..!

I think the A701 is my favourite Kenwood Chef product as it’s very elegant, beautifully proportioned and almost over-engineered.  It comes from a time where built-in obsolescence was a swear word.

White removed
FixItWorkshop, Oct’17, Kenwood Chef, A701a.

On with the problem.  After disconnecting the gearbox by removing the drive belt, I checked the motor for general wear and tear, the brushes and speed control mechanism and I concluded that it all seemed OK and working smoothly.  The gearbox however did seem a bit noisy when turned manually, nothing hideously graunchy, but a little rough.  To be honest, it would have probably survived, but I wanted to open up the gearbox to make sure that it was as it should be.

Whilst removing the Chef’s casing around the gearbox, I’d noticed traces of grease around the joints and various power take-offs.  All models seem to do this to an extent, but this one seemed to be quite bad.  Closer inspection revealed that some of the grease had escaped out of the seal between the two halves of the gearbox casing.  Opening up the casing revealed that the grease that was left had been pushed to the corners of the space within the gearbox and that the gears were a bit dry, this was probably the root cause of the noise.  The planet wheel that drives the beater was also bone dry.

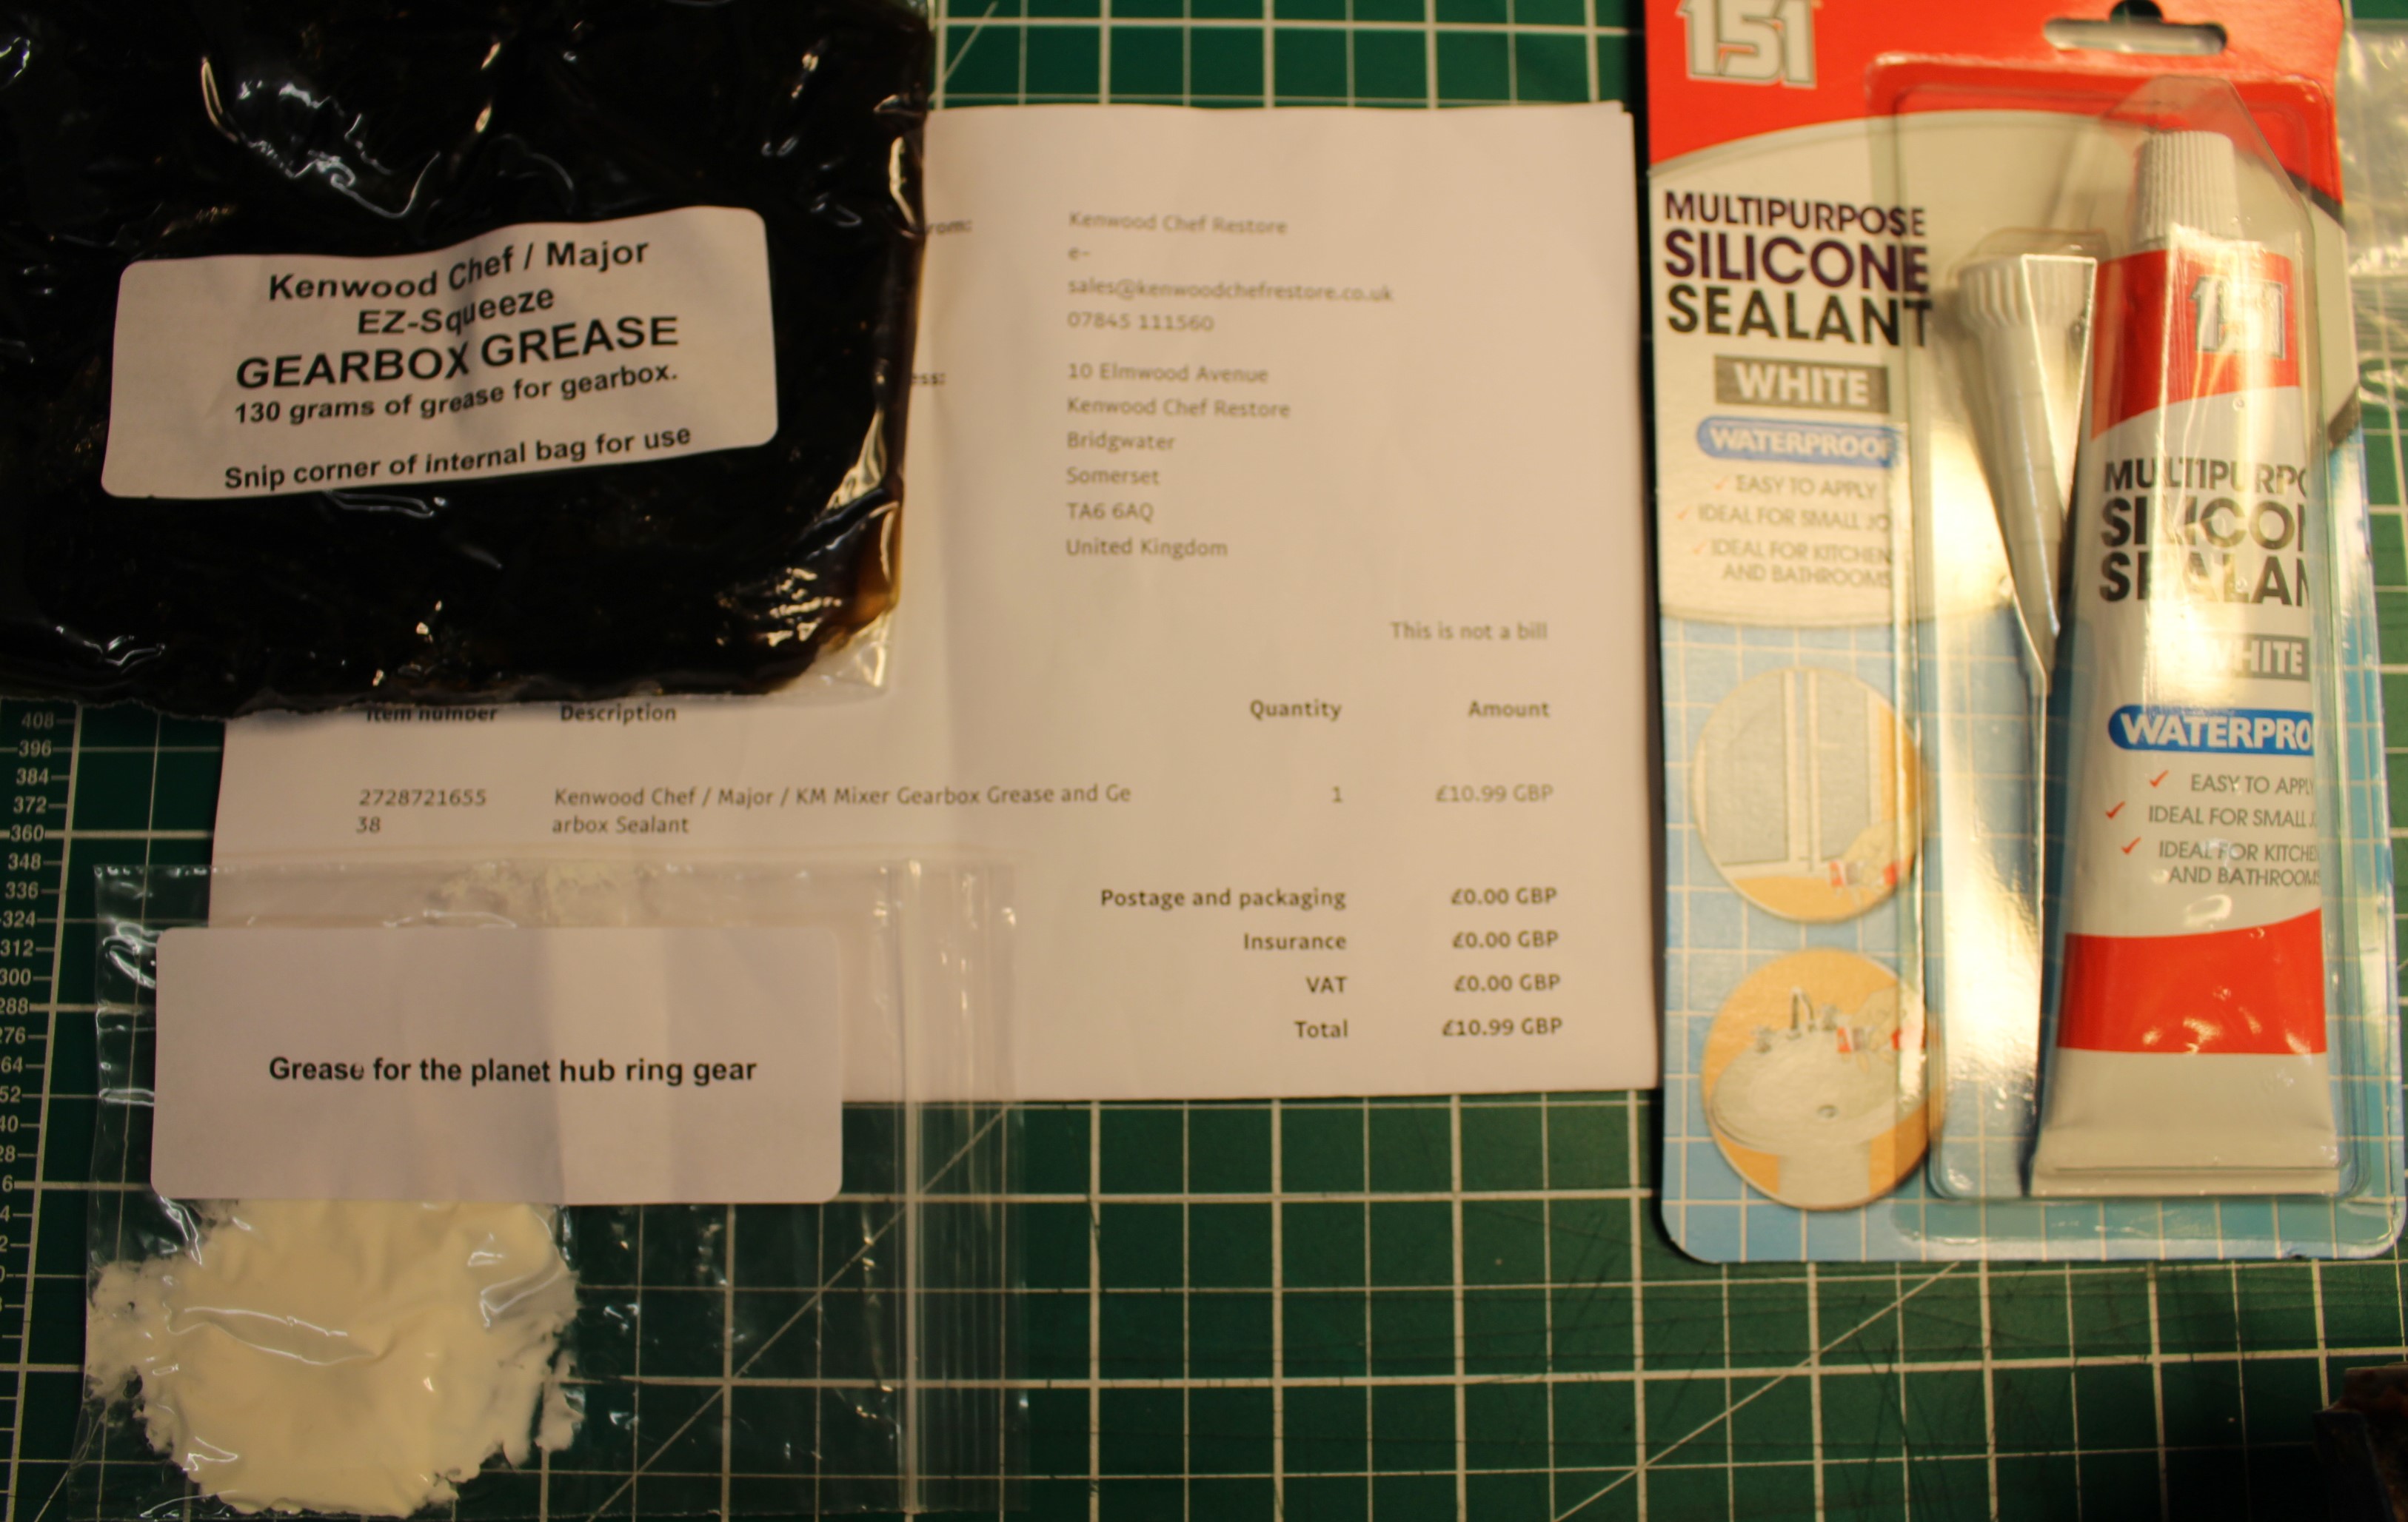
Luckily, there are plenty of suppliers who can supply rebuild kits for Kenwood Chef gearboxes, including new gears and grease.  The gears in this seemed serviceable, but it seemed very sensible to replace the lubricant with the correct 130g of Kenwood gearbox grease, which is food safe.  I used ‘Kenwood Chef Restore’, an eBay seller and the kit was a reasonable £10.99, including P&P.  The kit included the main gearbox grease, white grease for the planet gear and sealant for the gearbox casing.

IMG_4570
FixItWorkshop, Oct’17, Kenwood Chef A701a, repair kit from Kenwood Chef Restore, eBay.

Before replacing anything, the first job was to clean out all traces of the original grease which had gone very sticky and was contaminated with general wear.   The first pass clean involved using paper toweling, followed by water and detergent, before a final clean with brake cleaner, which removed the last few traces of grease and dirt.

With the gearbox refilled and resealed making sure the spacers were re-fitted to the correct parts, the drive belt re-fitted with just enough slack, the gears sounded much sweeter with the final parts of the casing reassembled.  One last point to note is that I used silicone sealant on the blender attachment power take-off plate in replacement to the one fitted, since the original seal was well past it (see below).

As a finishing touch, I replaced the existing machine feet which had turned to mush with replacements from Sussex Spares (eBay shop) for a very reasonable £2.70, delivered.

The Chef was now ready to prepare cake mixtures again.

Cost of new machine: £300 and up.  Cost of replacement parts: £13.69 (plus my time).