Inside the Real Repair Shop 8

From brand snobbery to The Queen – Matt’s talking about what lies beneath in some products and asks if they’re worth it.

Do you know a brand snob?  I bet you do. Maybe you are one yourself. Who knows, but let me tell you this; manufacturers and retailers have got you and me wrapped around their little fingers.  Of course, this is nothing new, and badge engineering has been going on, well, forever.  We tend to think of brand engineering as a relatively new phenomenon, linked to our fast-paced consumer led lives, but it’s just not the case. Indeed, preserved street food shop branding was found on previously submerged buildings in Pompeii, during a dig in 2020, having been previously covered by a volcanic eruption in 79AD. I mean, what have the Romans ever done for us‽

FixItWorkshop, Worthing – well, Pompeii – somewhere

Nowadays, a brand’s application, values, promotion and maybe even worship is a very sophisticated affair…see Apple’s iPhone! Allow me to explain. I might even make the odd reference to sustainability, repair and the forthcoming Jubilee, an odd combo I think you’ll agree.

Am I worth it?

A slight twist on a well recognised slogan there, but with a serious point. The well know French manufacturer of hair and skin care products that rhymes with ‘low-heal’ (sort of) sells high quality, well-engineered products at a premium price on the promise that said product will deliver benefits way above anyone else’s say, shampoo. And you can afford it, because ‘you’re worth it’, quite possibly the best marketing slogan of all time, in my humble opinion! However, they’ve been taken to task around the world by various agencies for making over ambitious claims about their products, which are potentially misleading. 

It’s something we need to think about when seeing adverts featuring famous film stars, endorsing the latest eyelash enhancing widget that they claim we all need in our lives. They don’t do it for the love and it must be said that one can have the same beautiful shining locks using a bottle of shampoo from Lidl.

Hang on Matt, what’s any of this got to do with repair or sustainability, anyway.  Good point. I must get back on track. But first…

Hands up; how many of you have bought a product on brand reputation alone?

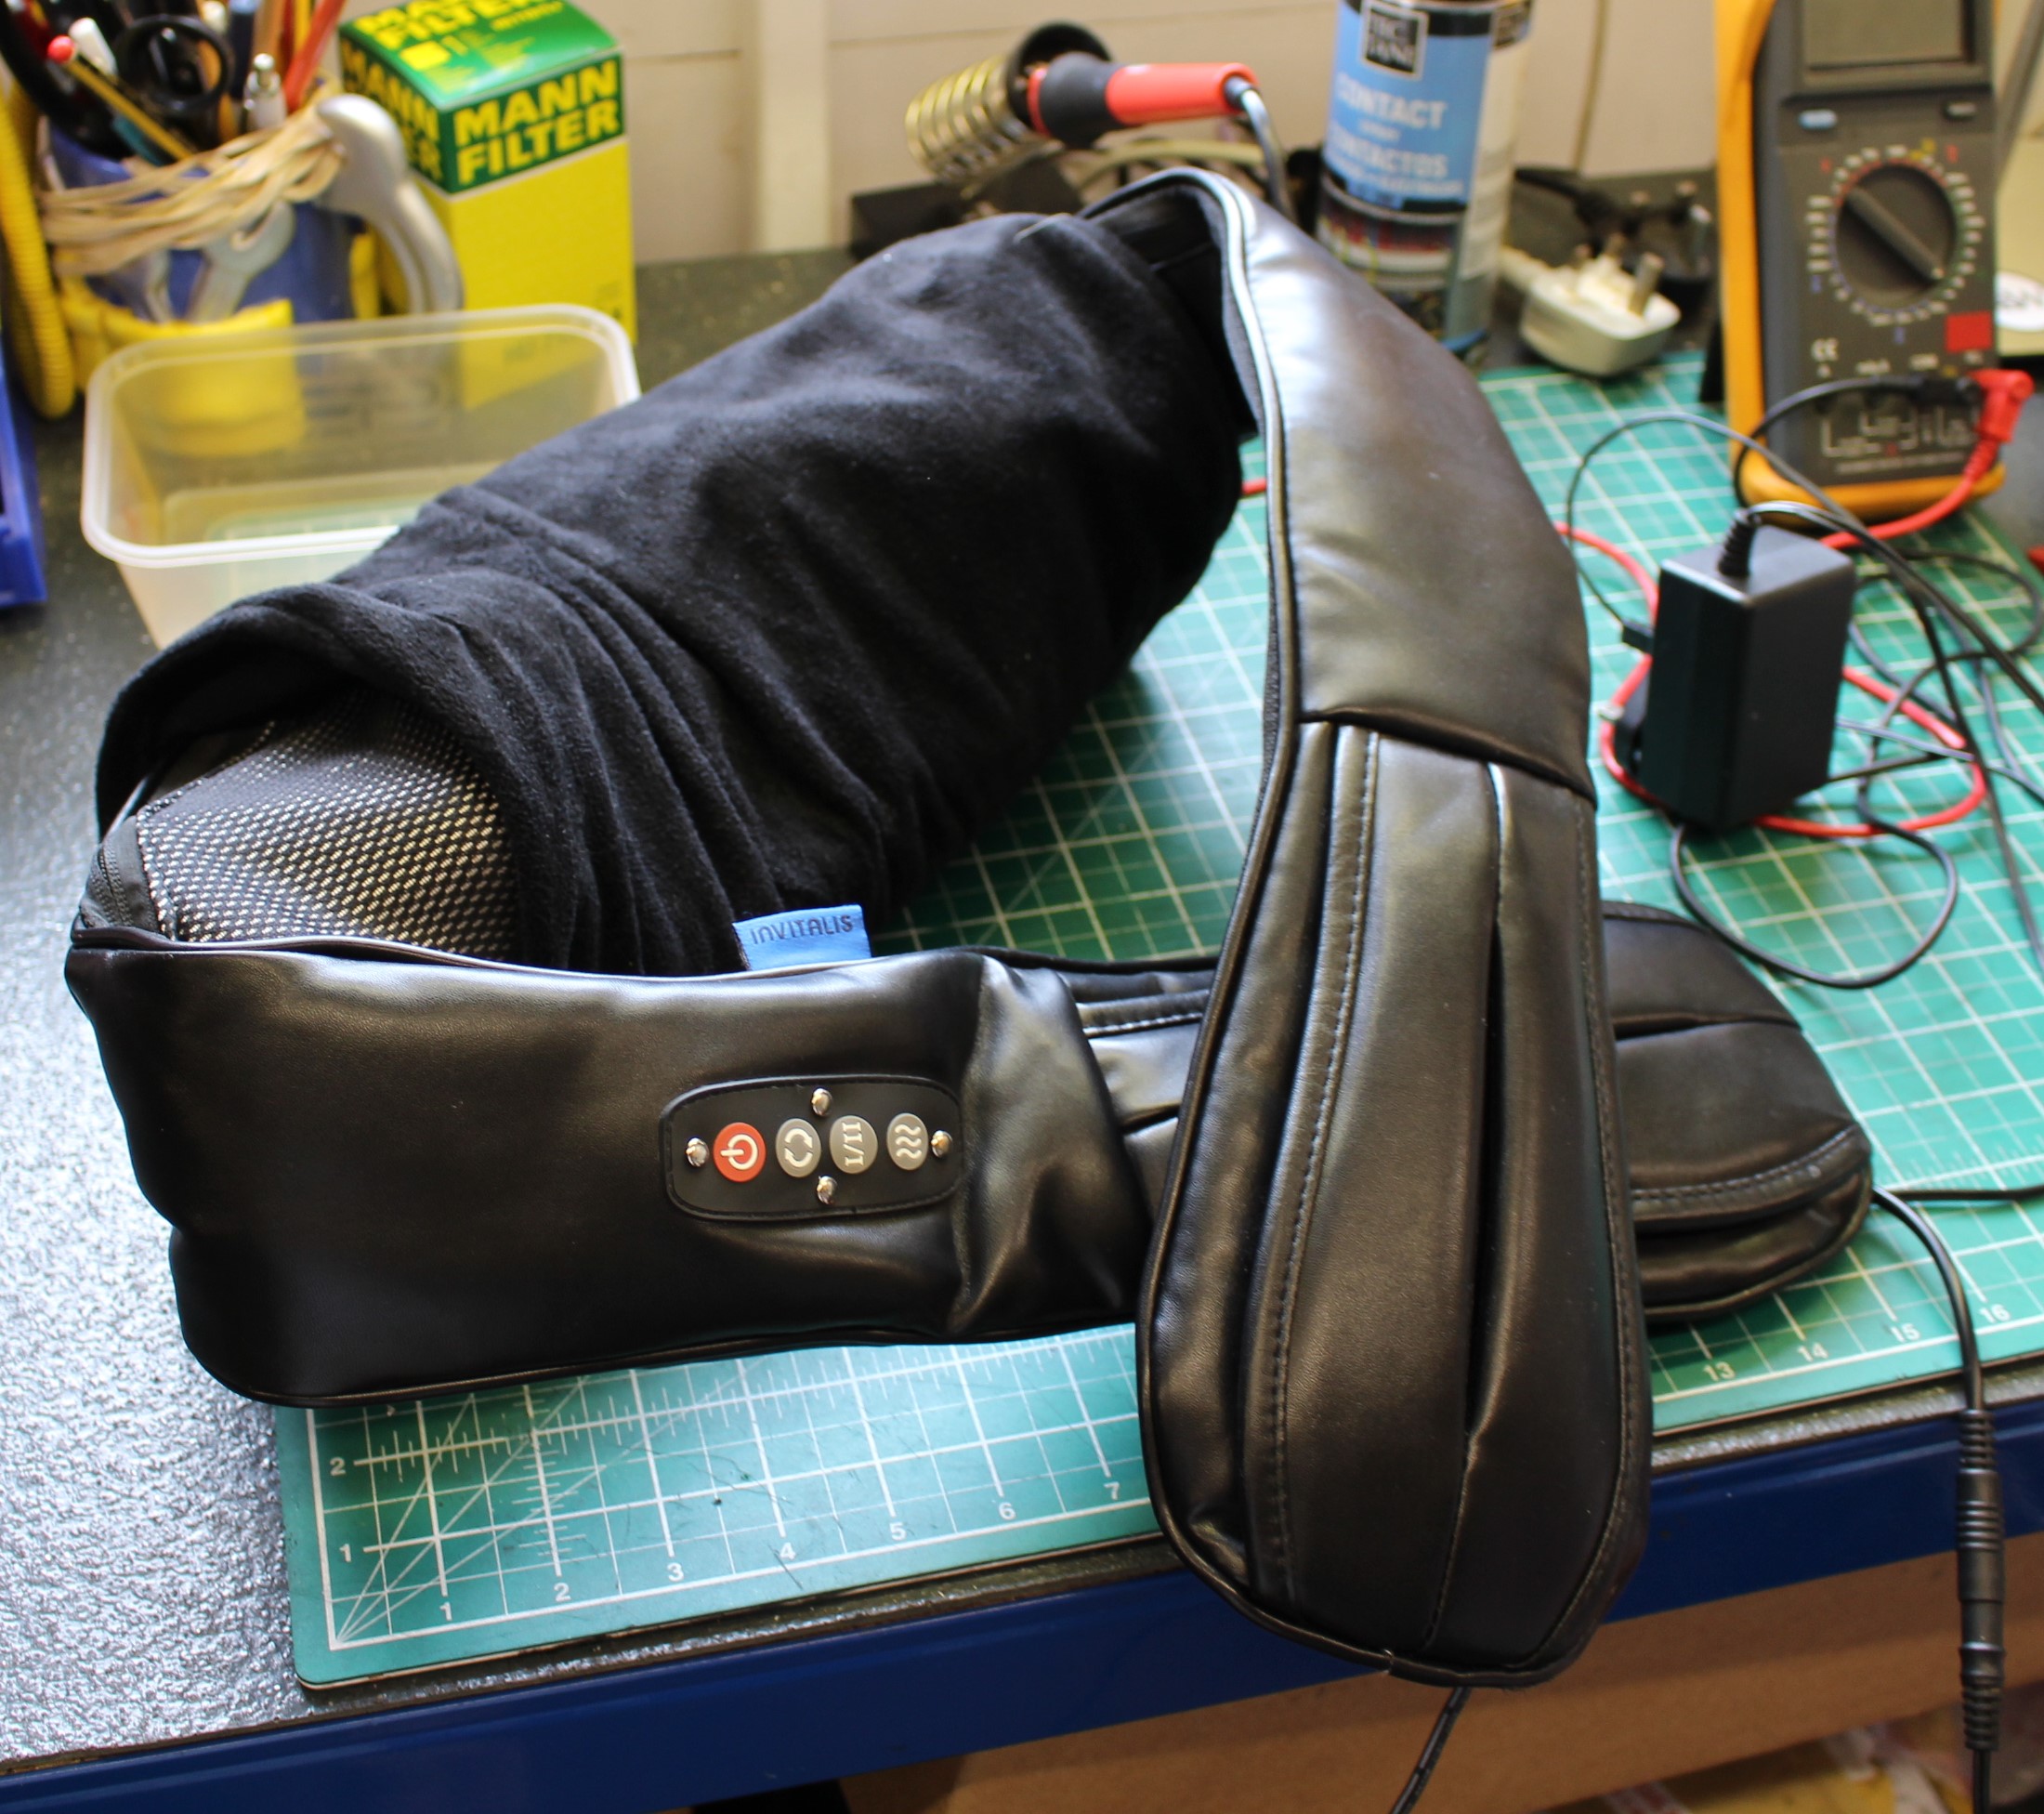
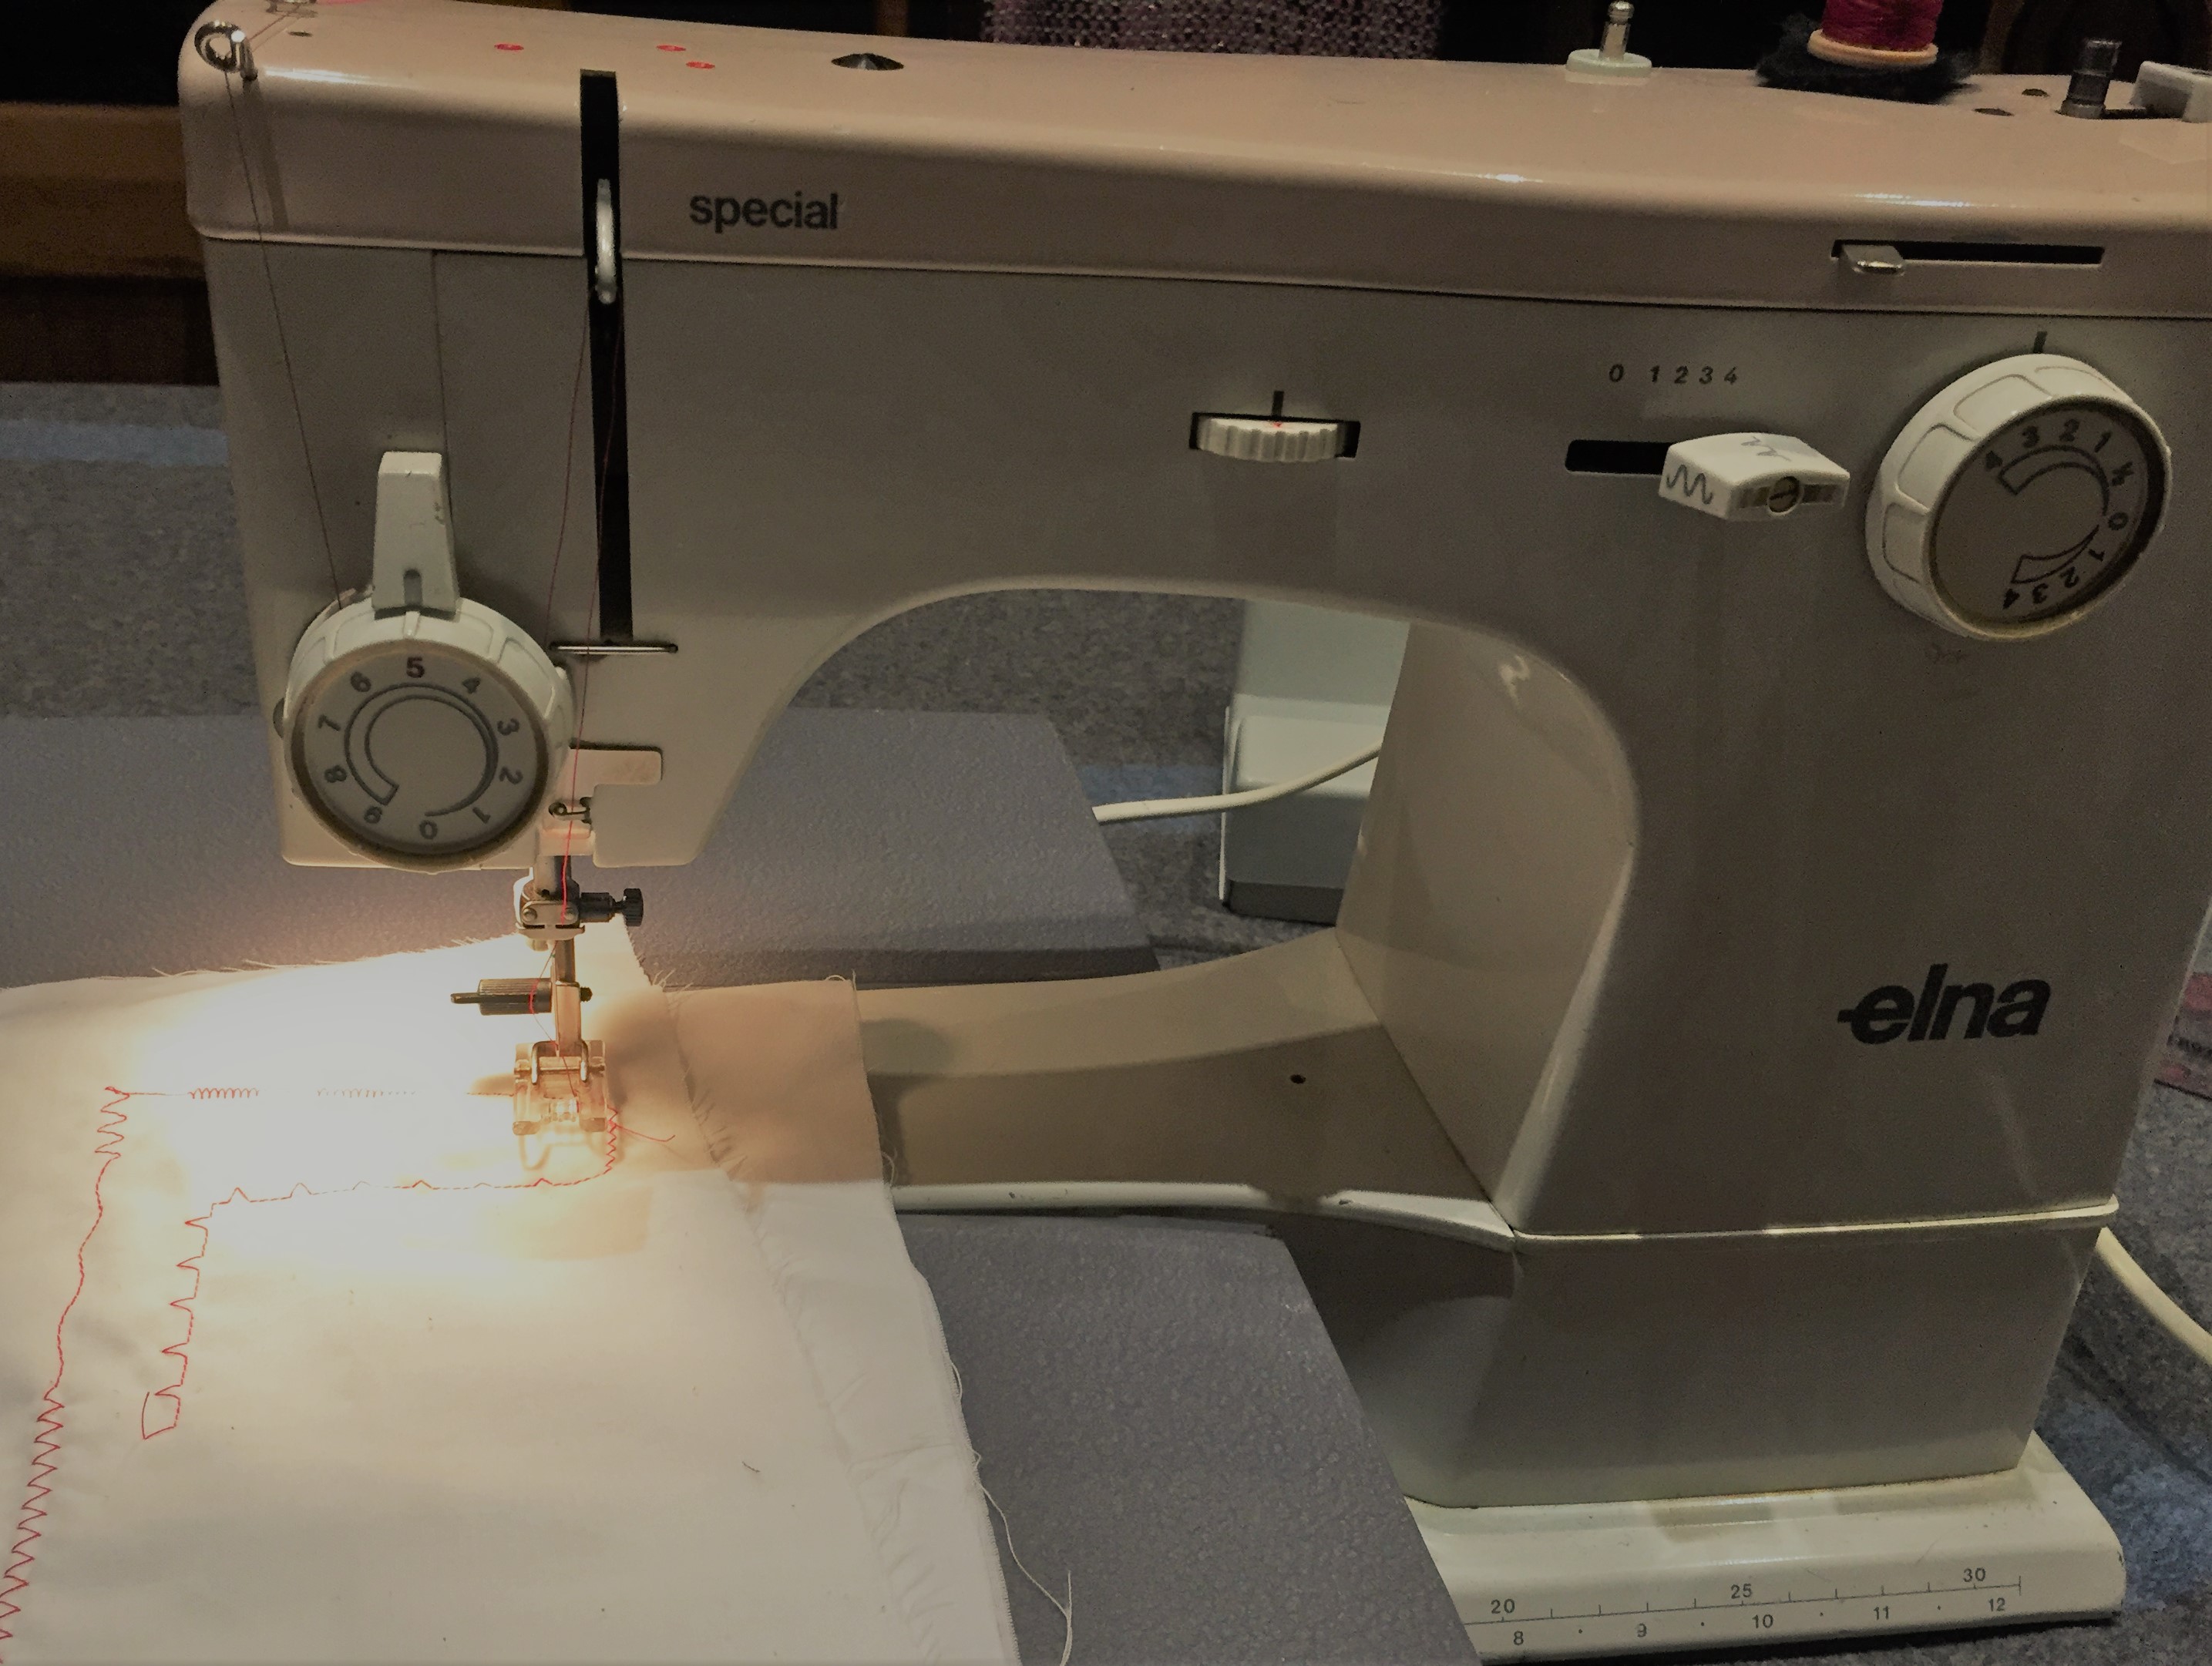
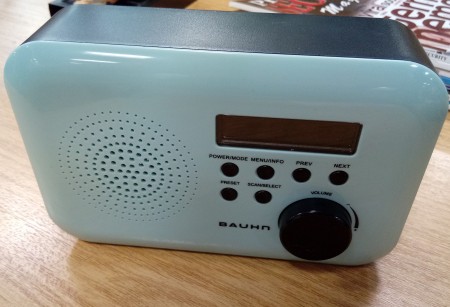
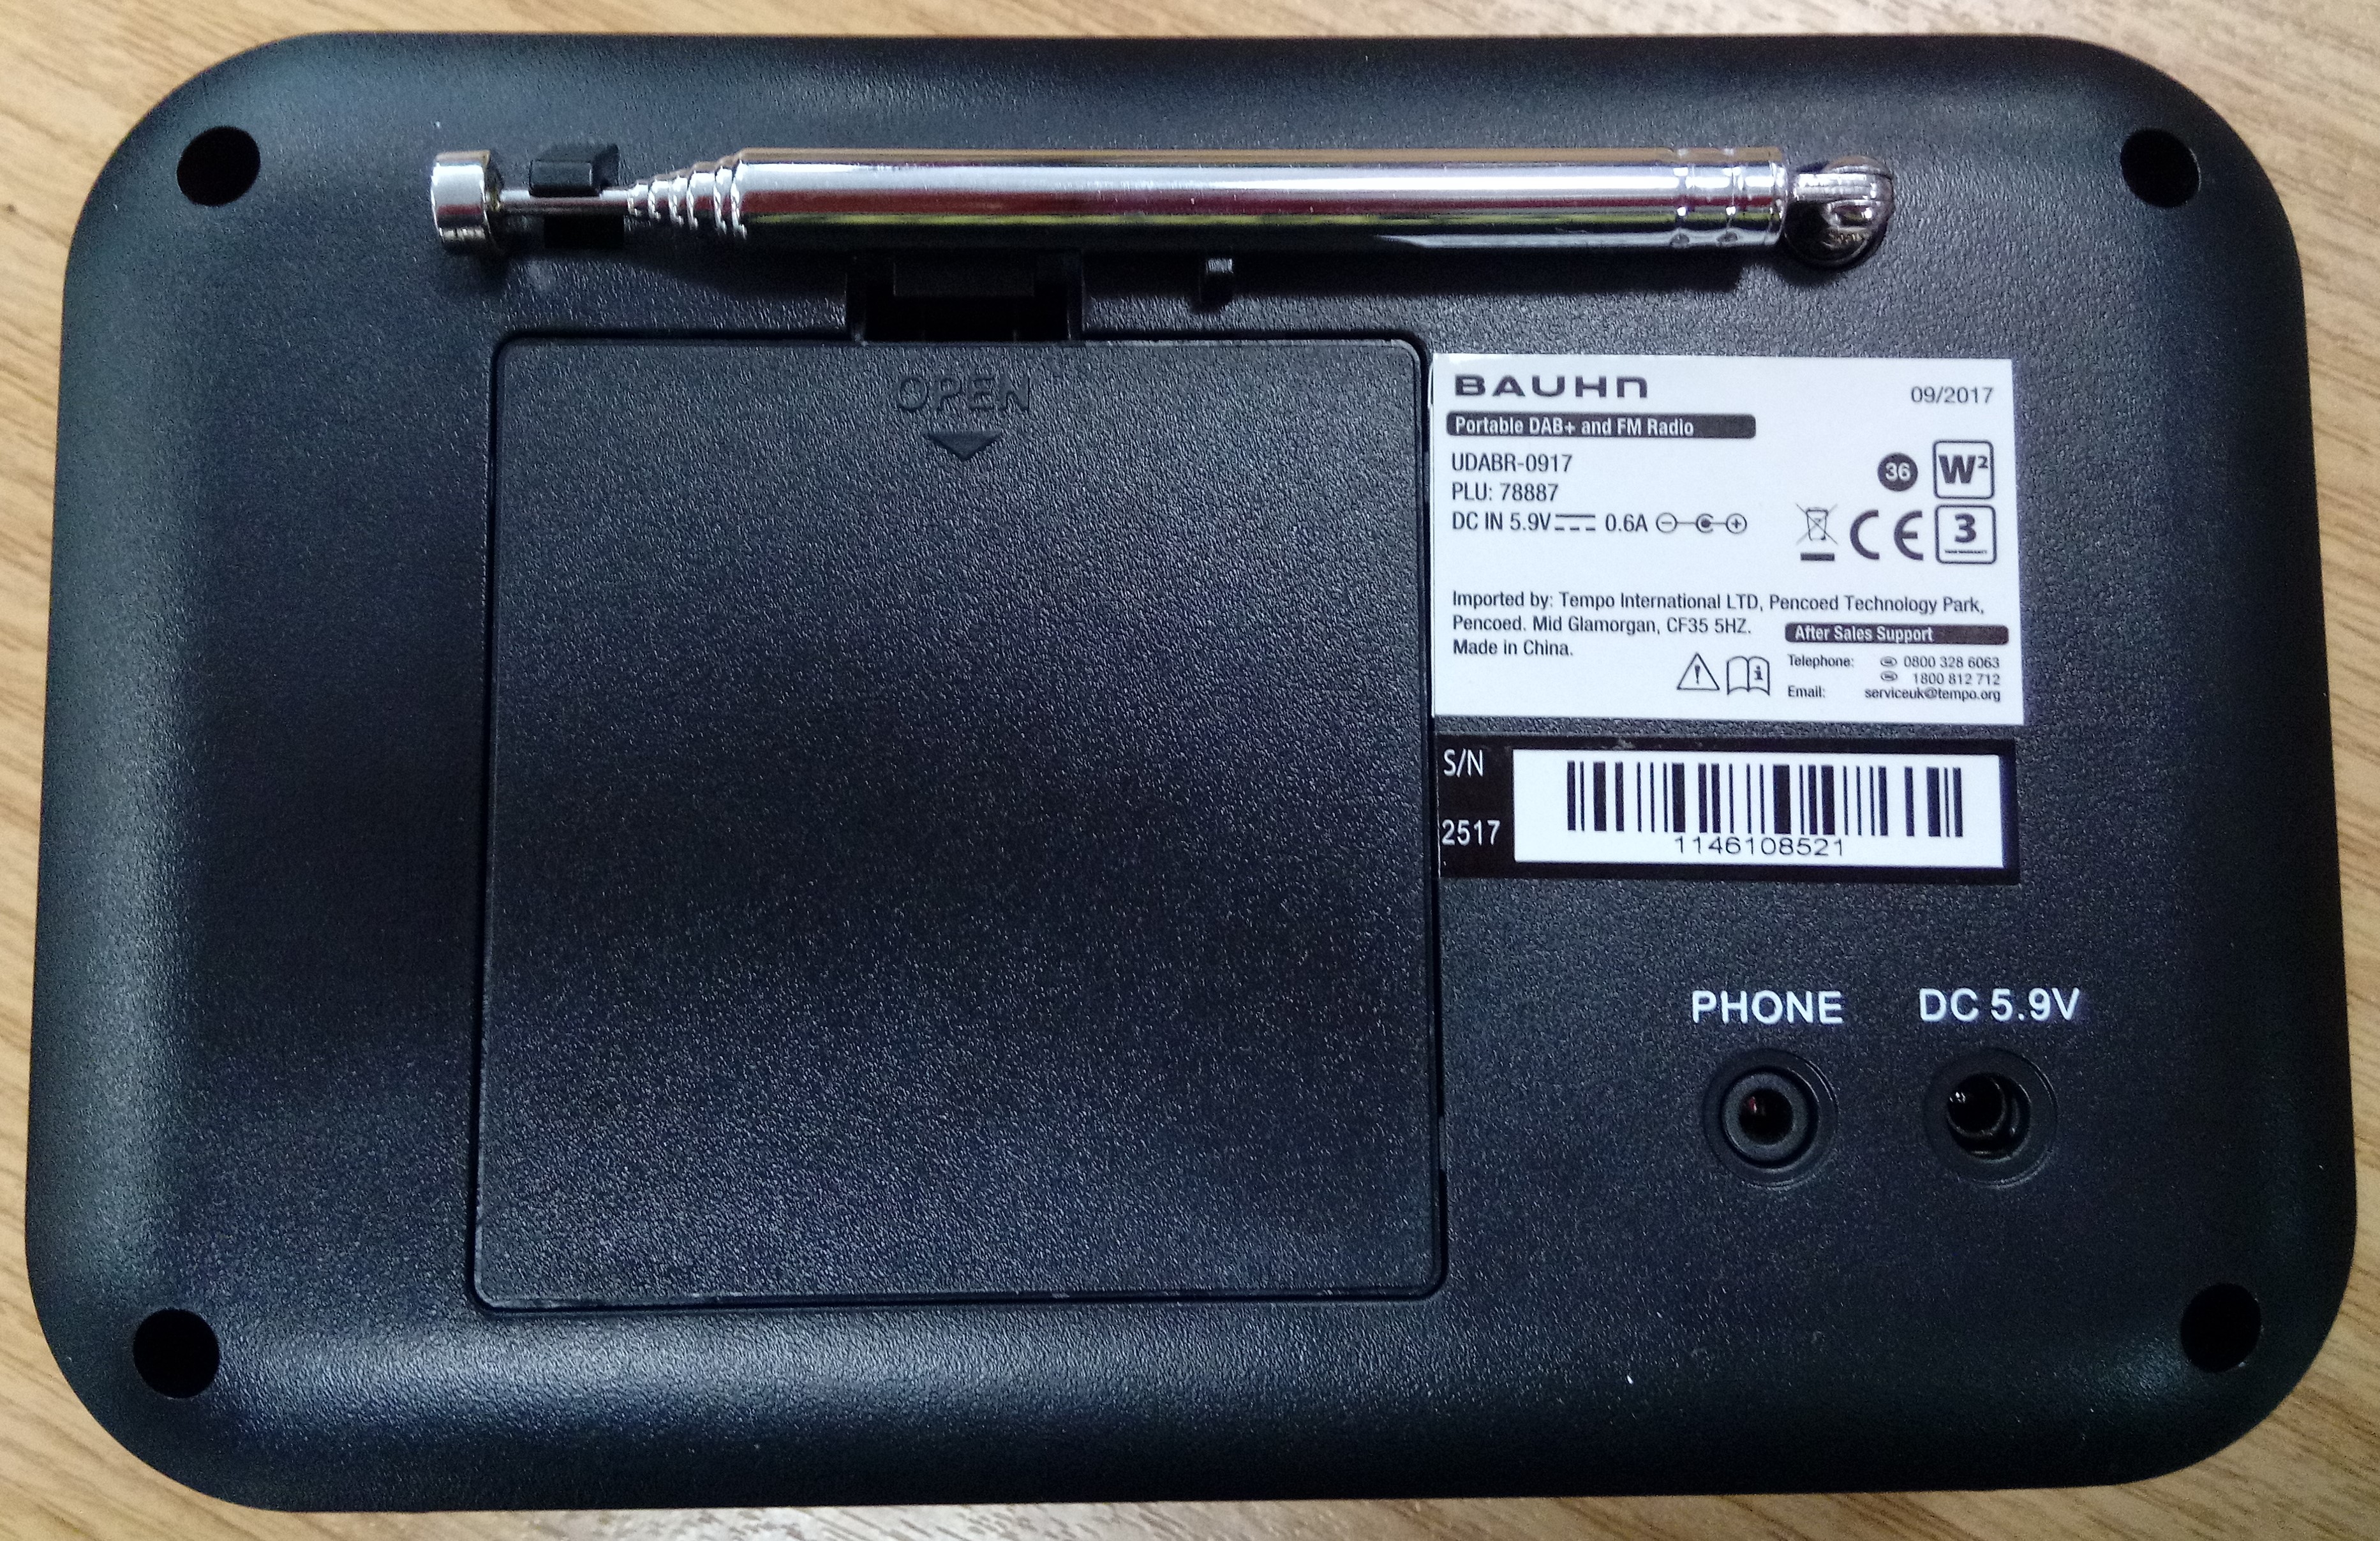
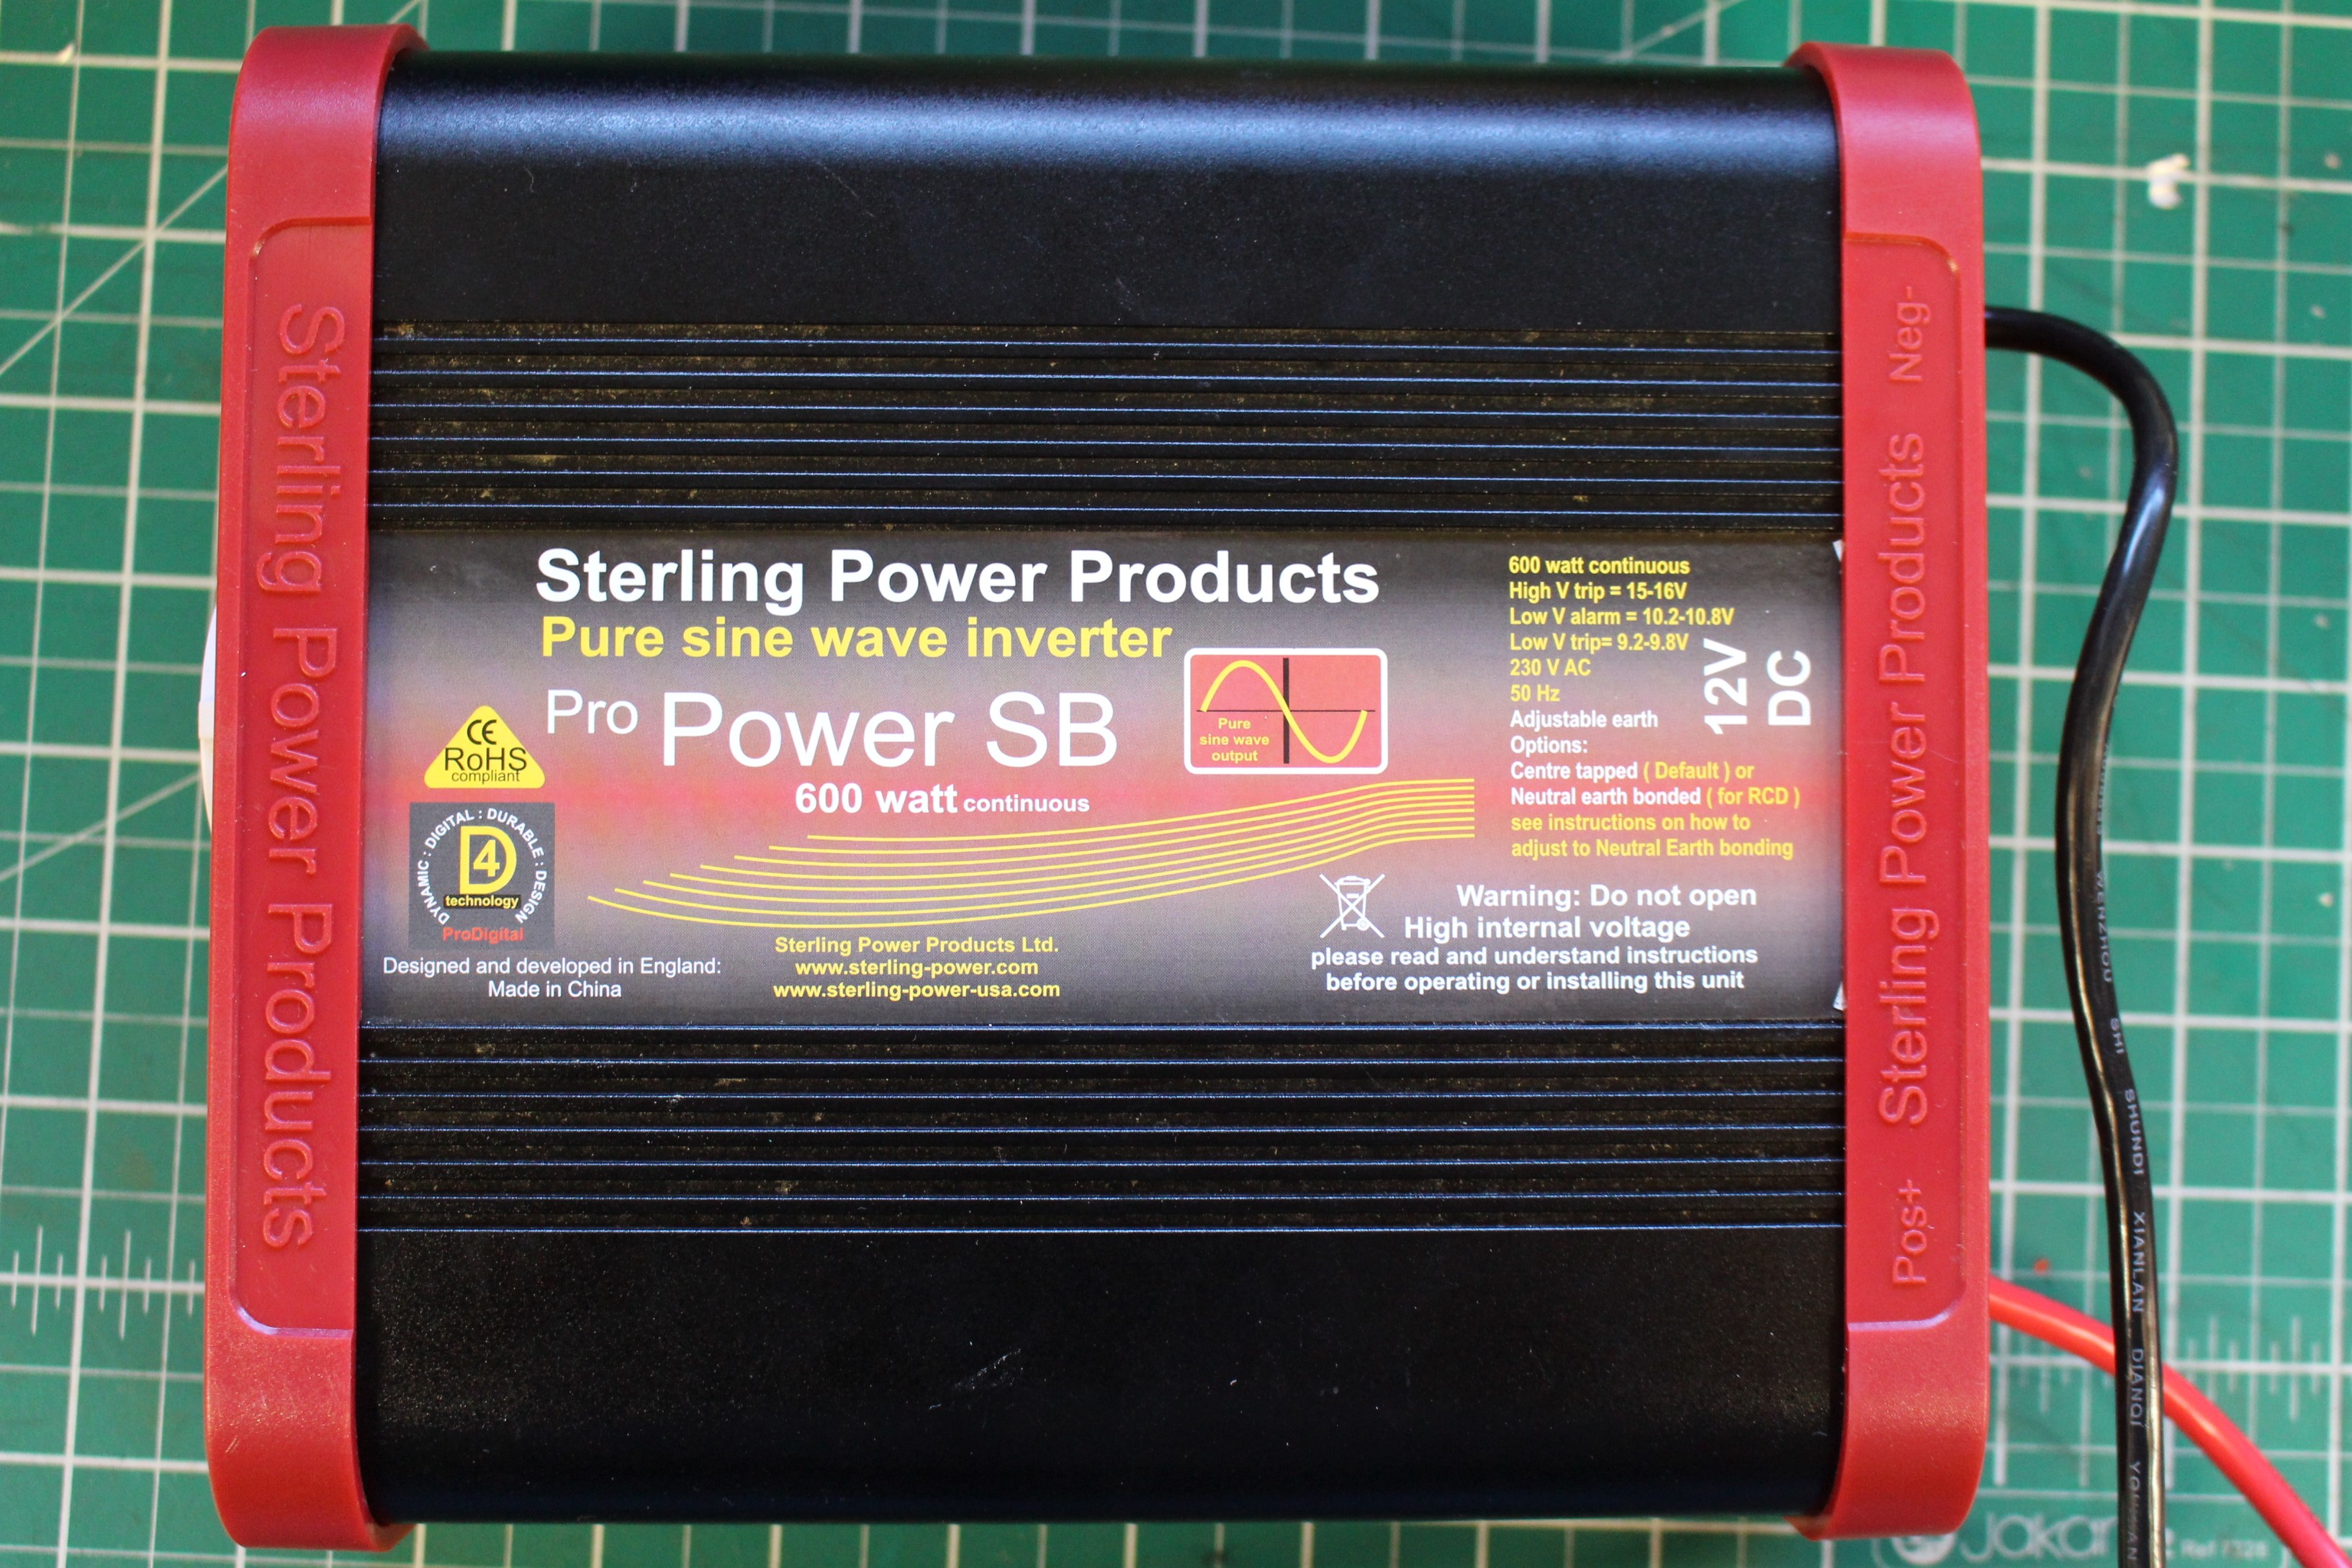
I have, and I’m sure you have too, but have those purchases always lived up to the promises made on the packaging and propaganda that influenced our choices?  Sometimes. Here’s the thing though, many items such as toasters, kettles, TVs, lawnmowers, clocks, laptops, cookers, washing machines and irons (I could go on) are either similar or identical inside.  The makers’ mark, colour and name of the product may change on the outside, but the insides can be the same.

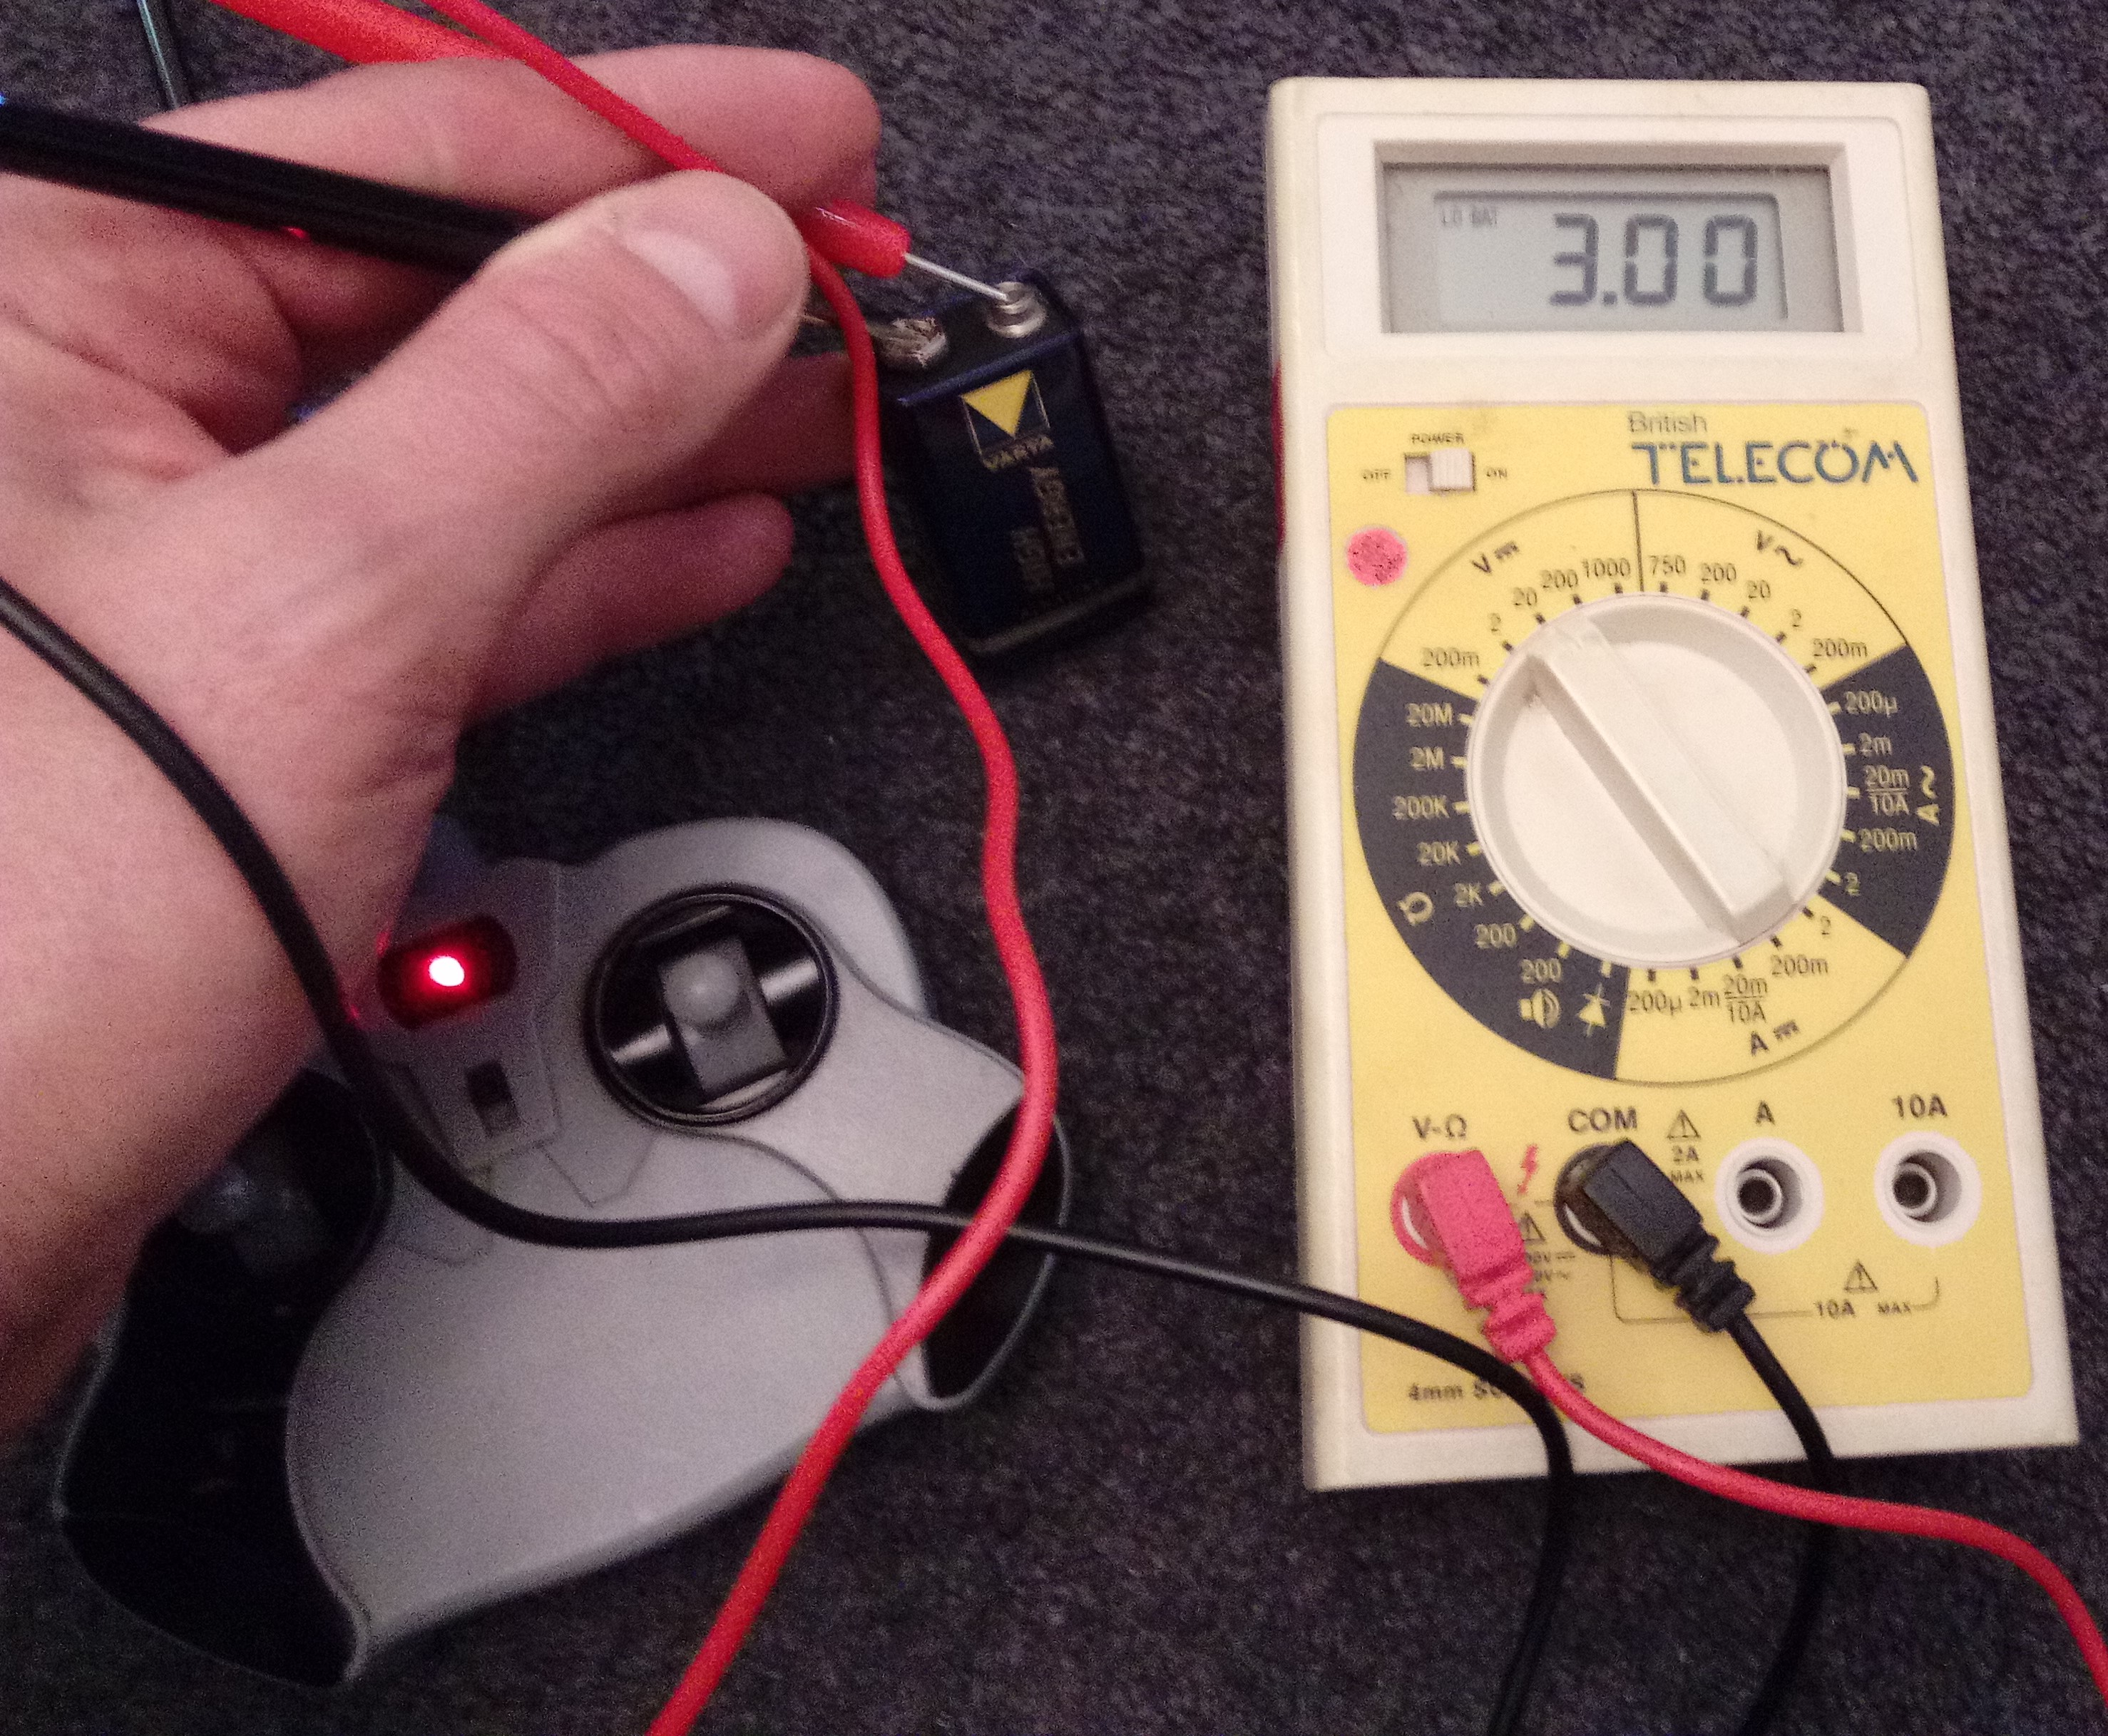
How do I know this?  Well, I must have opened up 1000s of products like this during repairs over the years, and have got to understand who really makes what.  It’s really nothing new and manufacturers have been doing it, since er, Roman times. Always in the interests of good value, I want to make sure I and others are not paying too much, if one must buy something new.

FixItWorkshop, Wothing, May 2022, A Smeg toaster in bits.

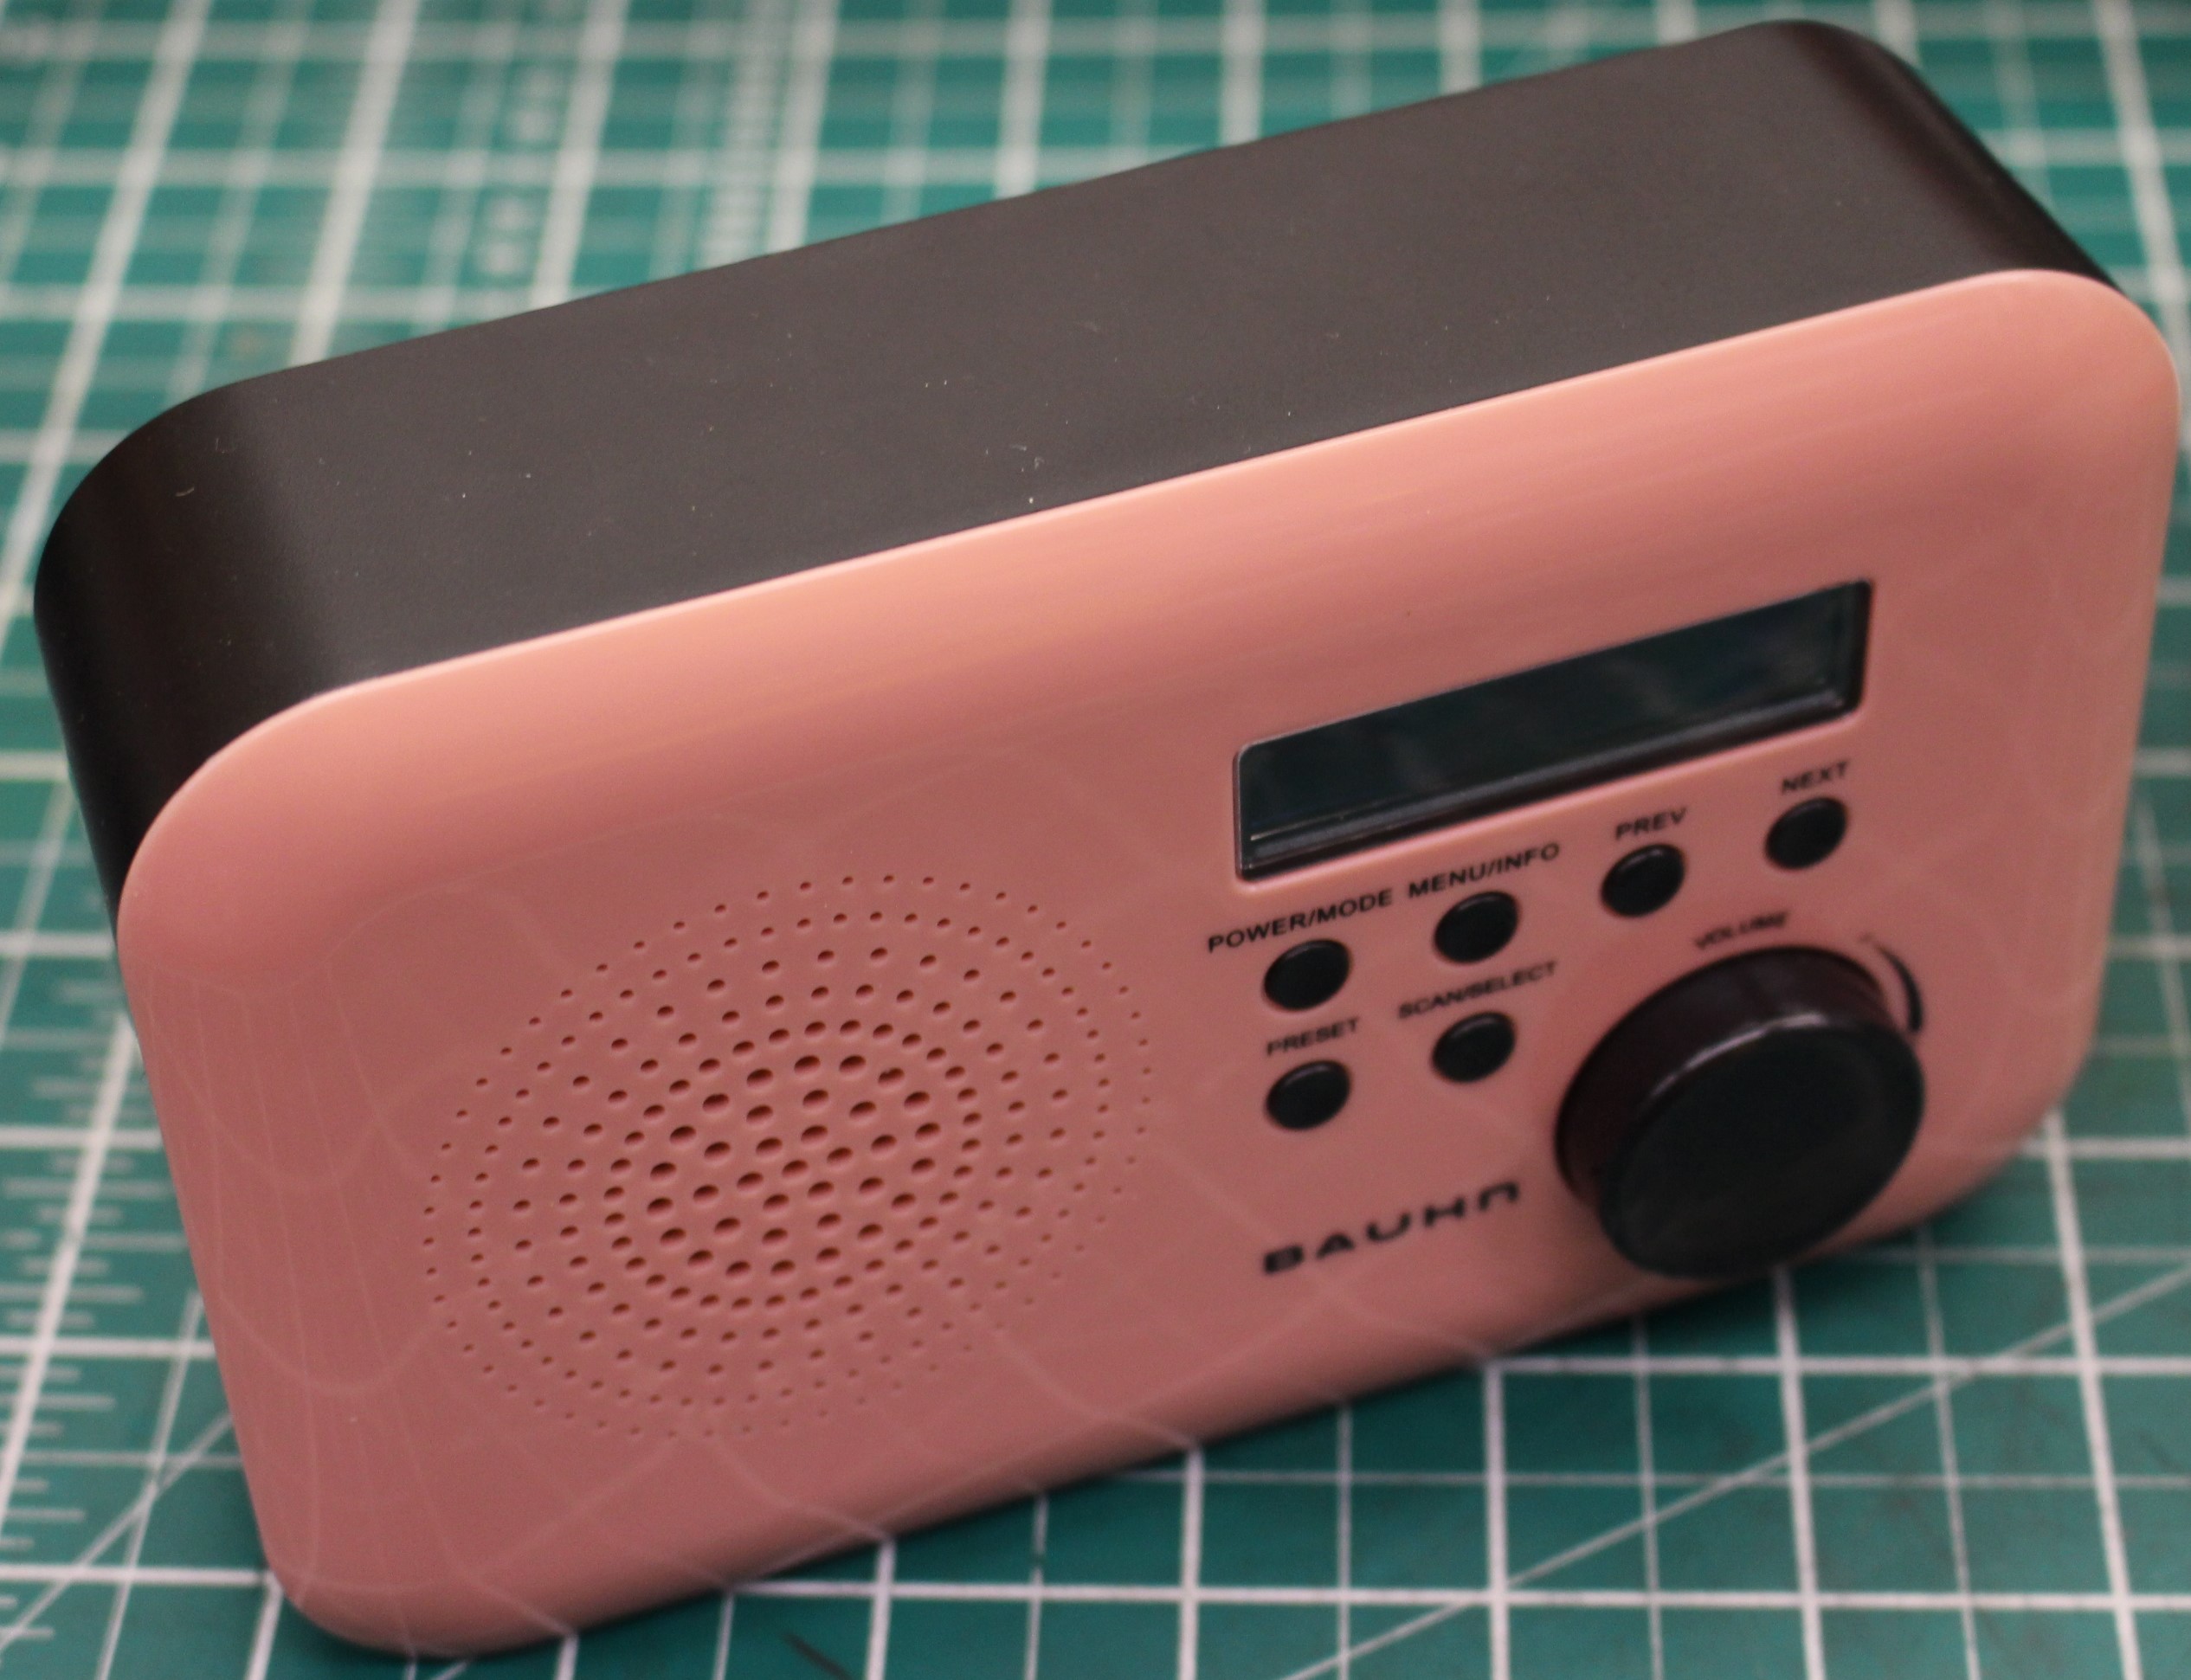
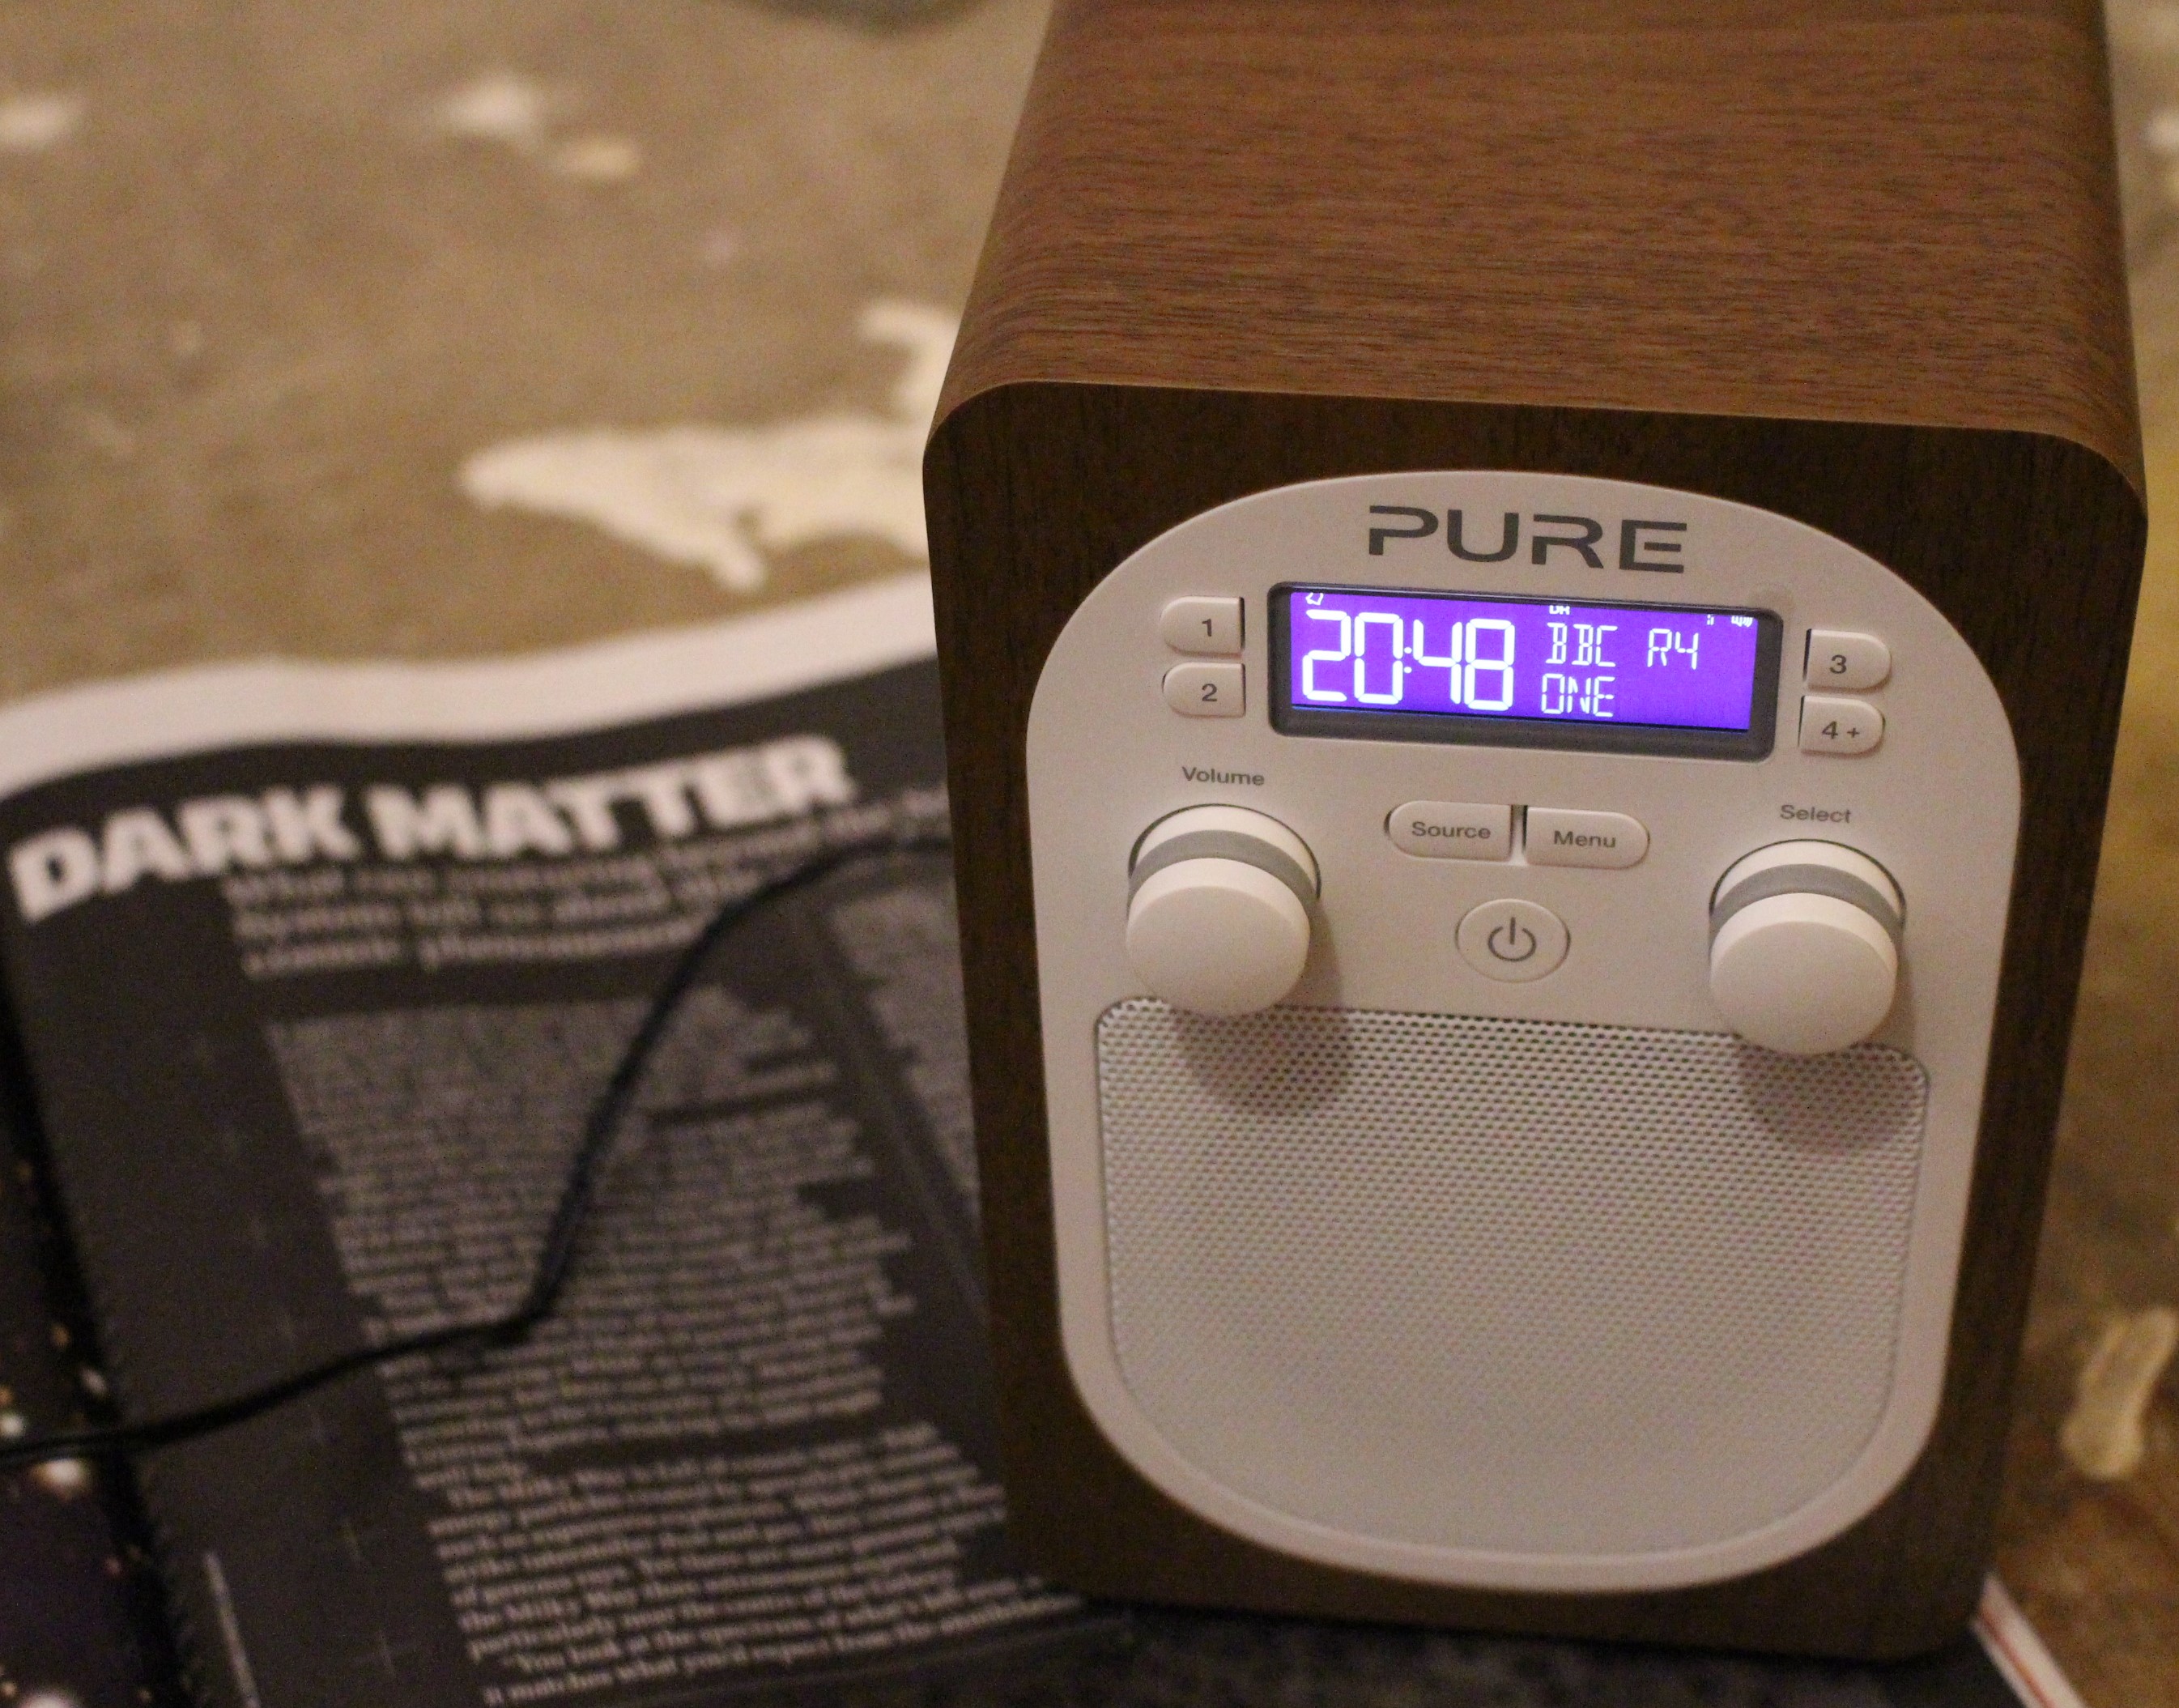
But how can you tell if two seemingly different toasters are basically the same without taking them apart, one at say £99, the other at £39? It’s very tricky. By having your wits about you and an interest in detail, can save you cash.  Pay attention to the position of the knobs, switches and dials and have a good look at the toasting slots especially.  If they look more than similar, chances are they were at least made in the same factory. At the end of the production line, one had an expensive badge applied, the other had the cheaper relative. If the expensive one comes with a longer warranty, then it may be worth it, if it doesn’t well, that’s for you to decide.

FixItWorkshop, Worthing, May 2022 – Queen in her trusty Land Rover Defender – or is it a Land Wind?

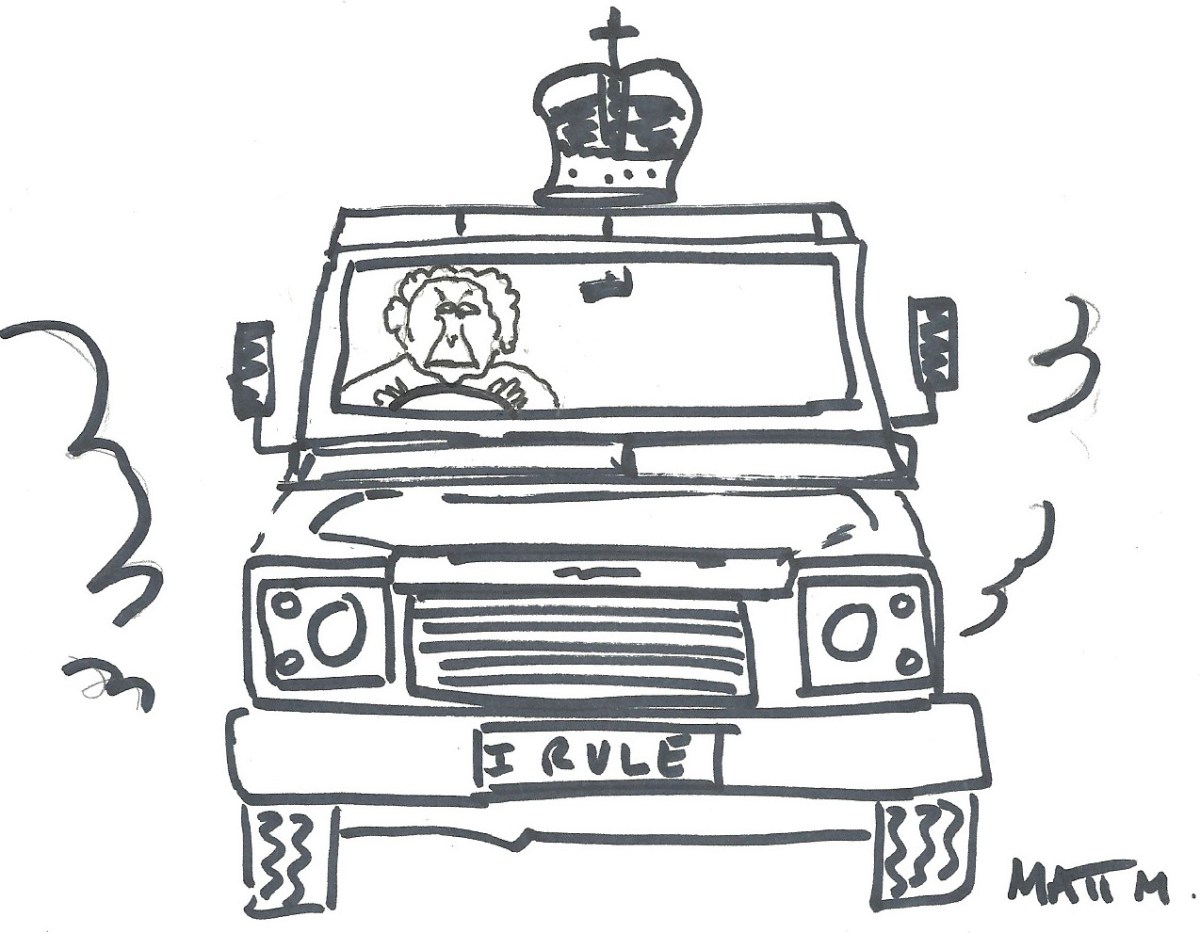
In other news, it’s the Queen’s Jubilee this year, and in case you didn’t know HRH is a big fan of the Land Rover, well, the Defender anyway.  As a lifelong devotee to one of most reverered motors of all time, maybe The Queen will be celebrating her time on the throne with a little bit of repair and maintenance by doing the odd oil change and tappet adjustment on her trustee motor.  Incidentally, the Land Rover marque is much admired and carries much kudos, so much so that manufacturers literally copy Land Rover vehicles in China, where intellectual property rights may not carry as much weight, in order to sell their cars. And that’s just another example of a brand’s power on the mind.

If you’ve read my articles before, then you’ll know that I’m a fan of good quality, simpler and supported repairable products.  In general, it means that one doesn’t have to keep replacing things like toasters every couple of years – wasting energy and materials.  However, in the interests of balance, some branded things are usually higher quality and perform better than the wannabes. Take a set of high-quality Bowers & Wilkins speakers or a Brompton folding bicycle*, both good examples of, repairable items made to last a lifetime. They may seem expensive in the first place, but will give many years’ service, perform well and still hold their value, when you come to sell them on.  Something to think about the next time you need to splash out.

*Not a brand endorsement, just an example.

As always, until the next time. Matt.

More power please

Does your toy have enough energy?

IMG_20200304_211145
FixItWorkshop, Worthing, March’20, testing a battery (featuring my retro BT multimeter).

I’m not a fan of batteries. They run out and always when you least expect it.

You know that anything with a battery, will need attention at some point.

Batteries either need to be replaced or better, recharged.

But often, replacement batteries are the only option for toys, which can mean high running costs. Especially when the toy is played with continually by an enthusiastic child owner!

Trouble is, a mixture of built-in obsolescence and poor design means that it’s just not obvious how one replaces duff batteries meaning that, I suspect, lots of toys get thrown away needlessly, but it’s not the owners fault necessarily.

Sadly, some replacement batteries cost more than the toy itself, which is just mad.

Make and model: toy radio control car (no brand or model)

Fault reported: Not working

Cost of replacement: £10ish

Manufacturer support:  0/10

Cost of parts: £5 (batteries)

Hours spent on repair: 30 minutes

Tools needed: Screwdrivers, test meter etc

Sundry items: None

Repair difficulty: 0/10

Cups of tea: 1/2 cup

Biscuits: None

This slideshow requires JavaScript.

The owner of this toy had played with it non-stop wearing the batteries out.  Mum and dad had replaced some of the batteries in the car part of this toy, but still the toy didn’t work.  It wasn’t clear to the parents, which batteries in what part of the toy needed to be replaced, which meant that an email asking for help, popped in to my inbox.

At first glance, the car part of the toy had no battery cover or compartment, but on closer inspection, the car separated in to two halves, allowing access to the 4 X AA (1.5V) batteries.  Not a straightforward task for everyone.  Testing each battery revealed that they were all worn with an average of 1.3 volts (much lower under load) each.  I replaced these with fresh ones and put the car back together.  The car’s casing was simply held together with a clip and a couple of small screws.

However, the toy still wasn’t working, time to test the radio controller.  Again, a screwdriver was needed to open the battery compartment to access the battery.  Not all households have screwdrivers (even though I believe they should!).

Testing the 9V PP3/ 6LR61 battery revealed around 3 volts, 6 volts too low.  Again, a new battery got the radio controller working once more.

Doing this ‘repair’ got me thinking.  Batteries can be tricky things to manage.  New ones can go flat when not in use and old ones that have been kicking around in a drawer for a while can be fine to use.  One can replace batteries with ‘new’ ones which are no better than the ones fitted, leading a user to believe that the ‘thing’ must be faulty.  A false positive.

With a little basic training on multimeter use, hours and cash can be saved by testing pesky batteries.  At under £5 for a basic multimeter, it could be money well saved for any household.  Just a thought.

With both car and radio controller switched on, the toy sprung to life.  Of course, I had to test the car thoroughly before handing it back(!).


A broken massage belt, with a happy ending…

An Invitalis Massage Belt gets a simple repair at the workshop.

I was asked to repair a personal massage belt recently, which had developed an annoying habit of cutting out, mid-treatment.  Over email, I confessed that I did not know what a massage belt was, but was reassured that is was used to treat lower back ailments and nothing more personal.  Phew.

Make and model:  Invitalis Vitalymed Flexi massage belt

Fault reported: Cutting out

Cost of replacement:  About £40.00

Cost of parts:  £1.29

Hours spent on repair:  1

Tools needed:  Small flat-bladed screwdriver, soldering iron

Sundry items: None

Repair difficulty:  2/10

Cups of tea:  1

Biscuits:  1 Goldbar


IMG_9894
FixItWorkshop, Worthing, August’19, Invitalis Vitalymed Flexi massage belt.

These devices are sold on Amazon and are usually available at events, such as the Ideal Home Exhibition and alike.  This belt offers the wearer a lower back massage by means of two rotating arms with smooth spheres, hidden behind a soft pad.  The spheres also emit infra-red, if required.

I don’t know much about this kind of thing, but I had noticed that the power cable for the belt was a standard female 12VDC connector, used on many types of domestic equipment.

With the power applied and with some wiggling, the belt would occasionally come on and then fail, indicating a loose connection.  The trick here was to find out where.

The belt is zipped together and access to the wiring was easy.  The belt’s power connector ran to a switch/mode box and then on to the motors and other gizmos within (see photos in slideshow).

This slideshow requires JavaScript.

After cutting into the cable, testing continuity, I found two problems; A break within one of the cable cores and a faulty female power connector.  Luckily, connectors like this are abundant and a quick look on eBay revealed lots for under £2, delivered.  As it happens, I bought a high-quality connector and flying lead, intended for a CCTV camera, to fit the belt.

The last step was to reconnect some good cable, reconnect the new connector and make good with soldered joints and heat shrink, to keep everything nice and tidy.  Before I solder things, I always make sure I’ve not cross-wired anything, by proving continuity with a multimeter.  In the past, one has been known to blow things up by not taking this sensible approach!

After reassembly, it was just a case of powering up and switching on.  Gladly, I hadn’t crossed any cables and it now worked again, happily ever after.

A bit of 70’s fun: Sona J996 Coffee Percolator

An office find, escapes the scrap yard.

Despite the 1970’s kitsch-ness of the electric percolator, they are very good at making coffee and the delightful coffee smell you get when brewing-up is sublime.  Here’s an advert from the time.

Top tips for keeping your coffee percolator in good order:

  • Descale using a kettle descaling solution as needed
  • Keep the coffee strainer clear of debris
  • Make sure the lid always fits between the strainer and the percolator body

A colleague found this percolator while clearing out an abandoned office cupboard.  I suspect that this one might have been bought as a wedding present way back and had ended up in the office when someone had decided play the role of barista at work.

It was missing its power lead and was headed for the recycle bin, when I intervened.

The power lead needed was an obsolete design used on British appliances of the era and was similar in design to the more modern and current, IEC C13 or ‘kettle lead’.  However, modern kettle leads did not fit this percolator.

More drastic action was needed.  Luckily, I had an old appliance I no longer needed, so I scavenged a board mounted IEC C13 socket from it and replaced the one originally fitted.

After some soldering and a bit of jiggery-pokery, this Sona Percolator now brews coffee using an up-to-date power lead.

This slideshow requires JavaScript.

Cost of replacement:  £40.  Cost of upgrade: £0.

Aldi Bauhn Radio with no power

A cheap radio gets a cheap fix.

I love a good radio.  I used to collect them as a kid, working or not, do them up, get them working and I eventually ended up with, er… lots.  I’ve since scaled my collection back a bit these days to around 10 or so, quite frankly more than is healthy really.

So when someone got in touch recently with a broken DAB radio to fix, I got quite excited.

IMG_8145
FixItWorkshop, Worthing, February’19, Bauhn DAB Radio.

These Bauhn DAB radios (available from Aldi or Lidl in the UK, I think) were on the market for about £10 and at that price they represent great value when compared to more expensive devices.

However, the one in the workshop appeared to have a problem power connector, which when wobbled, made the radio work intermittently.  Suspicious.

Having already repaired a similar radio with a similar fault before, I decided to video the repair to encourage others to check theirs, if something similar happens.  I hope you find it useful.


Happy fixing!

Cost of a new radio:  £10.  Cost of repair:  One cuppa and a bit of tinker time.

Non-starter: Pure Evoke H2 DAB radio

My own radio gets the workshop treatment.

Who wouldn’t love a new DAB radio for your birthday?  Well, that’s what I had this year and I was thrilled to receive this Pure Evoke H2.  After choosing a suitable location on my desk, I quickly unpacked it, plugged it in and…nothing.  Booooooo!

The display backlight appeared to glow a little, but that was it and I was missing Today on Radio 4.

IMG_7657
FixItWorkshop, Worthing, November’18, Pure Evoke H2 DAB radio.

To save a quite frankly dull story, the returns and replacement process offered by the company who supplied the radio was hopeless.  But, after 2 months, I ended up with a replacement radio, in addition to the one I already had.  The second radio worked, albeit with some fettling required to the speaker to make it sound ok (another story).

Time to dig out the screw drivers as I had nothing to lose.

Just 6 screws hold the back on and with these removed, the radio’s innards were exposed.  Now, I’ve made radios from kits in the past using components I can hold with my fingers, but with this radio, the circuitry was teeny-weeny and I would have to have some luck to fix it.

I was in luck.  The radio is made up like a sandwich.  The front fascia is screwed to the cabinet and the back, that I’d removed, was screwed to the cabinet, from the other side.  There are data-style cables between the two halves and one of them appeared to be loose.  I carefully pushed the connector ‘home’ and then re-applied the power lead and wouldn’t you know it, the display lit up and it burst in to life.  Now we’re talking.

Thinking I’d sussed it out, I screwed the radio back together and had about a week or two of unbroken service, until the screen froze and then nothing. Oh no.

Re-opening the back of the radio, I suspected that the tiny soldered pins on the back of the multi-way connectors on the data-style cables, had been dislodged.  I have average sized hands for a bloke, but I needed tweezers to get the connectors on during assembly.  I wonder how much it would have cost to add an inch or so to each cable, to make manufacture easy.  As a consumer, I would have gladly paid the extra penny.  I suspected that this is how the original fault came to be as it wouldn’t have taken much more than a shove in the wrong direction to break the delicate connectors, due to the short length of the internal cables.

This slideshow requires JavaScript.

Since this circuit board is a tiny stamped component affair, I had to be quick and neat with my re-soldering.  Each pin to PCB connector re-soldered, cables re-attached, back screwed back on and the radio worked once more.

Pure have a reputation for easy to use, excellent sounding products.  It’s just a shame they have seemingly penny-pinched on some of the internal gubbins on this model.  If yours develops similar symptoms, don’t give up, take the back off and have a look.

Cost of a new radio:  £40-90.  Cost of repair:  5 mins tinker time, one cup of tea.

Elna SP foot pedal went bang

Elna SP foot pedal to the metal

On the back of a previous article about a repair I did on the rather wonderful Elna SP sewing machine, a reader got in touch.  She was a genuine sewing aficionado and had several top of the range current machines, but she used the trusty Elna SP for many smaller jobs, where the other machines didn’t quite cut it.

All Elna SP machines are getting on a bit and parts are either re-manufactured, scarce or secondhand, if you can find them.  Having said all that, a well-maintained Elna will run for many years and last much longer than new metal on sale now.

IMG-1971
FixItWorkshop, Worthing, November’18, Elna SP Special, in action

The foot pedal on this machine had gone pop, bang, finito.  It smelled terminal.

Knowing that parts for this machine are rarer than hens teeth and I do like a challenge, I took on the job.  I’m based in Worthing, West Sussex and the machine was located in Scotland, so after a short wait, the knackered pedal arrived in the post.

The pedal is held together with four small self-tapping screws and came apart easily.  The reason for failure was two-fold.  The copper leaf contacts had arced excessively and caused major pitting in the contact strip (see slide show) and the probably ensuing resistance had caused the main resistor to overheat, causing the winding to fail.

This slideshow requires JavaScript.

The contact surfaces were easy-ish to fix, or rather breathe new life into as all they needed was cleaning and re-shaping.  The resistor was a bit trickier to mend.  Getting hold of a replacement was going to be near impossible, so the only thing to do was to try and repair it.  Without that particular style of resistor, of that value, it wouldn’t work again.  Luckily, there was some excess resistance wire on the thing and I managed to twist it in to the broken section.  Soldering was not an option, since the wire was an alloy that wouldn’t take to solder and in any case, these things get hot in normal service.  I twisted both ends of the break to form a new section, while maintaining the same length of windings on the resistor, essential if I was to match or get close to the original specification.  Difficult.  Luckily, after a few goes, I managed it and the applied a little heat-conducting (and therefore dissipating) paste to the join.

With the pedal reassembled, I was only able to test it with my meter, since the sewing machine was far too heavy to post.  The pedal tested as a closed circuit (OK), which was a result.  I then had to wait for the pedal to be collected, taken back to Scotland and tested.  Fortunately, my fix worked and the machine sprang in to life, without a hitch or missed stitch.

Now, a word of caution with this one.  This is NOT the best way of mending something like this and all I’ve probably done is prolong it’s life a little longer.  There are generic sewing machine pedals that would work with this machine and will be fine, when this one fails in future, but that’s not the point.  The main thing is that something that was broken is now working and even if it’s not the best fix, at least it will run for a bit longer.  Happy days.

Cost of replacement: (generic part) £15-30.  Cost of repair, my time, a bit of solder and several cups of tea.

Very quiet Bauhn DAB Radio from Aldi

A little DAB radio, repaired at the workshop.

A colleague of mine brought this cool little DAB radio in to the workshop as it’s once crisp DAB tones were now no more and all life from the little device, had seemed to have ceased.  It was, very much, a dead radio.  When working, it picked up every station available, really clearly and seemed to out-perform the much more expensive devices my colleague also owned.  However, after a few months in the hands of his son, the radio would no longer turn on when plugged in.

IMG_20180515_153713.jpg
FixItWorkshop, May’18, Aldi Bauhn Radio, in for repair.

It was brought from Aldi for under £10, which seemed like a bit of a bargain to me.  It’s amazing just how much DAB radios have fallen in price in the last 5 years or so.

IMG_20180515_153836
FixItWorkshop, May’18, Aldi Bauhn Radio, in for repair, back of the radio.

The Bauhn UDABR-0197 (catchy name) is a compact, portable radio and is capable of being used with either a plug-in adaptor (supplied) or 4 x ‘AA’ batteries.  When powering this radio using either plug-in adaptor or batteries, the little radio refused to do anything.  Very sad.

I always start with the basics, so I checked the power from the plug-in adaptor first, which seemed to be delivering its 5.9VDC, pretty much spot-on. As a side note, I always check the condition of plug-in adaptor leads and plugs as they seem to almost always be made of the thinnest wire available in the Far East and prone to cracking causing poor connections.  This one was fine.

Opening up the radio was really easy, just 4 cross-head screws and the two halves of the radio came apart without any major dramas.

The first thing you notice about (cheaper) small appliances like this, is the ‘lack’ of anything inside.  The circuit boards in new small devices can sometimes be multi layered affairs, using micro components, making repair with normal workshop tools very difficult or impossible.

Luckily for this little radio, the designers have had the foresight to keep the power distribution board separate from the main ‘radio’ gubbins and this seemed to be of conventional construction.

On closer inspection of the power distribution board, it revealed a break in two of the pins from the ‘power-in’ jack socket meaning that power would not get through to the main circuit board.  The two pins were also shorting together, causing a local loop connection.  This meant than neither mains adaptor supply nor battery would power the radio.  Problem realised.

I was then able re-make the connection using a soldering iron on the board, reconnecting the pins to a spare section of copper detail on the power distribution printed circuit board.  Very satisfying.

Once the radio was back together, all screws back in place, power supply connected, the radio burst in to life, just in time for me to listen to my favourite station.  Happy days.

IMG_20180515_155029
FixItWorkshop, May’18, Aldi Bauhn Radio, in for repair, all fixed.

Cost of a new radio; £10.  Cost of repair; A bit of soldering and a cuppa plus gingernut biscuit.

Cheap Tesco DVD player

This cheap and quite frankly nasty DVD player came in as a dud unit.  No lights on, nothing.  To be frank, not even I thought it would cost in to repair it, since the owner told me it didn’t cost more than £20 in the first place.

Never mind, off with the cover and a quick poke around with the multi-meter revealed no power coming from the transformer within the unit.  This converts high voltage from the mains to lower, safer voltages for the player.  On this DVD player and many others I’m sure, the internal processes are broken up in to ‘cards’.  On this unit, there’s a power card, a logic card for the motor drive and a video card for the picture.  Closer inspection of the (cheap and horrible) power card revealed several faulty components, which had failed catastrophically.  At first glance, I suspected that the cost of replacing individual components wouldn’t cost in and that sadly, this DVD player might be headed for the bin.

Fear not!  With the power of Amazon, I was able to find a generic suitable DVD power card via China that fitted, with a small amount of wiring for £5, delivered.  Job done.

Here’s a video of the fix.


Sterling Power Products Pure Sine Wave Inverter repaired

Inverter, repaired in the workshop

For those wondering what an ‘inverter’ is, let me give a quick explanation:  It allows one to use a mains operated device on the move, using a power supply from a motor-home, car or boat, as an example.  An inverter ‘inverts’ a smaller voltage to a larger one, usually for most applications.  Most inverters sold turn either 12 or 24VDC to 240VAC or 110VAC.

IMG_3517.JPG
FixItWorkshop, April’17, Worthing, Sterling Power Products Pure Sine Wave Inverter Pro Power SB 600W

The owner of this one had accidentally connected the input wires the wrong way around, effectively reversing the polarity.  Not good.  Upon hearing a little ‘pop’ the owner quickly disconnected the power!

Having never worked on an inverter before, I turned to the manufacturer for advice.  Sterling Power (UK) were not able to supply any product information on the phone nor via email and were generally not very helpful at all.  They did offer a very reasonable 25% discount on a replacement, but were not able to offer much else to save the one I had in the workshop.  Never mind.

Back to the problem.  Checking the basics, the ‘accident’ had appeared to knocked-out three 25A soldered PCB fuses.  Temporarily by-passing the fuses revealed a working unit, so replacing the defective fuses was a good idea at a very reasonable £1.50.

The fuses are mini-blade 25A automotive fuses.  Once removed and the new ones soldered in place, the unit worked once more.

Cost of parts, £1.50, cost of replacement unit, circa £160.00.

I’ve also covered this repair overview in a video:  https://youtu.be/nmnSRwQdSvY