A much-needed lift for a… Vax Airlift

A Vax gets airlifted to safety

Back in the 1980s, VAX were famous for making bright orange, usually very robust, carpet washers. The products were premium priced at the time, and the sort of thing that ‘someone else had’. It was the sort of thing you borrowed when someone had spilled wine or worse on the floor in a last ditch attempt before condemning the carpet. I’ve only used one a few times, but I can remember that very distinct carpet shampoo smell.

Fast-forward to now and it seems that the VAX badge is owned by someone else and the name is applied to many vacuum cleaner designs. In my own recent experience, the products are a bit flimsy and parts are not easy to obtain. Indeed, on a recent repair, I tried and failed to get hold of a replacement motor for an 18-month-old machine only to be told by VAX that they don’t supply it, but that’s another story. Such a shame.

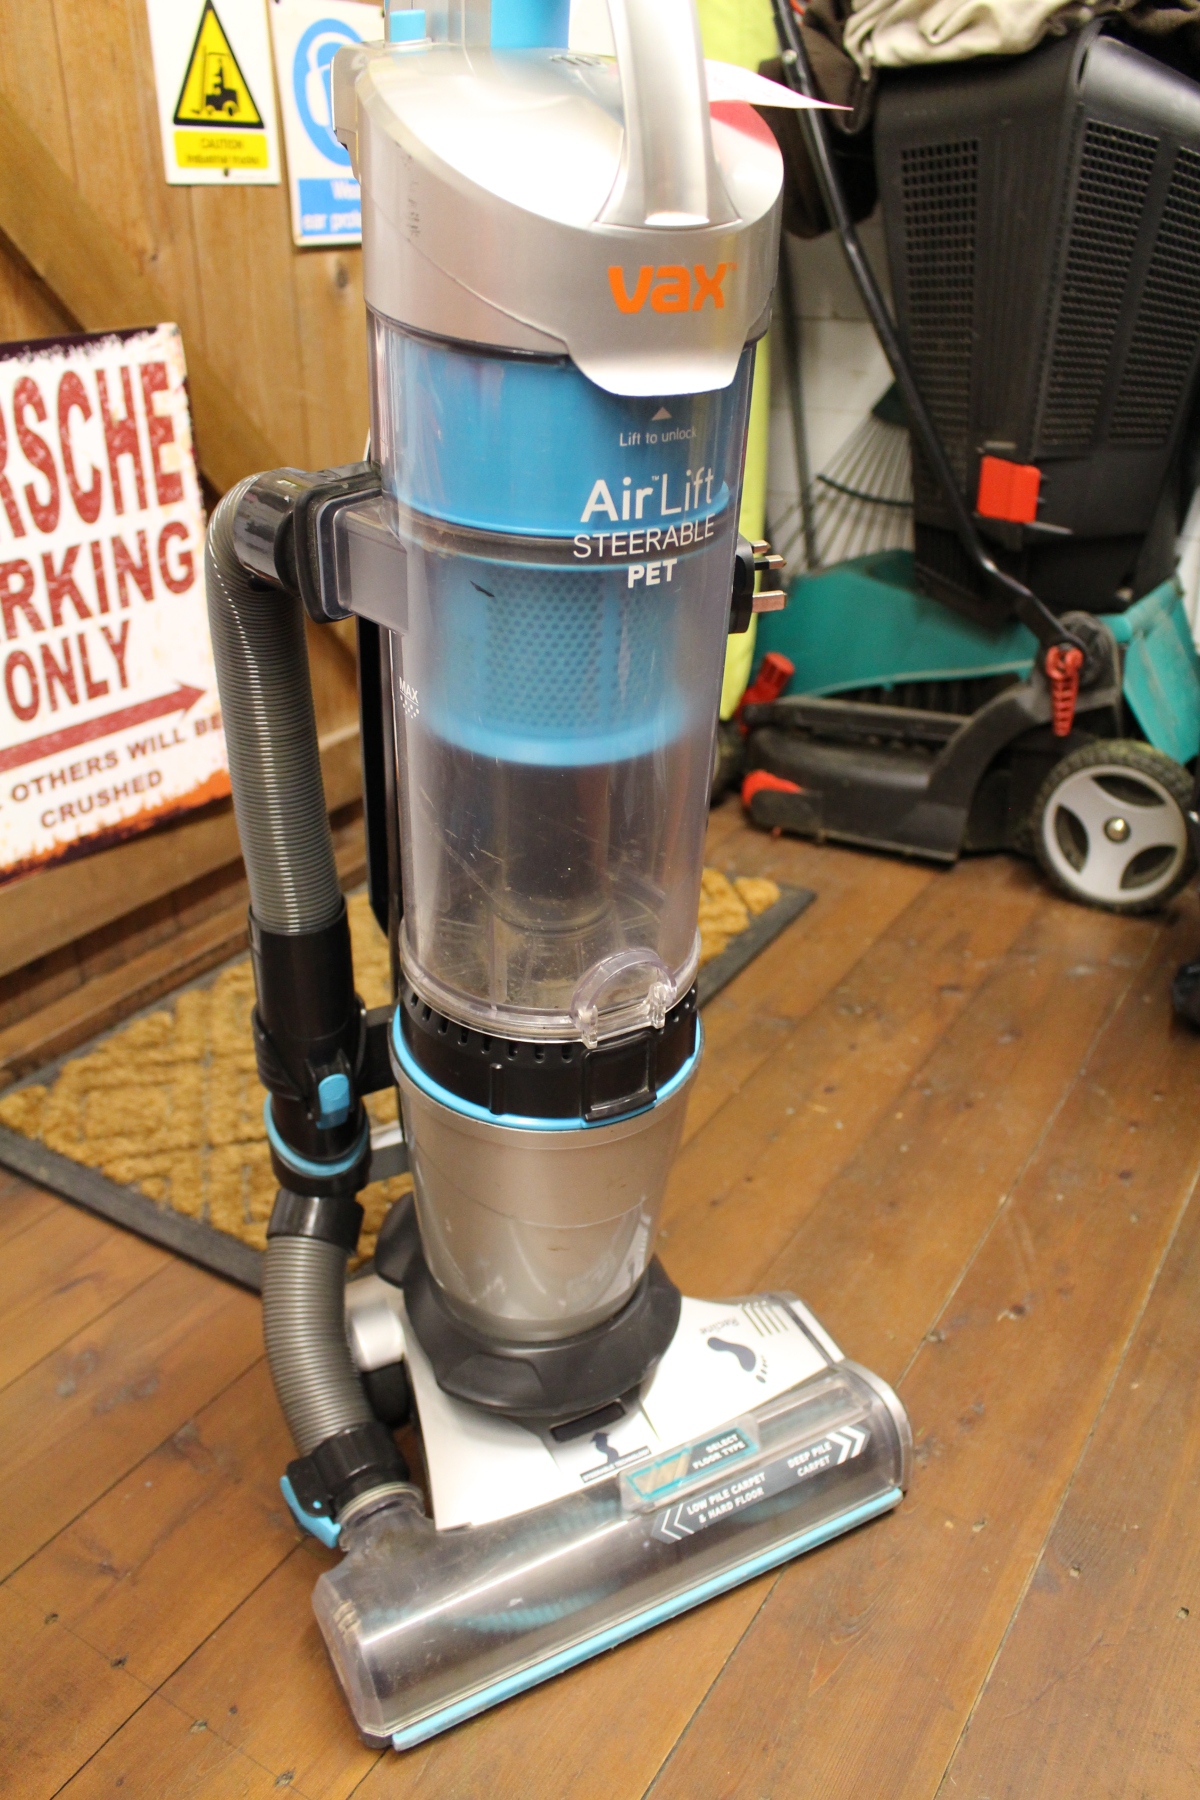
Anyway, on with a more positive story I think. The owner of this vacuum cleaner (not carpet washer) got in touch to tell me that they would like me to repair their VAX Airlift. As the name suggests, the machine is lightweight and slim, which makes lifting and manoeuvrability easier. However, lightweight in this case meant limited lifespan.

Make and model: VAX Airlift

Fault reported: Split hose

Cost of replacement machine: £200

Manufacturer support: 0/10

Cost of parts (for this repair): £1.00

My time spent on the repair: 1 hour

Tools needed: Screw drivers, pliers, cutters

Sundry items: None

Cleaning materials: Silicone spray, damp cloth

Repair difficulty: 3/10

Beverages: 1 X tea

Biscuits consumed: None, 1 slice of cheese on toast instead, must have been lunchtime

This model carries all dust sucking tools, brushes and other ‘extendibles’ onboard, for convenience. It’s neat and tidy and considering the amount of stuff onboard, it’s still amazingly light, hence the name. To be frank, I wish that I’d weighed it, but that might be going a bit far…

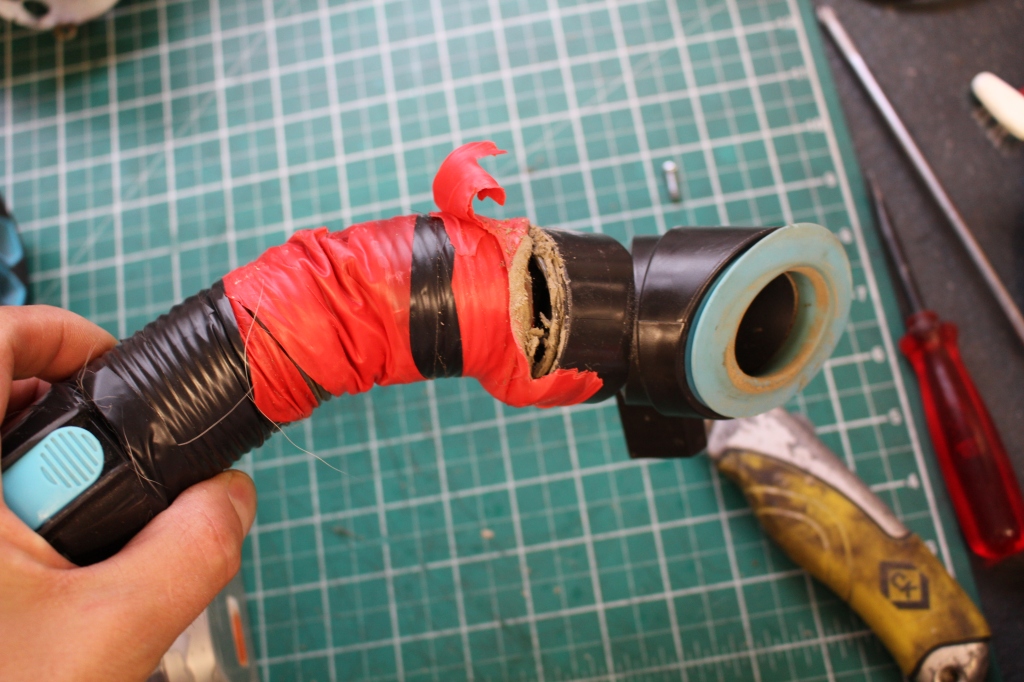
The problem with this machine was that the flexible hose from the brush head to the main machine had split. This caused air to rush into the hose’s hole when the vacuum was in use, which in turn meant that the vacuum simply wouldn’t suck up. The owner had attempted several previous repairs with electrical tape. These repairs had worked for a while, but after several hoovering sessions, the tape repair had failed and the machine was back to square one.

I took on the job and realised quite quickly that VAX’s sporadic spares listings on various websites neglected our poor friend and only certain consumables like filters were still available. Terrible really as the machine was only a few years old. The part I needed certainly wasn’t anywhere and looked unique to this model. When a situation like this confronts me, I do what any other sensible person does. Put the kettle on.

It’s often situations like this that will condemn a machine to waste, even when the rest of it is in serviceable condition. I can see why some may simply throw in the towel.

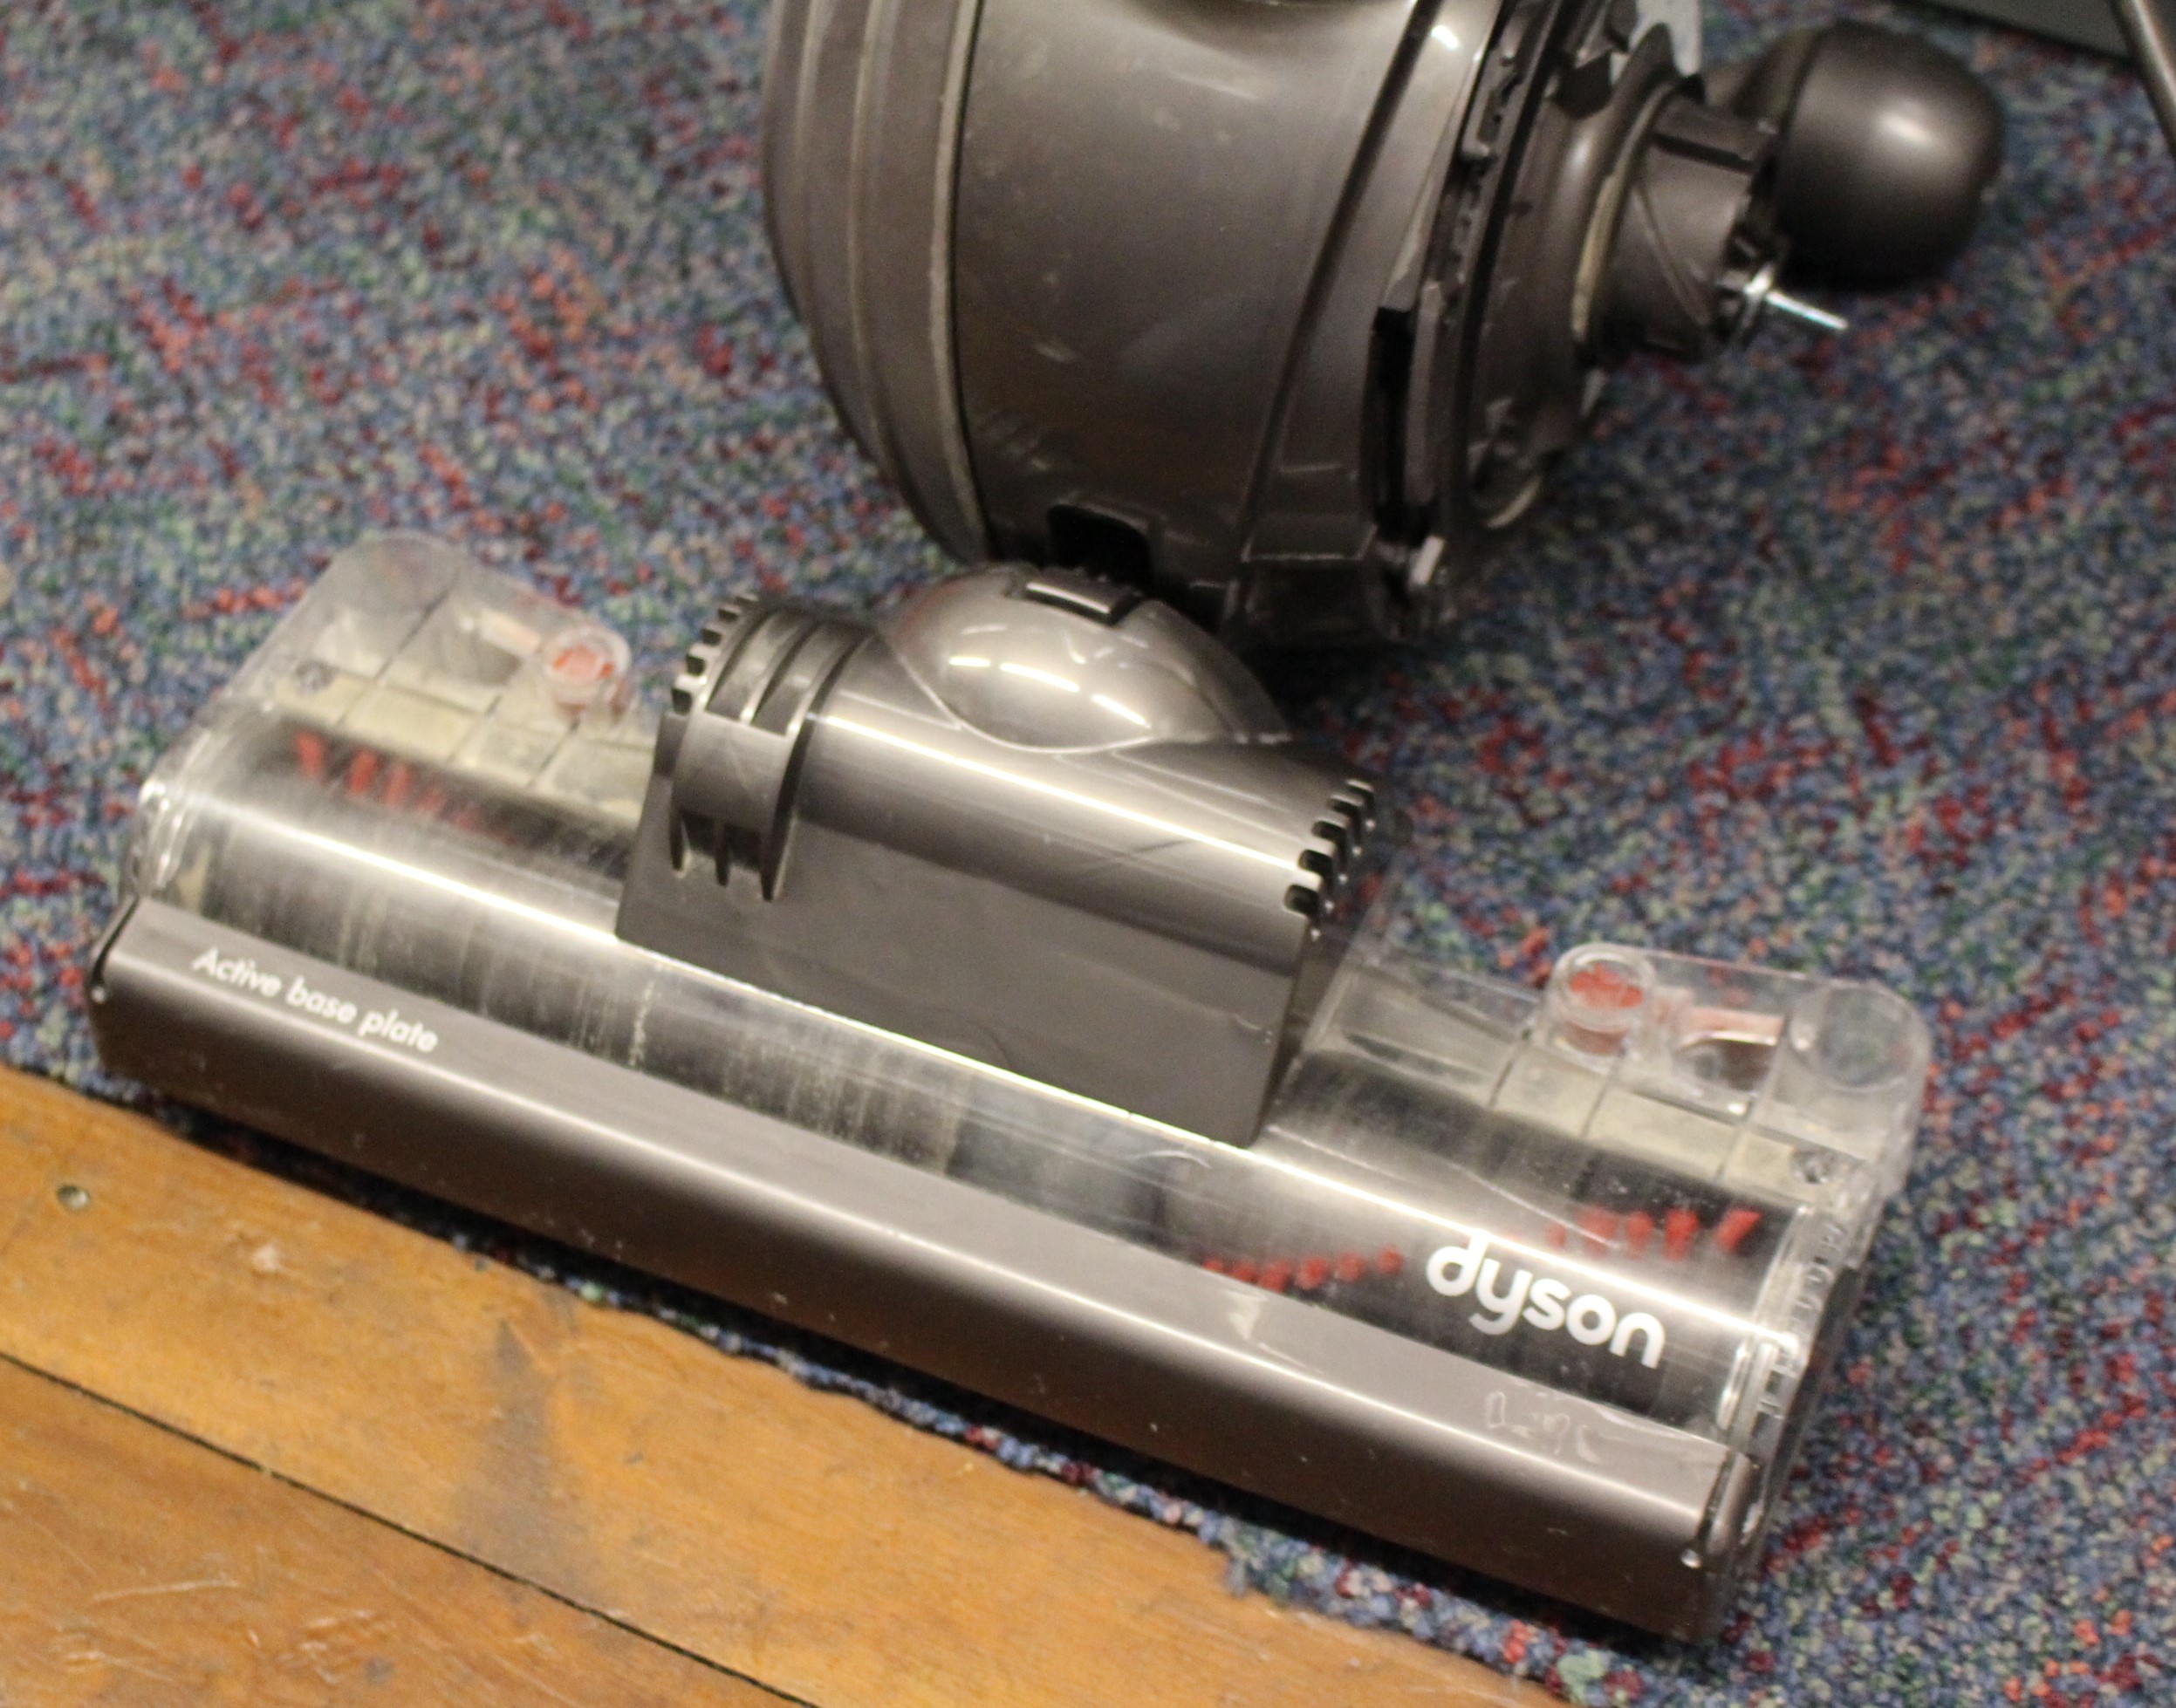
It soon dawned on me that I’d saved various bits of hose from old Dyson and Numatic vacuum cleaner repairs and that maybe something I’d salvaged might do the trick. That’s the power of a strong cup of Yorkshire Tea.

This was turning out to be my lucky day as some old grey Dyson vacuum hose that I’d salvaged from a knackered Dyson DC25 (if memory serves) looked like it would do the job.

The first task was to remove the bespoke Airlift connectors from the old hose and peel off the metres of horrible hairy electrical tape. Yuk. I needed the old hose, so that I could measure the correct length to allow a good fit in every position the machine would be used in. The hose end connectors were screwed on and bonded with impact adhesive, which just needed brute force to remove.

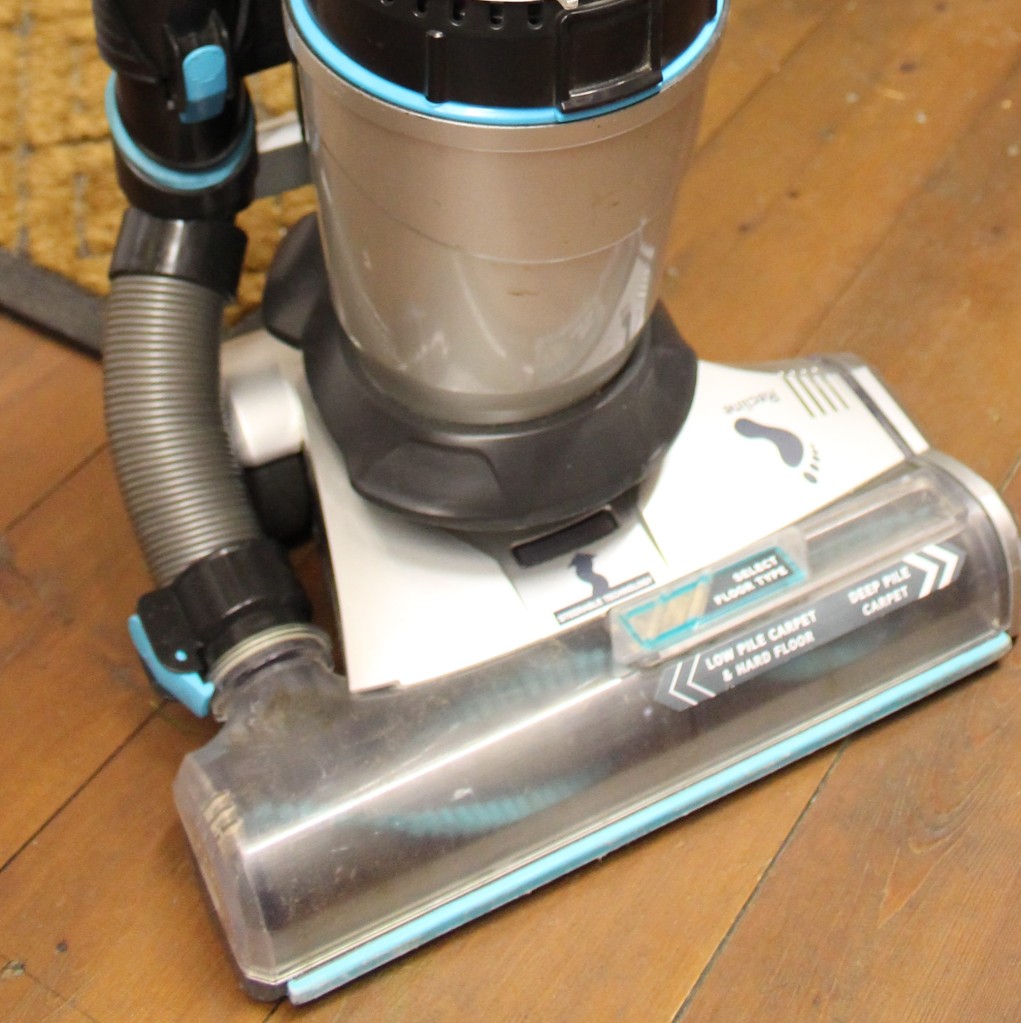
The Dyson hose was a gnats-whisker wider, but it still fitted the old hose connectors OK, with a little impact adhesive applied. The new-old hose with old connectors simply fitted back on the machine and I think you’ll agree, the new/old part looks like original equipment.

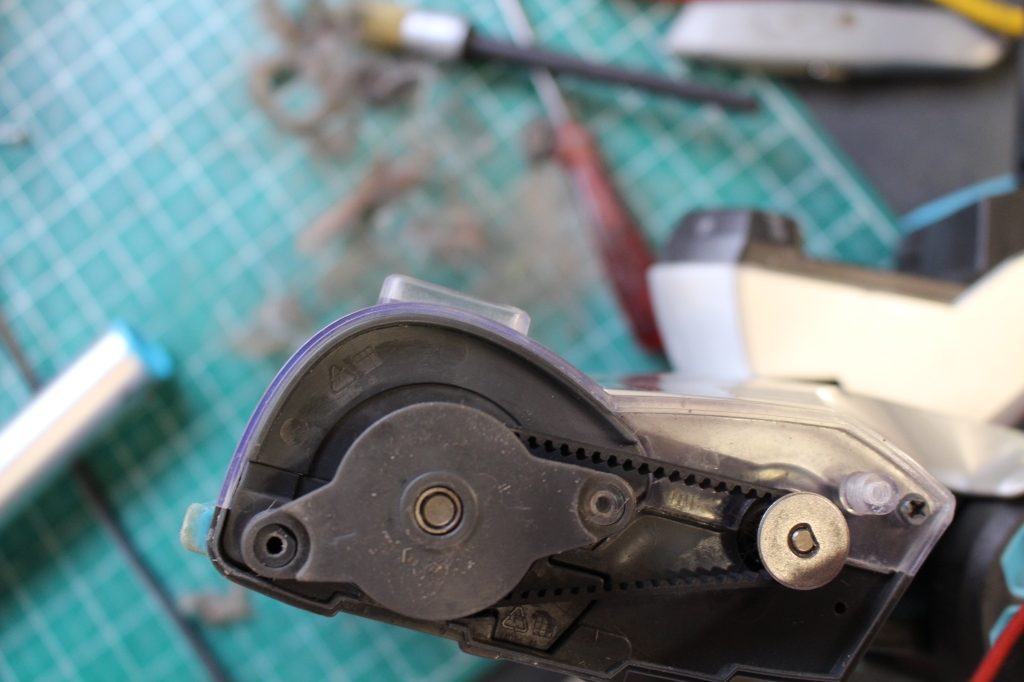
While I had the machine, I took the liberty to clean the seals, dust container and drive belts to the brush head as these were all clogged up. As filters were readily available, I also replaced these as they were only a few quid.

So, for small beans and using some old salvaged parts I already had, this VAX was ready to see another day. Most satisfactory.

A little bit of a Mickey Mouse repair

A novelty pen holder gets a new lease of life

Even as a seasoned repairer you sometimes think hmm, I don’t think I’m going to be able to help this time. I might end up making it worse. This was nearly the case when a lady brought me this Mickey Mouse desktop organiser thingy, in to the workshop for repair.

I’ve never really been a fan of Mickey Mouse. However, after a few minutes of chat with the owner and me staring at Mickey’s face, he started to work his magic somehow. I don’t know if it was the friendly face, disproportionately large ears, or something about that unique colour combination, but at that moment, I decided that I had to help.

This is how it starts for many others, I’m sure.

Make and model: Mickey Mouse desk organiser

Fault reported: snapped-off hand

Cost of replacement: £?

Manufacturer support:  0/10

Cost of parts: £1.00

My repair time: 1 hour

Tools needed: Small file, drill

Sundry items: Paint, car body filler, glue, bit of a rivet

Cleaning materials: Polish

Repair difficulty: 4/10

Cups of tea: 1

Biscuits: 1 Bourbon

This beloved Mickey Mouse pen holder belongs to a local Worthing teacher and had previously adorned her desk for many years until Mickey had an accident, leaving his left arm broken. Ouch.

Despite home attempts involving sticky tape and super glue, his arm simply wouldn’t heal, so the owner did the responsible thing, taking him to hospital. The hospital in this case was my shed.

Resin-formed sculptures like this are tricky to mend as unless you know the resin’s formula, you don’t really know how a general glue will react. And react they can. Get the glue type wrong and you can turn your once loved plastic gem in to a smoking mess. Believe me, I’ve done it.

Fortunately, the super glue used previously hadn’t done much harm, but it had eroded some arm away.

So, I had a hand and an arm stump. Not much to go on. Whilst mulling Mickey’s issue over a brew, it became clear that the only way to go was to use a little bit of ‘real-world’ tech. Cutting down a spare aluminium rivet to use as a ‘bone’ pin, I was able to drill in to both hand stump and arm and use the pin to hold both parts together. I set the pin in place using some fairly inert Gorilla Glue (good stuff). However, this isn’t the end of the repair.

There was a gap around the join as material was missing. I decided to form a new wrist at Mickey’s stump using some car body filler, left over from my years of Mini ownership. A little dab of filler around the joint, followed by a few hours wait, followed by a small rub down and the arm was ready for paint. The mouse’s body is finished in a satin black so I decided to recoat the arm using some Fortress black anti-reflective brush-on paint, that I had in the shed, as you do.

After 24 hours of close observation, waiting for the paint to dry, Mickey was ready to leave hospital.

Atco Consort 14 (CT14) self-propelled lawnmower repair

A mid-90’s take on a classic design, dodges the tip

When they say; “they don’t make things the way they used to”, they’re right… sadly.

With many repairs that I do, half the battle is identifying the correct or closest-match replacement part.  Half the fun is finding a part to do the job, when the original manufacturer can’t or won’t sell that part.

IMG_2260
FixItWorkshop, Worthing, May’20, Atco Consort 14 (CT14)

Make and model: Atco (Qualcast) Consort 14 (CT14- 002107A)

Fault reported: Intermittent running

Cost of replacement: £300 (approx.)

Manufacturer support:  0/10

Cost of parts:  £24.44, inc. carriage

Hours spent on repair: 1 hour

Hours spent on finding parts: 1 hour

Tools needed: Screwdrivers, spanner, pliers

Sundry items: Silicone spray, WD-40, cleaning materials

Repair difficulty: 3/10

Cups of tea:  X 1

Biscuits: Custard Cream X 1

Some things are just a joy to work on because of the way the original design and engineering teams that came up with the product, saw their machines being used in real life.

Even though this machine was built in the 1990s, the Consort 14’s DNA comes from a long line of designs that include the famous ‘Suffolk Punch’ lawn mower created by Suffolk Iron Foundries of Stowmarket in 1954.  This machine is badged as Atco (and Qualcast in places) but the electric motor was made in Stowmarket, England.  The original factory had a reputation for making everything, literally everything, for its machines, right down to the nuts and bolts and this ethos lives on in the CT14.

I’m not going to bang on about sustainable design and circular economy here, but today, unless one pays serious money, garden equipment is simply not built to last any more than a couple of years.  Many of the mowers and strimmers you can buy for under £100 in B&Q, Tescos (here in the UK) and alike have a built-in obsolescence factor measured in months, not decades.  Personally, I believe that products like this should be banned.  Too many end up at my local tip with the price label still attached…

This slideshow requires JavaScript.

A neighbour asked me to look at their Atco lawnmower, which had stopped mowing recently.  They were wondering if it was worth bothering with a repair, I of course said that the machine that they had was better than many machines available now, so it was absolutely worth repairing!

The mower is a self-propelled, cylinder type with speed control and clutch to engage the propulsion system, as desired.  It’s a neat design that’s hard to better.  The next time you are at Wembley or Wimbledon, just look at the mowers still used by professional grounds maintenance teams.

The Atco is designed to receive occasional maintenance and all items which might require the owner or maintenance engineer to inspect are easy to access.  Forward thinking again, shown by the designers.  The main issue in 2020 is that parts are only available from aftermarket suppliers and although there are still (thankfully) specialists ready to supply, part numbers and cross-referencing is a nightmare and despite me doing this work in the UK and this machine being made in the UK, the repair required a degree of investigation and sleuth work to get the parts needed.

The motor was my first port of call and with only a couple of bolts holding it in place, the motor was soon removed.  It was in good overall condition but the carbon brushes were a little short and needed replacing. This explained why the motor had suddenly cut-out.

You might think that finding carbon brushes for a UK made motor, might be easy.  You would be wrong.  Despite several conversations with mower experts, these brushes were seemingly unavailable, off the shelf.  I did order some brushes for an equivalent model produced a little later, but these were too large.  I could have filed them down to make them fit, but after rooting around in my collection of brushes (as one does) I found that a new pair of brushes from a Kenwood Chef A701 fitted perfectly.

While I had the mower in pieces, I decided to inspect the drive belts which were both in poor condition.  One was split and one had stretched badly.  For smooth, reliable operation, both required a replacement.

Again, the Consort 14 was not on many mower supplier inventories, so finding the correct belts required cross checking with other Qualcast and Bosch (Bosch later acquired Qualcast) models and a little bit of luck to match them up.  Fortunately, eBay sellers came to the rescue again and I managed to find the correct belts which fitted perfectly.

With the mower back together, it was ready to run for another 30 years.  Time for another cuppa.

Footnote:  I’m very aware that I sound like a stuck record…

Look, many products made and sold nowadays are much better than older ones.  I’m not saying that all old things are better. Take old cars for example (although I have a soft spot for old cars):  They were polluting, they didn’t have safety built-in (in general) they rusted-out and broke down, all the time.  New ones generally don’t break down, last for longer and you’ll walk away from many crash situations.

New things are usually safer, more efficient and capable.  However, many older machines were designed to be serviced, repaired and re-used over and over, which in my opinion, is more sustainable.  Many products today, especially mowers and alike are designed to last for 18 months hard-use and then the whole thing is scrapped, but it’s apparently acceptable to society as it ‘only cost 40 quid- I’ve had my monies worth’.

It’s this notion that doesn’t sit well with me and I see a growing cohort of people who are not prepared to accept this waste of resources either.  What say you?


Dyson: Please sell me the part I need

A DC32 Animal Vacuum Cleaner gets a second chance

One of these please, Dyson…


IMG_0558
FixItWorkshop, Worthing, December 2019, broken turbine/ fan.

All things made, will eventually break.  Things that are made eventually wear out and either must be replaced or repaired.  However, some things wear out a little faster than others.

Planned obsolescence and manufacturing budgets mean that parts within products can wear out faster than reasonably expected and fail totally, rendering the rest of a perfectly working item, useless.

This is where us repair folk come in.  We refuse to accept this problem and work away tirelessly in sheds and lockups everywhere, working on solutions to problems such as this, keeping things going, a little longer.

A friend’s DC32 Animal cylinder vacuum cleaner’s roller beaters had stopped turning and made nothing but a horrible noise, when the cleaner was in use.  Not cool.

The roller beaters on this model are literally vacuum operated by a turbine/ fan which spins fast when air passes across it, driving the beaters by a toothed belt and gear.  There is no separate motor to drive the roller beaters, which is quite an elegant solution to a complex problem.

Fast forward to the issue and despite identifying the broken part and then contacting Dyson directly for a replacement, they would not sell what I needed, a part that would probably cost no more than £10 to supply.  Such a shame.

Website
FixItWorkshop, Worthing, December 2019, Dyson website screenshot 22/12/19.

Copy head
FixItWorkshop, Worthing, December 2019, a copy item on eBay for under £20, screenshot 22/12/19.

The price of the (original equipment quality) complete Dyson Turbine Head, suitable for the DC32 vacuum cleaner, is £60.00 as a direct replacement from Dyson, but the part is now copied by other manufacturers.  A pattern part design is available for under £20 and if this was my machine, I’d be tempted at that price.  Pattern parts have their place, but I suspect that at this price, performance won’t be quiet as good as the original.

So, a choice:

  • Replace the part with a brand new Dyson part – too expensive
  • Replace with a non-original part, that will probably do the job – unknown outcomes, unsatisfying
  • Attempt a repair on the original part.  Of course it’s what I’m going to do!

On with the repair.  The Turbine Head is screwed together using Torx head screws and the side vents that secure the main drive unit, pop-off the main casing, with some encouragement.

This slideshow requires JavaScript.

A picture paints a thousand words and the above slide shows the dismantling and reassembly process for the Turbine Head.  If attempting this kind of thing yourself, remember to keep all components free of dirt and grime.

In the absence of a replacement, I attempted a repair to the existing fan and since it was made of plastic (some kind of nylon derivative I think) it was going to be difficult.  Not many glues will stick this type of plastic well, so my choice was going to be ‘make or break’, literally.  I considered an epoxy resin, but opted for Gorilla Glue, since it expands slightly in use, to all of the microscopic gaps.  I also used it to modify the fan by filling-in around the spindle to try and prevent slippage, when spinning.  When dry, I lightly sanded any high spots of glue away.

IMG_0655
FixItWorkshop, Worthing, December 2019, glued turbine/ fan.

Once the whole unit was back together and reconnected to the main vacuum cleaner, the head roller beaters spun once again without a horrible noise.  Question is, how long will it run for?  If anyone thinks they can make a replacement using 3D printing, please let me know!

Janod Toy Phone repair/ Une réparation de Janod jouet téléphone

A Janod Toy Phone gets opened up and stuck back together.

There’s always a debate to be had on what age one should give a child a phone, but as a parent, groovy toys like this are hard to resist.  I mean, who doesn’t like a toy that makes cool noises, at the touch of a button.

I especially enjoyed the cuckoo noise (clock symbol).

Make and model: Janod toy phone

Fault reported: No sound, despite new batteries

Cost of replacement: About £10

Cost of parts: £0.00

Hours spent on repair: 0.5

Tools needed: Cutters, screwdriver and soldering iron

Sundry items: Glue

Repair difficulty: 2/10

Cups of tea: 1

Biscuits: 0

A friend of ours got in touch to ask if I could look at their daughter’s toy phone, which had stopped working after being dropped on a hard surface.  Despite the rubber outer cover fitted, after being dropped, the phone now rattled and made no sound.

The (adult) owners had changed the small coin cell batteries, but to no avail and were now wondering what to do, so I said I’d admit it to the workshop.

Janod.com are a French company specialising in making funky wooden toys with a retro warm vibe, while offering modern features.  I like their stuff.

However, on the repair side of things, the designer had not allowed me any service access to the rear of the phone.  It was glued.  The only way of getting in was to break the casing open to see what was going on.

Janod:  I like your products, but please consider changing your designs to allow repair.  Tamper proof screws and other child-resistant systems can be used so that only those with intent can open up the casing to perform a repair.

I used a small flat-bladed screwdriver to gently prise the casing apart and after some nail-biting moments, (I was worried I was going to snap something), the back came off.

The fault became apparent almost immediately.  The small speaker had become detached from the mounting and a wire from the circuit board to the speaker had snapped.  A little soldering and a bit of hot melt glue and the speaker was installed back where it was meant to go, ready to sound off again.

The last job was to repair the now broken case.  Since it was wooden, I used PVA wood glue on the mating surfaces and held the phone for 48 hours gently in my bench vice and now, no one would never know the repair ever happened.

This slideshow requires JavaScript.

The toy was returned to its owner ready to bring child happiness and parent irritation, once more.  I had to press the cuckoo noise button a few times before I gave it back.


Jonathan Deer the III

A Christmas novelty toy gets a new lease of life…

IMG_0509
FixItWorkshop, Worthing, December 2019, Jonathan Deer III.

I meet some really interesting people with this hobby of mine with some quirky things to fix, often with personal and meaningful backstories.  This repair is one such item.

Make and model: Jonathan Deer III rubber deer thingy

Fault reported: Not running

Cost of replacement: About £0

Cost of parts: £0.00

Hours spent on repair: 2

Tools needed: Cutters, screwdriver and soldering iron

Sundry items: Contact cleaner

Repair difficulty: 2/10

Cups of tea: 2

Biscuits: 0

Someone got in touch to see if I could repair a festive family favourite Christmas novelty, which was a big hit with the children, back in the day.  Jonathan Deer III has become a family legend and Christmas simply wouldn’t be complete without him.  Intrigued, I agreed to see the injured deer.

A few days later, a parcel arrived and upon opening, I was greeted with a deer’s head made of rubber.  Not one’s average delivery.

This slideshow requires JavaScript.

‘Jonathan Deer’ was available about 20 years ago in the UK and I suspect the US as a novelty singing Christmas toy, designed to hang on the wall, to bring festive joy when anyone walks past the deer’s motion sensor.

Sadly, or maybe fortuitously, depending on your perspective, Jonathan was now silent and despite new batteries, it was dead.

The thing about Christmas decorations is that they get used for about 4 weeks a year and then packed away, usually in a loft or alike where it’s not necessarily that warm or dry for the remaining 48 weeks.  Cold, damp and draughty conditions are not good for small electrical items.  Batteries left leak and metallic contacts corrode and these ailments had affected poor old Jonathan.

Repairs completed:

  • Battery terminals were corroded from battery leakage and therefore cleaned with a small toothbrush and protected with contact cleaner
  • Opening up the casing (several small screws) revealed a broken negative lead.  A Small re-soldering job fixed that

Still no action.

  • Lastly, the on/off switch didn’t seem to be working.  I was able to separate the small tangs holding the switch together and gently clean the switch wiper/ contacts with cleaning agent.  I didn’t replace the switch as it’s a bespoke item and getting a replacement would be difficult.  The repair I made seemed to work OK.

Once the switch was cleaned, Jonathan burst into life.  Upon switching him on in demo mode, he woke up by blaring out James Brown – I Feel Good.  Moving the switch to on mode, he worked as he should via the motion sensor.  Wonderful.

I was then able to return the deer to its owner to enjoy over the festive season.  Result.

A broken massage belt, with a happy ending…

An Invitalis Massage Belt gets a simple repair at the workshop.

I was asked to repair a personal massage belt recently, which had developed an annoying habit of cutting out, mid-treatment.  Over email, I confessed that I did not know what a massage belt was, but was reassured that is was used to treat lower back ailments and nothing more personal.  Phew.

Make and model:  Invitalis Vitalymed Flexi massage belt

Fault reported: Cutting out

Cost of replacement:  About £40.00

Cost of parts:  £1.29

Hours spent on repair:  1

Tools needed:  Small flat-bladed screwdriver, soldering iron

Sundry items: None

Repair difficulty:  2/10

Cups of tea:  1

Biscuits:  1 Goldbar


IMG_9894
FixItWorkshop, Worthing, August’19, Invitalis Vitalymed Flexi massage belt.

These devices are sold on Amazon and are usually available at events, such as the Ideal Home Exhibition and alike.  This belt offers the wearer a lower back massage by means of two rotating arms with smooth spheres, hidden behind a soft pad.  The spheres also emit infra-red, if required.

I don’t know much about this kind of thing, but I had noticed that the power cable for the belt was a standard female 12VDC connector, used on many types of domestic equipment.

With the power applied and with some wiggling, the belt would occasionally come on and then fail, indicating a loose connection.  The trick here was to find out where.

The belt is zipped together and access to the wiring was easy.  The belt’s power connector ran to a switch/mode box and then on to the motors and other gizmos within (see photos in slideshow).

This slideshow requires JavaScript.

After cutting into the cable, testing continuity, I found two problems; A break within one of the cable cores and a faulty female power connector.  Luckily, connectors like this are abundant and a quick look on eBay revealed lots for under £2, delivered.  As it happens, I bought a high-quality connector and flying lead, intended for a CCTV camera, to fit the belt.

The last step was to reconnect some good cable, reconnect the new connector and make good with soldered joints and heat shrink, to keep everything nice and tidy.  Before I solder things, I always make sure I’ve not cross-wired anything, by proving continuity with a multimeter.  In the past, one has been known to blow things up by not taking this sensible approach!

After reassembly, it was just a case of powering up and switching on.  Gladly, I hadn’t crossed any cables and it now worked again, happily ever after.

Imaginext Super Hero Flight Gotham City

Good thinking Batman, but I have a safety dilemma with a repair.

During a recent Toy Doctor surgery at a Dad La Soul/ Tot Rockin’ Beats event http://www.totrockinbeats.com/dad-la-soul I attempted a repair on a kids toy that I couldn’t get working in the two hours we had, so I asked if I could take it home to the workshop where I have more tools at my disposal.  Good thinking Batman.

The Imaginext Super Hero Flight Gotham City (catchy title for a toy) was much loved, but the flying bit (circled in red below) had stopped working and no longer did anything when switched on.  No fun without the flight bit.

Imaginext Super Hero set
FixItWorkshop, Worthing, August 2019, Imaginext Super Hero Flight Gotham City. Image: Google/Amazon.


Make and model:  Imaginext Super Hero Flight Gotham City

Fault reported: Not working

Cost of replacement:  £45.00 approx.

Cost of parts:  £0.00

Hours spent on repair:  About two hours- although to be honest, I lost count with this one

Tools needed:  Cleaning cloths, small fine file, soldering iron

Sundry items: Contact cleaner

Repair difficulty:  6/10

Cups of tea:  4

Biscuits:  10, maybe the whole pack, I lost count (Custard Creams)

The battery-powered flying thing on a weighted boom should fly about in a circular fashion and be controlled by the city platform, presumably by remote control from the main city bit.

Upon opening up the battery compartment, the problem revealed itself.  The previous batteries had leaked and the spillage has corroded the battery terminals.  No bother I thought, just a matter of cleaning-up the metal surfaces and we’d be back in business.  How wrong I was.  Even with new batteries installed, nothing happened, how very dissapointing.

No, it wasn’t going to be that easy and that was the theme for the rest of the repair.  Everywhere I turned, whether it was trying to open up the casings, inspect wiring or generally take something apart, I was going to be met with glued shut fixings and more problems.

This slideshow requires JavaScript.

Construction on this toy was very strange.  Surfaces on the casing were sometimes glued and screwed together, very odd, and I guess that method must have been used due to production time and cost saving.

The wiring between the flying bit and base checked out OK and the motor spun when I applied some charge briefly to the terminals, so that all seemed fine.

Upon opening up the gubbins where the switch was, the problem with the toy presented itself.  The mini printed circuit board had suffered from battery leakage corrosion and was shot.  Whatever it was meant to do was in the distant past.  So, this toy was for the WEEE skip, as there was no chance of getting a replacement.

Well, hang on a minute, we don’t give up like that do we.

I decided that I could make the toy work albeit without the printed circuit board by re-wiring the motor, using the existing loom and switch, so that the motor and therefore helicopter bit worked as it should.  This would mean that once the switch on the base of the unit was turned on, the helicopter would start and it would not be possible to turn it off without grabbing the moving base weight first.  It clearly wasn’t designed like that, but I had at least got it working again.

This slideshow requires JavaScript.

So, here was my dilemma:  Give up with something I couldn’t get a part for or get it working again, albeit with a removed (percived) safety feature, so that the toy could still be enjoyed.  I went with the latter as I thought that the danger was negligable.

Batman_toy(1)
FixItWorkshop, Worthing, Aug’19, flying high, once again.  Always read the safety label.

Was I right?


Dyson DC40 missing a beat

A small repair on a Dyson DC40 leads to a big improvement.

A powerful, easy to manoeuvre vacuum cleaner, that gets into every nook and cranny.  But not this one.

IMG_8891
FixItWorkshop, Worthing, May’19, Dyson DC40.

Three top tips for keeping your Dyson DC40 in rude health:

  • Keep all filters clean (wash or replace frequently)
  • Clean all rubber seals with a damp cloth to remove dust build-up
  • Occasionally lubricate moving parts of jockey wheel mechanism (springs and lever) with silicone spray

Do these things and your Dyson will love you forever.

I’m a bit of a sucker for Dyson products.  They are well engineered products from the school of function over form and in my opinion, objects of art.

This Dyson wasn’t very well when it was admitted to the workshop.  The owner had complained that the vacuum cleaner wasn’t picking up dirt and dust properly.  The beaters were not spinning either.

IMG_8890
FixItWorkshop, Worthing, May’19, Dyson DC40 beater head.

The beater ‘head’ is attached to the main body of the vacuum cleaner and is held in place with a sliding clip.  The head can rotate and move to allow maximum control.  The beater roller is driven not via a belt from the main motor, but from its own smaller motor in the head unit.  So, there is an electrical connector between the main body and head unit.  As the beaters were not spinning, it seemed sensible to test the electrical connection.  Upon testing, it was not working.

The mechanism on this vacuum cleaner is quite complicated and relies on levers and joints working in harmony.  Dismantling the wheels, filters, brackets and covers around the motor revealed the problem.  The supply that feeds power to the beater head is routed around the motor and sliding lever mechanism and a broken cable was to blame for the beaters not spinning.

Access was difficult due to the design so rather than completely tearing down the body to replace the supply loom, I reattached the broken wire with some soldering and heat shrink to make a robust repair.

After carefully rerouting the cables and reassembling the body, wheels and beater head, the beaters spun once more.  Result.

This slideshow requires JavaScript.

After a new set of filters were fitted and a light service, the machine was as good as new.

Cost of replacement machine:  £000’s.  Cost of repair parts: £11.69 plus my time and two teas.

Leave the light on…

A Philips outdoor wall lamp with a major case of built-in obsolescence, gets a cheap fix.

A mate of mine mentioned that his outdoor wall light had given-up-the-ghost, despite not being more than three years old.  He’d put them up around his house as part of an extension and exterior restoration project.  The trouble was that despite only being a few years old, the product now seemed to be discontinued.  This meant that, should the lamp need to be replaced, he would need to replace all of them (three in this case) to keep them matching.  Annoying quite frankly.

IMG_20181112_194358.jpg
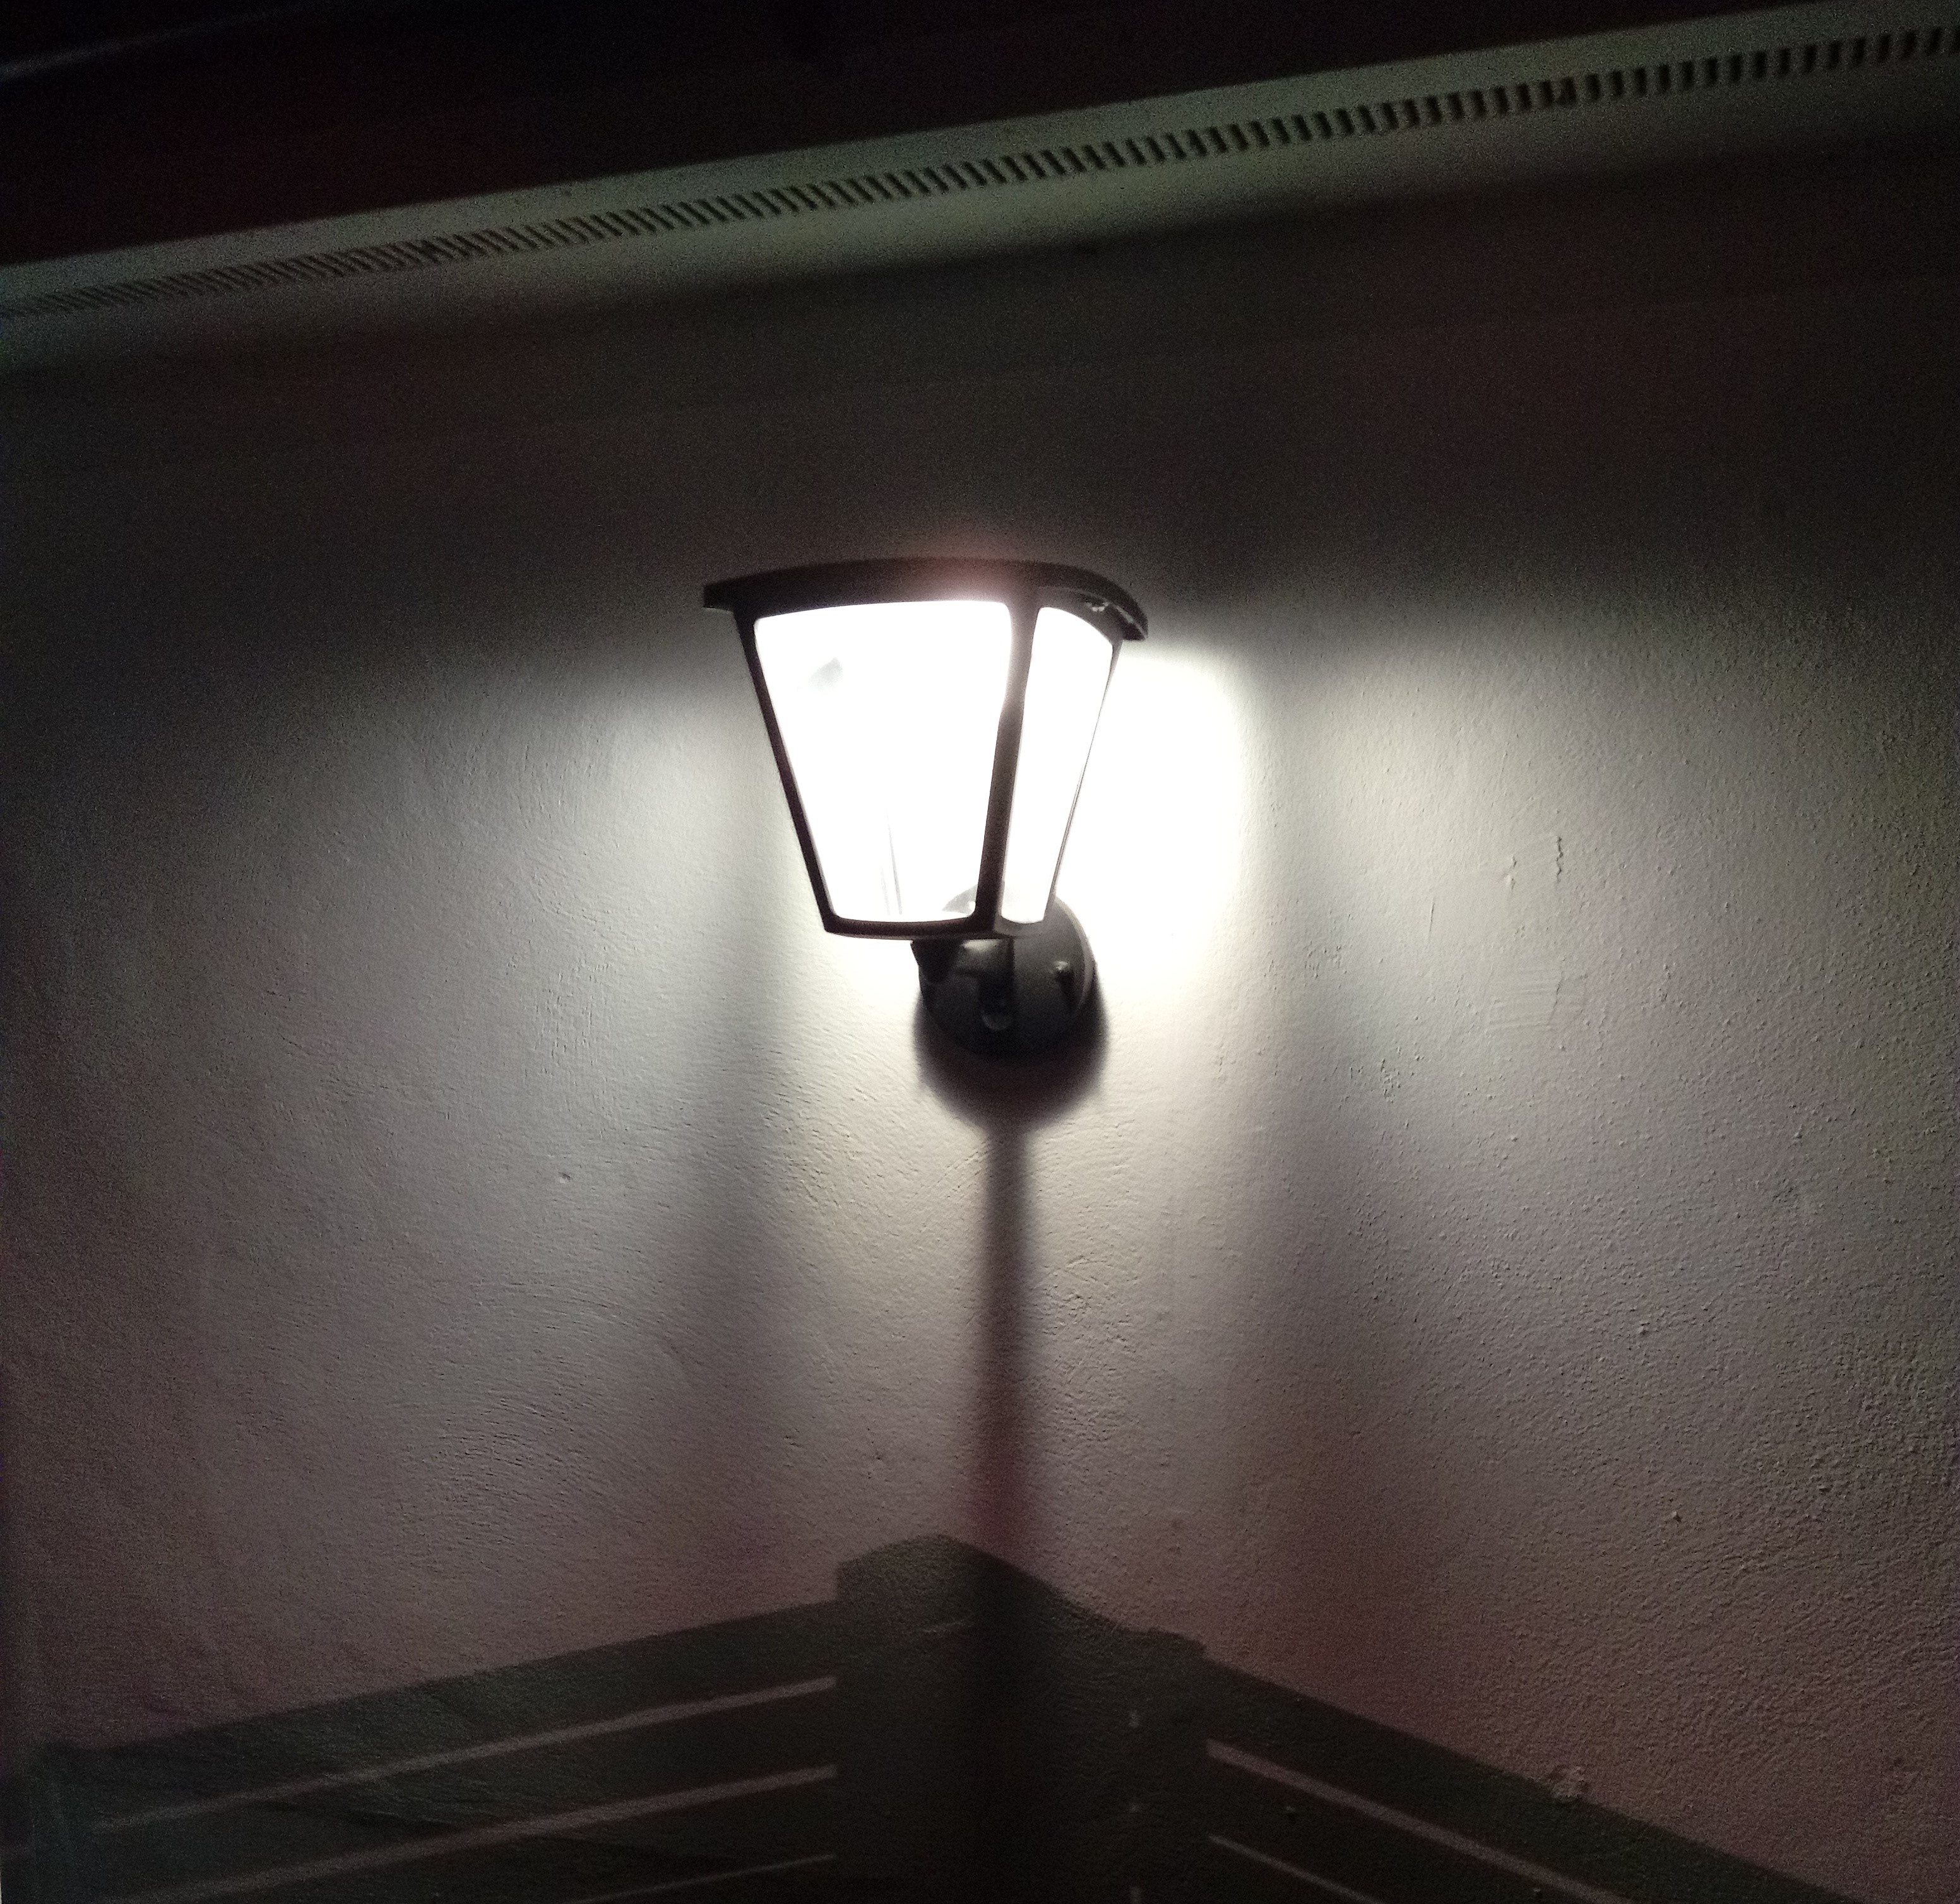
FixItWorkshop, March’19, Philips outdoor wall light, working.

He’d read that the bulb within the Philips lamp was not replaceable, in which case a faulty lamp would render the whole thing broken, which seemed very daft to me.  Items made in such a way that prevents even the most basic of repair get me very annoyed.  Sometimes an item is developed in such a way for safety reasons but I suspect that most of the time, the motive is just pure greed.  It’s such a shame.

At my mate’s house, over a cup of tea, I removed the lamp from the wall to take back to the workshop, to see what Philips had been getting up to.

Opening up the casing was straightforward, just a few simple screws and retaining nuts holding the casing together, before finally revealing the bulb itself, under a lamp diffuser.

IMG_7609
FixItWorkshop, March’19, Philips outdoor wall light, lamp unit.

The bulb/ lamp unit itself appeared to be a custom/ bespoke disc light, that wasn’t user serviceable.  It had blown and there was evidence of scorching on a few of the LEDs, linked in series, indicating the failure of the entire circuit.

I couldn’t find any replacement disc LEDs suitable for the lamp from any of the usual sources, which I expected.  It could be that Philips can supply a replacement disc, but this was not evident on their website.

Not wanting to be beaten by a bespoke part, I thought about what else might work, within the lamp’s enclosure, to have the same effect.  I had a spare GU9 LED bulb, about the same brightness, sitting on the shelf, left over from another project which was going spare, so I set about fitting it in the space.

The generic GU9 bulb, available from most hardware shops, fitted in the existing disc mounting bracket, with a small modification and once connected to the lamp’s circuitry, worked well, albeit with a slightly warmer glow.

In case anyone else has the same problem, I made a little video of the repair.  I hope it gives others inspiration if faced with a similar problem.

Cost of replacement (with something similar): £50.00.  Cost of repair:  £1.50 for the bulb and a couple of Belgian beers for my time.