What makes something cool and just maybe worth hanging on to? Is it good design? Is it great functionality? Is it celebrity endorsement? Is it scarcity? Is this a list that could go on forever? Yes, probably.
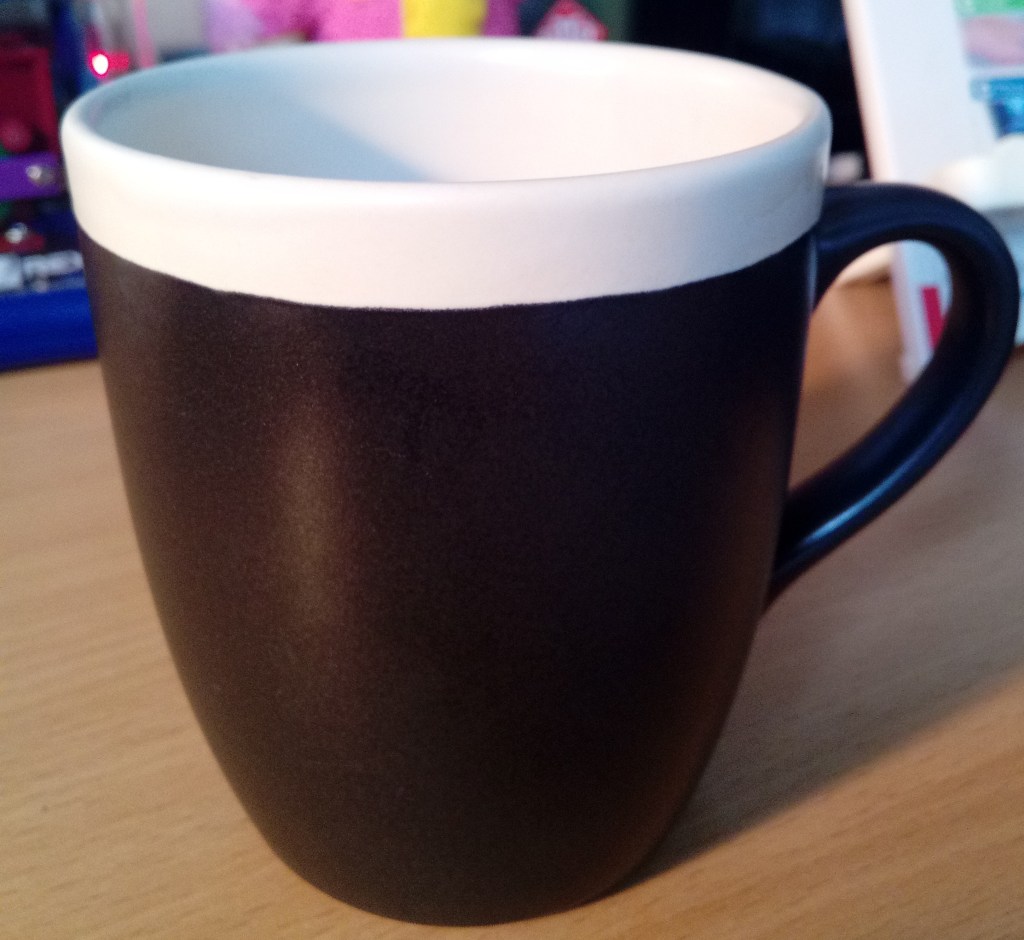
A Guinness mug 
A Rexel stapler 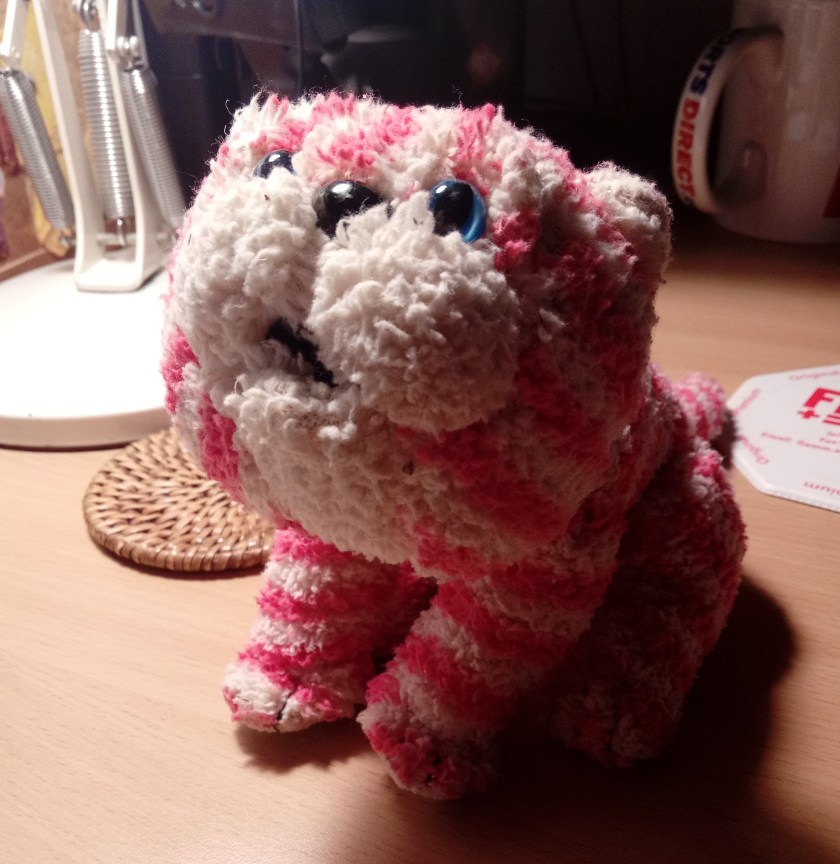
A soft toy Bagpuss
Some stuff is just cool and loved from the off, and some things take a while longer to enter the hall of fame. But why is that? Why does it happen?
I was pondering this while going through my workshop enquiry inbox recently, and began wondering what motivates people to get something working again or restored to its former glory. The subject is probably a study in its own right, but I thought I’d share my own thoughts on the subject here. Now might be a good idea, assuming you fancy a drink, to grab a cuppa. Please come back as soon as possible.
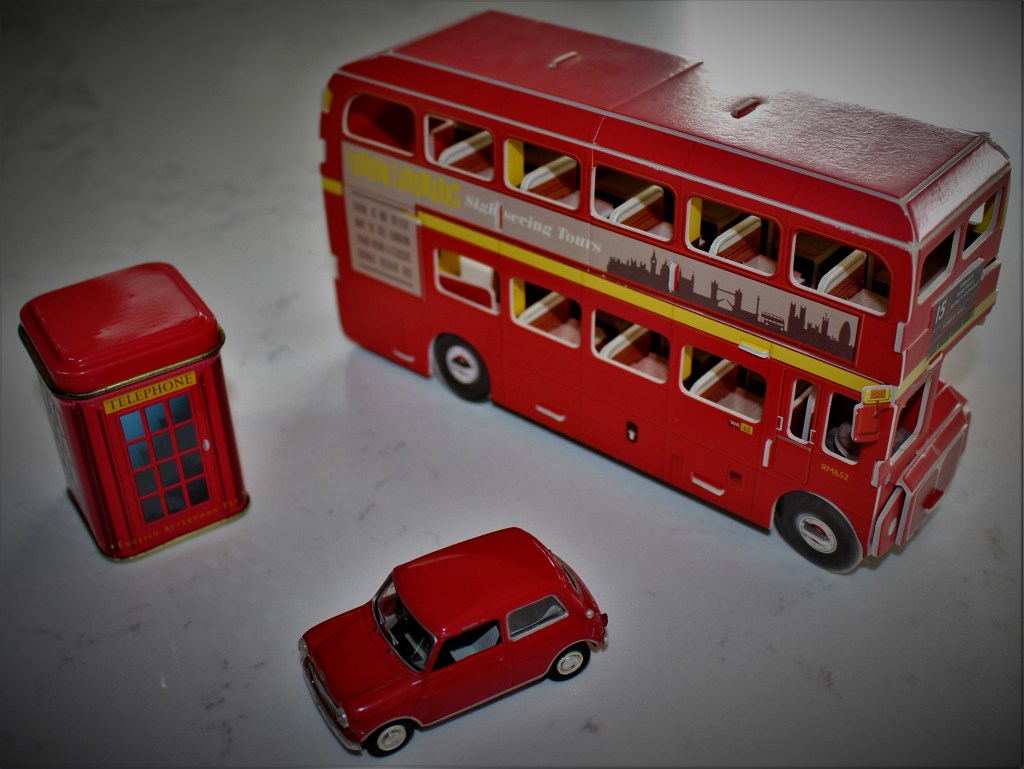
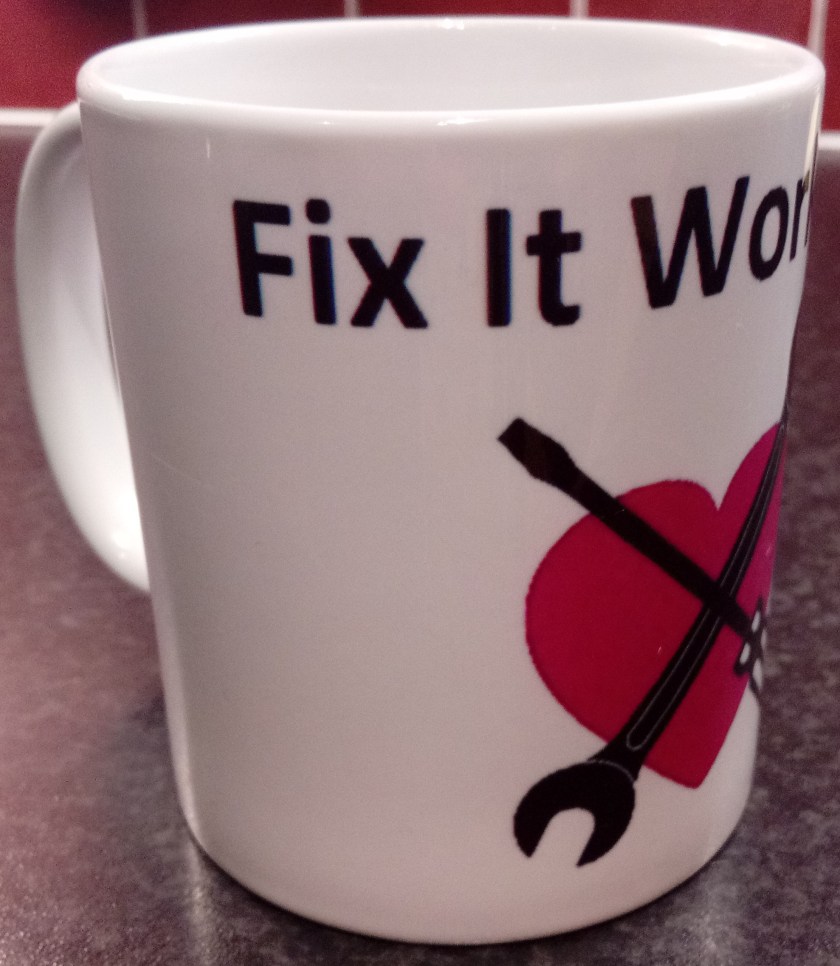
FixItWorkshop, Worthing, September 2021, Guess the theme
One of the things I get asked to repair frequently is food mixers, especially Kenwood Chefs. Like the original Mini, AEC Routemaster London Bus and K6 Phone Box, the Chef in its many forms has become a design icon. It also helps that the mixer excels in function and is timeless in design. Many Chefs that I receive come with an interesting family backstory. Recently, one such example involved a 1964 machine which had travelled the world, after being originally purchased in South Africa. It had accompanied an army family each time my customer’s husband had transferred to start another tour. The Chef had grown up with her family making cakes, treats and dinners for over 60 years and had visited over 15 countries and was now worth way more to its owner than the sum of its parts. After the mixer was repaired and returned, I was told that the Chef would be passed down to the next generation to enjoy, when the time came. This particular Chef was, quite literally, one of the family.
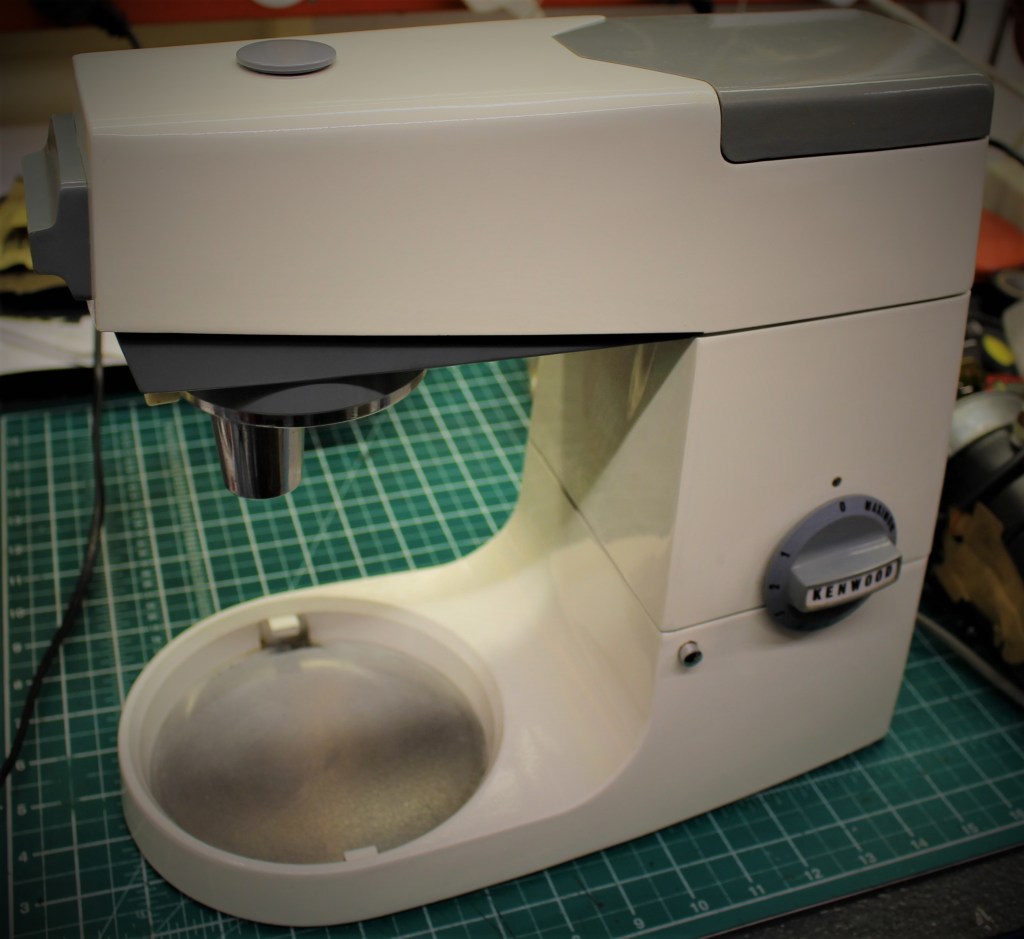
FixItWorkshop, Worthing, September 2021, An example of an early Kenwood Chef A701
Luckily, many Chefs new and old have spare parts readily available with straightforward access to technical information, making repair possible, and I was able to fix this one which only needed a motor overhaul and gearbox re-grease. Not bad service really, considering its age and life!
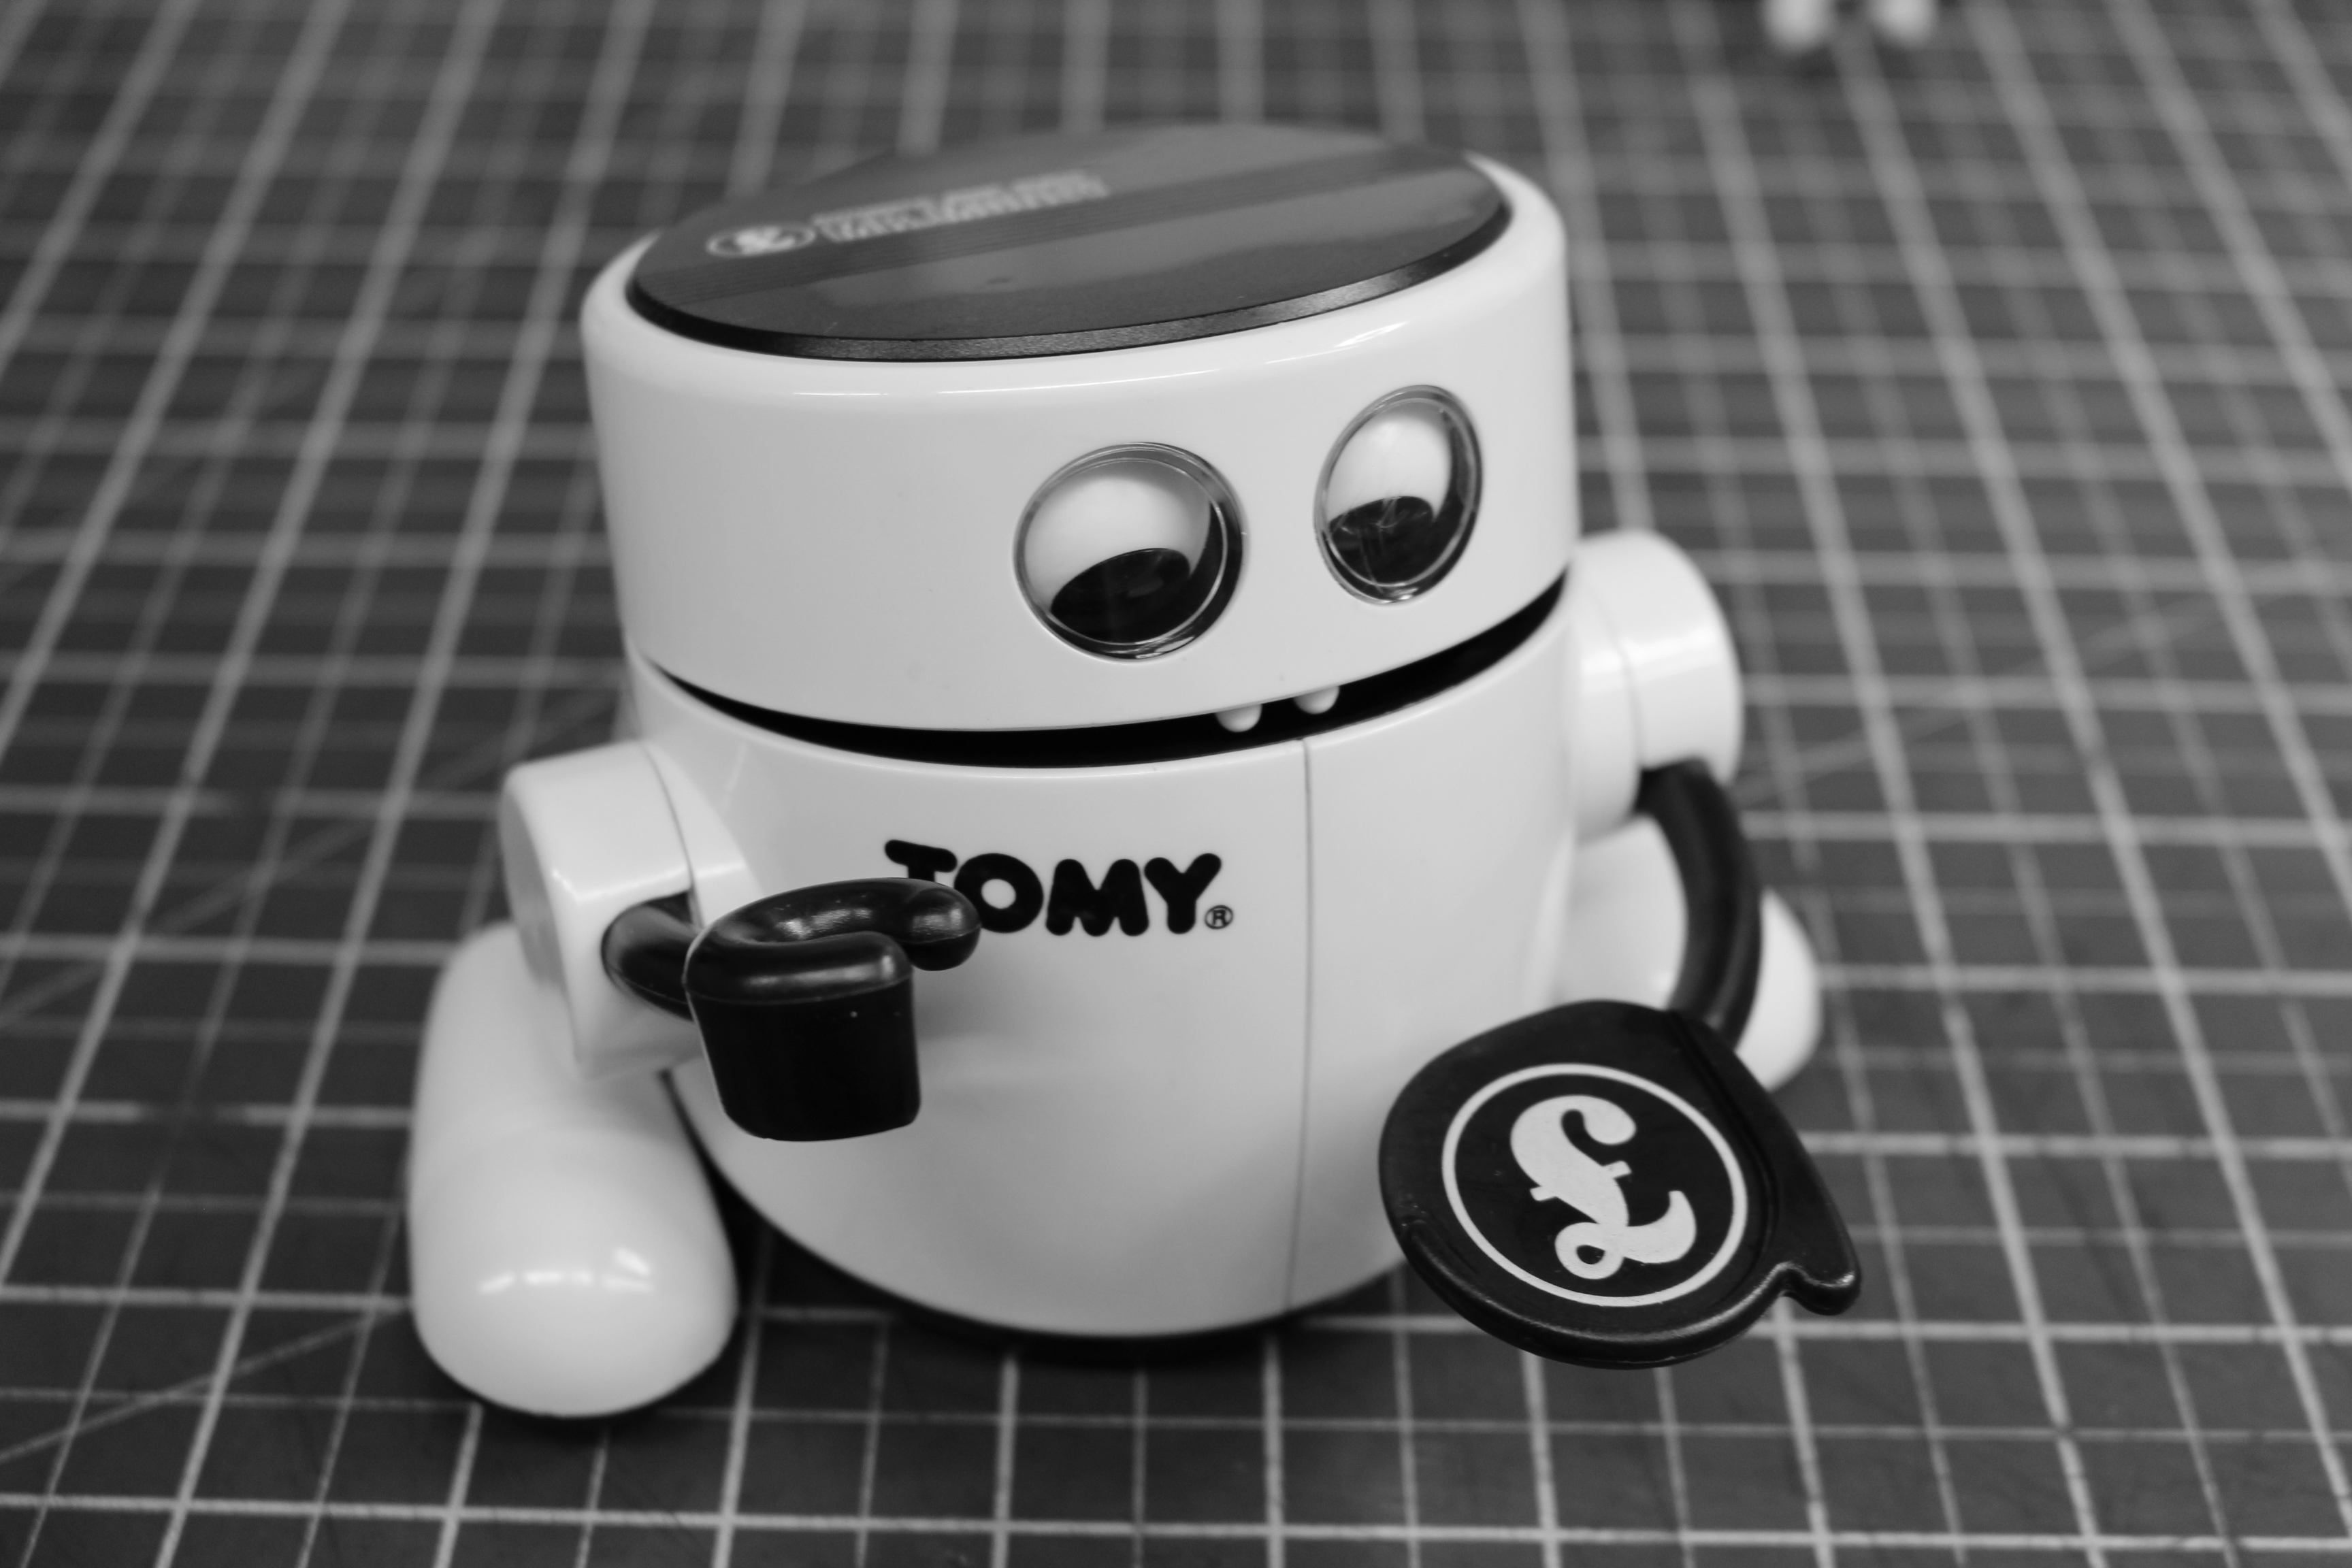
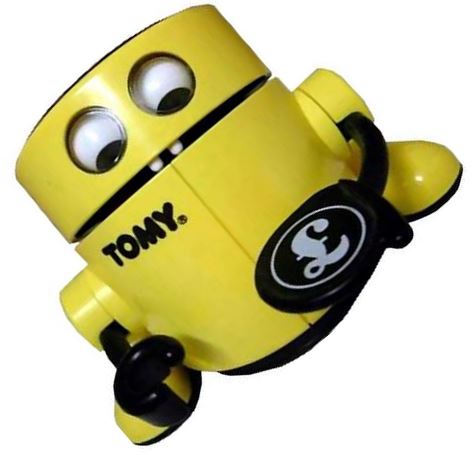
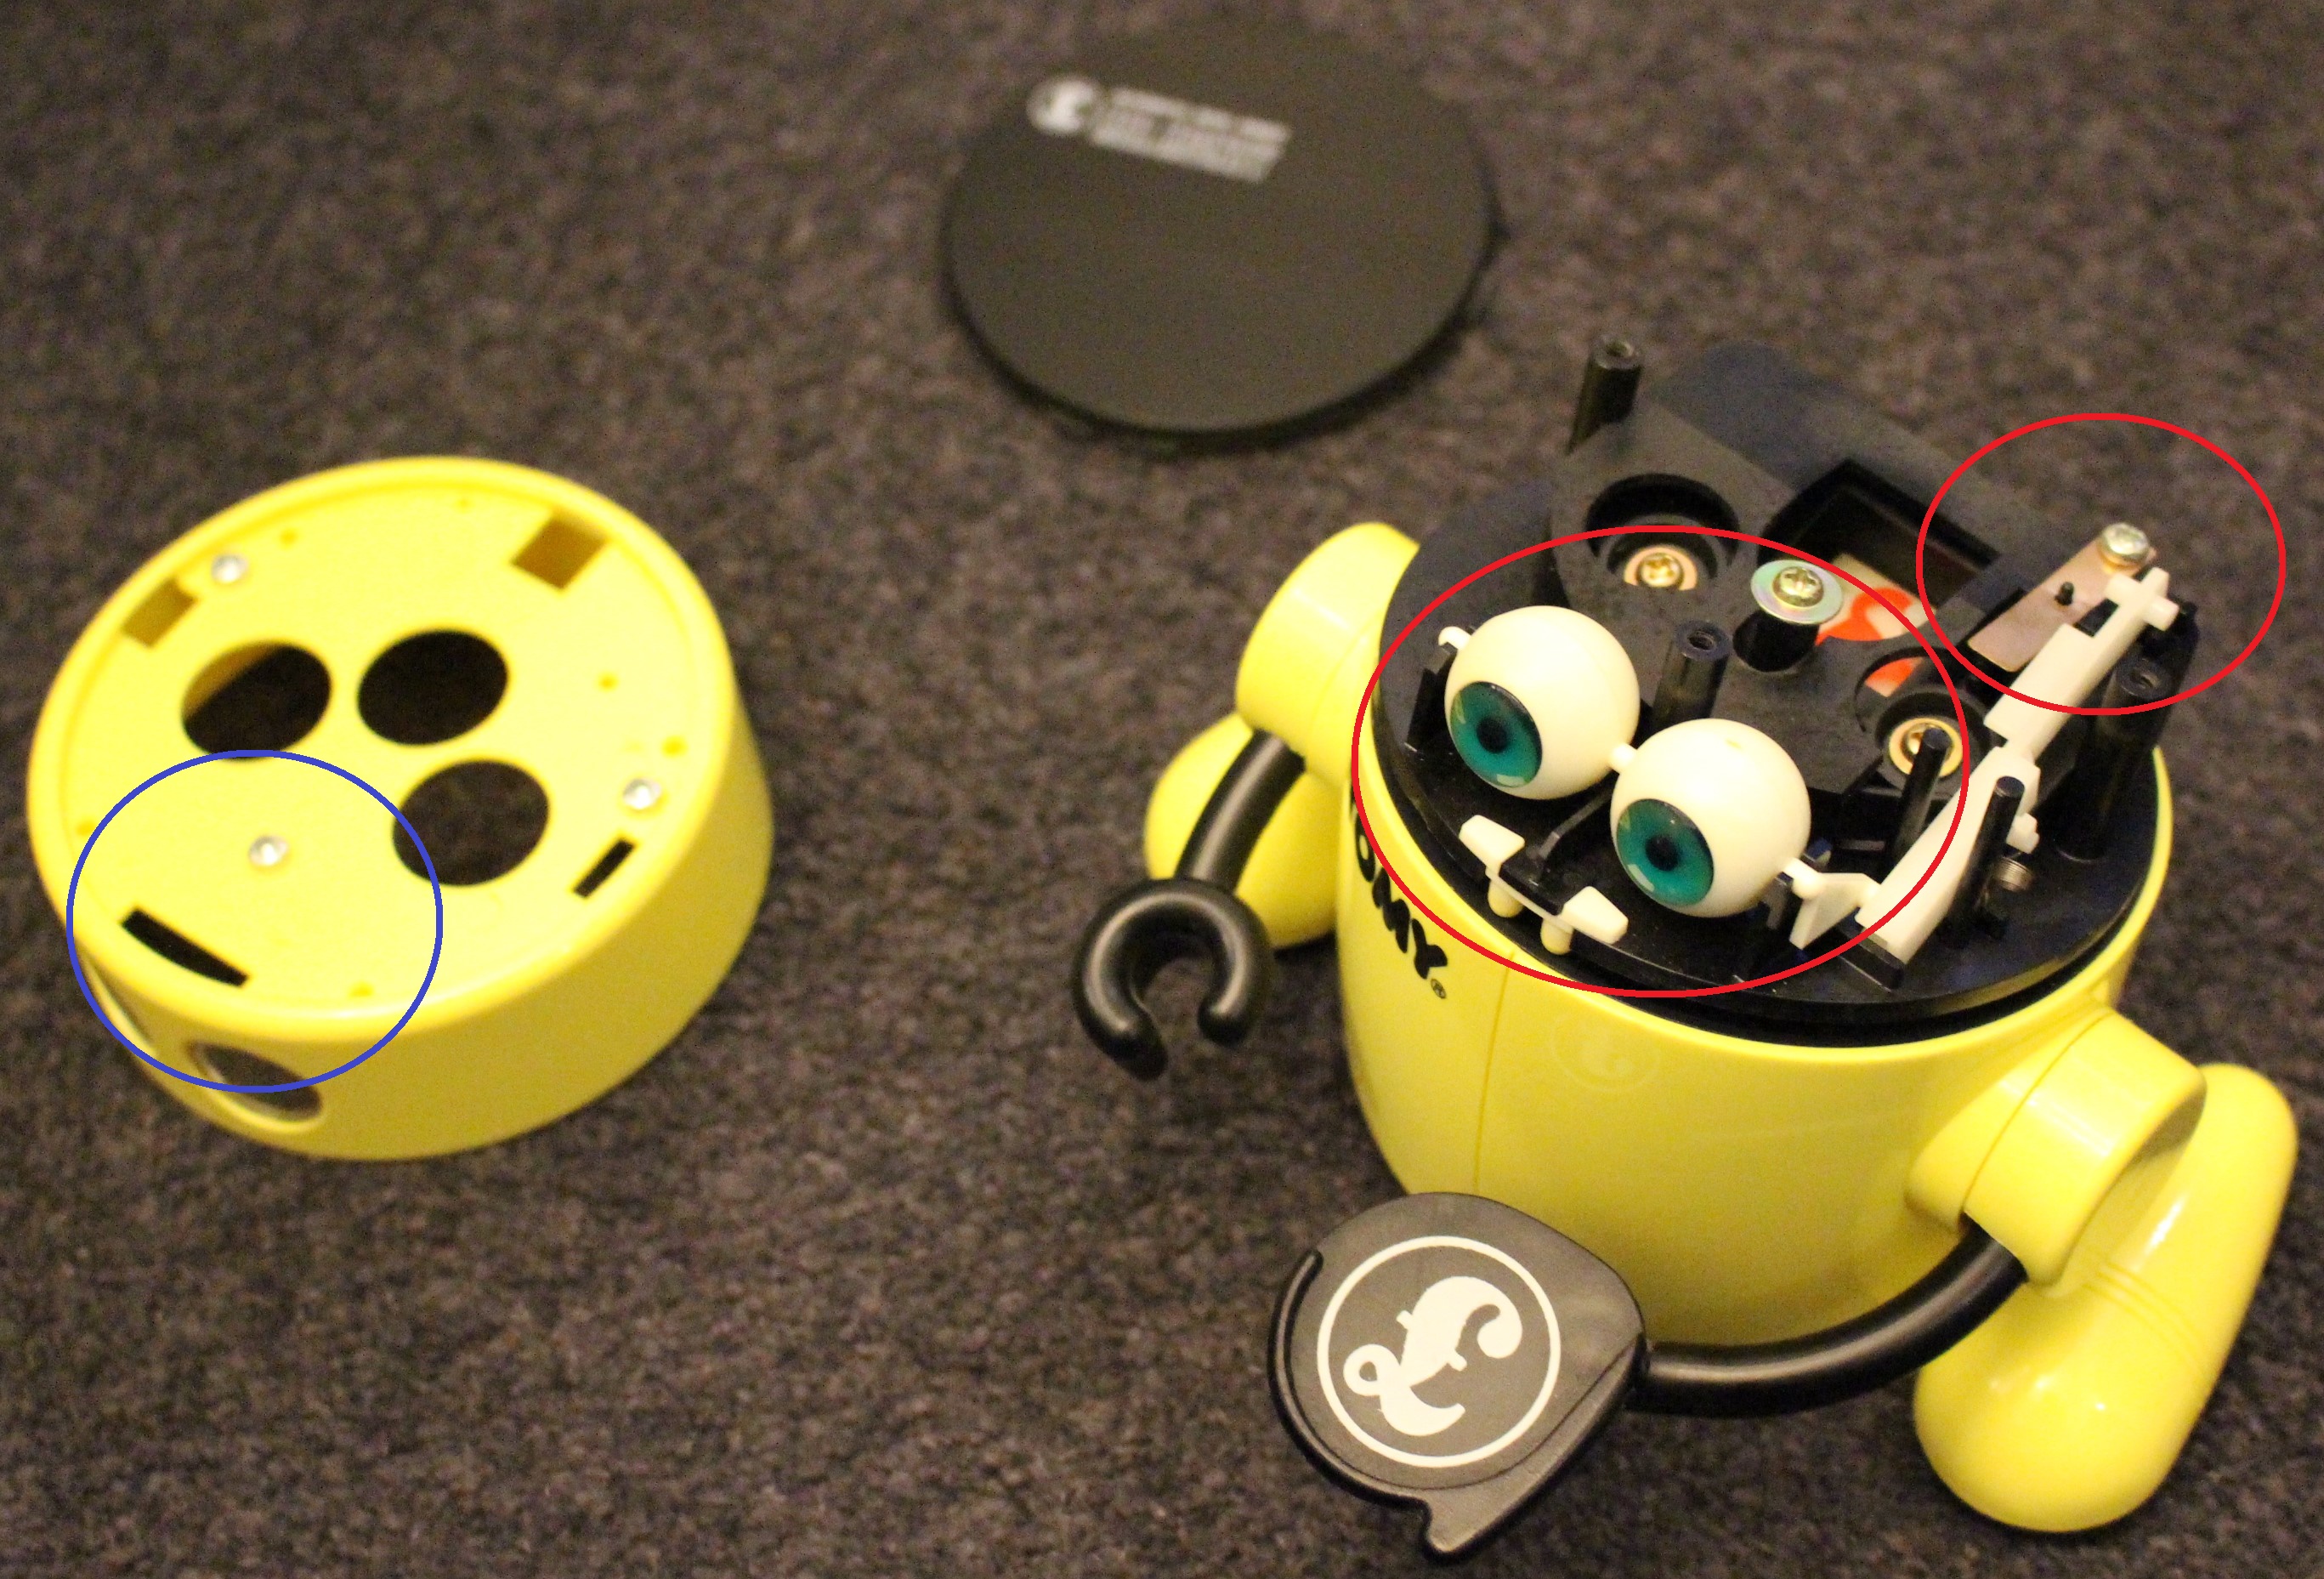
Old toys are another ‘workshop favourite’ enquiry. Many toys from the 1970s and 1980s have seemingly survived playtime to then be laid up in attics and cupboards for many years, only to be rediscovered when children move out or something similar is spotted, while browsing eBay! Toys from this era which take batteries, tend to have traditional electro-mechanical parts (switches, motors and bulbs etc) which if broken, can be repaired or replaced. By comparison, later made toys with microprocessors and micro components are sometimes very difficult to reboot without donor parts. A few months ago, I repaired a motorised ‘Tomy Kong Man’ toy for a customer who had found it in his parents’ loft. The toy was in good condition, but wasn’t working. The Dad wanted to get it working for his kids as he remembered having so much fun with it, when he was their age. After a good hour of dismantling, cleaning, re-lubricating and a touch of soldering, the toy was working well once again, ready to be enjoyed by the next generation.
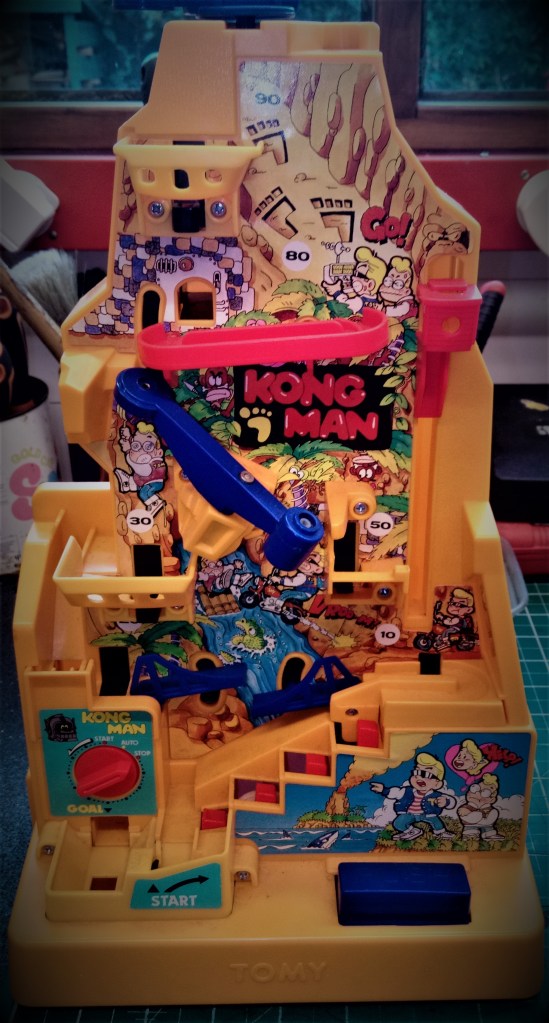
FixItWorkshop, Worthing, September 2021, a picture of the 1980’s Tomy toy, Kongman
The great thing about the repairs recalled here is that the owners all had a connection with their item and were prepared to preserve it for future generations. For whatever reason a strong bond had formed between item and owner, established over many years and incorporating many shared experiences. It’s programs like BBC’s The Repair Shop and Drew Pritchard’s restoration TV which draw out those backstories to bring tales of product ownership to life.
Sustainable is probably an overused word at the moment, but in order to really live more sustainably and reduce our impact on our environment, we need to buy less stuff, love the things we already have for longer and lobby decision makers to assist when repair barriers exist. So, the next time you’re thinking about binning your old Hoover, just think about all the fun memories you’ve had together and consider repairing it.

FixItworkshop, Worthing, September 2021, A slightly battered, but perfectly serviceable, Dyson DC14
For ‘The Workshop’, it’s about preserving an item, with its story intact, keeping it going, providing good service and enjoyment for as long as reasonably possible. Until the next time.