Bagpuss, oh, Bagpuss, oh, flat battery cat puss…

A much loved soft toy gets new (apparently non-replaceable) batteries…

For a change, this one’s just for me. I don’t often write-up repairs on my own items, but I couldn’t resist dedicating a few words to our beloved Bagpuss soft toy. He’s been around in the family for a good few years and when my youngest daughter decided to dust him down and make his voice work, I wasn’t surprised when no noise came out. Our Bagpuss has an electronic voice box which is activated with a gentle squeeze around the belly. After many years and many hugs, the batteries had gone kaput.

I grew up in the 1980s and remember watching Bagpuss on BBC1. I must have been about four I guess. Bagpuss lived in a shop window, a shop that was owned by a child, a shop that didn’t sell anything. Emily, the shop owner, would bring Bagpuss and friends broken objects to restore and explore. The story would begin once Emily had left and Bagpuss woke up…

Well, this Bagpuss wasn’t waking up anytime soon and to make matters worse, the batteries within appeared to be non-replaceable. Well, that’s not very good is it? So, in the spirit of the original TV program, I decided to take an unpicker tool to the cat and carefully dismantle his seams…See how I get on.

Make and model: Bagpuss talking toy

Fault reported: No talking, no sound

Cost of replacement machine: £10.00 if you can find one

Manufacturer support (in the UK): 0/10

Cost of parts (for this repair): £1.00

My time spent on the repair: 1 hour

Tools needed: Needle and thread, small flat screwdriver

Sundry items: None

Cleaning materials: Contact cleaner

Repair difficulty: 2/10

Beverages: 1 tea (as usual)

Biscuits consumed: No biscuits, just a slice of chocolate cake (I think)

There’s always that moment with a fix like this when you think; shall I just leave it as it is? I mean, it was still a loved toy right? But as my regular reader will know, that’s not quite how we do things in the workshop. Things must work correctly and if there’s a reasonable chance of success, then the repair must go on.

So, here it goes.

I knew that this Bagpuss ran on batteries, but had no battery compartment to gain access etc. He’s a soft toy, made from a mixture of polyester and cotton fabric, which is all neatly stitched together. All I could do is roughly locate the sound box within his chest and neck area and then chose a suitable seam to unpick, in the hope that it would allow me some access to the box without causing too much damage.

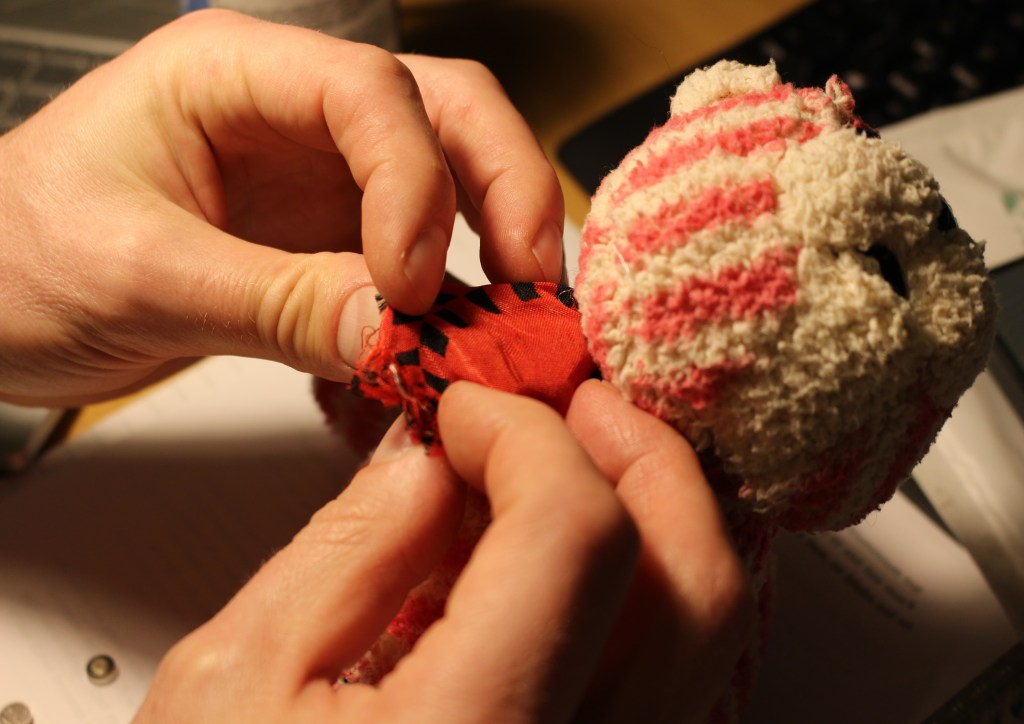
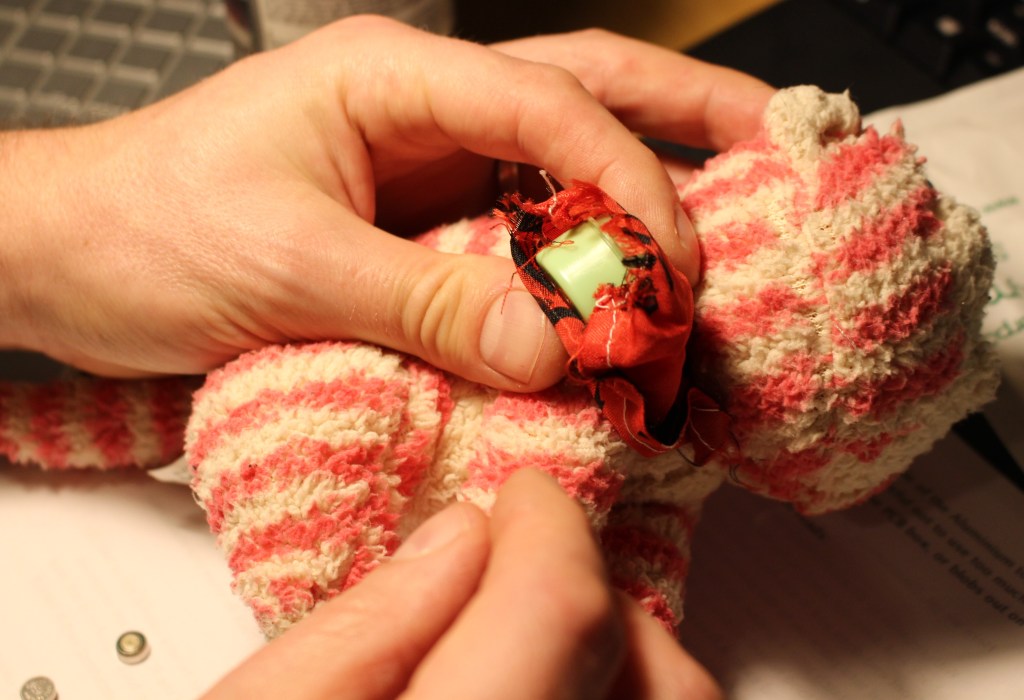
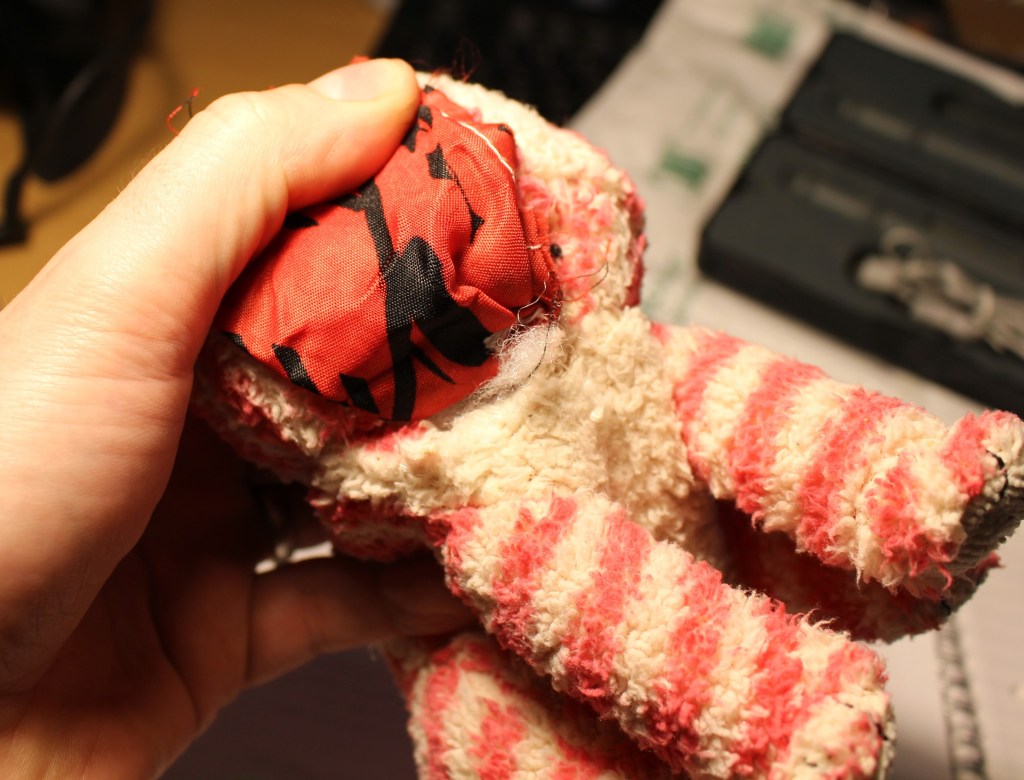
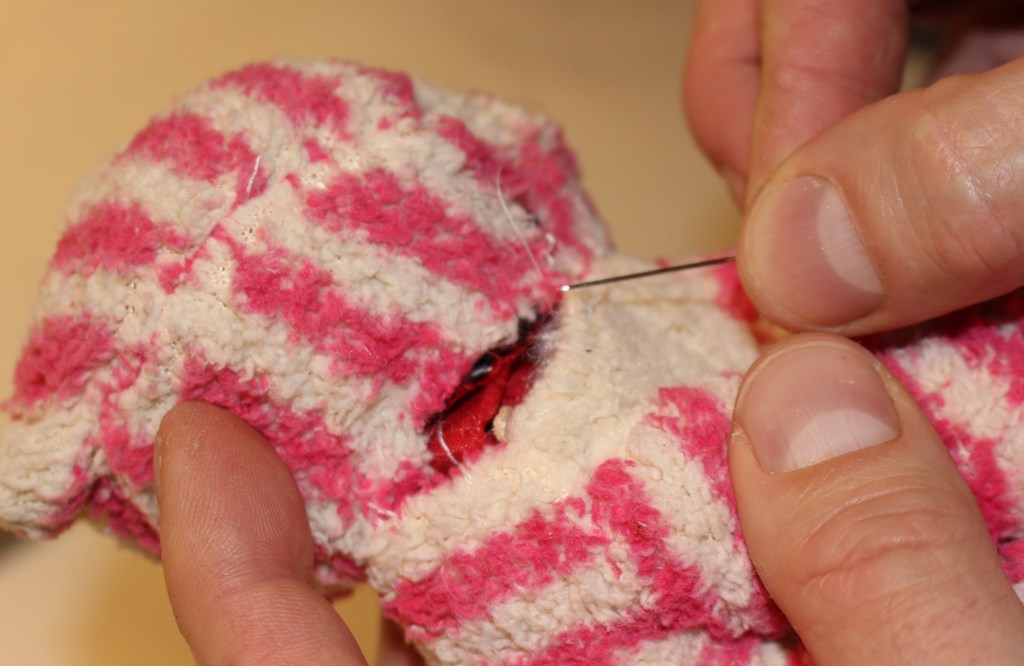
Using a standard stitch un-picker tool, I was able to gently cut into the neck and part of the chest area which gave me access to a small red and black smooth polyester bag, which contained the voice box. At this point, I was starting to feel a bit sick, I mean, what had I done!?

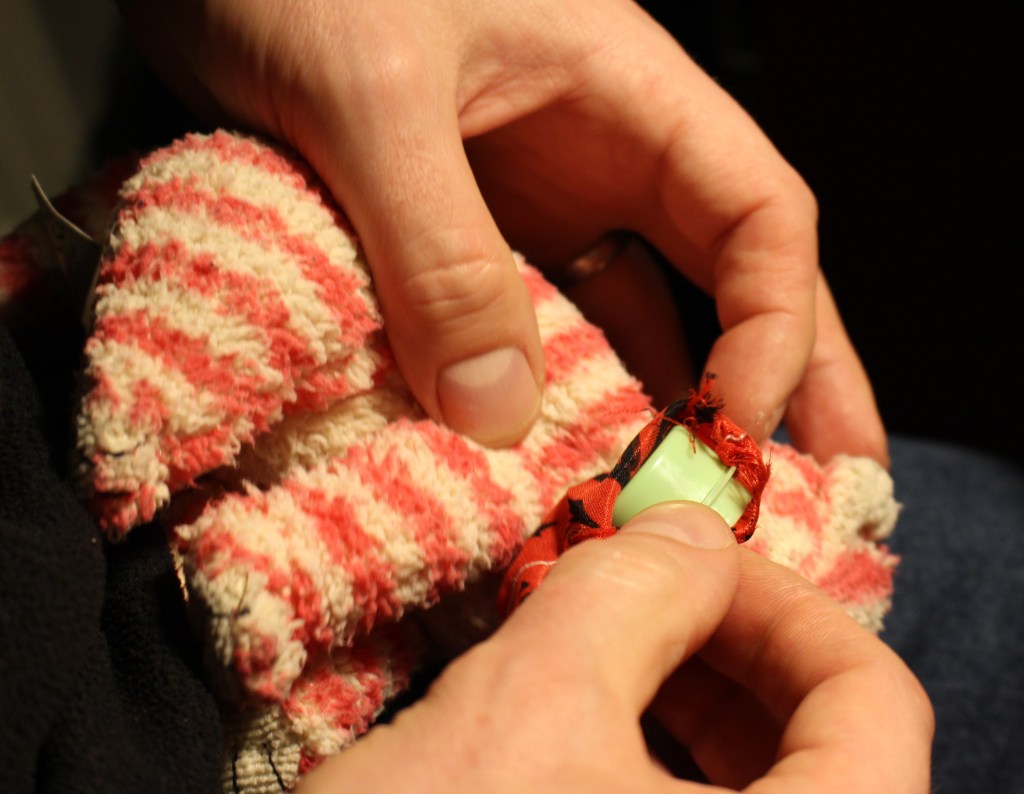
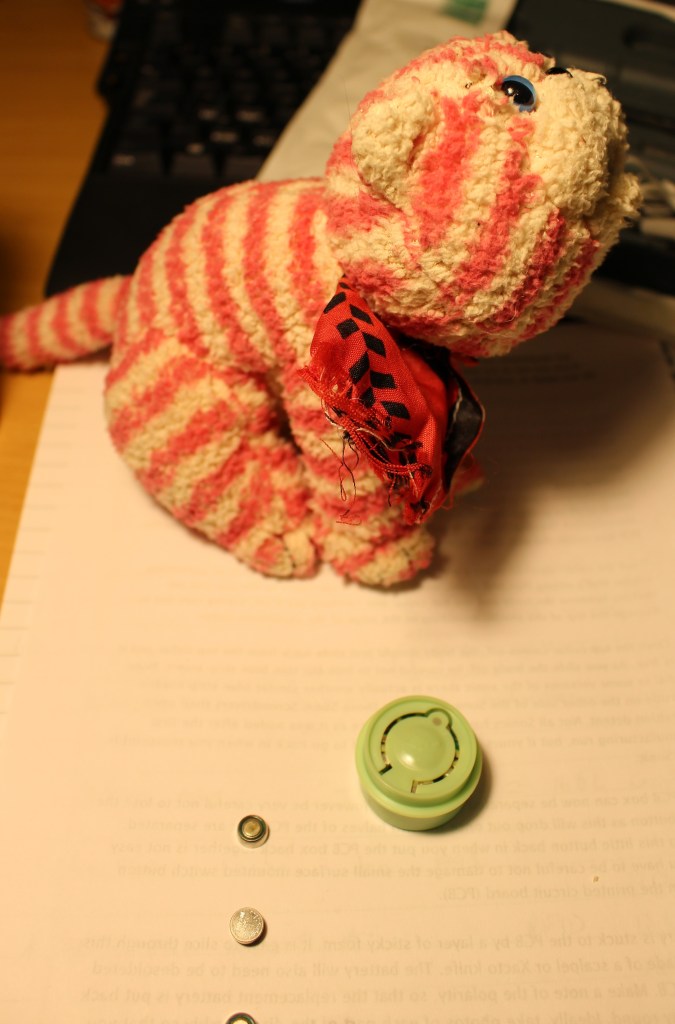
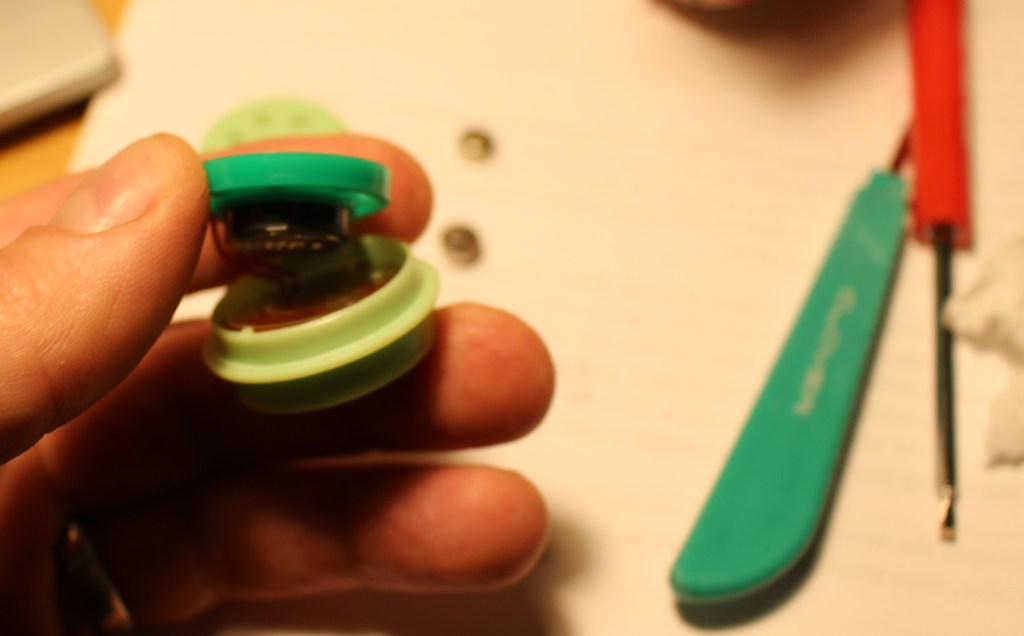
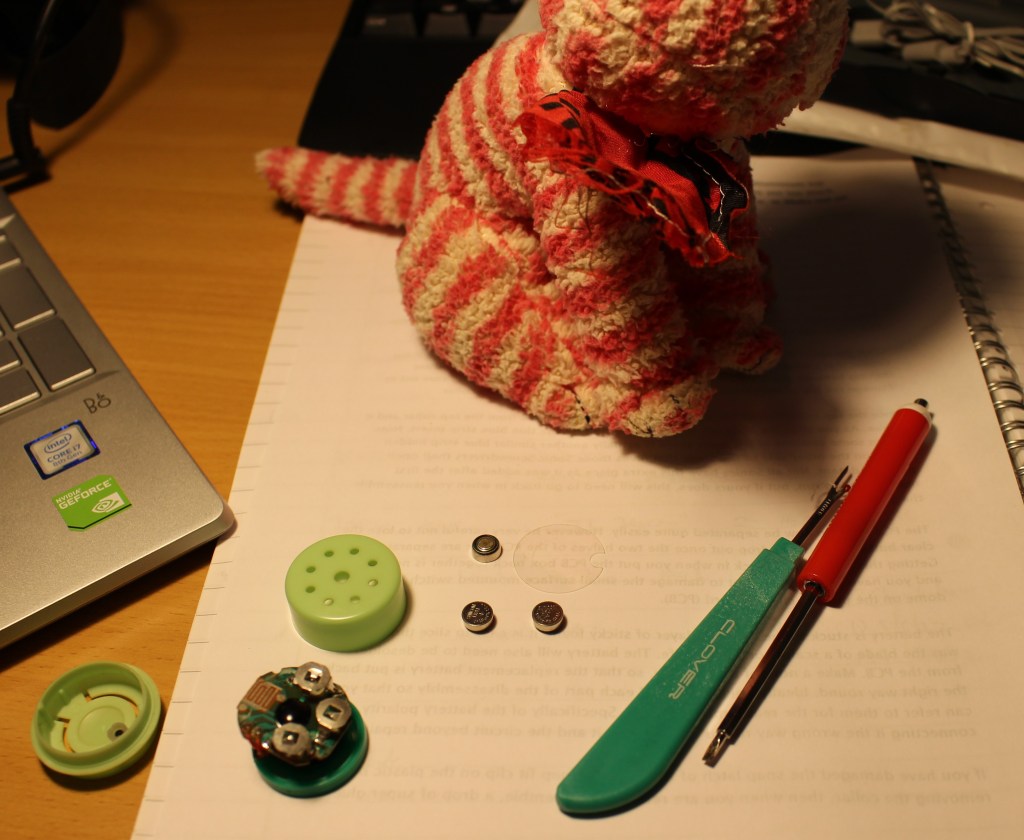
Moving on, the voice box just slide out of the red and black bag and from then on in, it was standard toy-fare. The plastic voice box had a switch on one side and a battery compartment on the other side, all perfectly normal. The battery door was held in place with a small screw and once removed, revealed three LR41 coin cell batteries. Very normal stuff, nothing non-replaceable here.

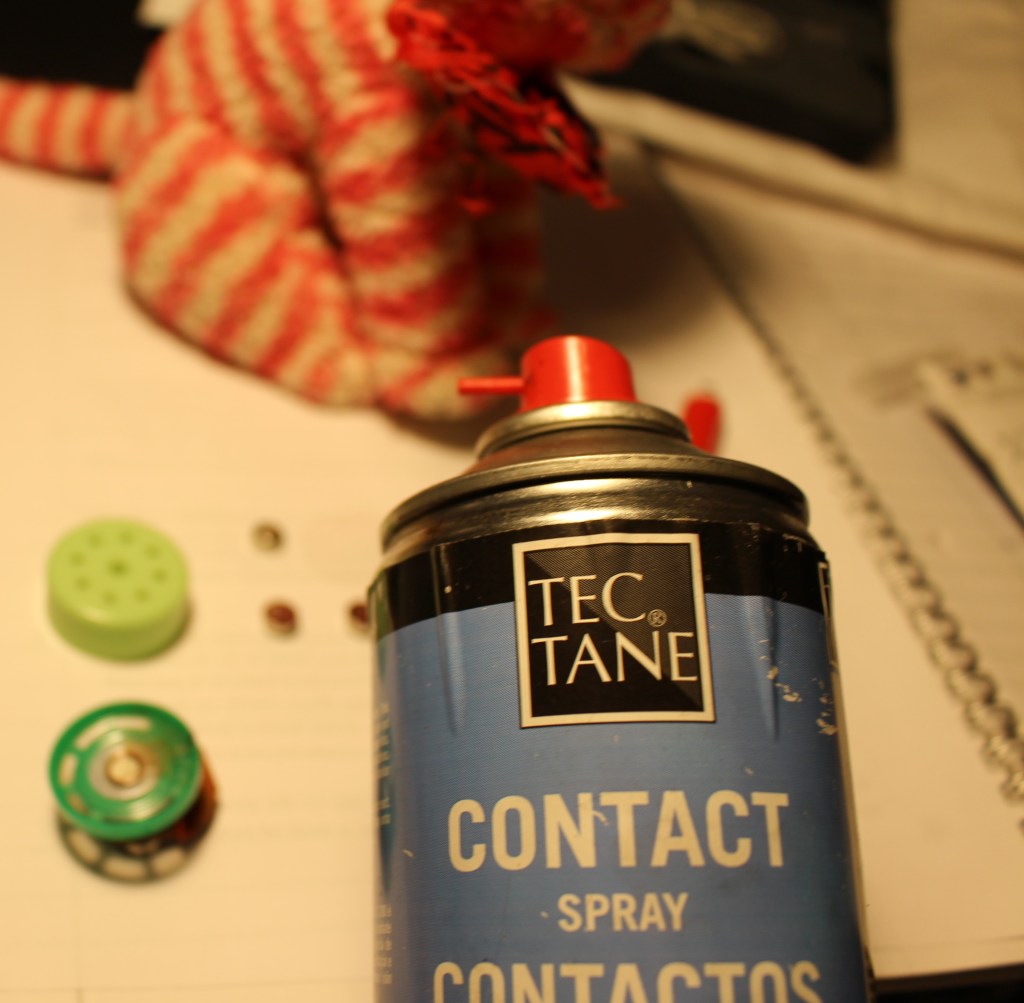
Luckily, I had some spare batteries in stock and with a little contact cleaner applied to the slightly tarnished battery contacts and the new cells fitted, Bagpuss’ voice was heard for the first time in ages.

Now it was just a case of putting the voice box back in the right place, so that the switch to make the sound work could be reached easily. Once that was done, it was just a case of carefully re-stitching the neck and chest bag together using white cotton thread and lots of neat tack-stitches that would be invisible, once tight.

After a few minutes of finger-pricking sewing, Bagpuss’ head was back on and it was time for a squeeze…

See what you think.

When a label or someone tells you that a battery cannot be replaced, ignore it and try anyway.

Once Bagpuss was back together, I couldn’t help but wonder why the manufacturer hadn’t fitted a hidden zip to allow simpler battery replacement. Perhaps it’s got something to do with safety standards. Who knows. What I do know is that Bagpuss isn’t alone, and I suspect that many toys like this are discarded needlessly each year due to short-term, lazy design.

Make it so, number one

A Star Trek Next Generation themed money box gets a light restoration

IMG_20200617_221628
FixItWorkshop, Worthing, August’20, Star Trek money box.

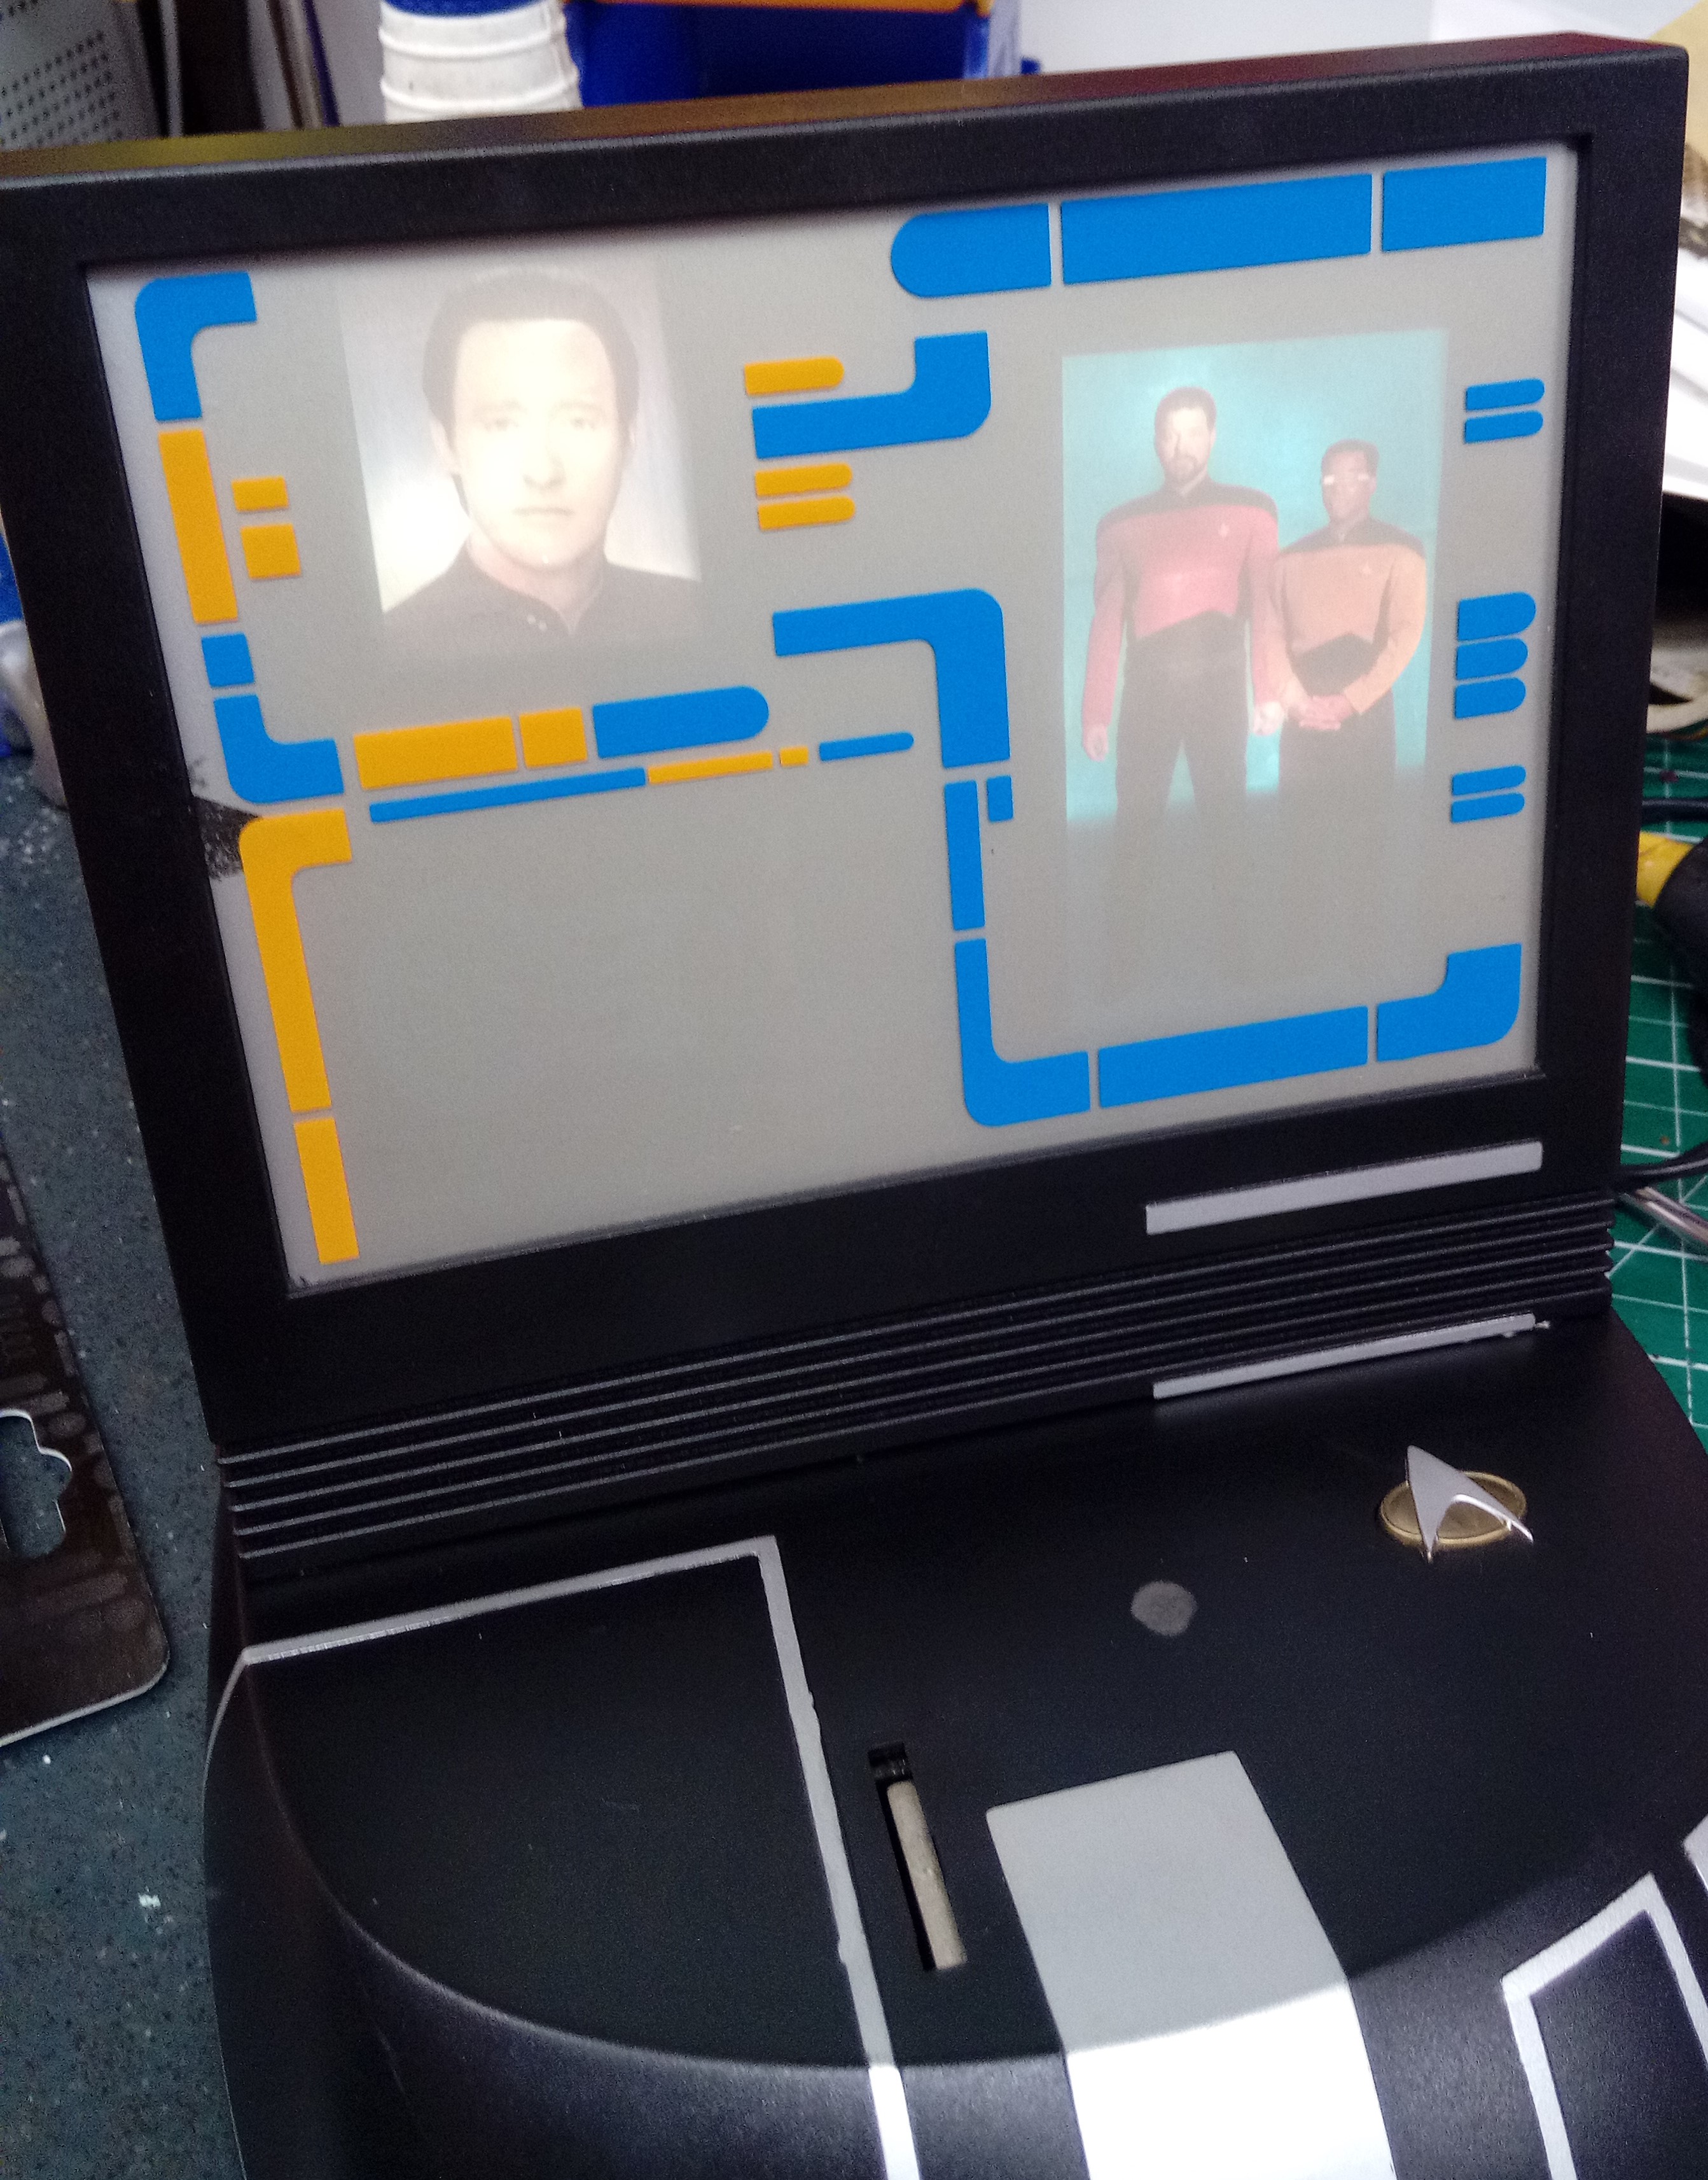
Some things are just cool.  I mean look, if this money box doesn’t encourage prudent saving behaviour, then quite frankly, nothing will.

Spoiler alert:  Put money in, some of the Star Trek crew (Next Generation) light up, followed by speech and cool sound effects.  What’s not to like.  Pressing the Star Trek (Starfleet) button, simulates the effects too. What fun.

This money box had once been cherished by its owner, but had been left in the attic for a number of years, with the original batteries still fitted.  As anyone who’s done this before will know, old batteries leak in time.  If you’re lucky and catch the ensuing corrosion in time, you might get away with just battery removal and a light clean up. If you leave it long enough, like the owner of this toy had, you’ll end up with a lot of rusty mess and no chance of life (Jim, but not as we know it). Remember, take batteries out before putting your toys away, long term.

Make and model: Star Trek money box (make unknown)

Fault reported: Not working/ battery compartment heavily corroded

Cost of replacement: £ Irreplaceable

Manufacturer support:  0/10

Cost of parts: £4.00

Hours spent on repair: 1.5 hours

Tools needed: Screwdrivers, test meter, heat shrink, soldering iron etc

Sundry items: Cleaning materials, paint, contact cleaner

Repair difficulty: 3/10

Cups of tea: 1

Biscuits: none (1 jammy donut, slightly warmed, as they should be)


This slideshow requires JavaScript.

When I get an item like this, I tend to spend a bit of time researching it online, to see who knows anything about it.  It turns out, that this money box isn’t that well represented and after a few Google searches, I simply gave up and got on with the repair.

Parts for something like this are not available from the manufacturer, even if they are still around.  Presented with a situation like this, the only thing that can be done is to see if other parts can be bought off the shelf from component suppliers and be made to fit.  One simply has to be creative.

Good old eBay came up with the goods.  AA and C type battery terminals were available in single and double terminal variants and I ordered a couple of packs from a Chinese supplier, who delivered the bits I needed, within a week.  These things are reasonably cheap, so I ordered a pack, just in case I ruined a few, practicing first.

Just a few small screws hold the casing together and after de-soldering the wires going from the battery compartments to the main circuit, I was ready to start.  With battery corrosion as severe as this, all you can do is soak the parts in something like WD40 and attack the rusted parts with a small screwdriver and knife, taking time to avoid damaging the (aged) plastic casing..

After an hour, I’d removed 99% of the mess and fitted the new terminals.  The AA terminals went in OK, but the C type ones needed adapting with some metal I had lying about in the workshop.  A quick re-attachment of the wiring,  a quick clean with brake cleaner to de-grease and then touch up with some satin black paint and one would never know that batteries had ever wreaked such havoc.

Sometimes, I want to hang on to some of the things I repair.  This was one such item, but alas, I had to give it back.

Time for a brew.

More power please

Does your toy have enough energy?

IMG_20200304_211145
FixItWorkshop, Worthing, March’20, testing a battery (featuring my retro BT multimeter).

I’m not a fan of batteries. They run out and always when you least expect it.

You know that anything with a battery, will need attention at some point.

Batteries either need to be replaced or better, recharged.

But often, replacement batteries are the only option for toys, which can mean high running costs. Especially when the toy is played with continually by an enthusiastic child owner!

Trouble is, a mixture of built-in obsolescence and poor design means that it’s just not obvious how one replaces duff batteries meaning that, I suspect, lots of toys get thrown away needlessly, but it’s not the owners fault necessarily.

Sadly, some replacement batteries cost more than the toy itself, which is just mad.

Make and model: toy radio control car (no brand or model)

Fault reported: Not working

Cost of replacement: £10ish

Manufacturer support:  0/10

Cost of parts: £5 (batteries)

Hours spent on repair: 30 minutes

Tools needed: Screwdrivers, test meter etc

Sundry items: None

Repair difficulty: 0/10

Cups of tea: 1/2 cup

Biscuits: None

This slideshow requires JavaScript.

The owner of this toy had played with it non-stop wearing the batteries out.  Mum and dad had replaced some of the batteries in the car part of this toy, but still the toy didn’t work.  It wasn’t clear to the parents, which batteries in what part of the toy needed to be replaced, which meant that an email asking for help, popped in to my inbox.

At first glance, the car part of the toy had no battery cover or compartment, but on closer inspection, the car separated in to two halves, allowing access to the 4 X AA (1.5V) batteries.  Not a straightforward task for everyone.  Testing each battery revealed that they were all worn with an average of 1.3 volts (much lower under load) each.  I replaced these with fresh ones and put the car back together.  The car’s casing was simply held together with a clip and a couple of small screws.

However, the toy still wasn’t working, time to test the radio controller.  Again, a screwdriver was needed to open the battery compartment to access the battery.  Not all households have screwdrivers (even though I believe they should!).

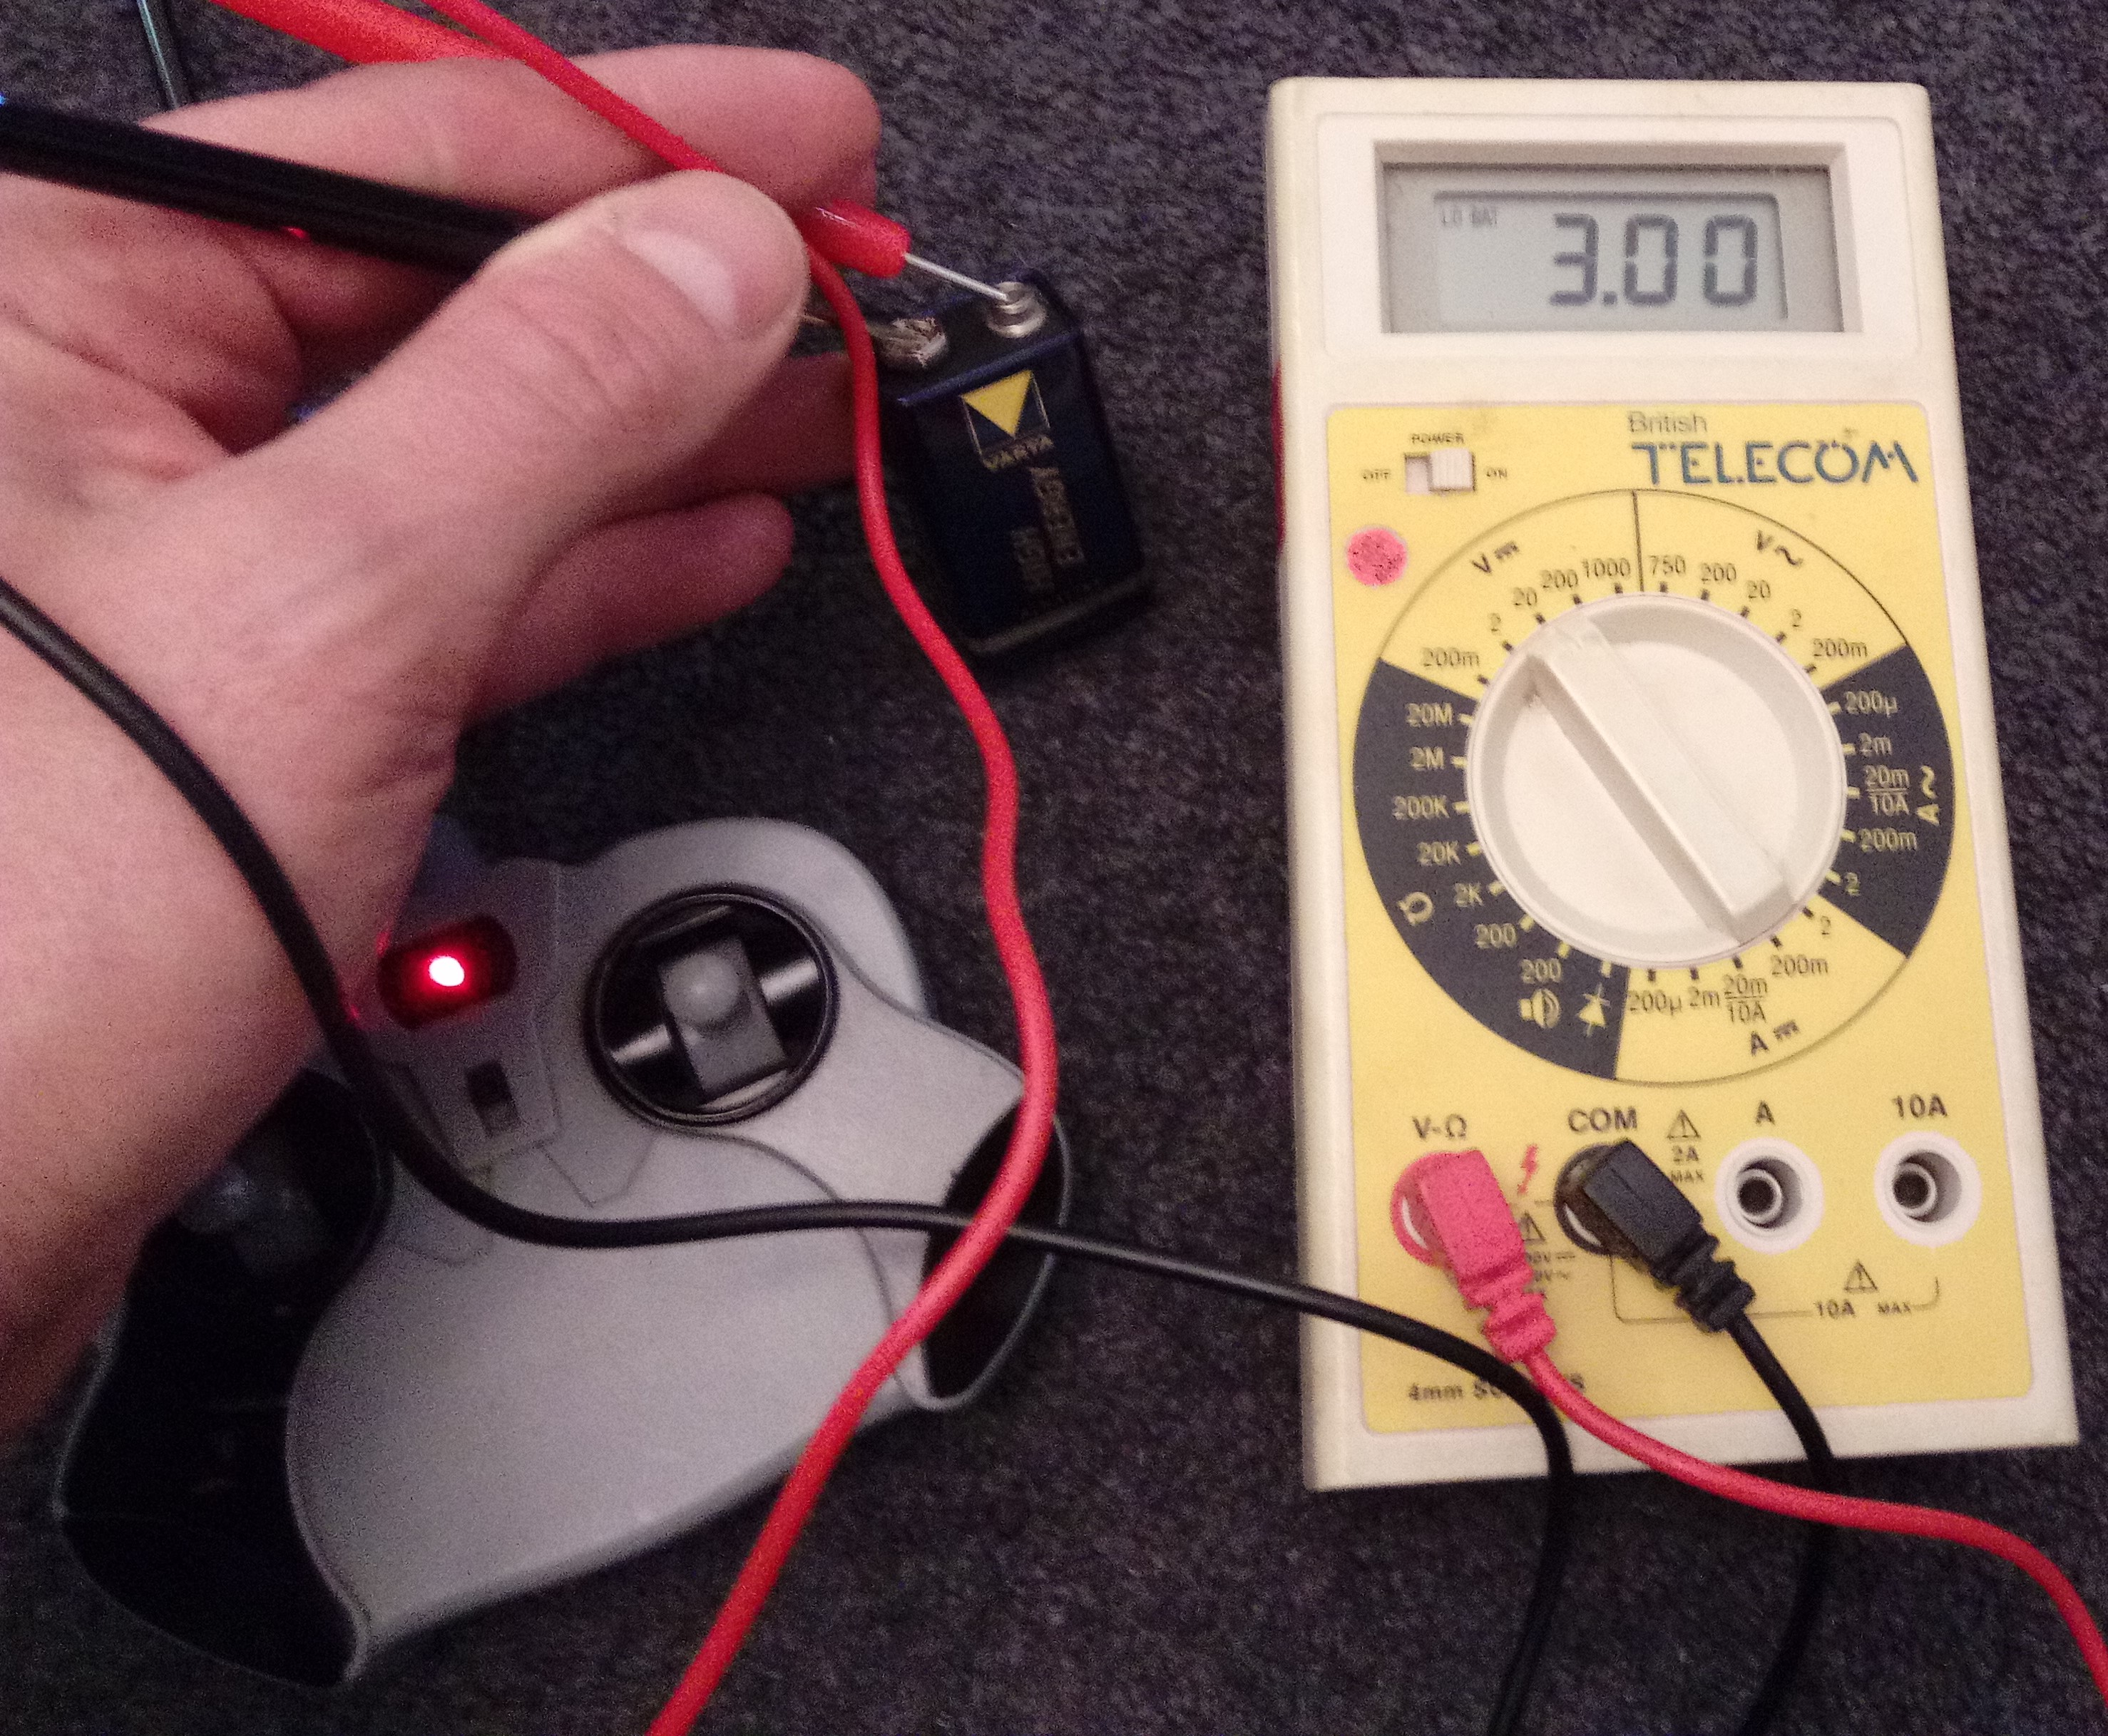
Testing the 9V PP3/ 6LR61 battery revealed around 3 volts, 6 volts too low.  Again, a new battery got the radio controller working once more.

Doing this ‘repair’ got me thinking.  Batteries can be tricky things to manage.  New ones can go flat when not in use and old ones that have been kicking around in a drawer for a while can be fine to use.  One can replace batteries with ‘new’ ones which are no better than the ones fitted, leading a user to believe that the ‘thing’ must be faulty.  A false positive.

With a little basic training on multimeter use, hours and cash can be saved by testing pesky batteries.  At under £5 for a basic multimeter, it could be money well saved for any household.  Just a thought.

With both car and radio controller switched on, the toy sprung to life.  Of course, I had to test the car thoroughly before handing it back(!).


Tone-deaf VTECH Singing Nursery Rhyme Book

VTECH kids toy gets a little help.

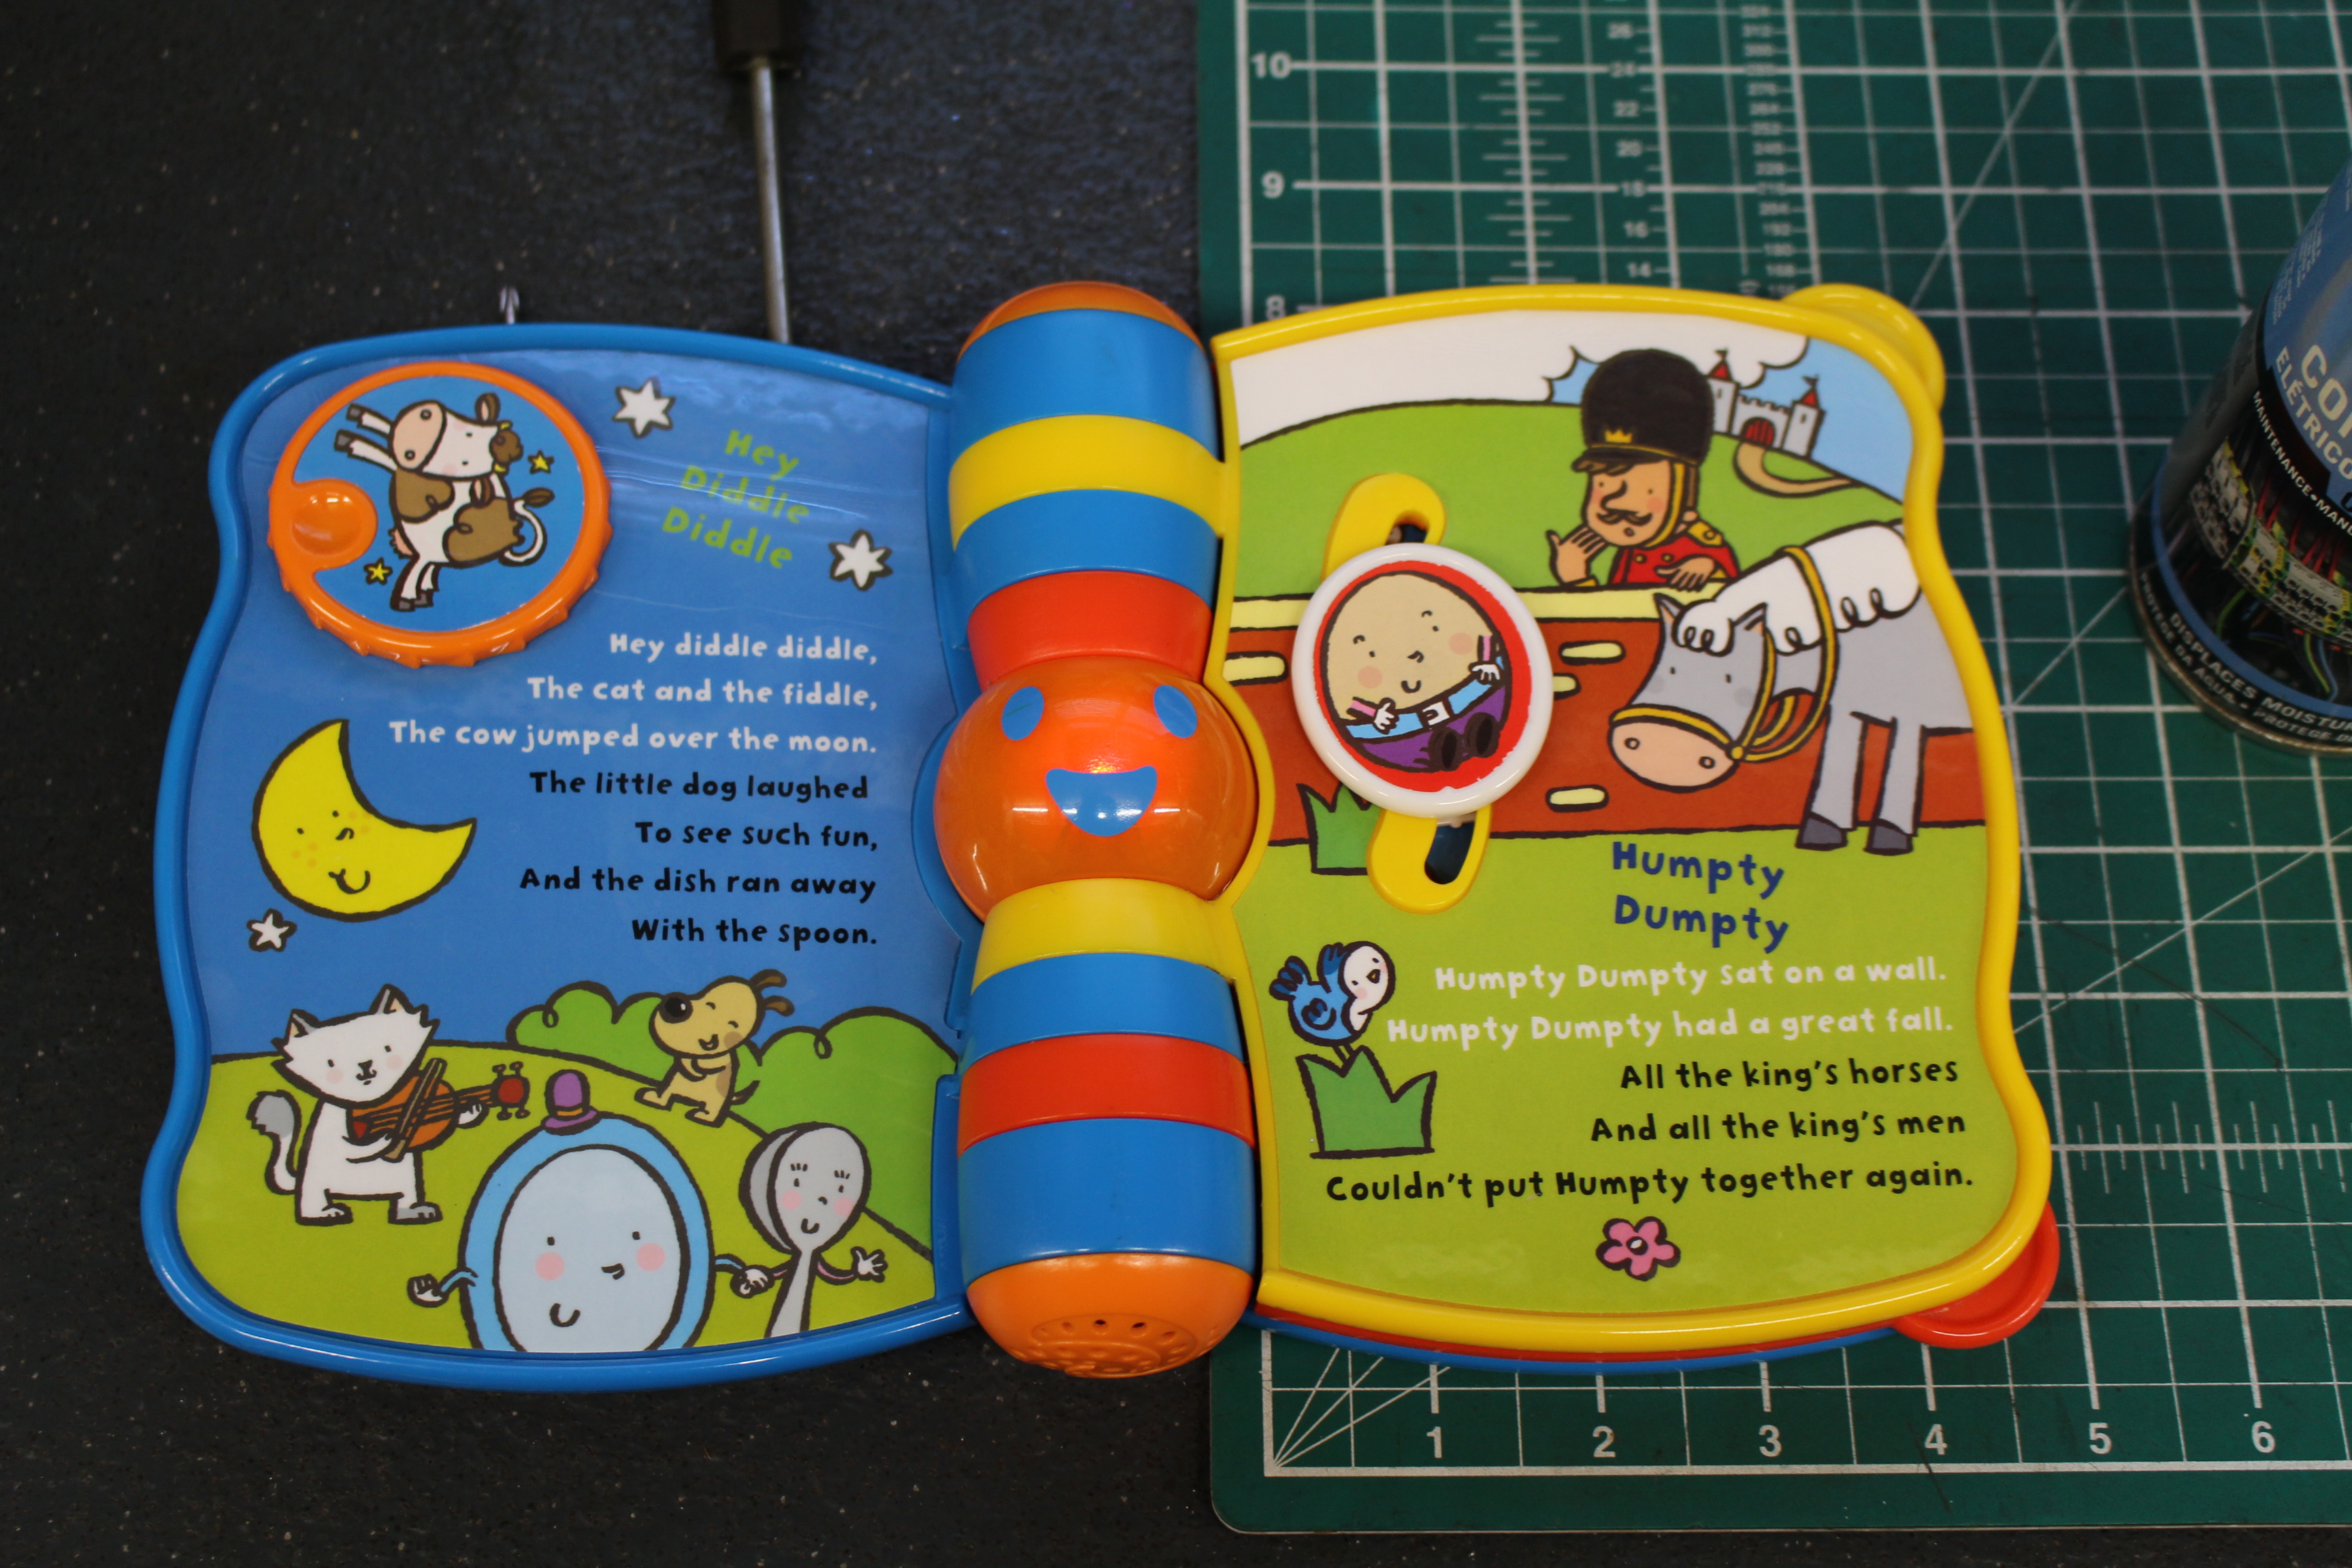
We love a musical singing book toy, don’t we.  They’re great for encouraging children to form words, read and follow a narrative.  We have a few of these and they’re all great fun, all the time the batteries hold up.

We’re not so fond of musical books when they seemingly start by themselves, at one o’clock in the morning, when there’s no one else in the house.  Very creepy.

Make and model:  VTECH Electronics Singing Nursery Rhyme Book

Fault reported: Poor sound quality

Cost of replacement:  N/A

Cost of parts:  £0.00

Hours spent on repair:  About 10 minutes

Tools needed:  Small file, cleaning cloths

Sundry items: Contact cleaner

Repair difficulty:  1/10

IMG_9559
FixItWorkshop, Worthing, July’19, VTECH Singing Nursery Rhyme Book.

This toy was a hand-me-down and had enjoyed a few years of use already, before it came in to our household, but it was in good condition and still has many more years left in it yet.

Recently though the singing emanating from the book was becoming a bit off-key and to be frank, rather than bringing joy the noise coming from the toy was enough to induce nightmares.  I keep a ready supply of rechargeable ‘AA’ batteries in this house and after popping out the old ones, the new ones fitted, I assumed all would be well, but not so.

Despite fresh power, the singing was still horrible and wobbly.  A quick test of both sets of batteries (old and new) revealed that the original batteries were fine and that something else was at play.

Time to delve a little deeper.

Galvanic corrosion can occur when two different metals in close contact with each other, chemically react.  The corrosion forms a barrier, in this case between the electrical contacts of the toy and battery to form a resistance.  This means that the toy, with the corroded contacts, wouldn’t get the full power it needed.

There was some minor corrosion on the contacts that needed a quick clean with some cloth and contact cleaner, something I keep on the shelf for such an occasion.

This did the trick and with the original batteries fitted, the toy was back on song once more, ready for another performance.

Elna SP foot pedal went bang

Elna SP foot pedal to the metal

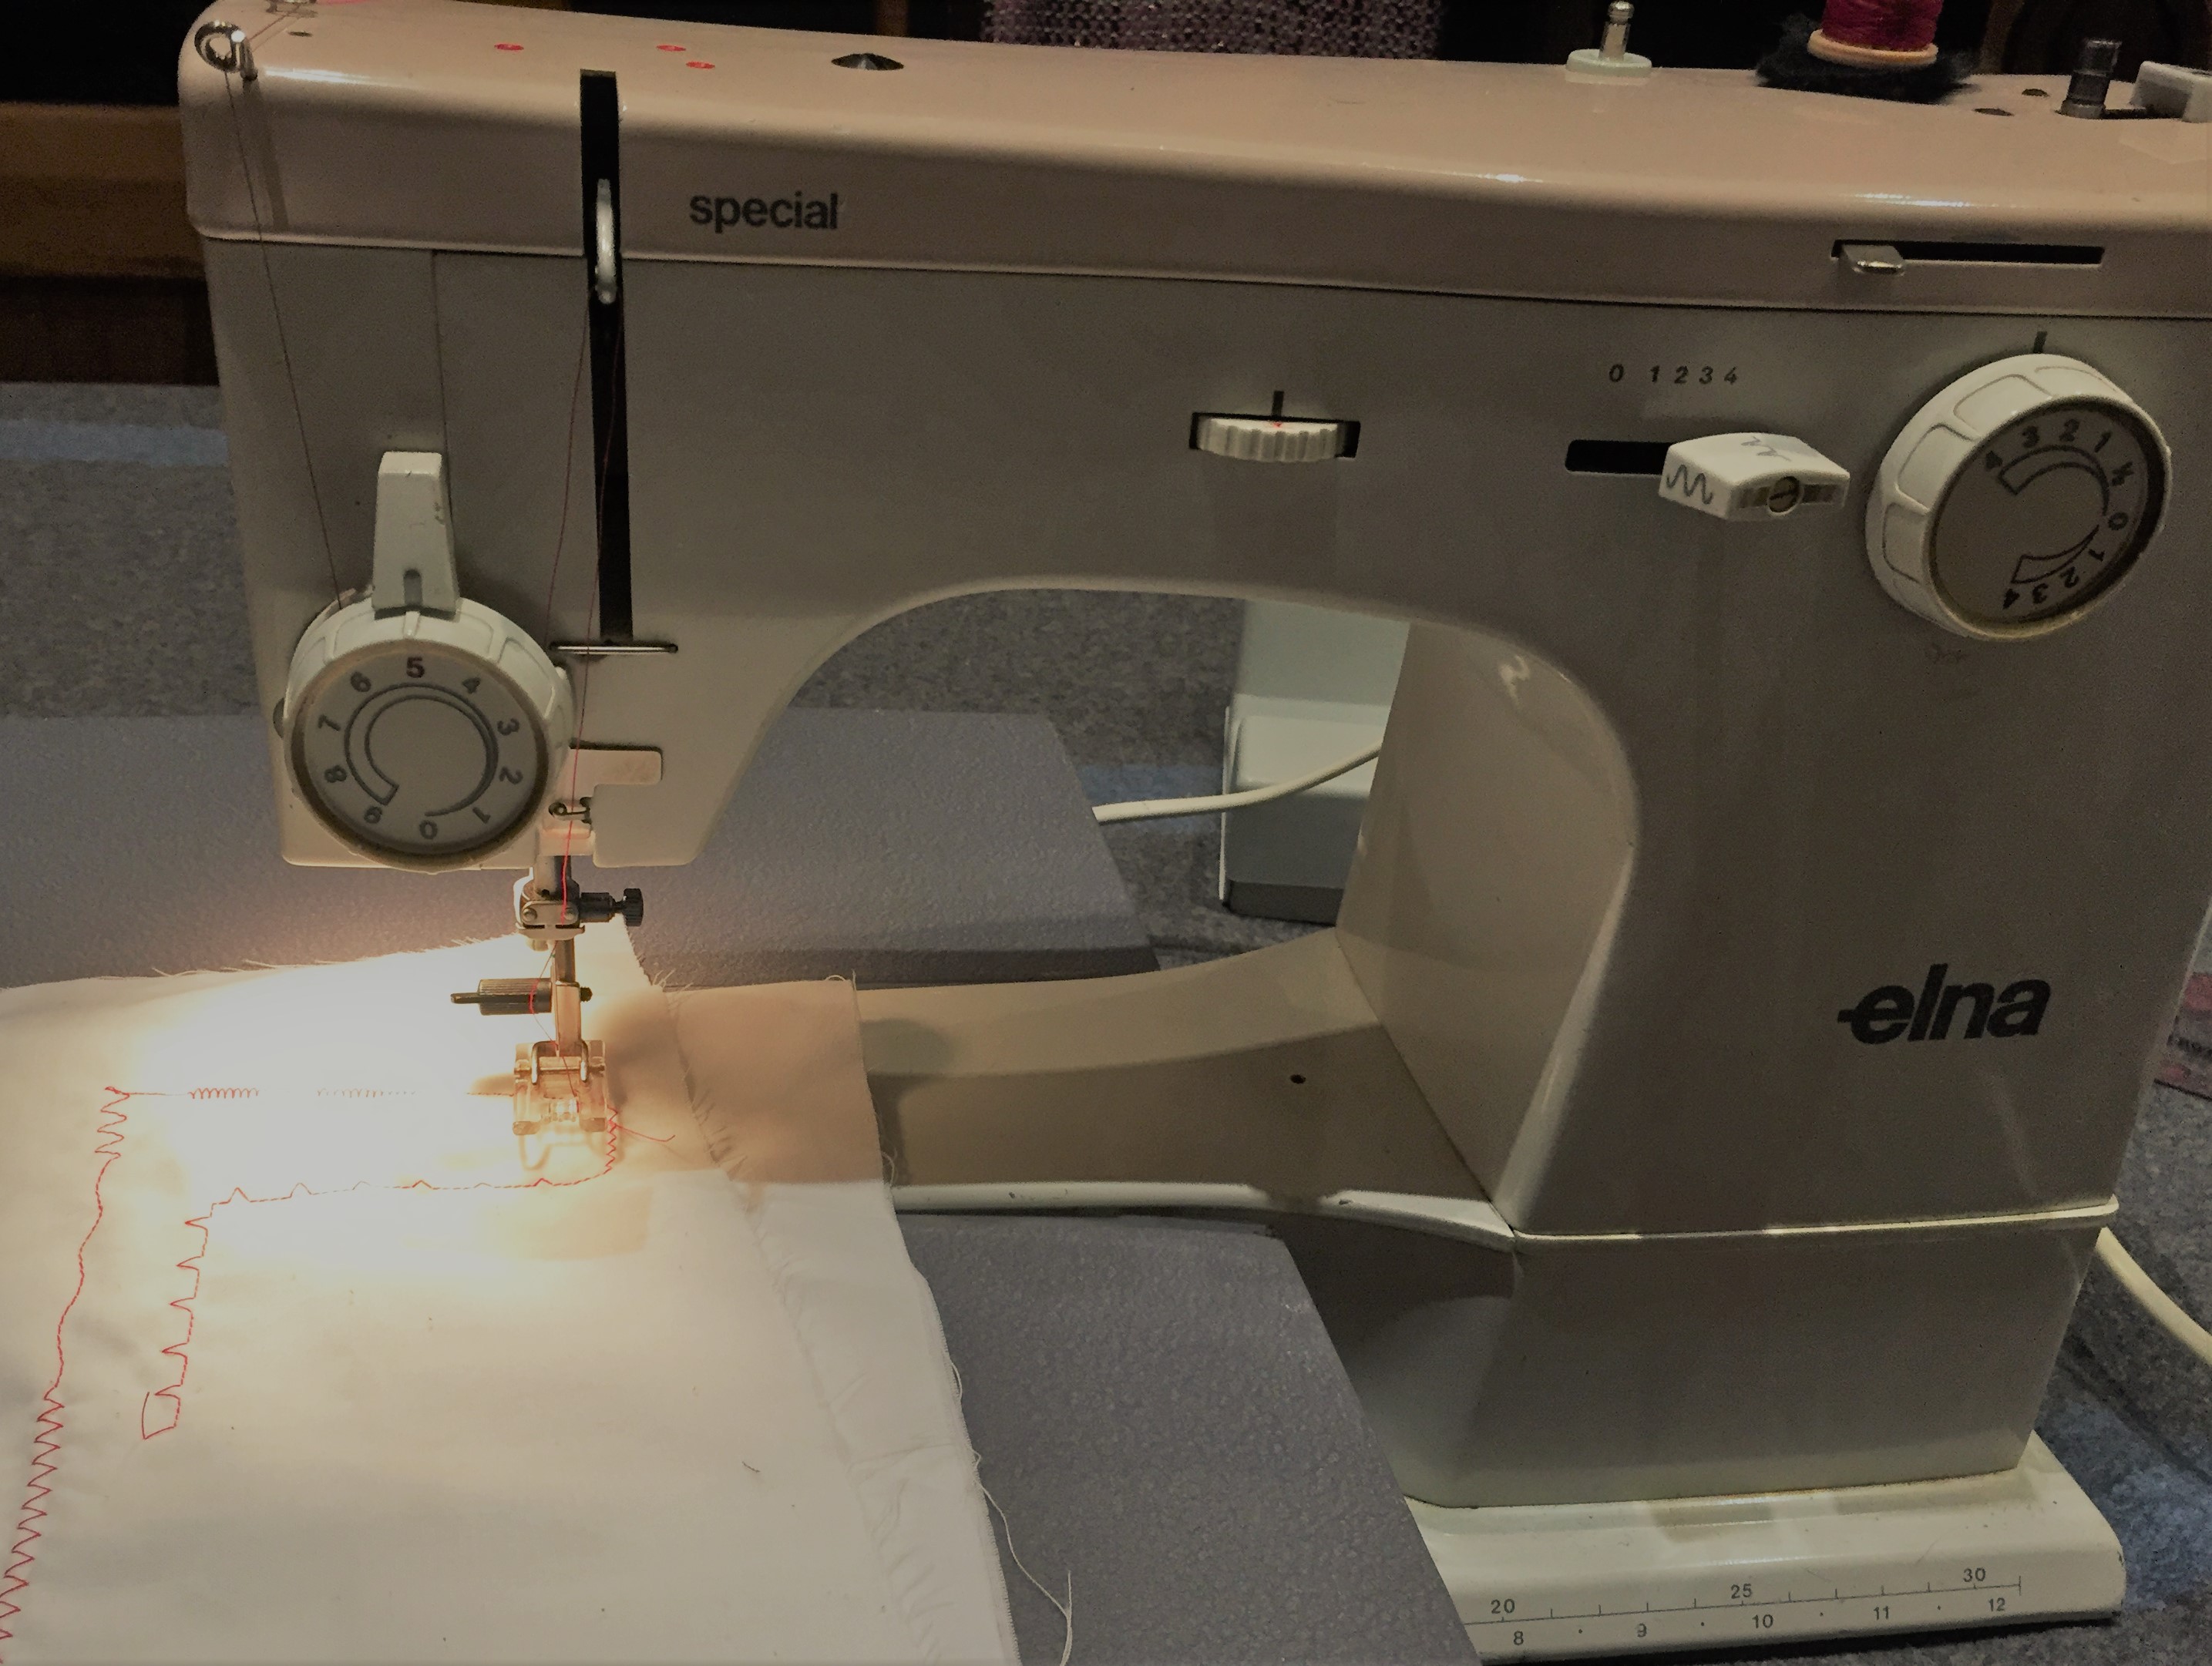
On the back of a previous article about a repair I did on the rather wonderful Elna SP sewing machine, a reader got in touch.  She was a genuine sewing aficionado and had several top of the range current machines, but she used the trusty Elna SP for many smaller jobs, where the other machines didn’t quite cut it.

All Elna SP machines are getting on a bit and parts are either re-manufactured, scarce or secondhand, if you can find them.  Having said all that, a well-maintained Elna will run for many years and last much longer than new metal on sale now.

IMG-1971
FixItWorkshop, Worthing, November’18, Elna SP Special, in action

The foot pedal on this machine had gone pop, bang, finito.  It smelled terminal.

Knowing that parts for this machine are rarer than hens teeth and I do like a challenge, I took on the job.  I’m based in Worthing, West Sussex and the machine was located in Scotland, so after a short wait, the knackered pedal arrived in the post.

The pedal is held together with four small self-tapping screws and came apart easily.  The reason for failure was two-fold.  The copper leaf contacts had arced excessively and caused major pitting in the contact strip (see slide show) and the probably ensuing resistance had caused the main resistor to overheat, causing the winding to fail.

This slideshow requires JavaScript.

The contact surfaces were easy-ish to fix, or rather breathe new life into as all they needed was cleaning and re-shaping.  The resistor was a bit trickier to mend.  Getting hold of a replacement was going to be near impossible, so the only thing to do was to try and repair it.  Without that particular style of resistor, of that value, it wouldn’t work again.  Luckily, there was some excess resistance wire on the thing and I managed to twist it in to the broken section.  Soldering was not an option, since the wire was an alloy that wouldn’t take to solder and in any case, these things get hot in normal service.  I twisted both ends of the break to form a new section, while maintaining the same length of windings on the resistor, essential if I was to match or get close to the original specification.  Difficult.  Luckily, after a few goes, I managed it and the applied a little heat-conducting (and therefore dissipating) paste to the join.

With the pedal reassembled, I was only able to test it with my meter, since the sewing machine was far too heavy to post.  The pedal tested as a closed circuit (OK), which was a result.  I then had to wait for the pedal to be collected, taken back to Scotland and tested.  Fortunately, my fix worked and the machine sprang in to life, without a hitch or missed stitch.

Now, a word of caution with this one.  This is NOT the best way of mending something like this and all I’ve probably done is prolong it’s life a little longer.  There are generic sewing machine pedals that would work with this machine and will be fine, when this one fails in future, but that’s not the point.  The main thing is that something that was broken is now working and even if it’s not the best fix, at least it will run for a bit longer.  Happy days.

Cost of replacement: (generic part) £15-30.  Cost of repair, my time, a bit of solder and several cups of tea.