Headphones are big business and global sales of these devices reach over $500m per year in the U.S. alone (quick Google search, so it must be right eh). As I’m sure you do; When I read sales figures like that, I wonder what the average life expectancy of headphones is, as I’m sure that many sets are viewed as disposable items.
Bluetooth and other wireless headphones aside, most wired headphones are fairly straightforward to mend, assuming no damage has been done to the speaker or ‘phones’ part. You just need basic tools, some patience and a fair bit of nerve… See how I got on with this pair of AKG K92s.

FixItWorkshop, Worthing, November’20, AKG K92 headphones. 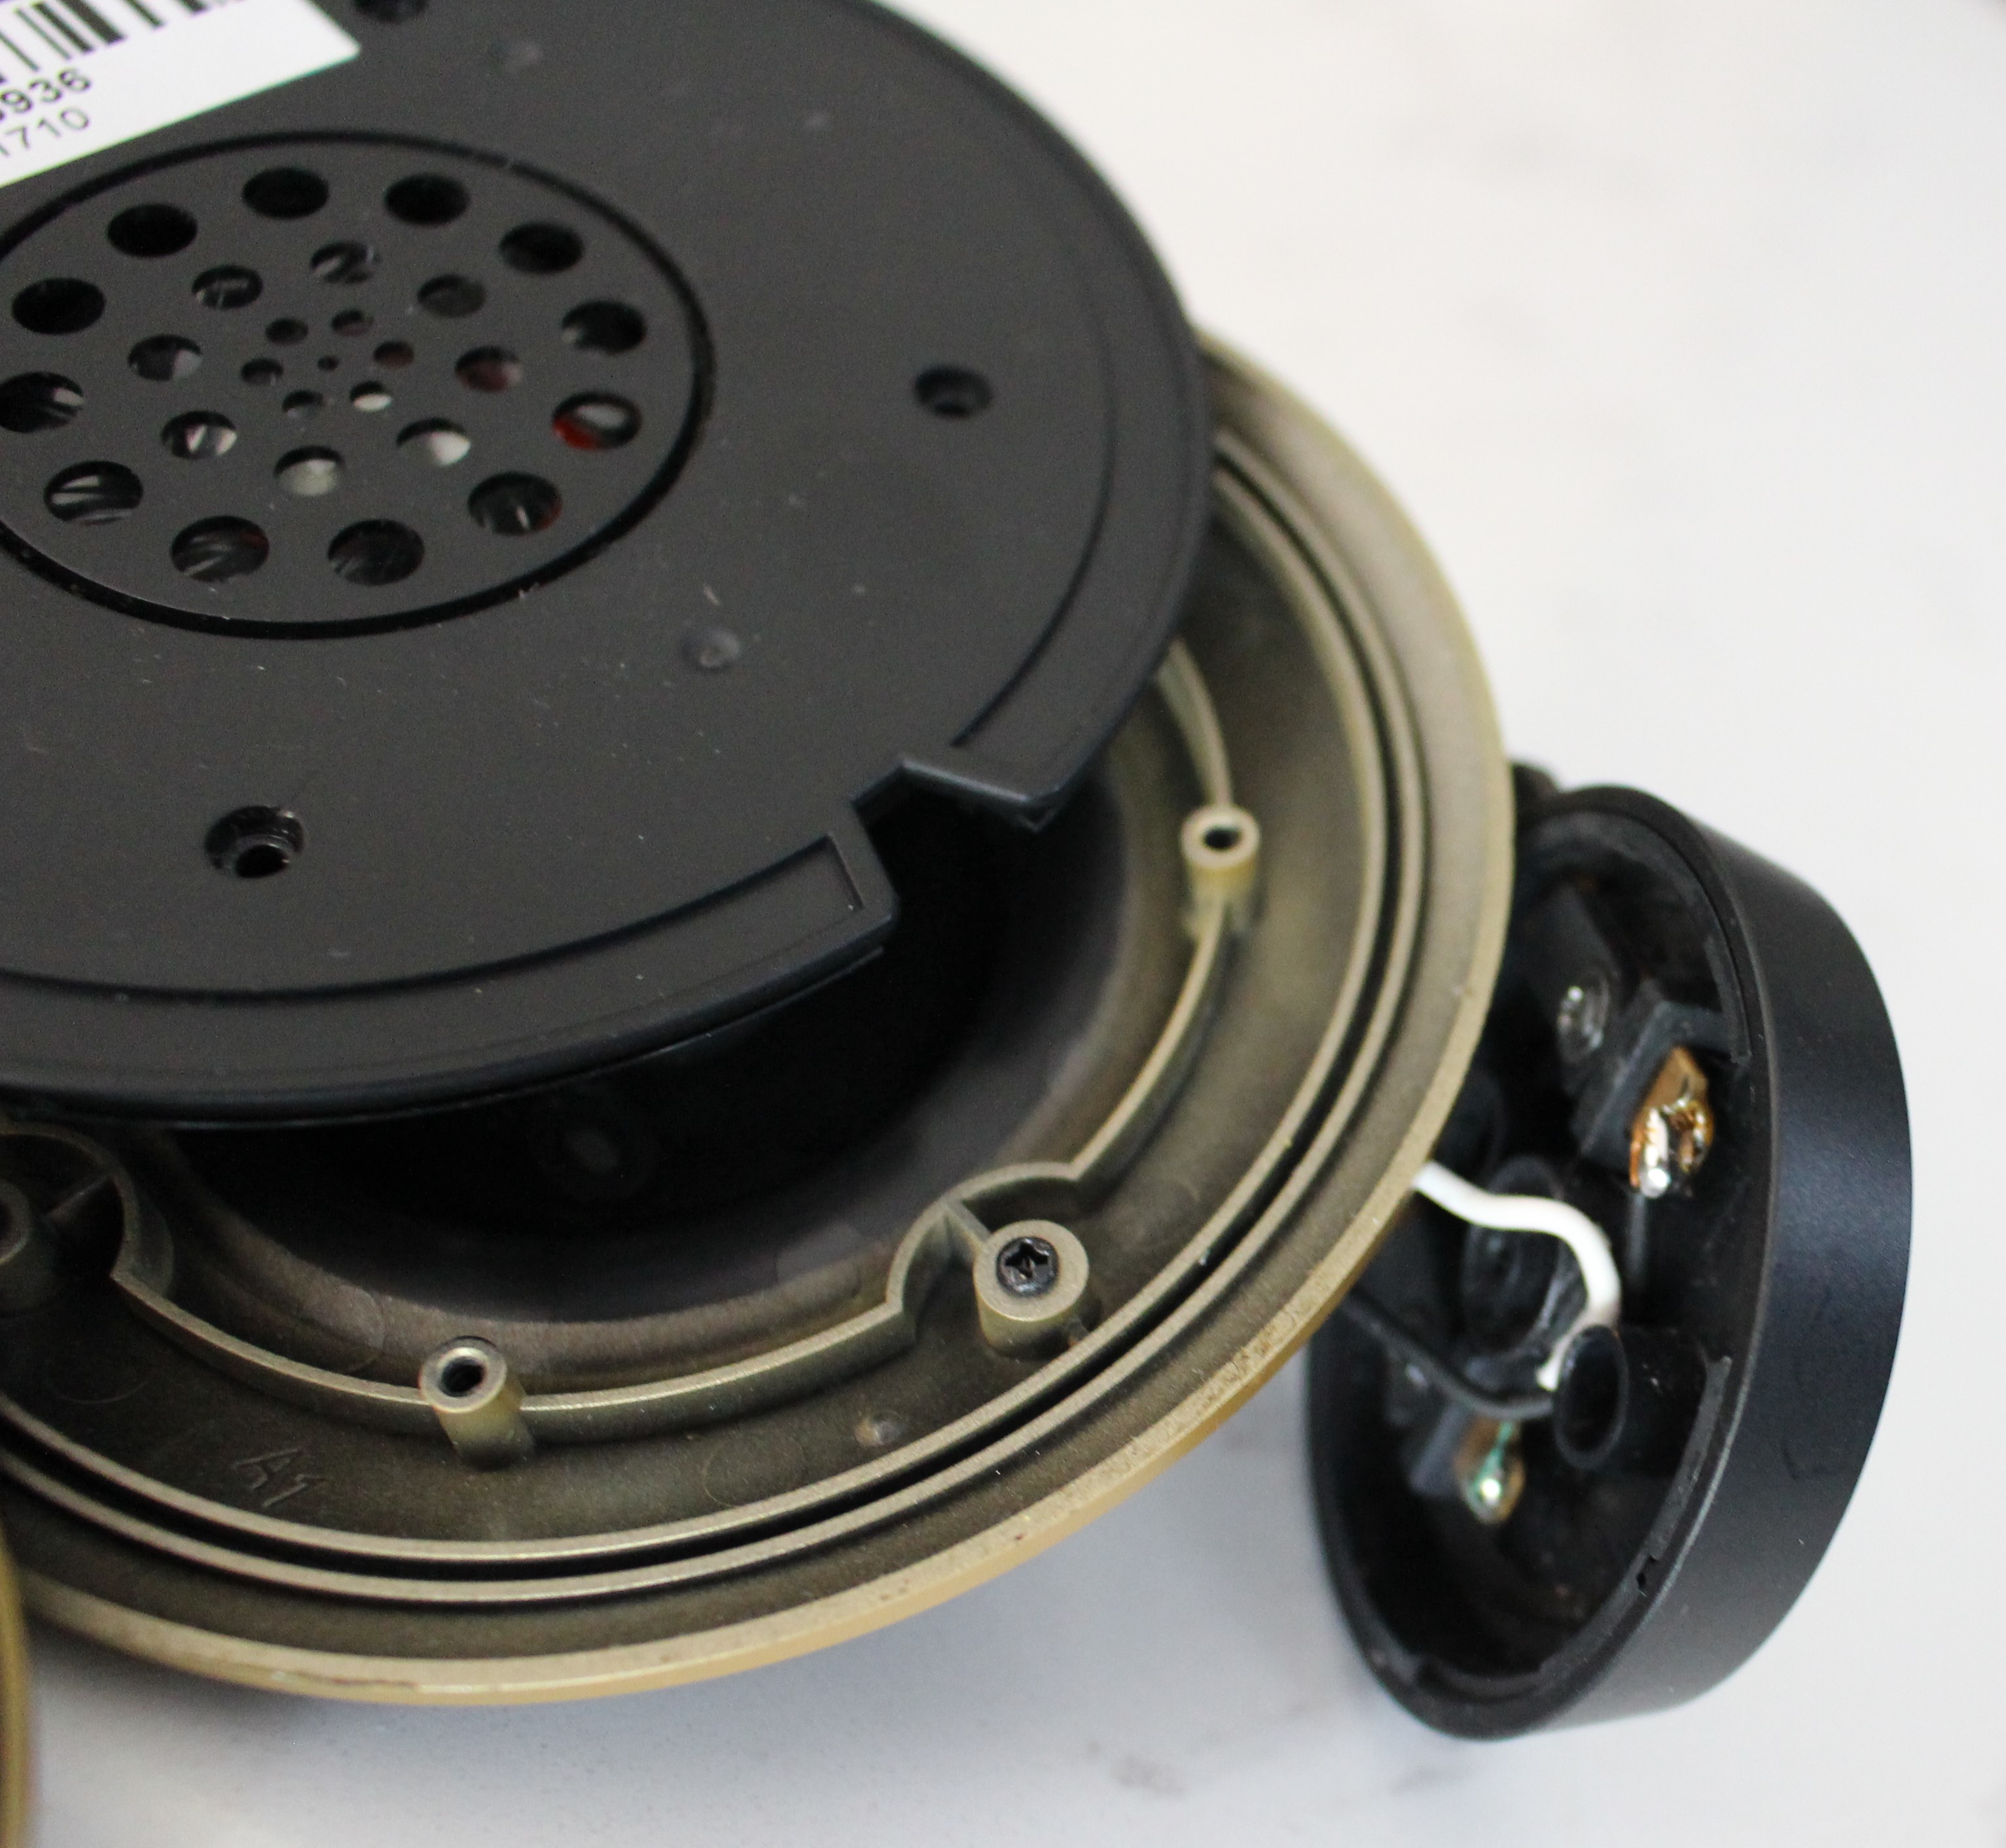
FixItWorkshop, Worthing, November’20, AKG K92 headphones, showing connections. 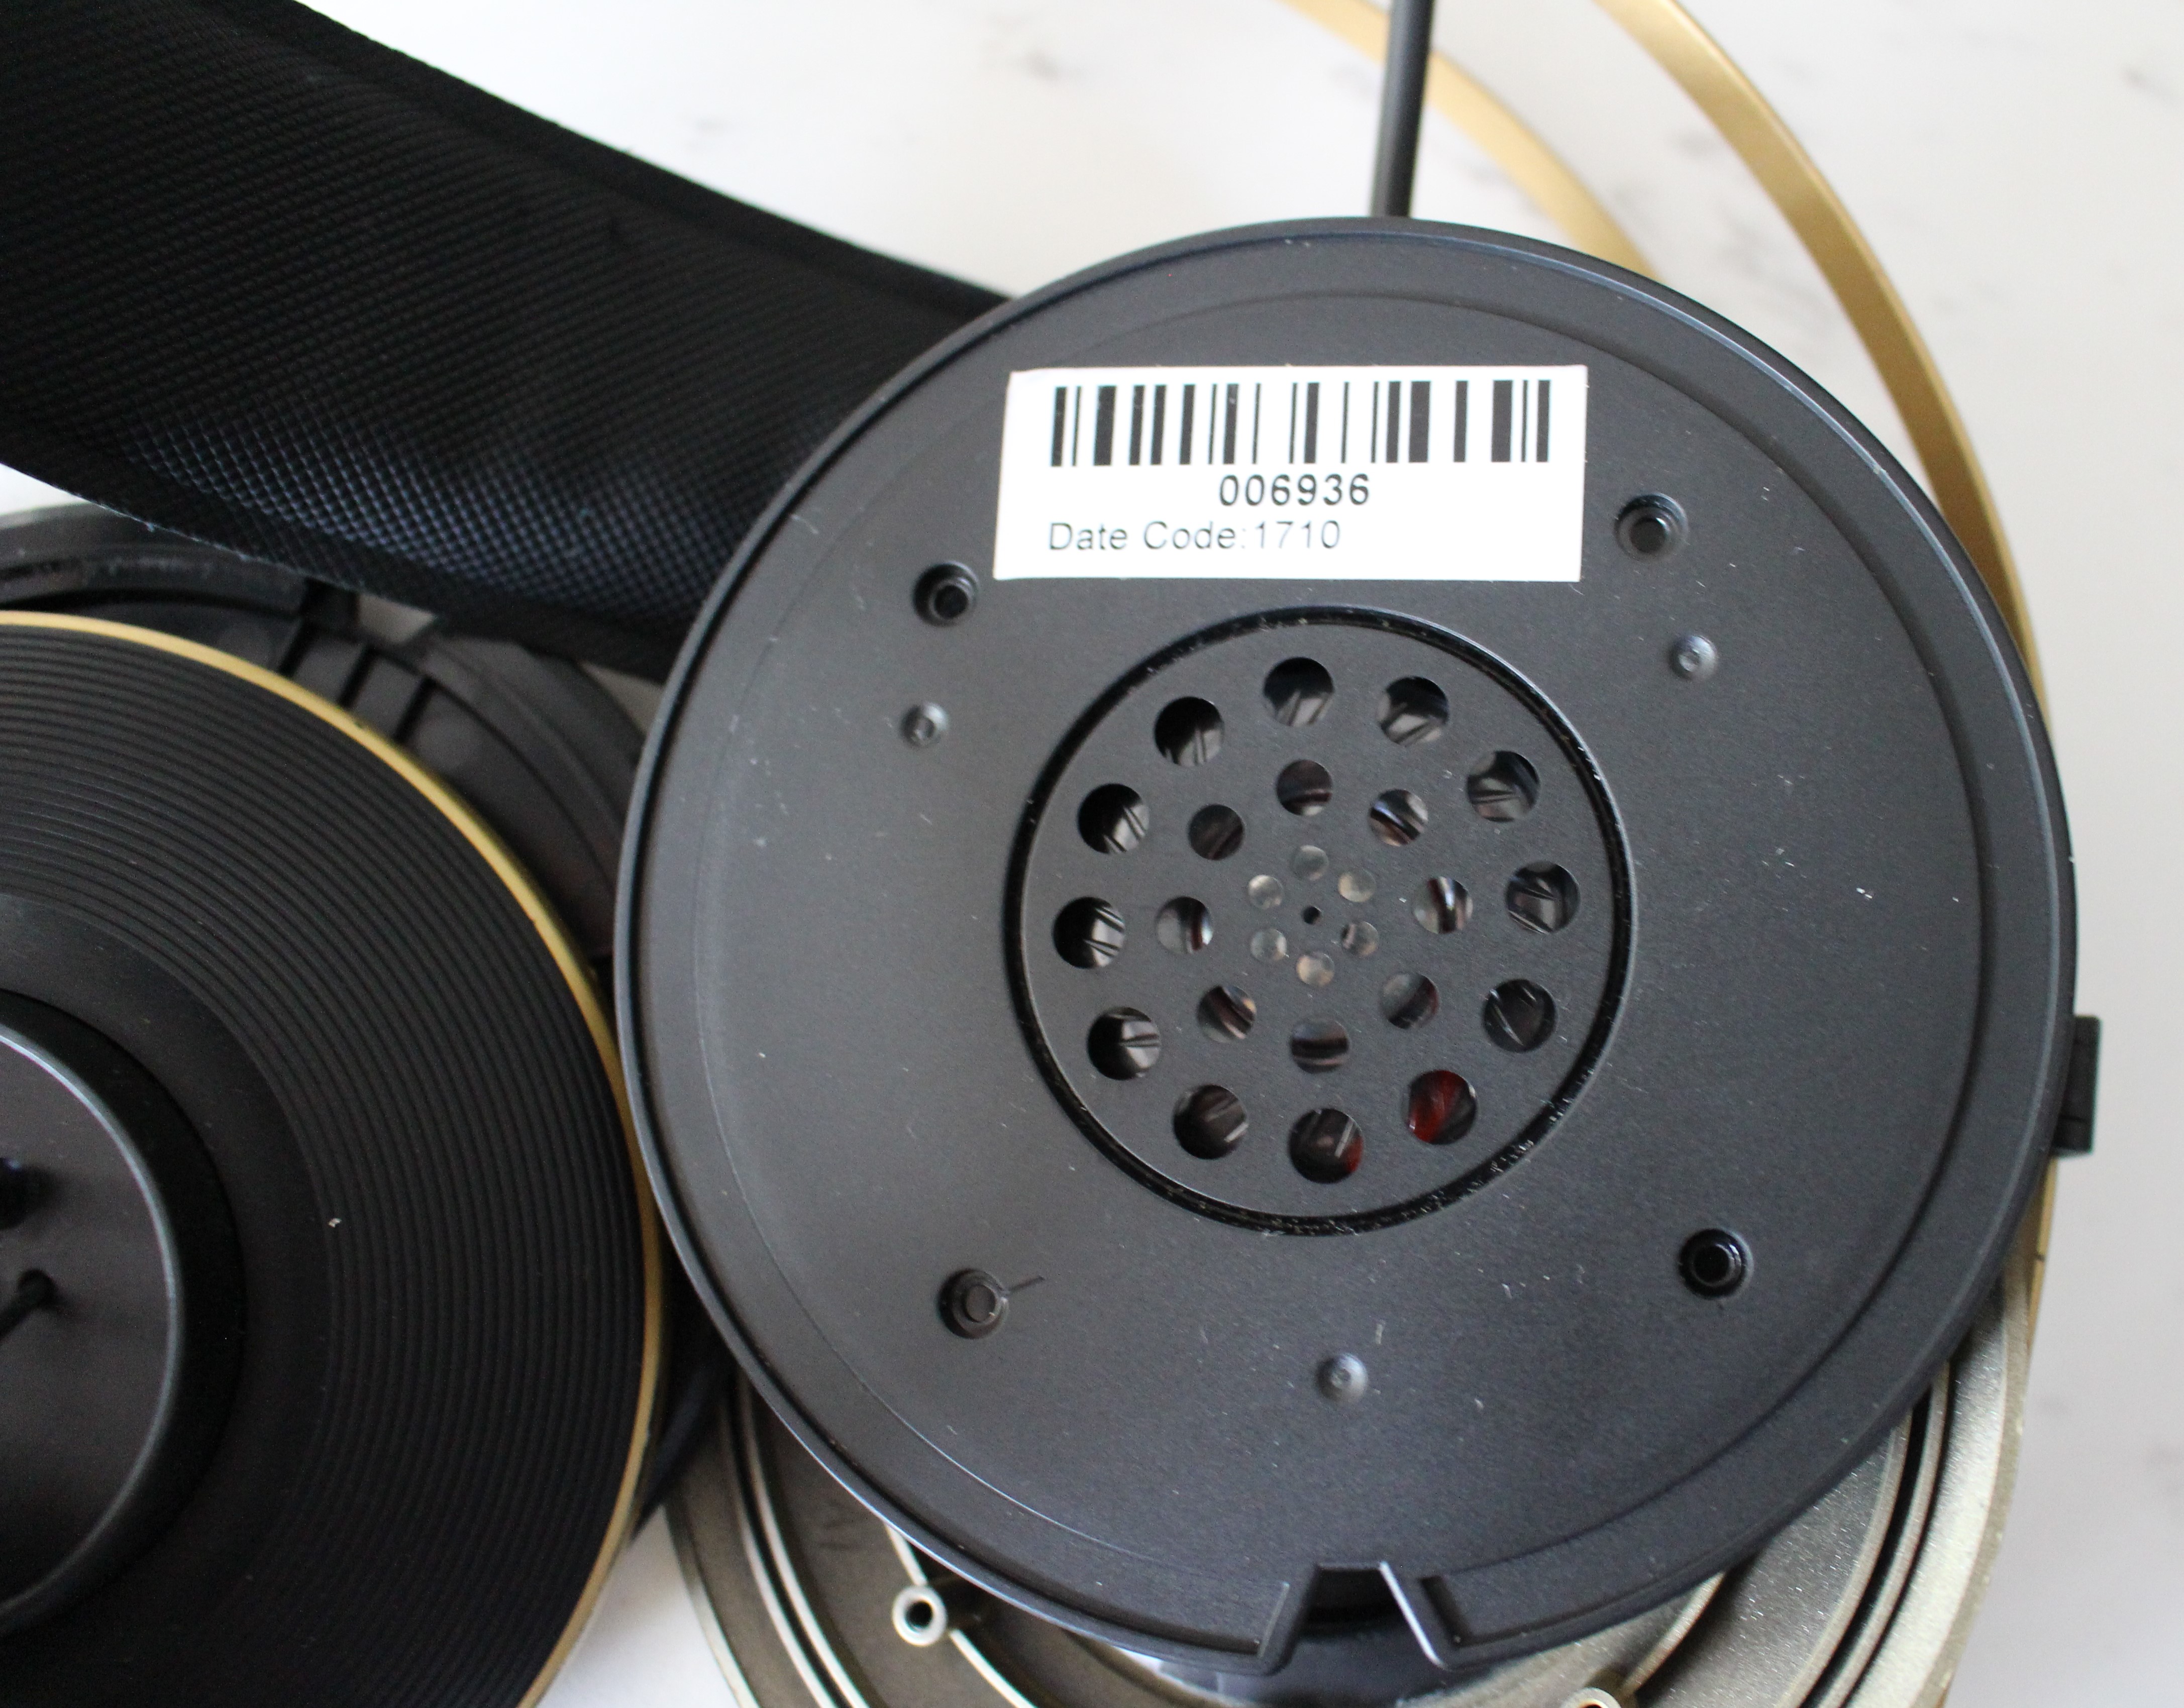
FixItWorkshop, Worthing, November’20, AKG K92 headphones, cover removed. 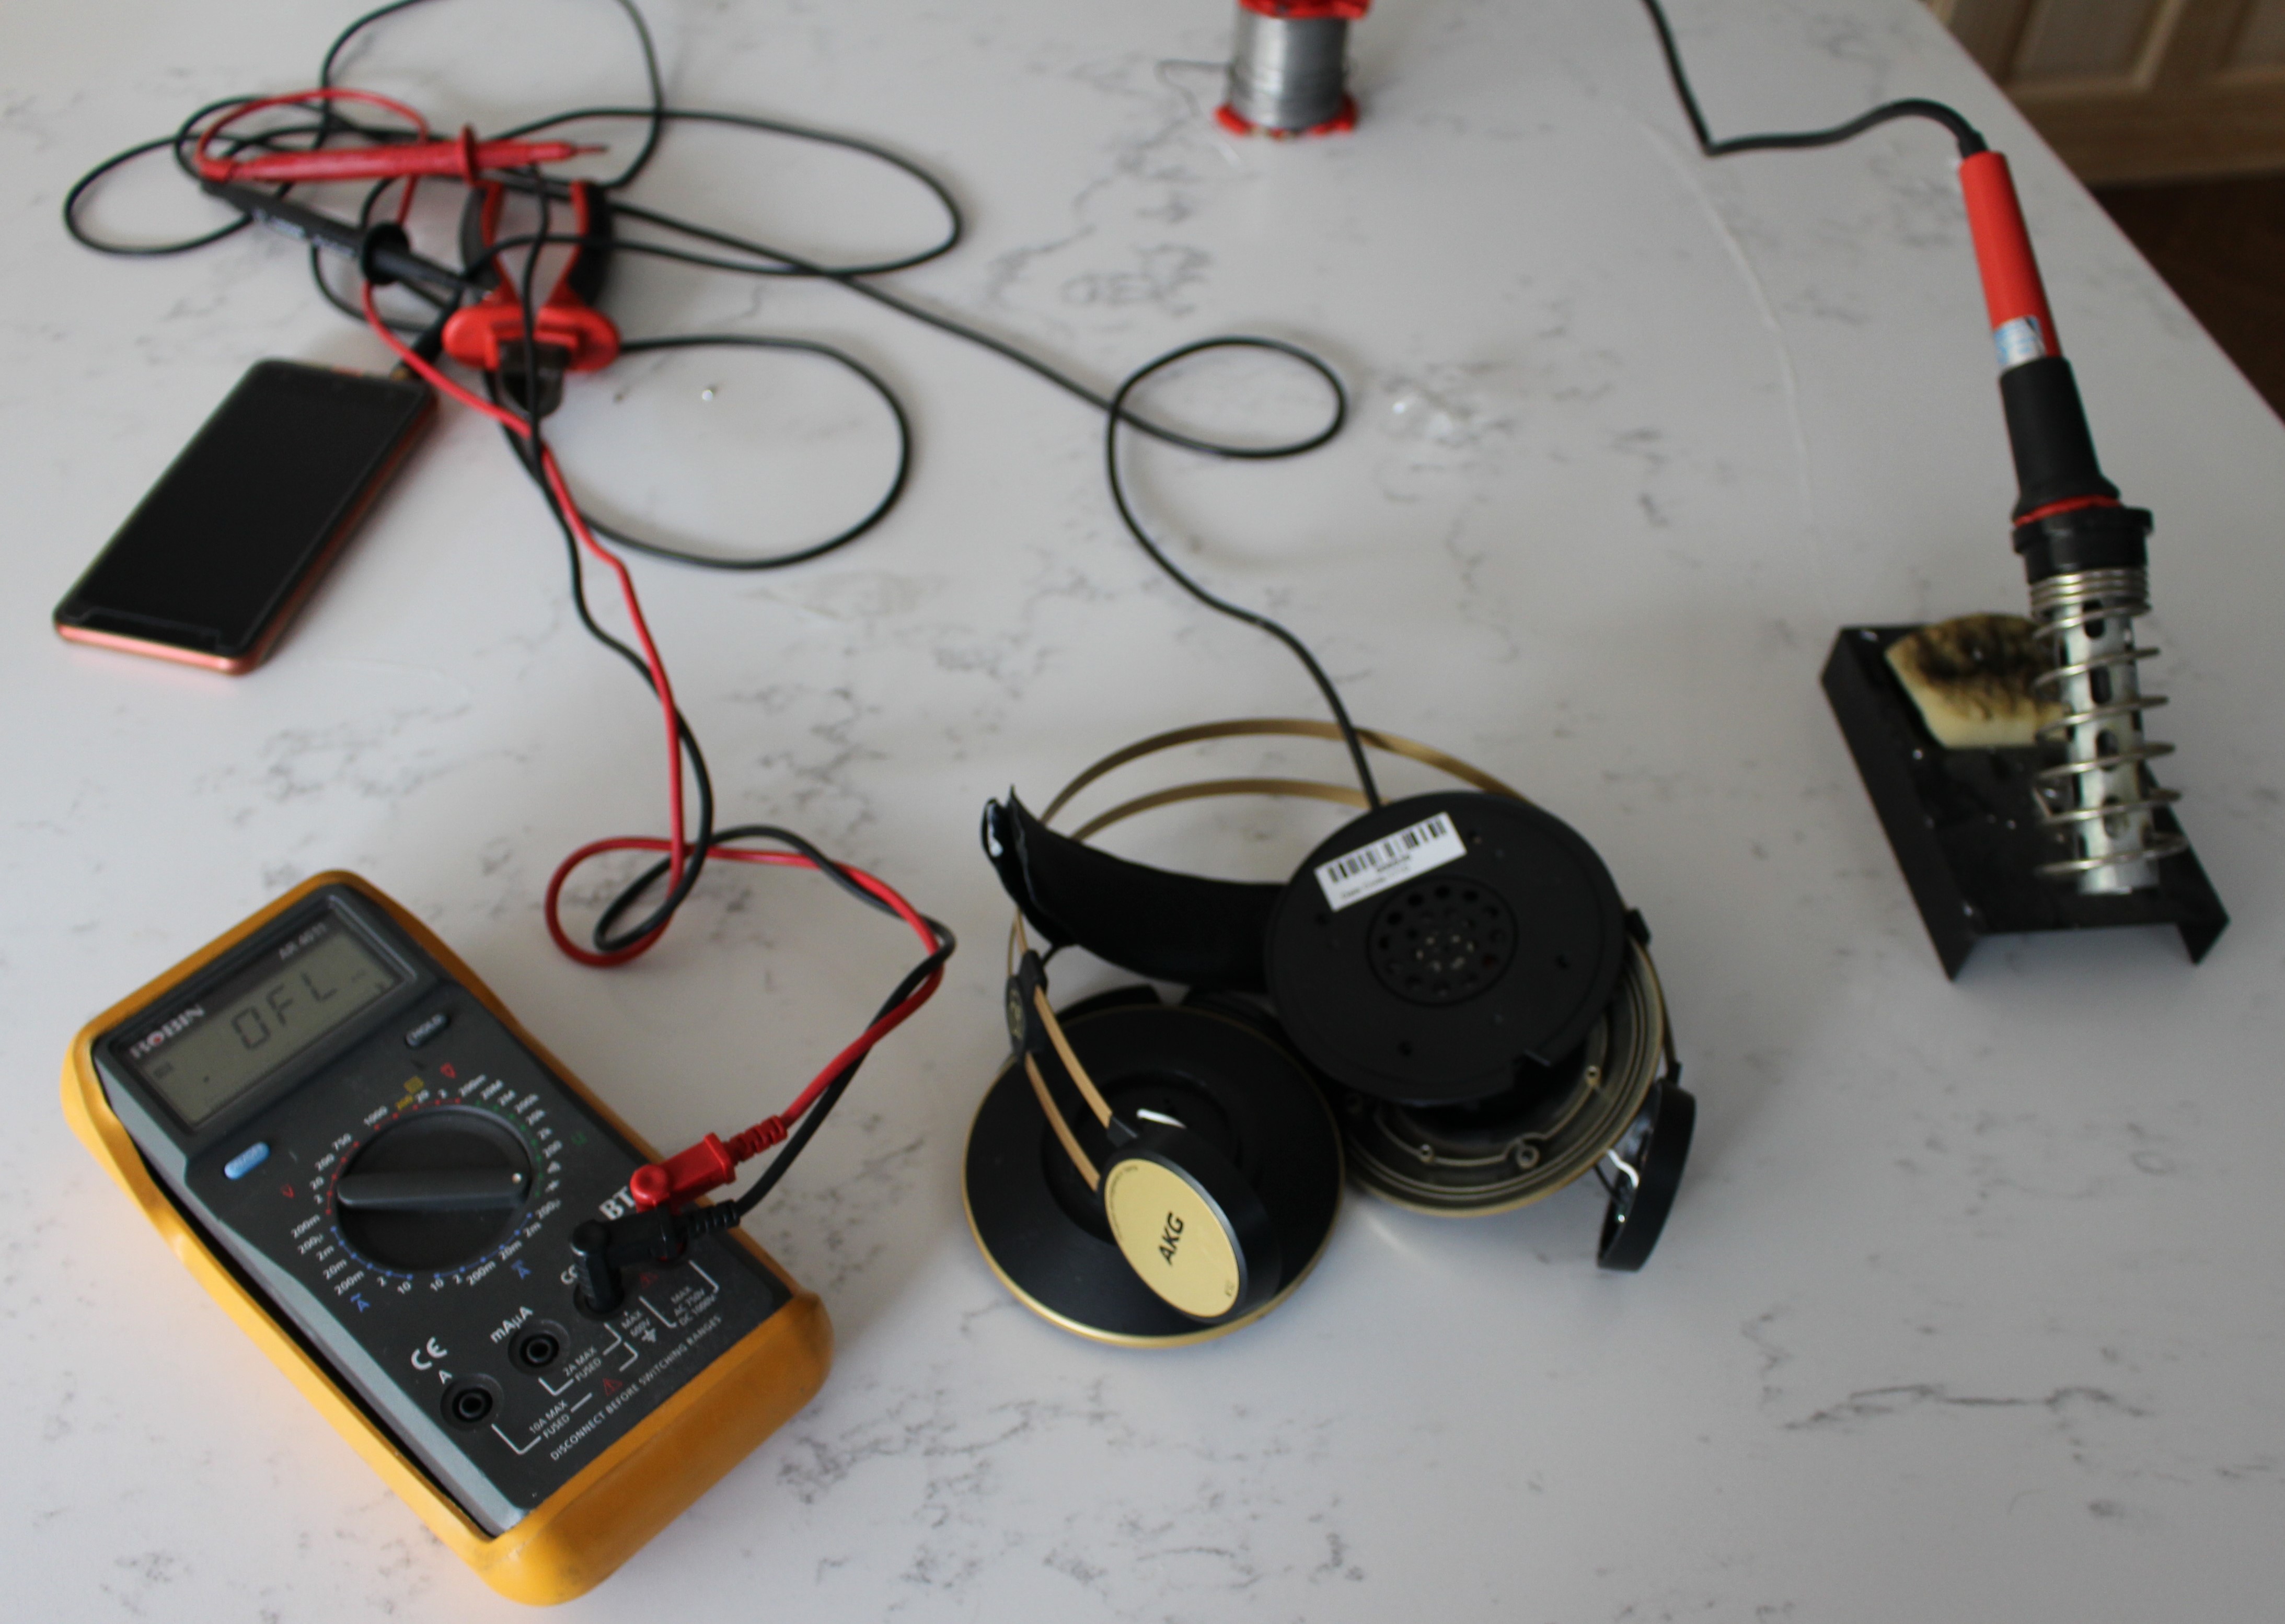
FixItWorkshop, Worthing, November’20, AKG K92 headphones, testing with a meter. 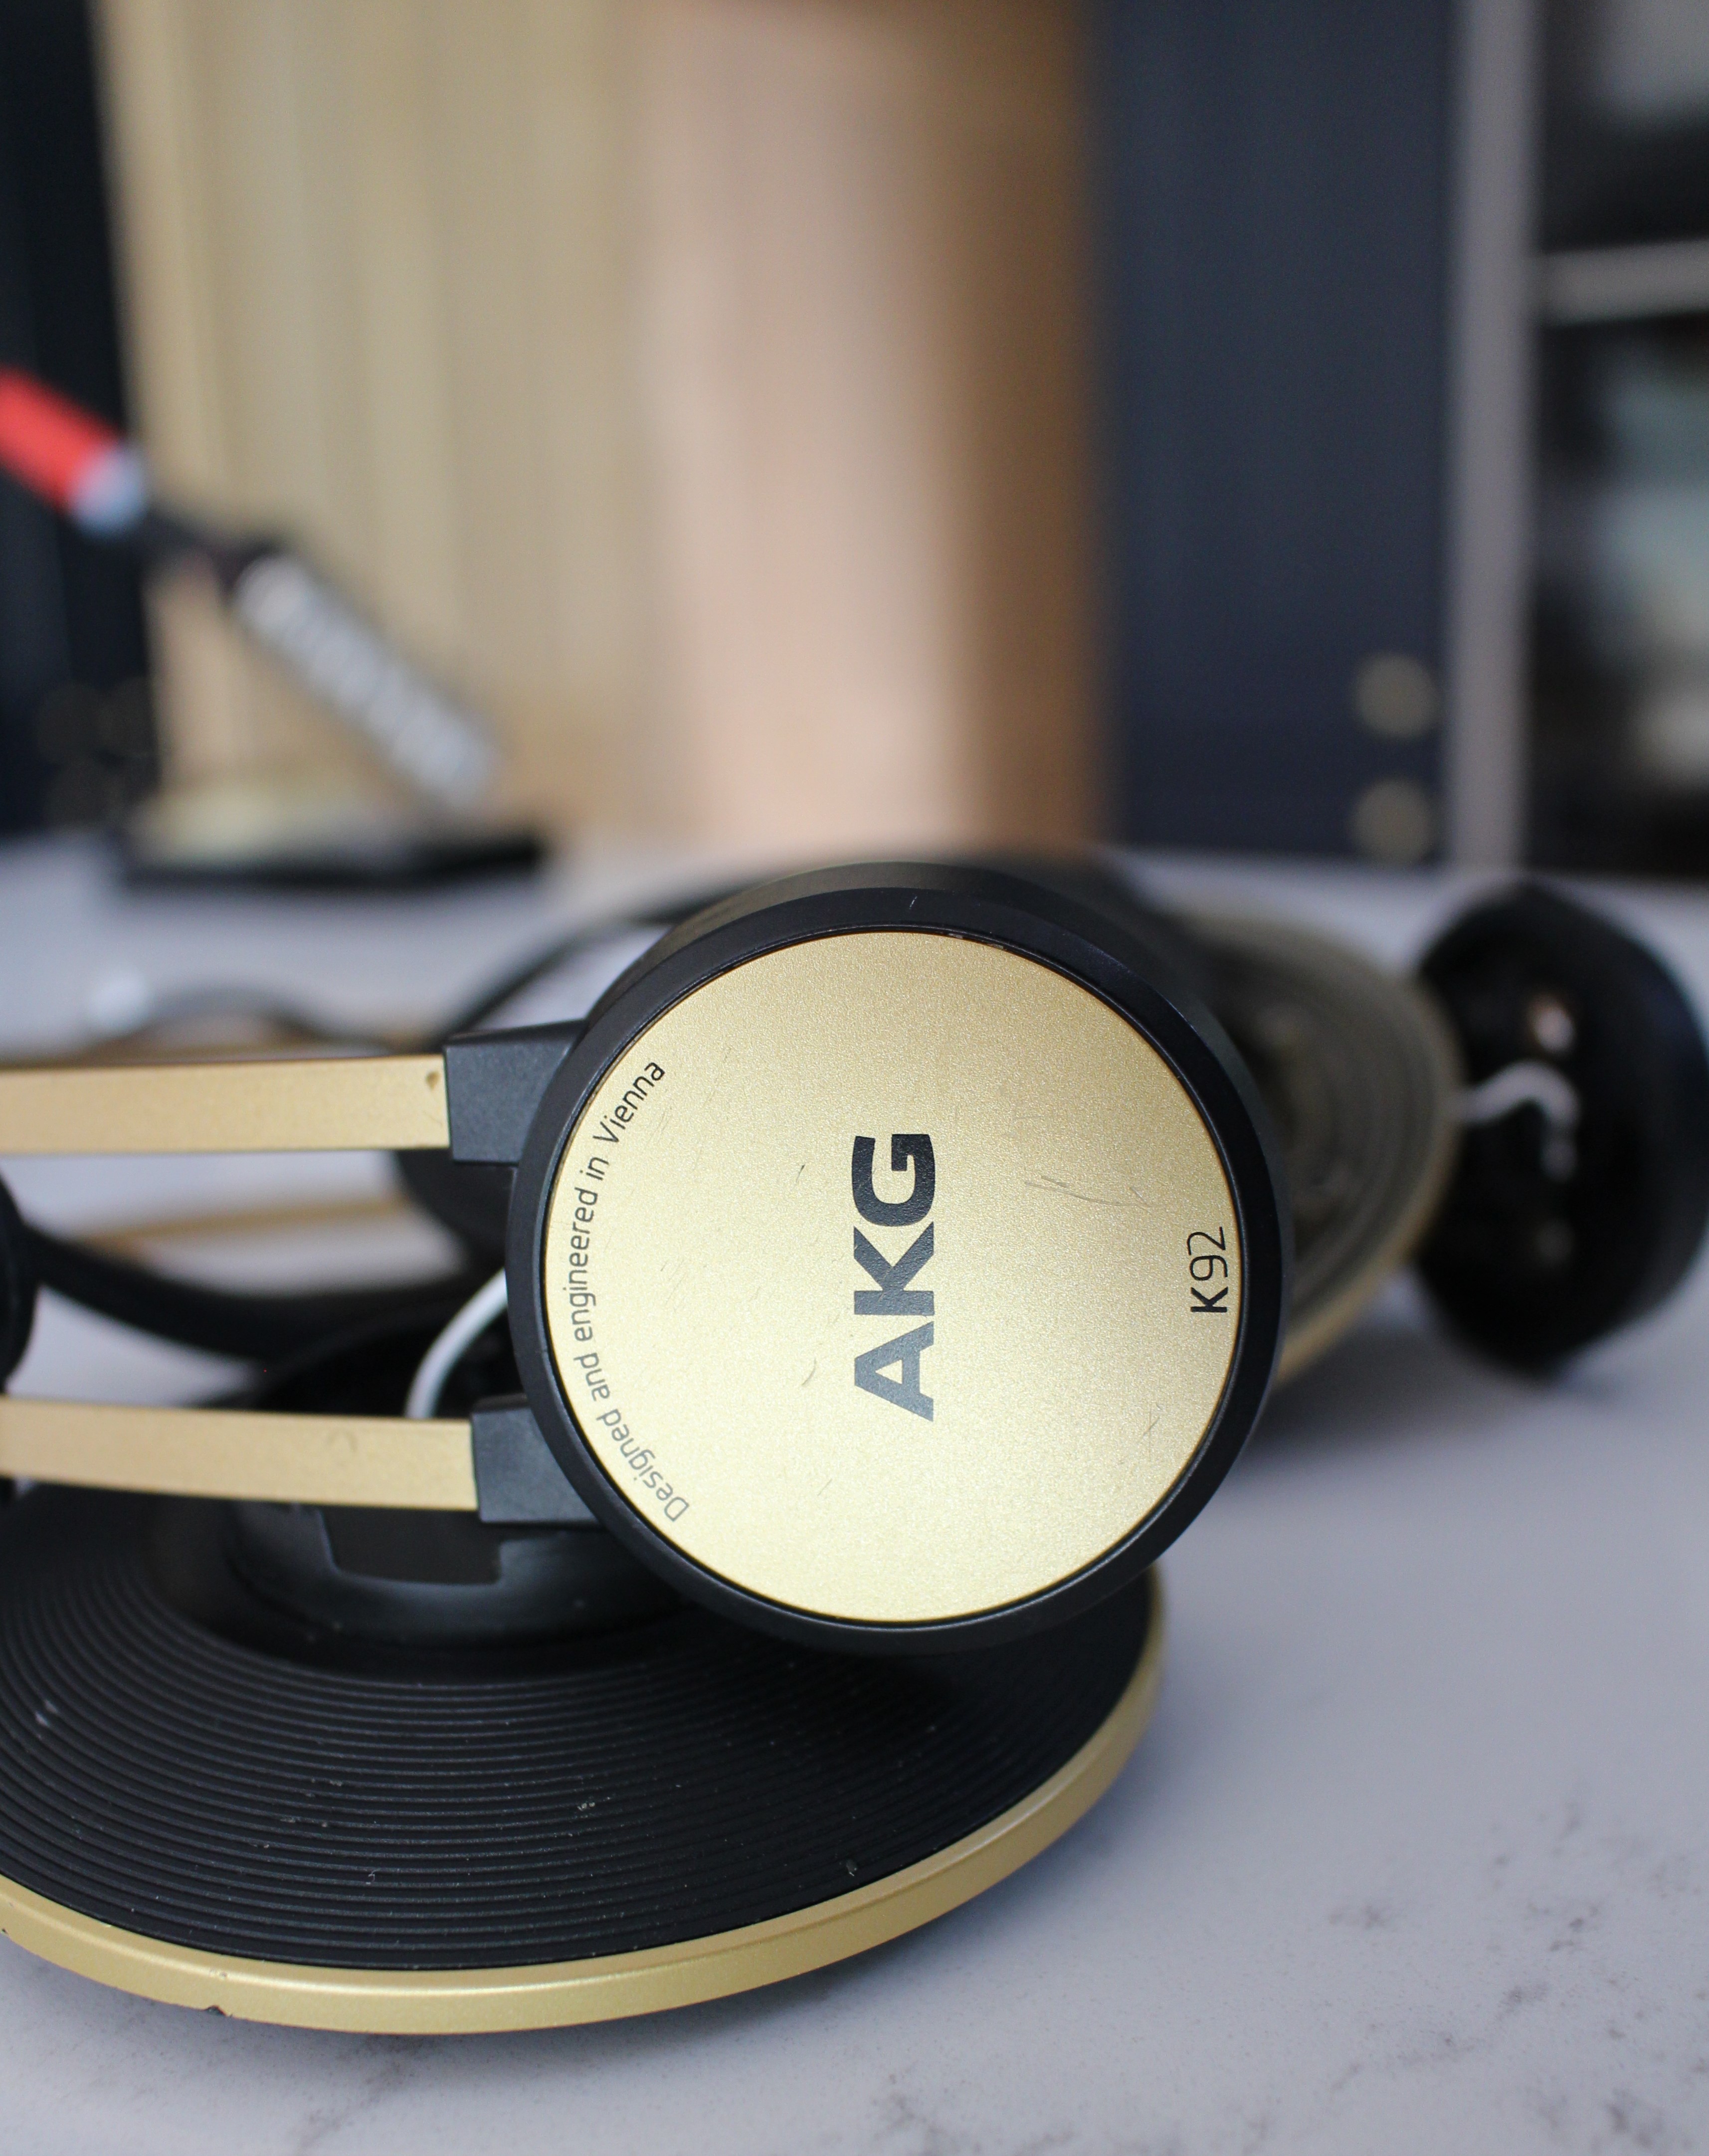
FixItWorkshop, Worthing, November’20, AKG K92 headphones, speaker removed. 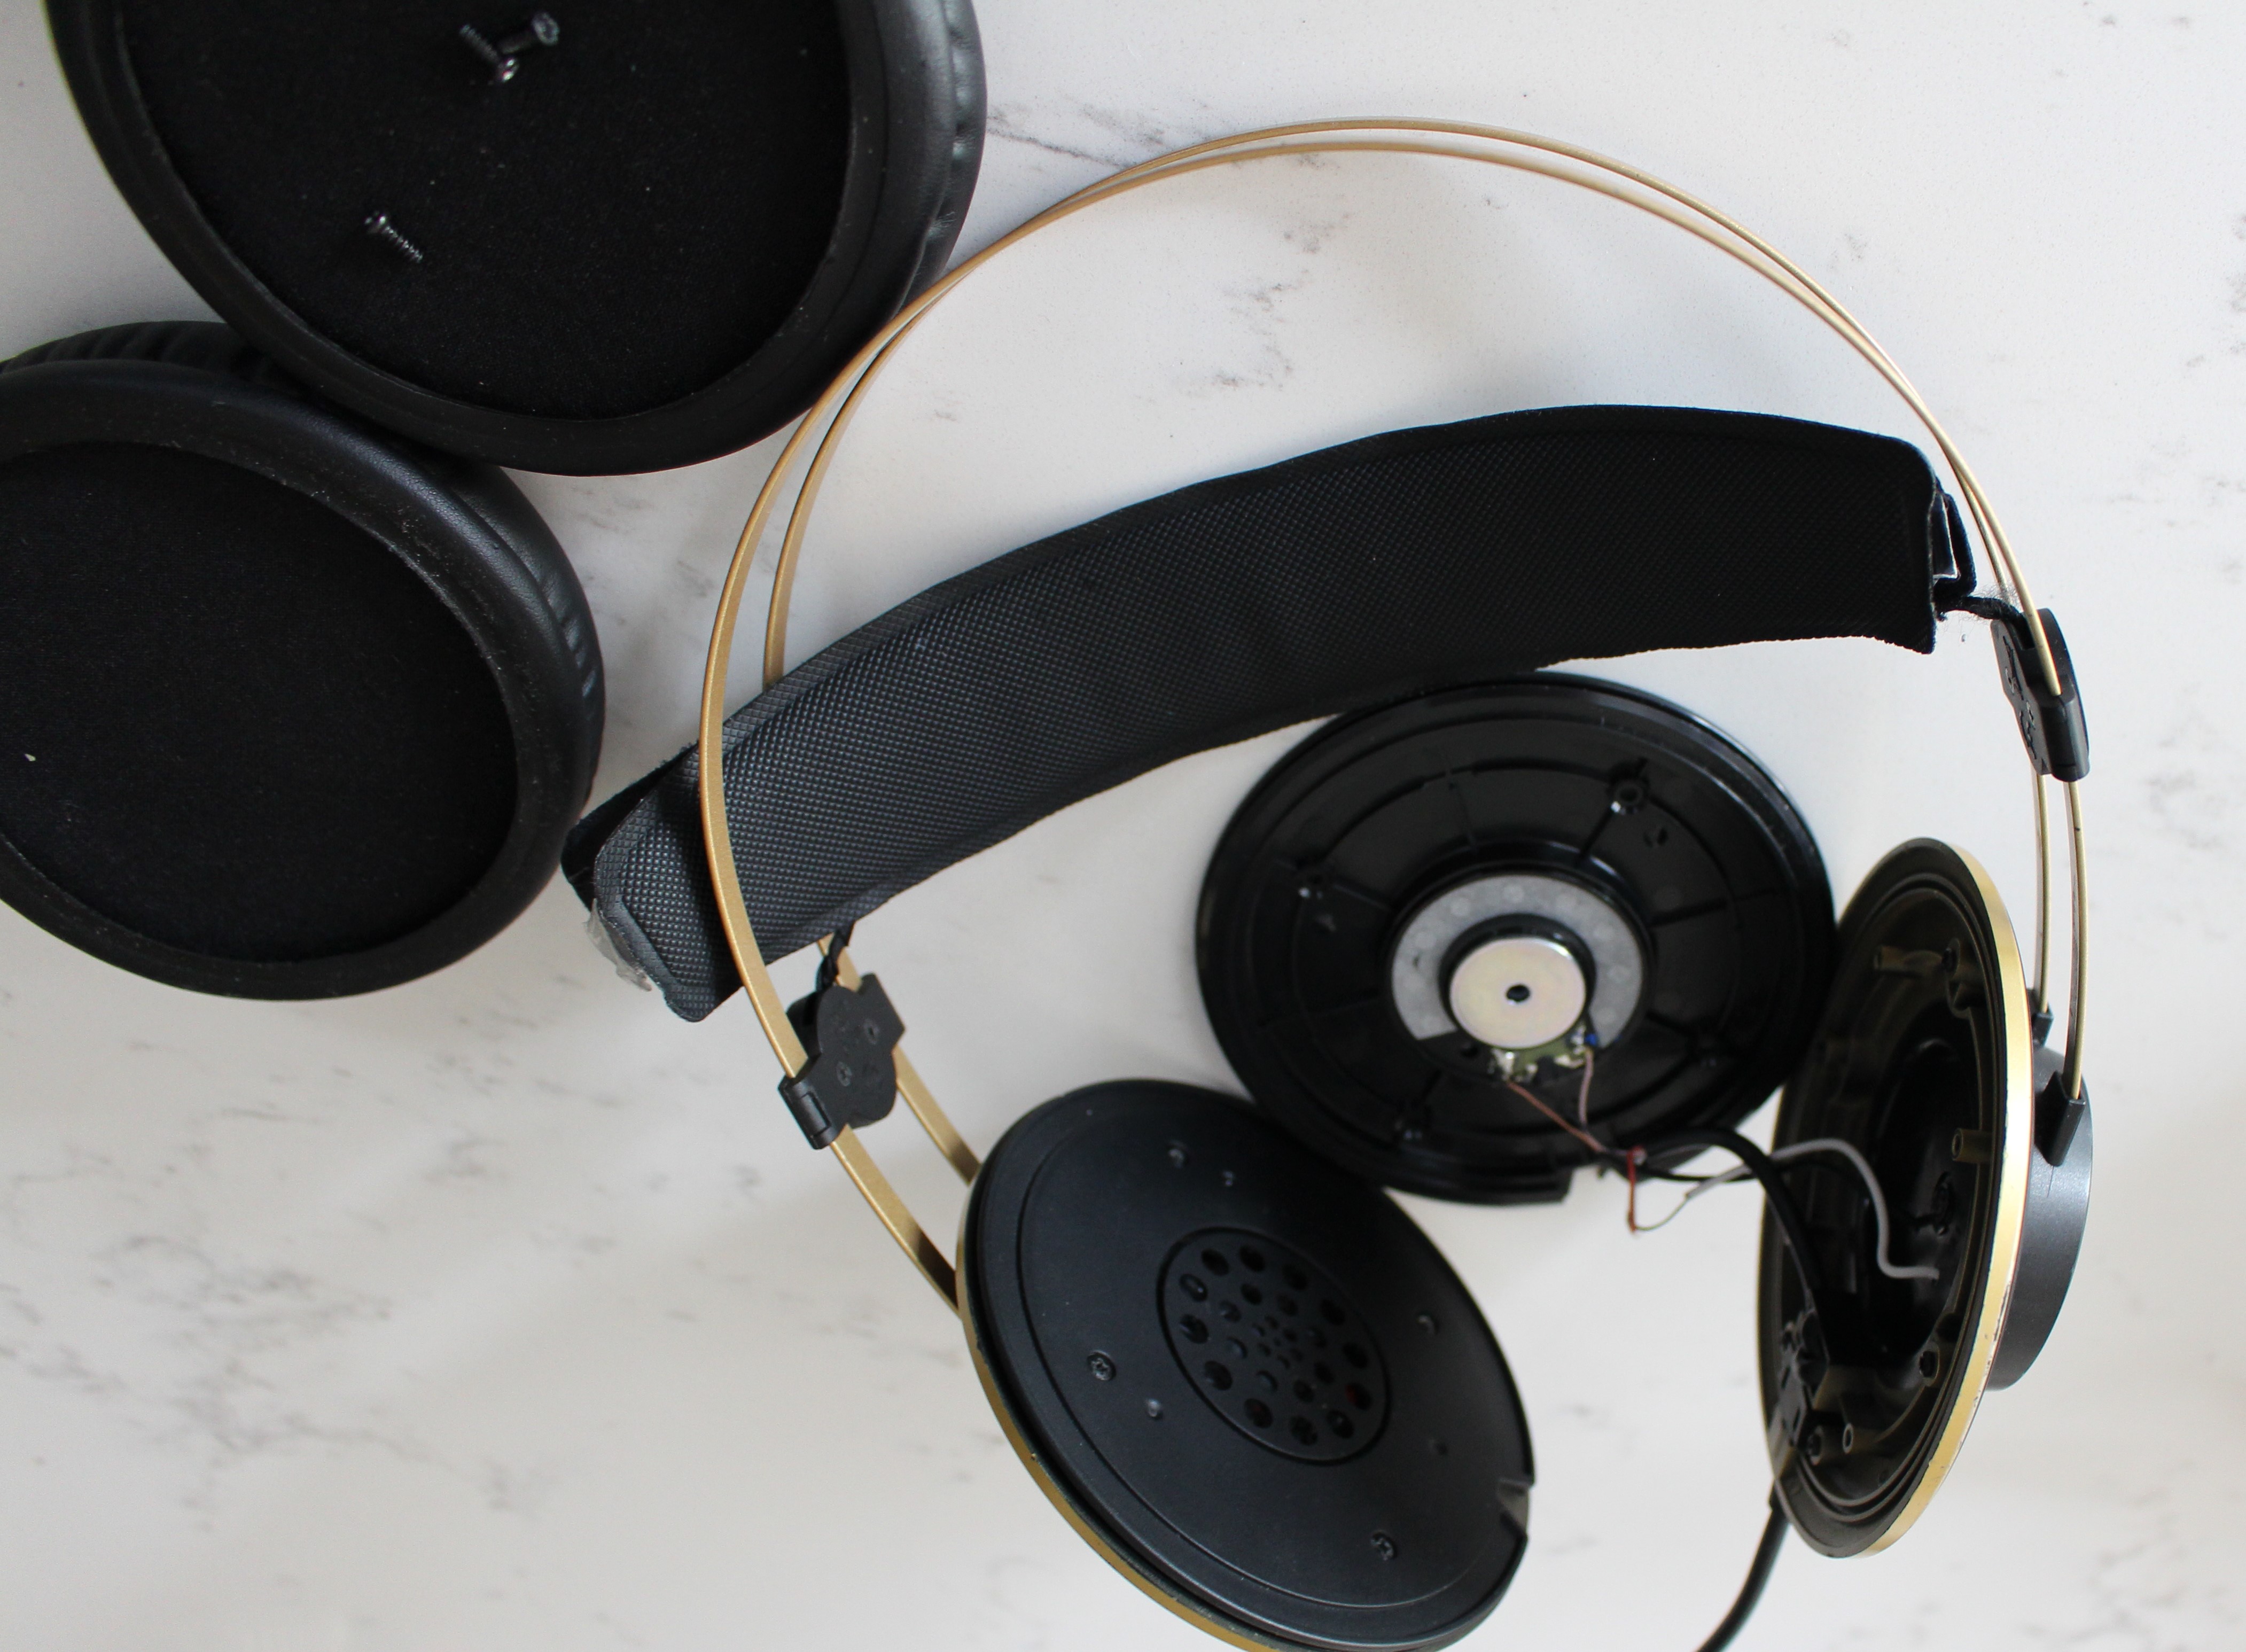
FixItWorkshop, Worthing, November’20, AKG K92 headphones, testing speaker. 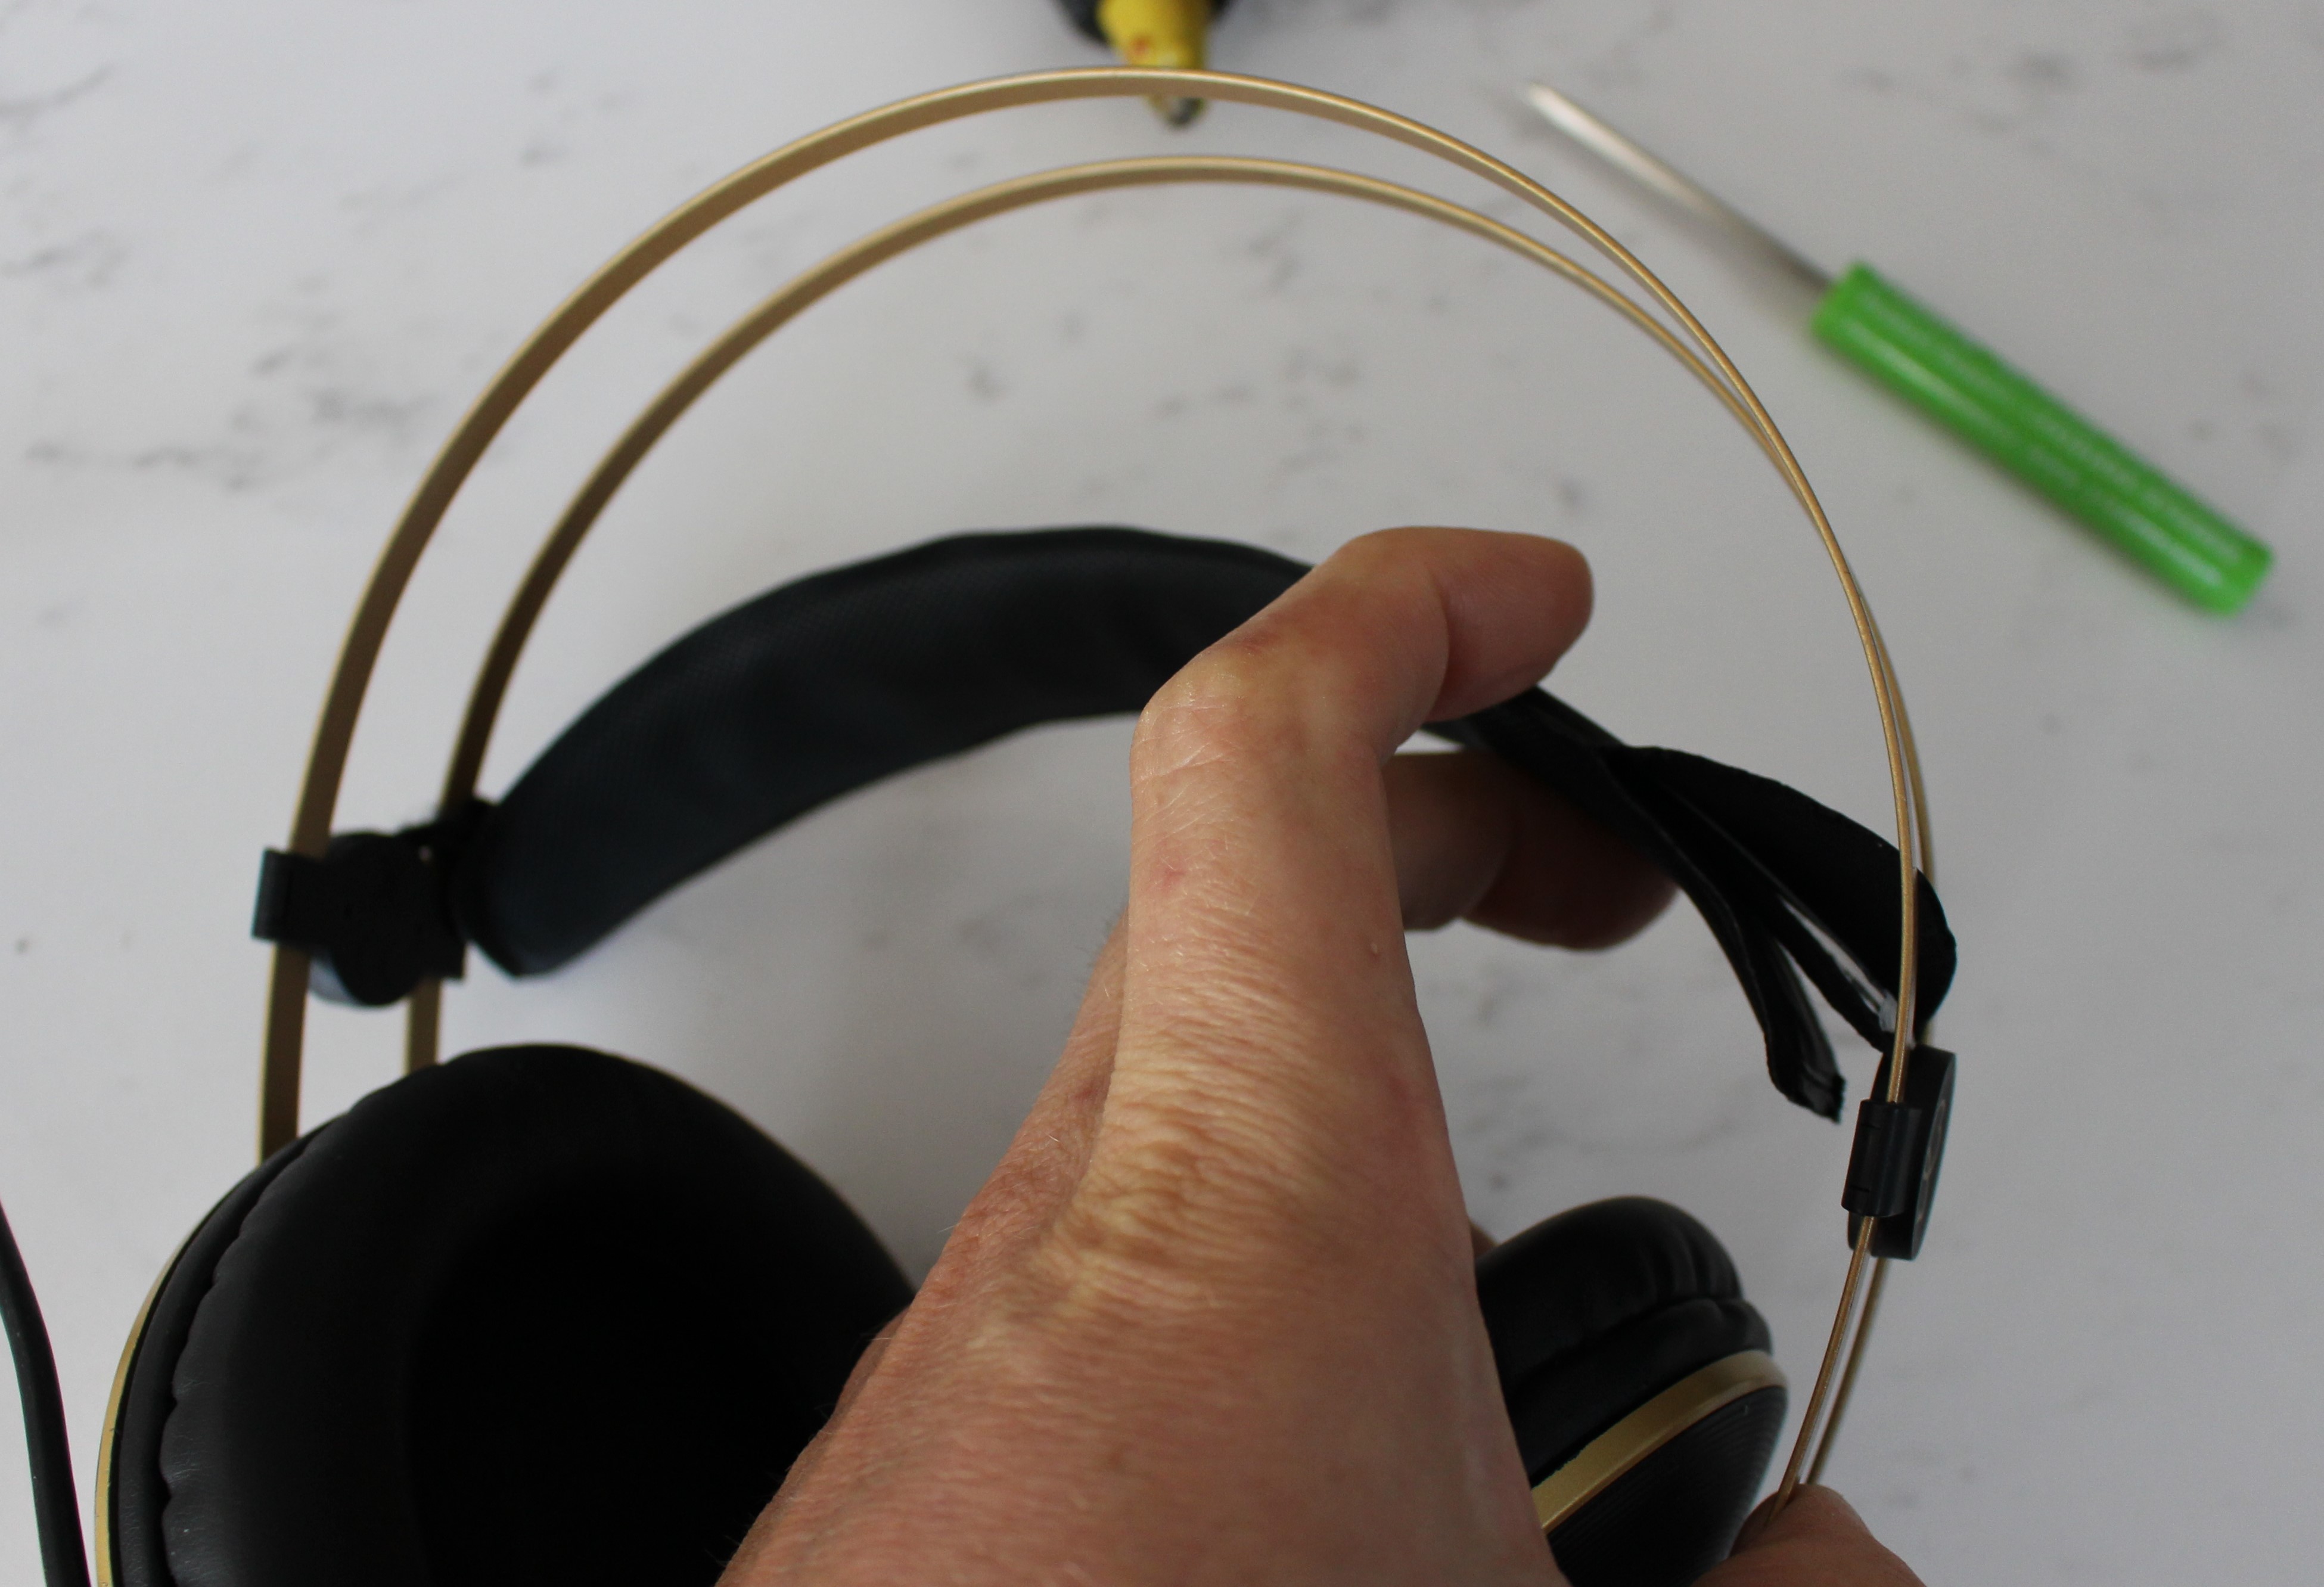
FixItWorkshop, Worthing, November’20, AKG K92 headphones, damaged headband. 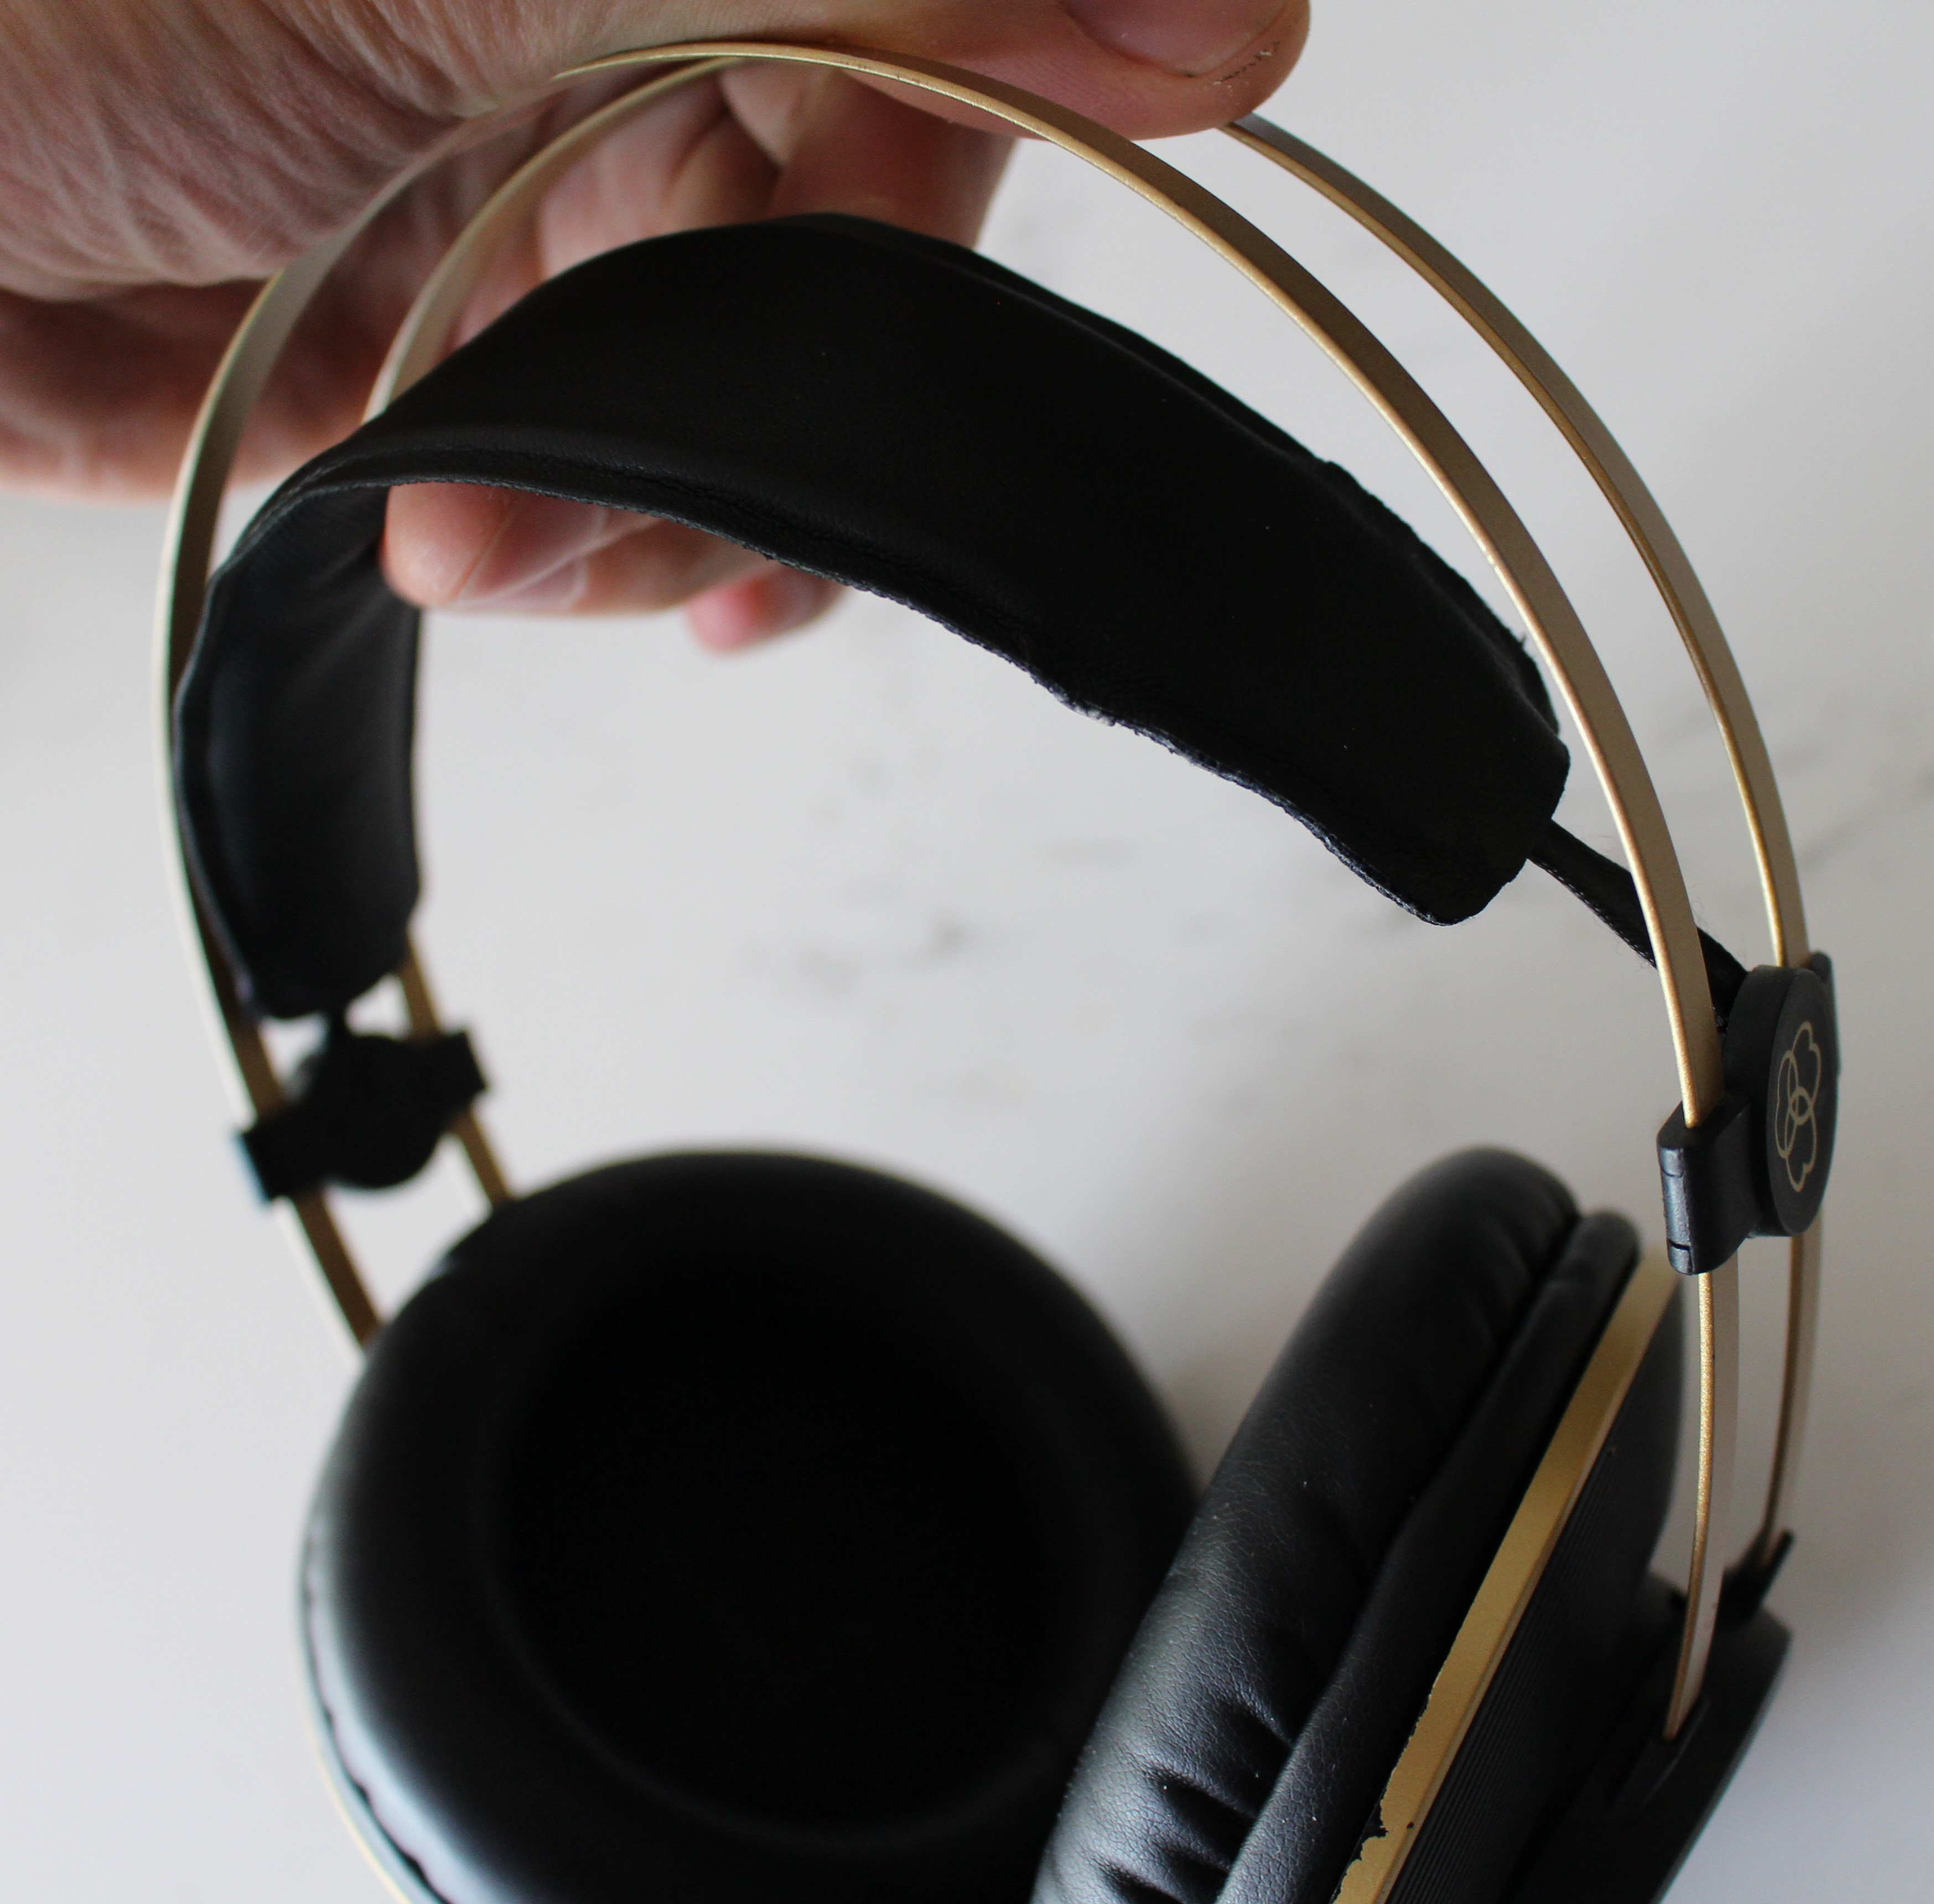
FixItWorkshop, Worthing, November’20, AKG K92 headphones, repaired headband. 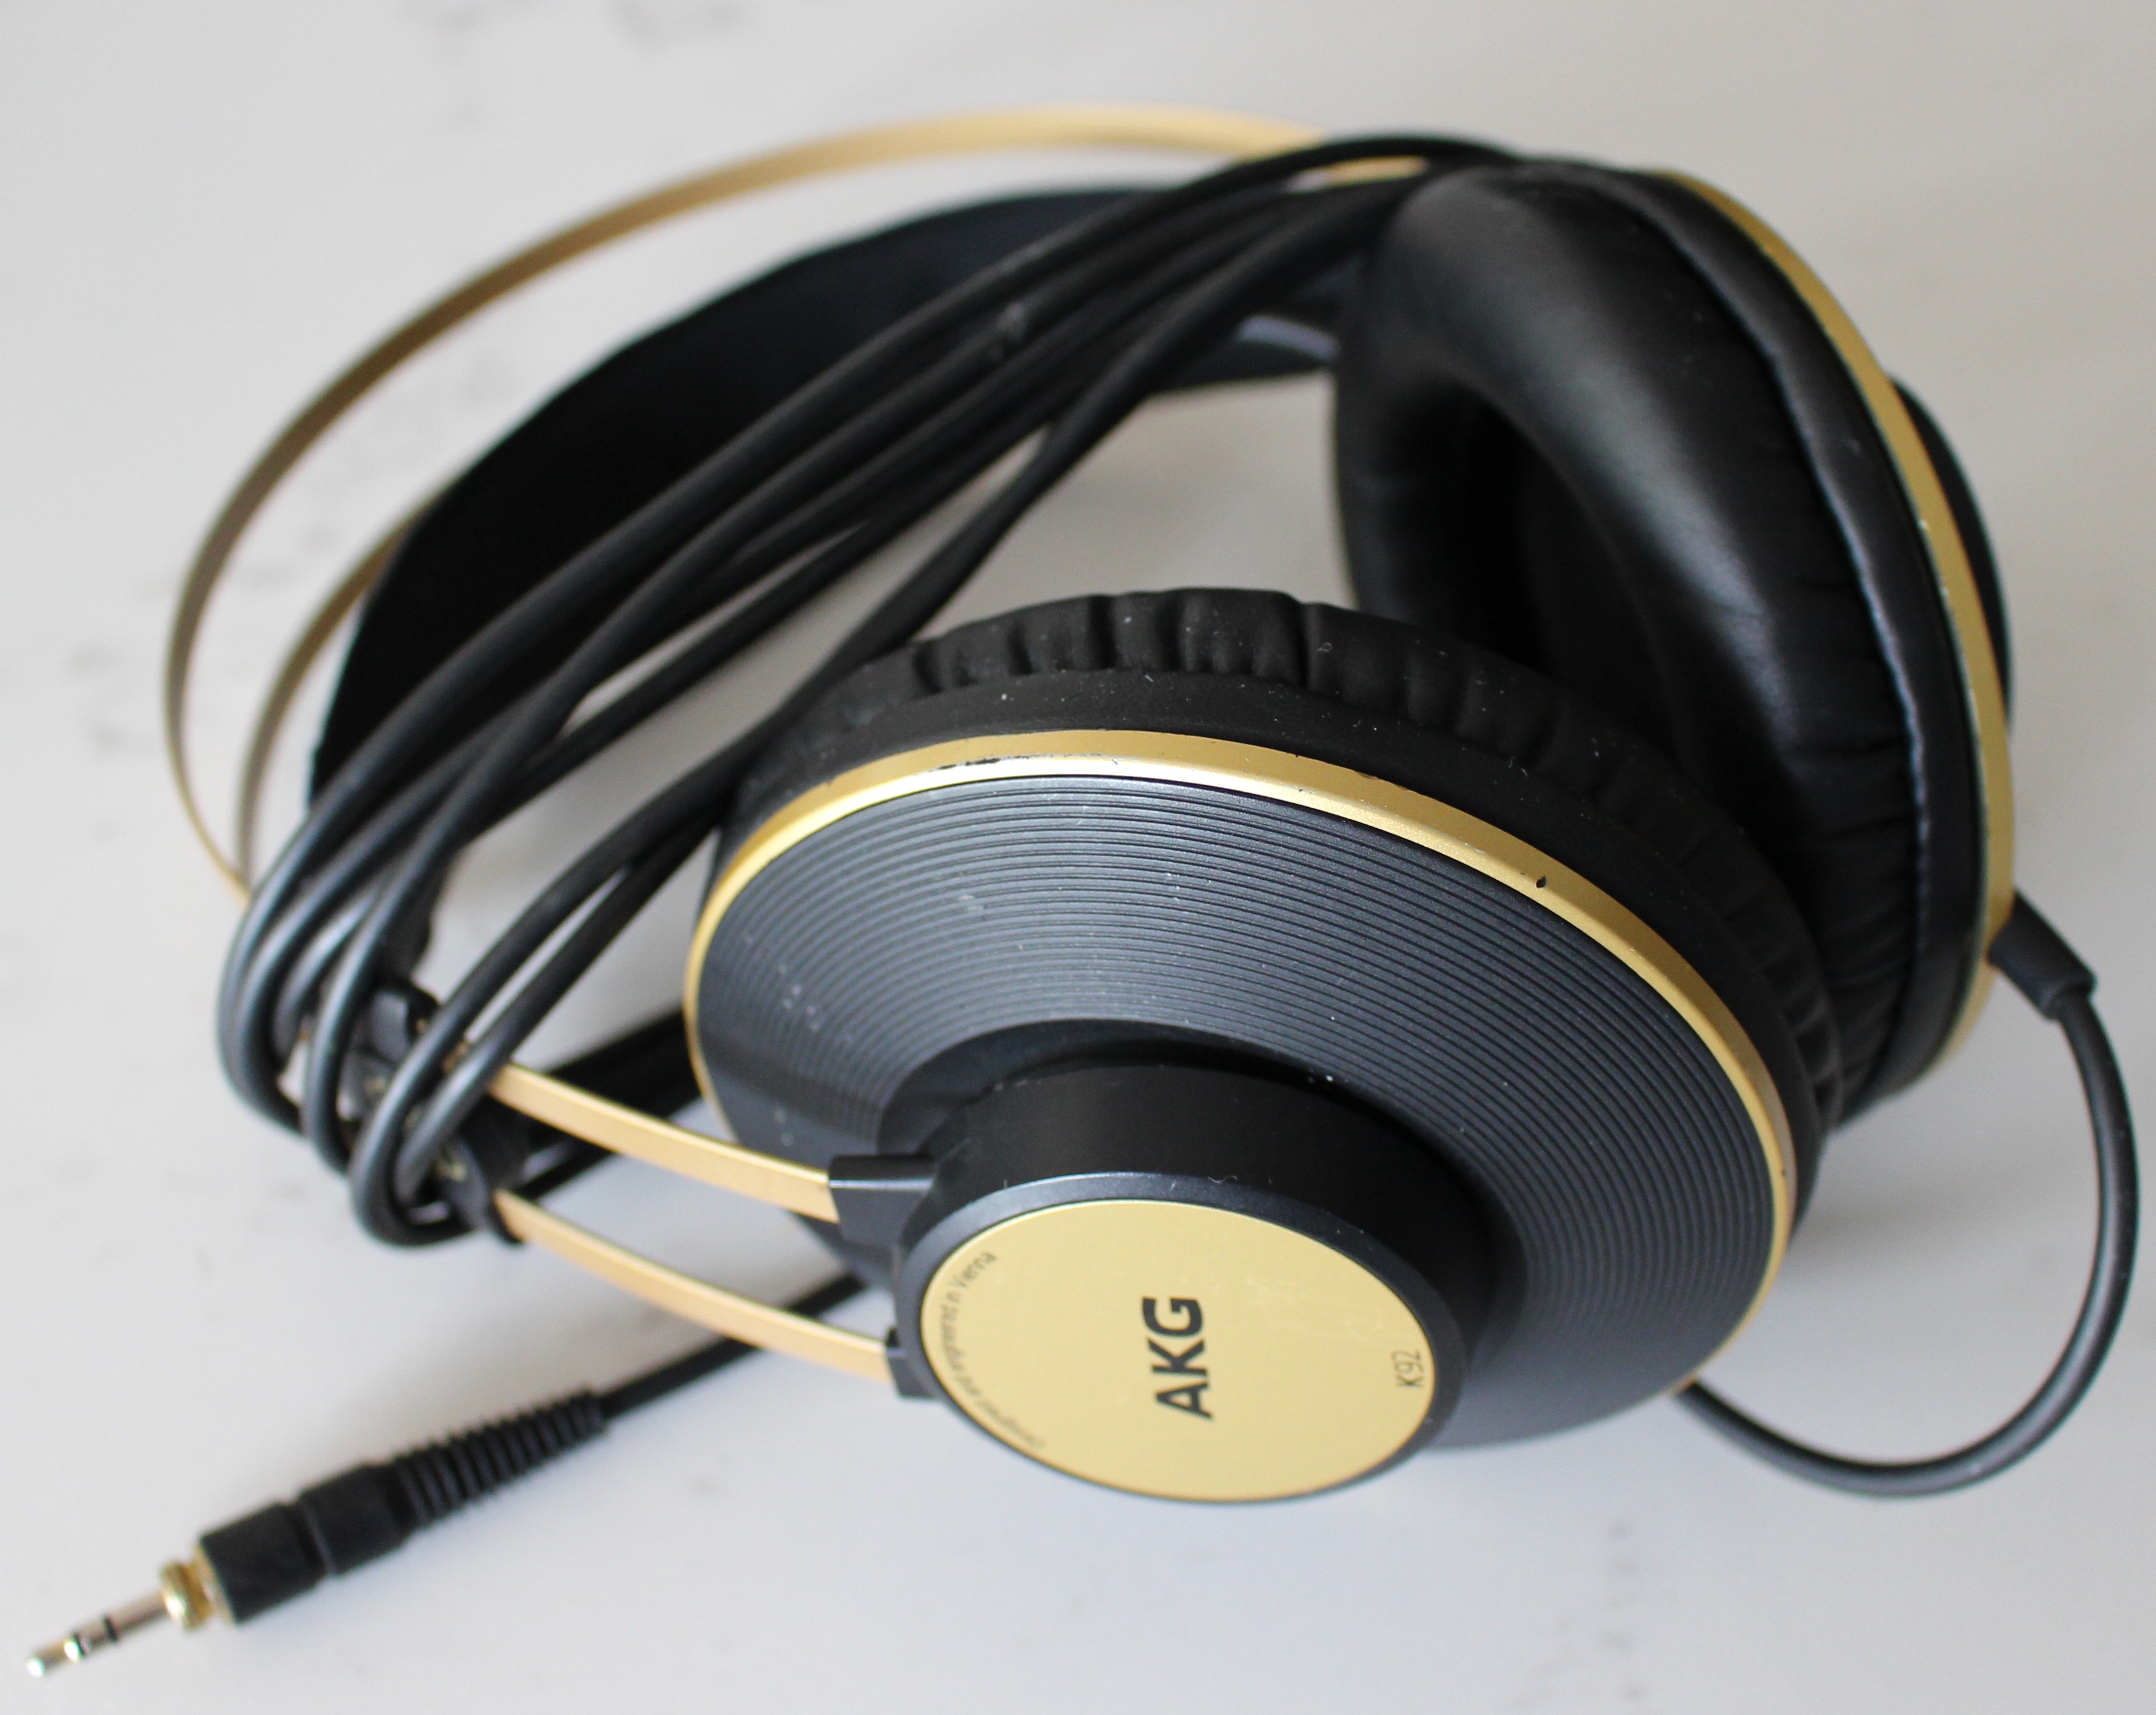
FixItWorkshop, Worthing, November’20, AKG K92 headphones.
Make and model: AKG Headphones K92
Fault reported: No left channel
Cost of replacement: £35 when new
Manufacturer support: 0/10
Cost of parts: £0.00
My repair time: 45 mins
Tools needed: Soldering iron, small screwdrivers
Sundry items: Insulation tape, holt melt glue
Cleaning materials: N/A
Repair difficulty: 4/10
Cups of tea: 1
Biscuits: No biscuits this time, as it was lunchtime. It was cheese on toast for me, with some chorizo on top as I seem to remember, maybe a dash, just a tad, of tomato sauce- from Lidl I think…
I’d just finished the last mouthful of tea, I was getting peckish, thinking about putting the grill on, when a neighbour of mine rang the doorbell, at lunchtime -of all times.
The conversation went like this; Matt, could you have look at these old headphones for me? I was about to chuck them out and I know you like playing with old stuff like this. They used to be good, but they only work ‘one side’ now. I mean, they’ve probably had it. …Hang on I said, let me have a look, leave it with me. Famous last words.
I was quite flattered actually, as I really do like receiving work this way. When there’s little hope for something that’s probably on its way to the great scrap bin in the sky, I must admit that I especially like taking on that challenge of making something work again. Diverting the once condemned item back into full service is the thing that keeps me motivated.
On with the repair. The fault reported was ‘no sound from the left speaker’. The first thing to check with anything corded is the cord/ flex/ wire itself. While a visual check of a wire is no conclusive way of proving that it works or not, tell-tale signs of bending and chaffing can save a lot of time elsewhere. Rule out anything silly before wielding screwdrivers, I say.
Since the wire looked OK and the plug wasn’t bent, it was time to take the headphones apart. The AKG K92 headphones are simple to dismantle; just pull-off the headphone covers and the speakers are held together with just four small cross head screws, each side.
Using a multimeter set to continuity test, I was able to prove each part of the cable. The main wire from plug to headphone set proved OK, which was a good thing as it meant no replacement required (these are widely available on eBay). The headphones’ over the head band, as well as keeping things snug on ones’ noggin, also carries the signal from one side of the set to the other. If you’re still reading, I hope that makes sense. Anyway, the meter proved that it was all fine.

In the end, the fault lay with the main wire to headphone speaker on the left side. To be honest, I should have checked that first as that connection is always under load as it crosses a pivot point, allowing a few degrees of movement and therefore comfort for the user.
On the subject of comfort, while doing the repair, I noticed that the headband was a little torn at each end, presumably a result from many intense sonic moments. The vinyl coated band was a tricky customer to repair, but a little hot melt glue along the torn edges, soon fixed things, giving the headphones a fresh feel.
A quick remake of the connection (cut cable, re-solder) and full hi-fi was restored and the headphones were ready to blast again. Turn it up to 11.