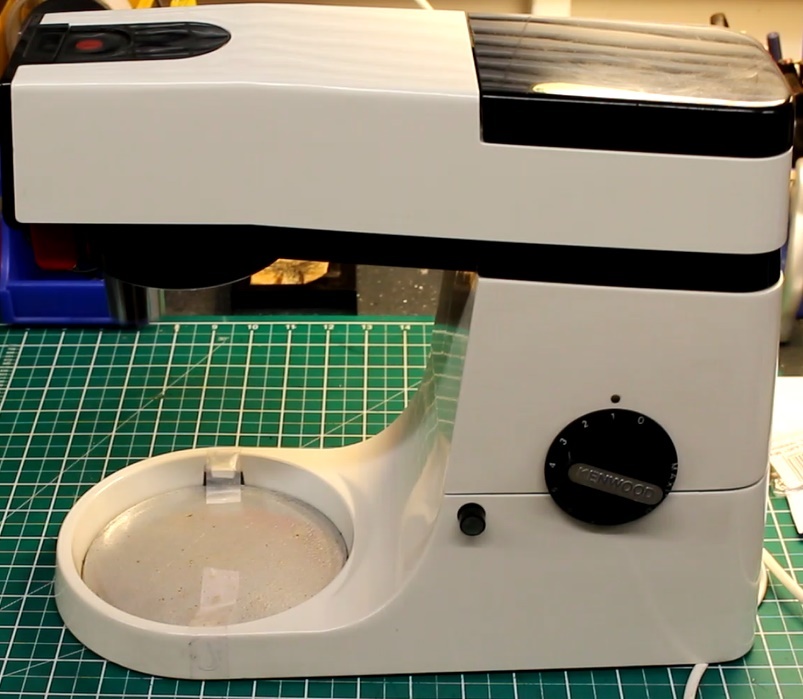
Moulinex magic in the workshop

Economically unviable, virtually no manufacturer support, practically zero second hand value. I’ve had worse machines through the workshop.

It’s not always about the cash…Better crack on.

Make and model: Moulinex Delicio (food processor)

Fault reported: Broken switch

Cost of replacement machine: £40.00 – £50.00 for an equivalent

Manufacturer support (in the UK): 0/10

Cost of parts (for this repair): £ under a tenner, including all parts, but not labour

My time spent on the repair: 1 hour

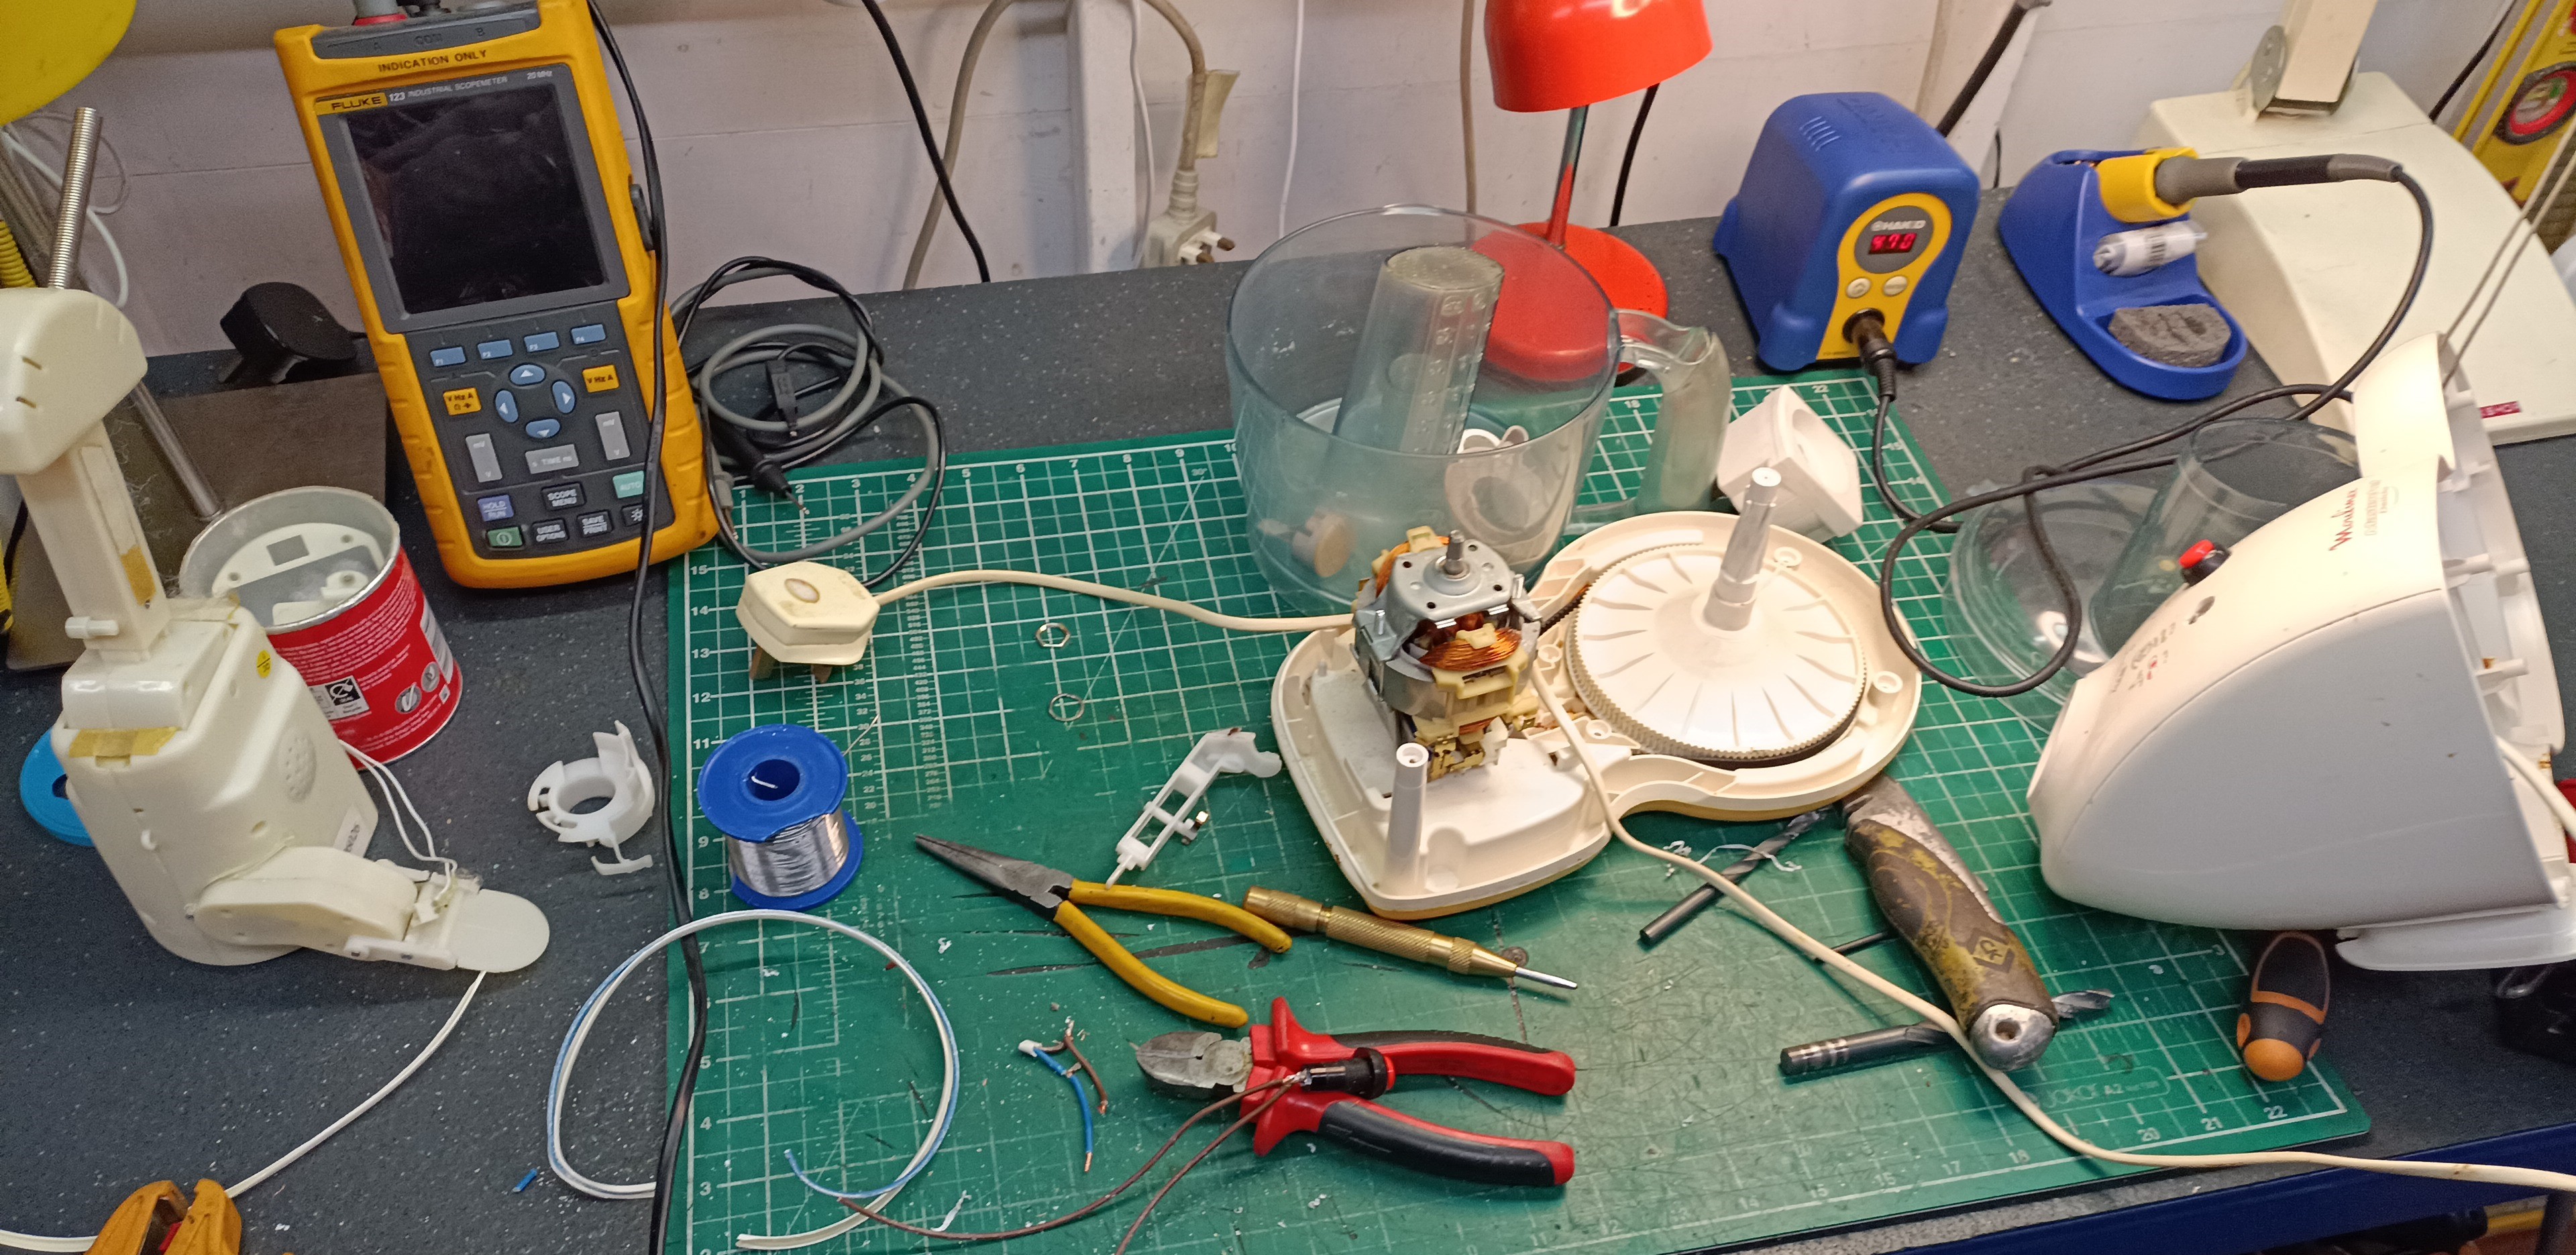
Tools needed: Small knife, pliers, small screwdrivers, soldering iron

Sundry items: Cable, heat shrink

Cleaning materials: Silicone spray, contact cleaner, wipes

Repair difficulty: 5/10 (fiddly)

Beverages: 1 tea

Biscuits: 2 ginger nuts

Bad language: 2/10

It must start early.  An attachment to inanimate objects, a personification if you will, of machines and their mechanical feelings.  Maybe it starts with teddy bears, Lego people or Matchbox cars. Of course, deep down I know that machines do not have feelings, but I do sometimes find it hard to simply give in with something, and throw it away. 

I don’t think that it’s a coincidence that many classic cars, rescued from the crushers’ teeth, tend to have a ‘face’.  Indeed, designers can often hit on a million-seller, if they get the ‘face’ right.  Think VW Beetle, Morris Minor and Mini. Perhaps these shapes bring back childhood memories of a favourite cuddly toy, which might translate to them being taken care of better and cherished for longer.

Anthropomorphism, the attribution of human traits and tendencies, is something many of us experience, but us repair nerds seem to take it to another level.  I’ll have to think of a catchy name for it.

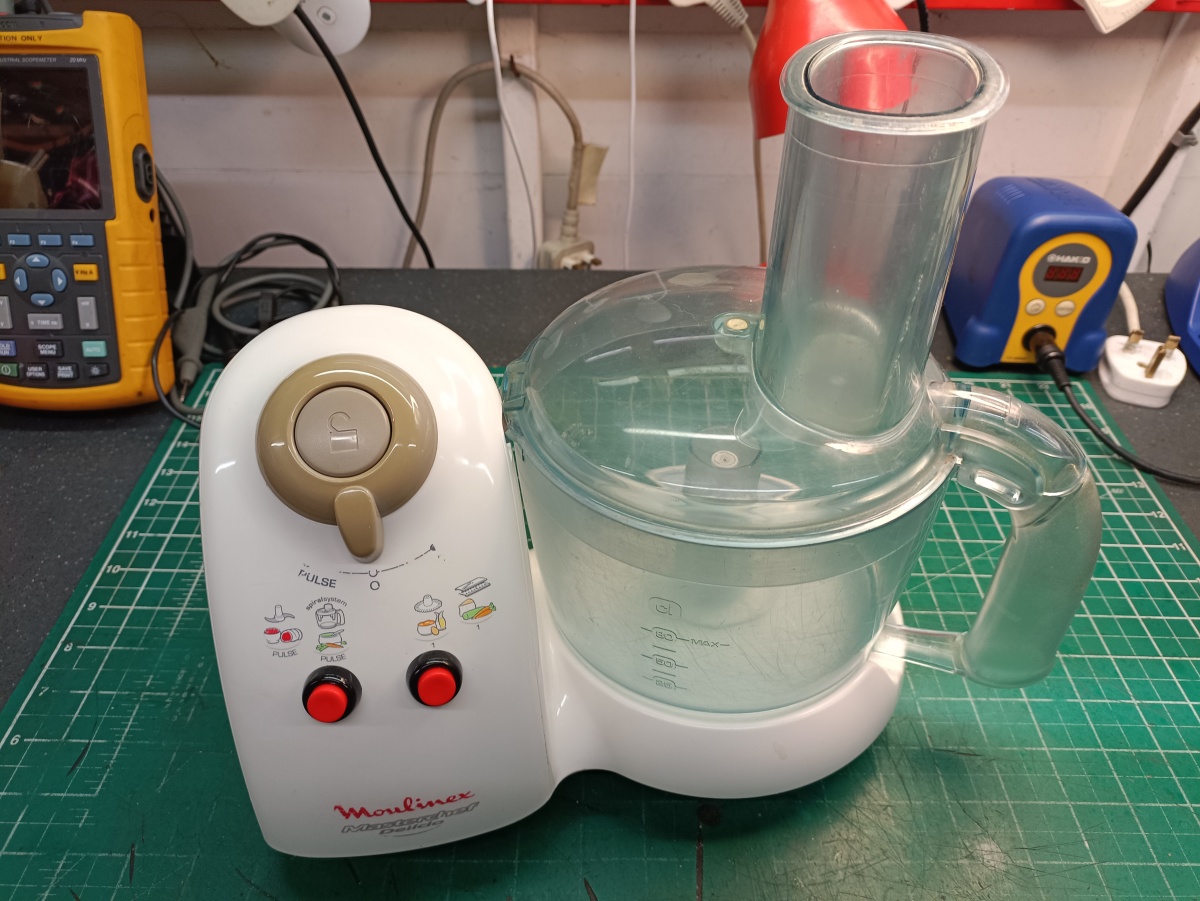
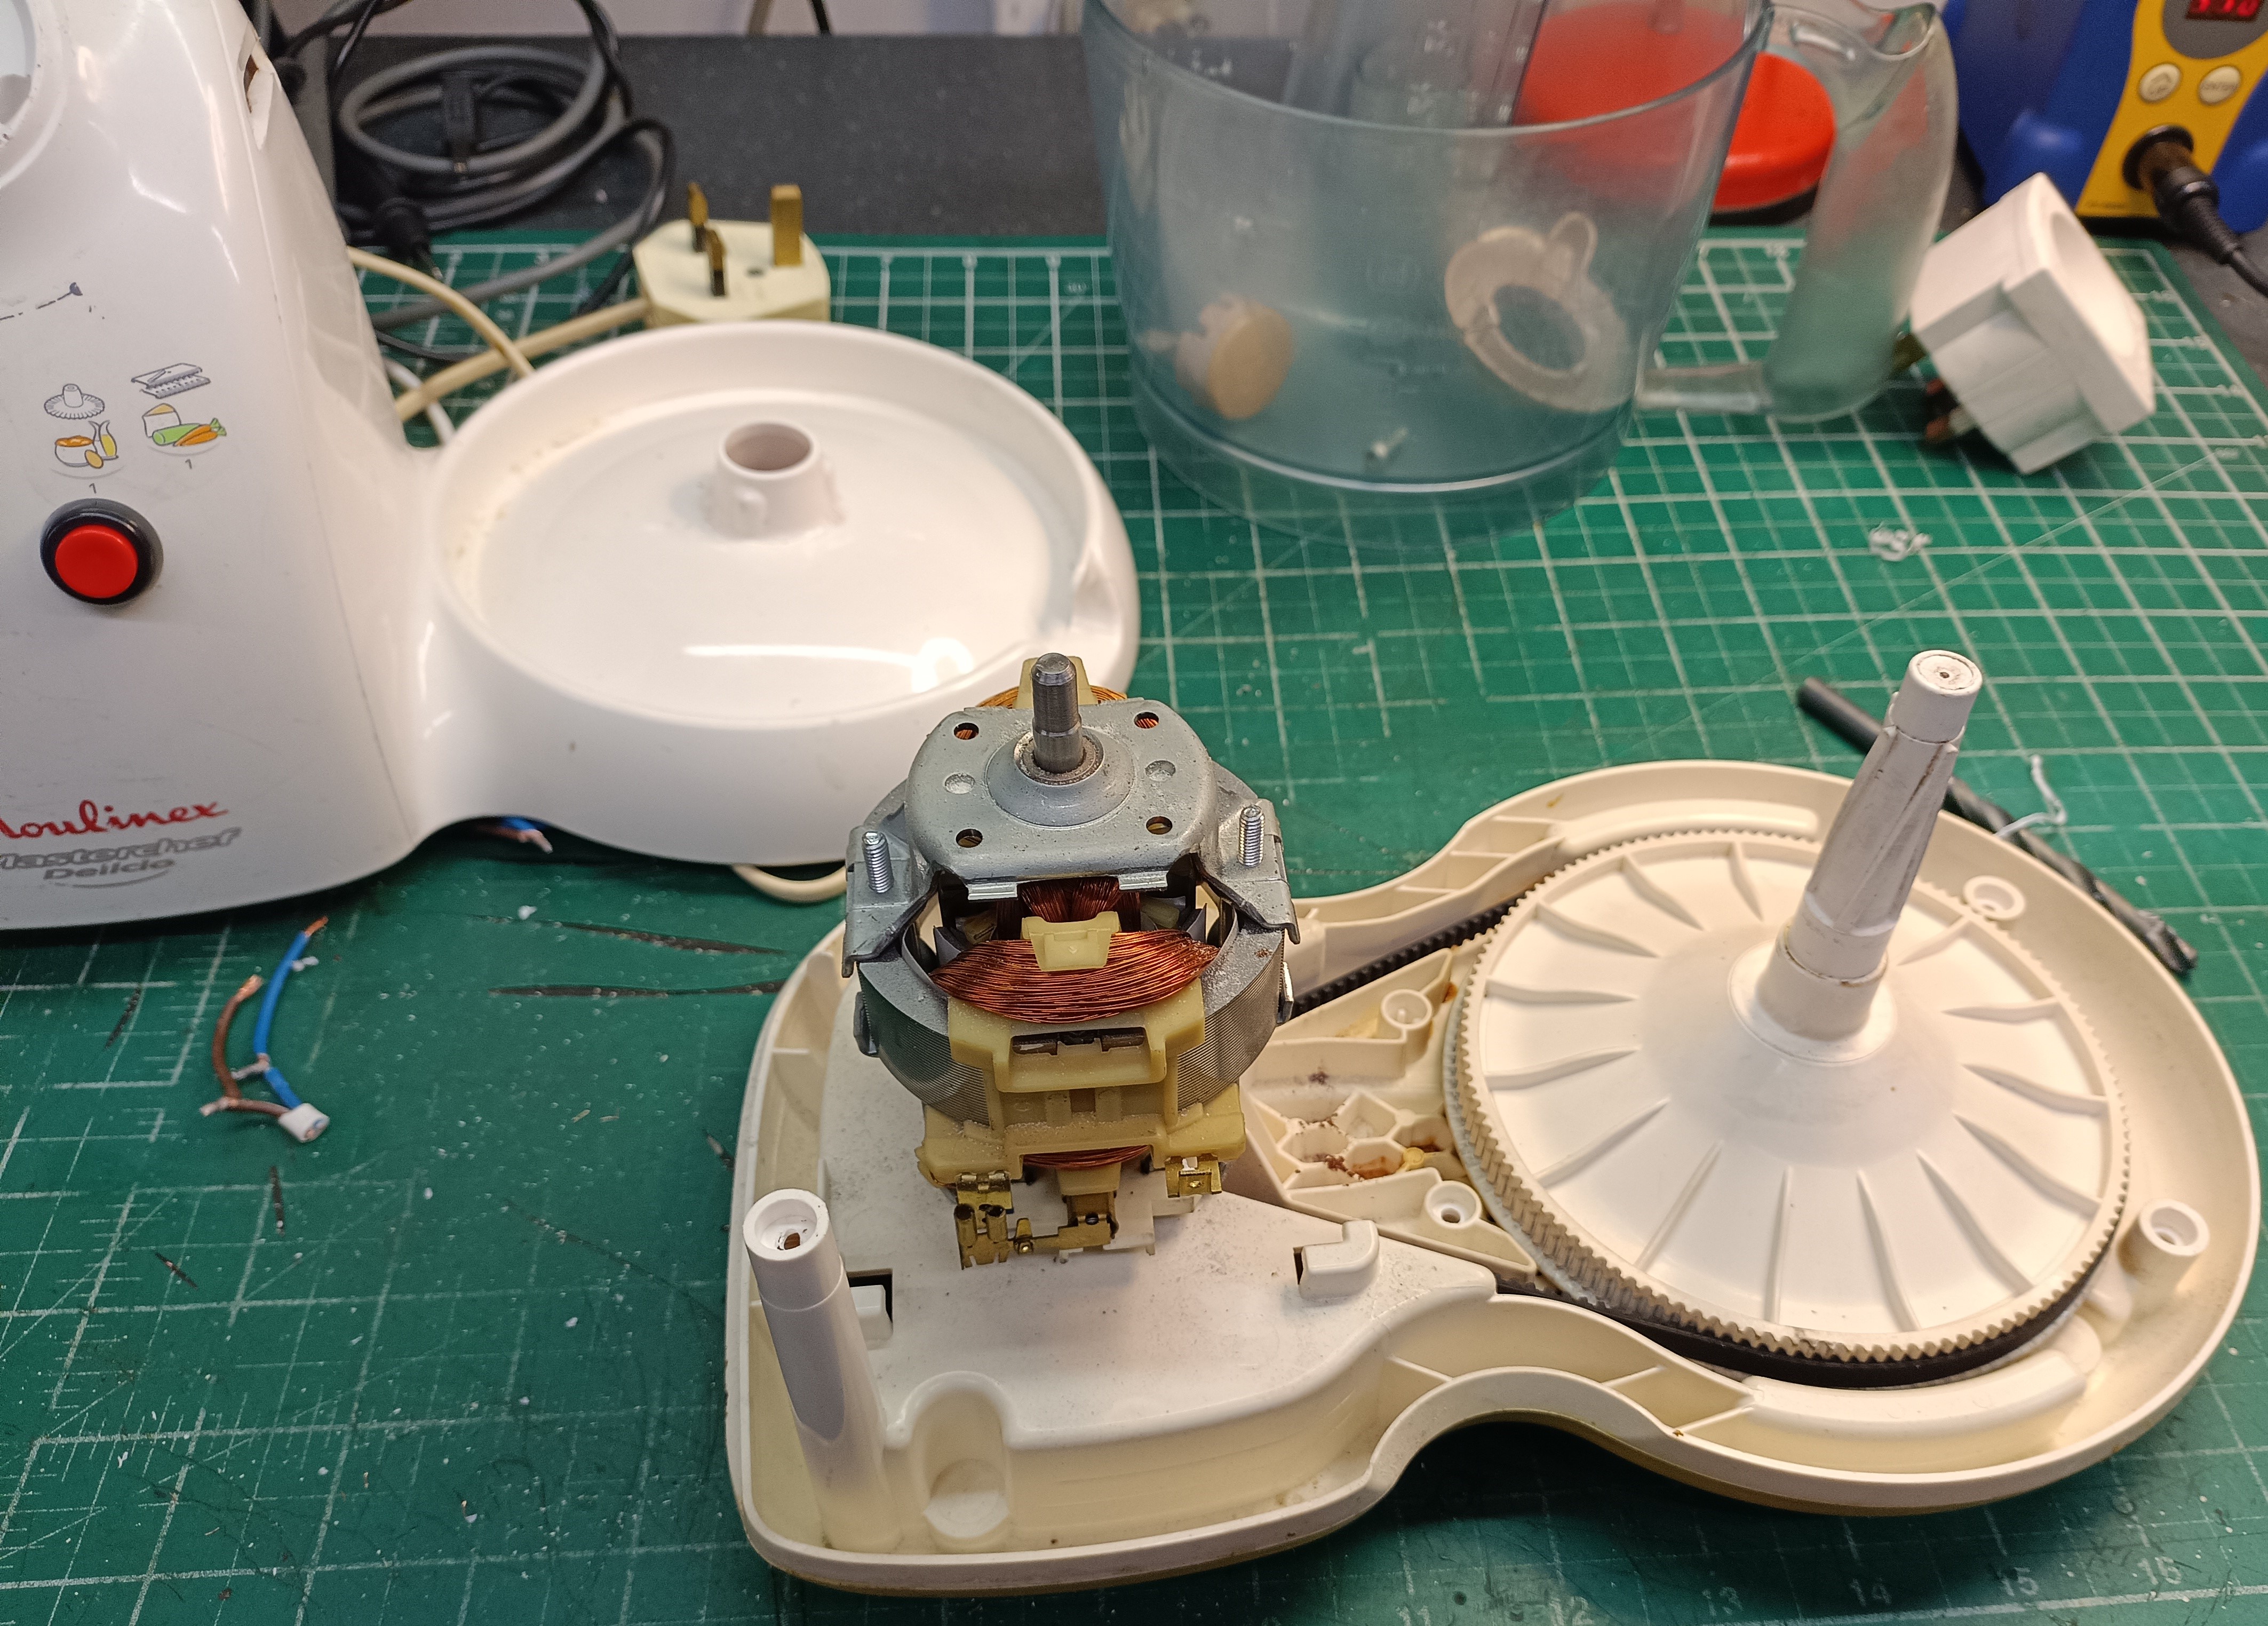
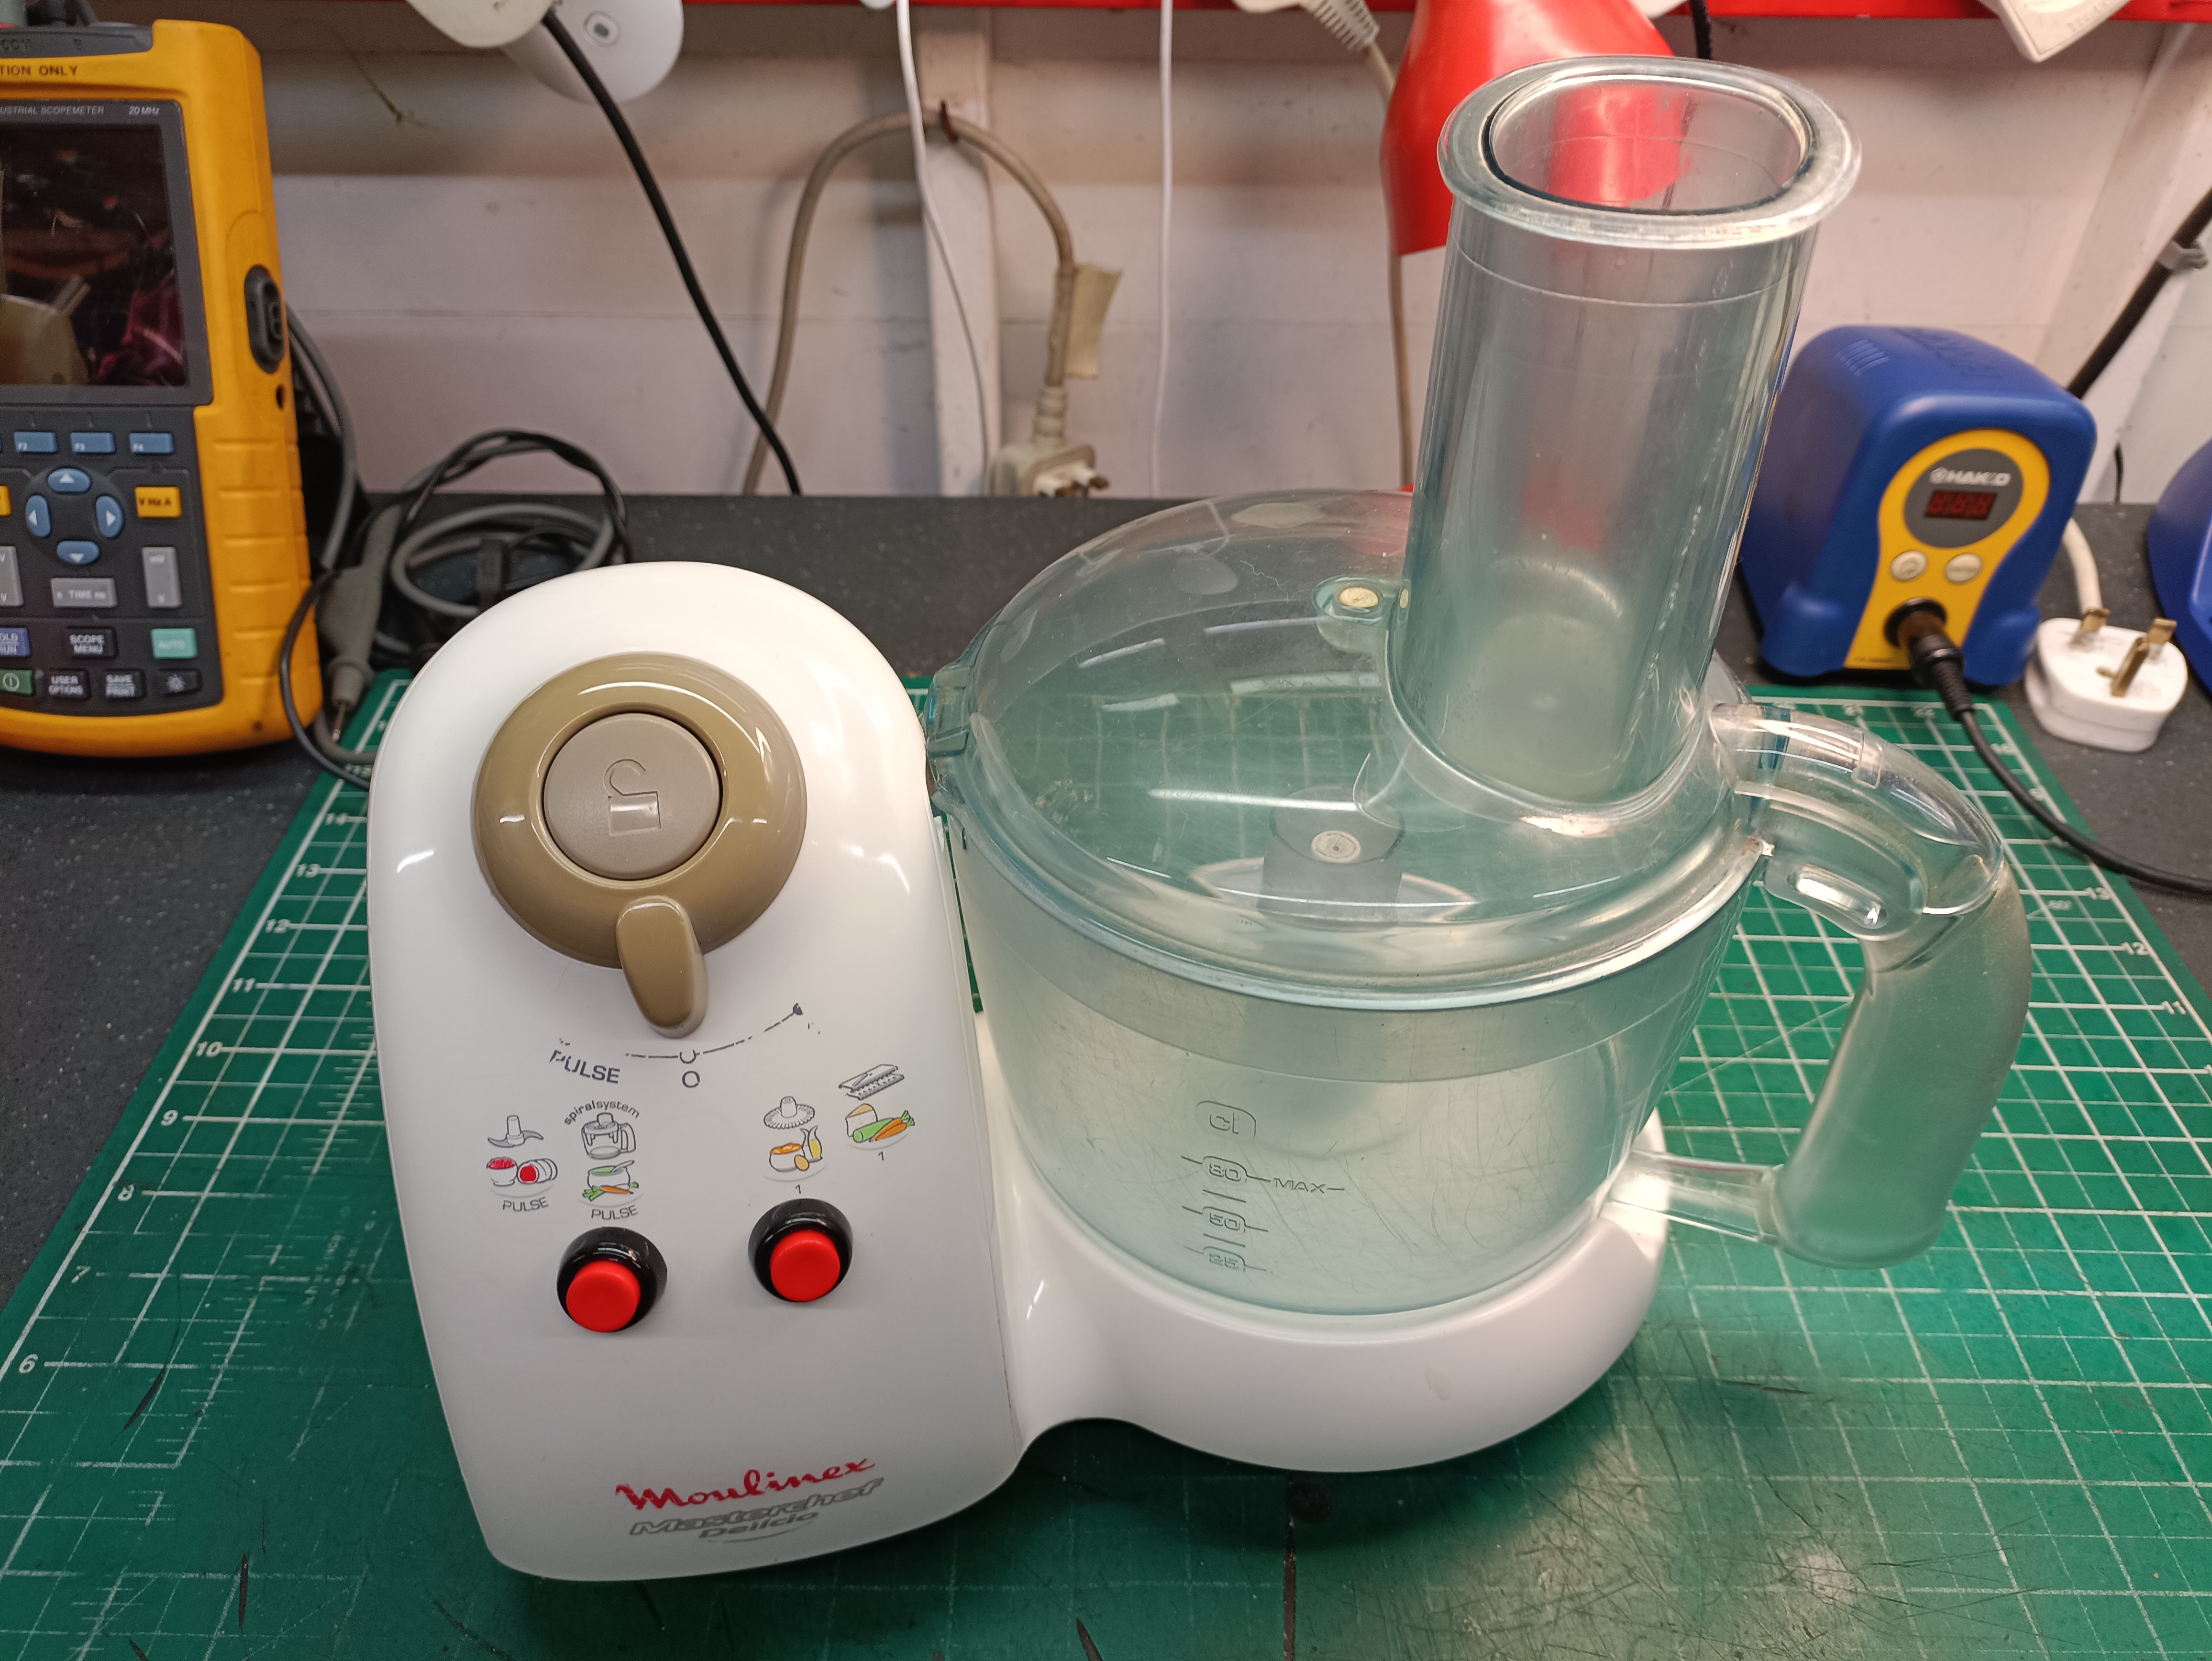
All this has reminded me about a recent such situation where my mum asked me if I could fix her broken Moulinex Delicio food processor, if it wasn’t too much trouble. 

The condition I ‘suffer’ from certainly doesn’t run in families and my mum was at first, ready to recycle the thing. But remembering all the cakes made with it over the years, especially ones made with my two daughters, seemed to put a different complexion on matters. So, I took the mixer away with me and put it on the workshop shelves, awaiting some attention.  At least there were other machines alongside, to keep it company.

Many food mixers tend to be large, heavy and bulky affairs which is OK for many, most of the time, but if you can’t manage the weight of something like an eleven kilo Kitchenaid Artisan every time homemade brownies are called for, something like this little light-weight Moulinex is ideal. So, two compelling reasons to keep the mixer; it’s lack of weight and some fond memories.

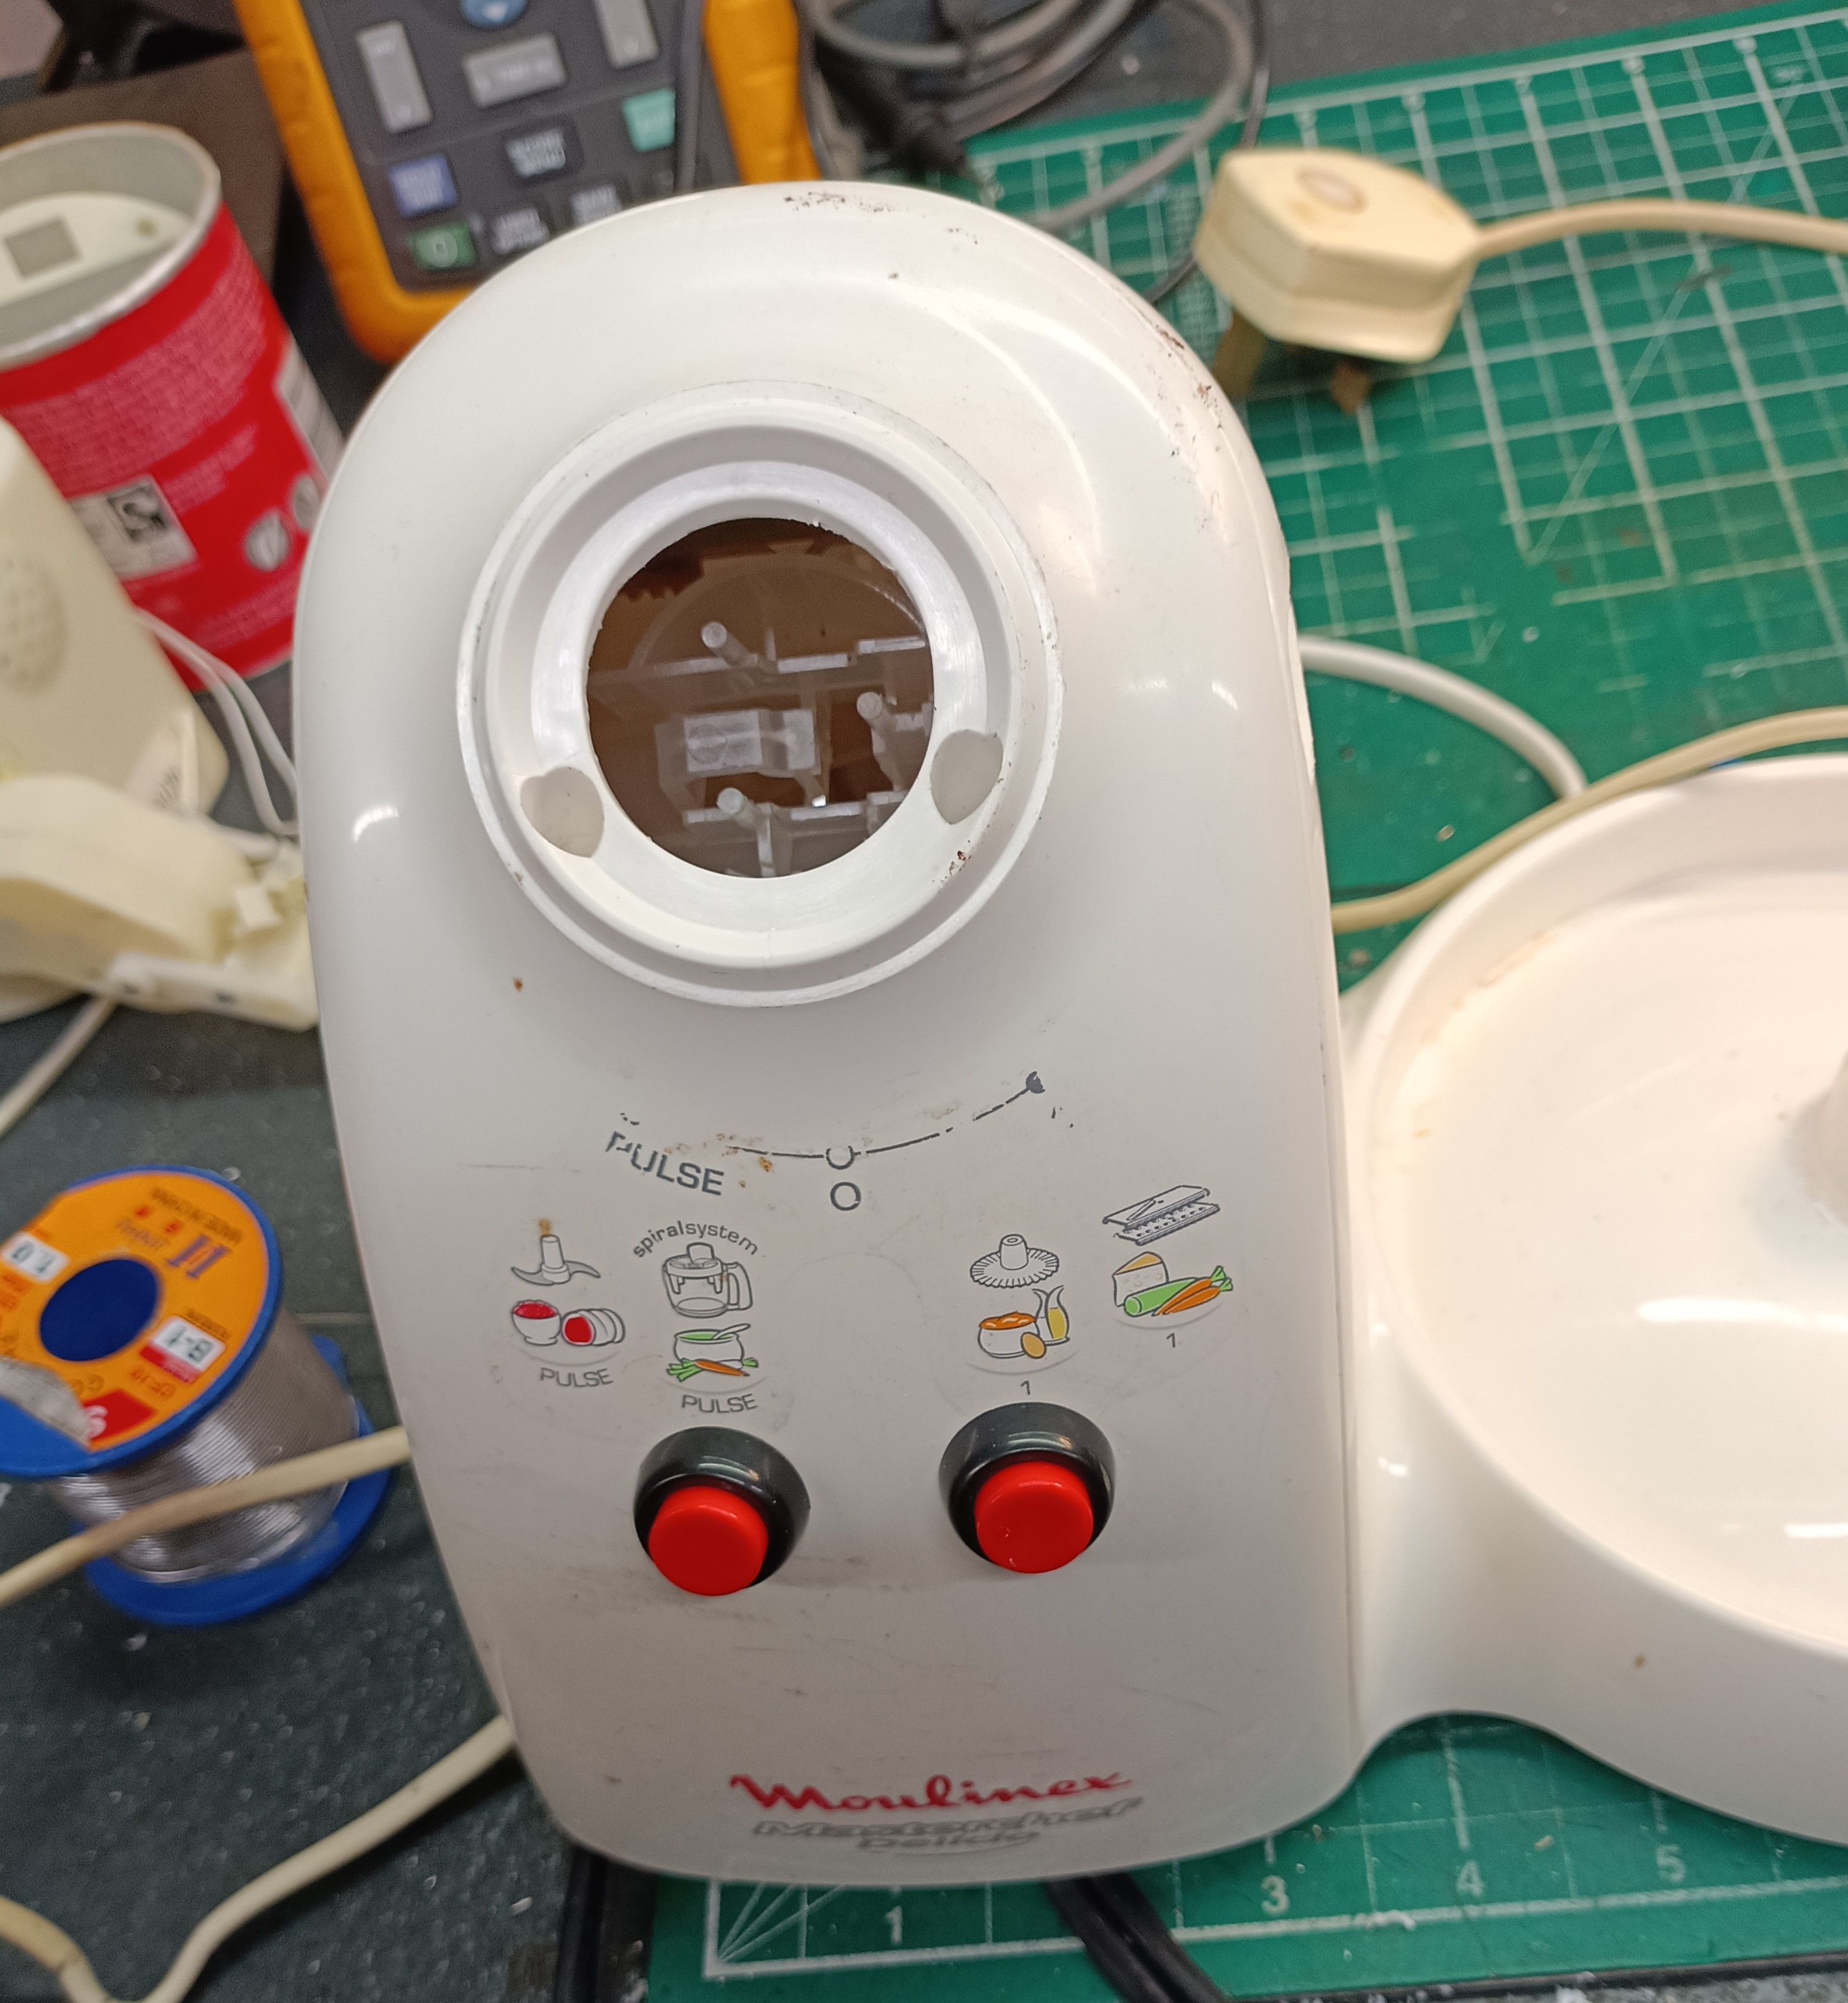
The problem was that the main on/off switch didn’t seem connected with the rest of the machine and to make things more complicated, the integral lid-lock was operated with the same button.  This part is therefore quite important since it might prevent one from shortening their fingers, by not allowing the spinning blades to ever come in to contact with wondering digits.

Now, I’m sure that this all seemed rather lovely in Moulinex HQ at the time, but small plastic switches connected with several thin moving parts combined with knocks and scrapes in a kitchen, is not going to end well.  As a matter of fact, Moulinex offered the offending switch assembly as a spare part until recently, so they must have known that the design was a bit iffy.  Sadly, I missed the boat and despite several attempts, I couldn’t find a replacement part anywhere. eBay revealed a couple of similar machines with faults, so it was back to the drawing board.

3D scanning and printing makes low-volume, but high-quality production a reality, and it’s really something that I need to get into, as I often have the need to copy rare, obsolete parts.  In time, I will. 

In this case, I did consider using one of the many online UK companies now specialising in this kind of thing, but the costs did not warrant it in this instance, so a new strategy was required.  I’ve spent many hours of my life browsing parts like this in catalogues, so I decided that a repair should be possible for under £10.00, using readily available, generic switches. Yes, that should be my budget challenge then, do the whole job for a tenner or under and since it was a family affair, no charges for labour!

The Delicio is a simple machine; no variable speed controller, just a single speed operation controlled either by latching or push-to-make switch.  It gets the job done quickly and without fuss. After a quick trawl of eBay, I opted for two small round, red button in black bezel switches with solder tags.  The switch series I opted for was available in push-to-make and latching, bingo!  And at £5.98 delivered, a total bargain.

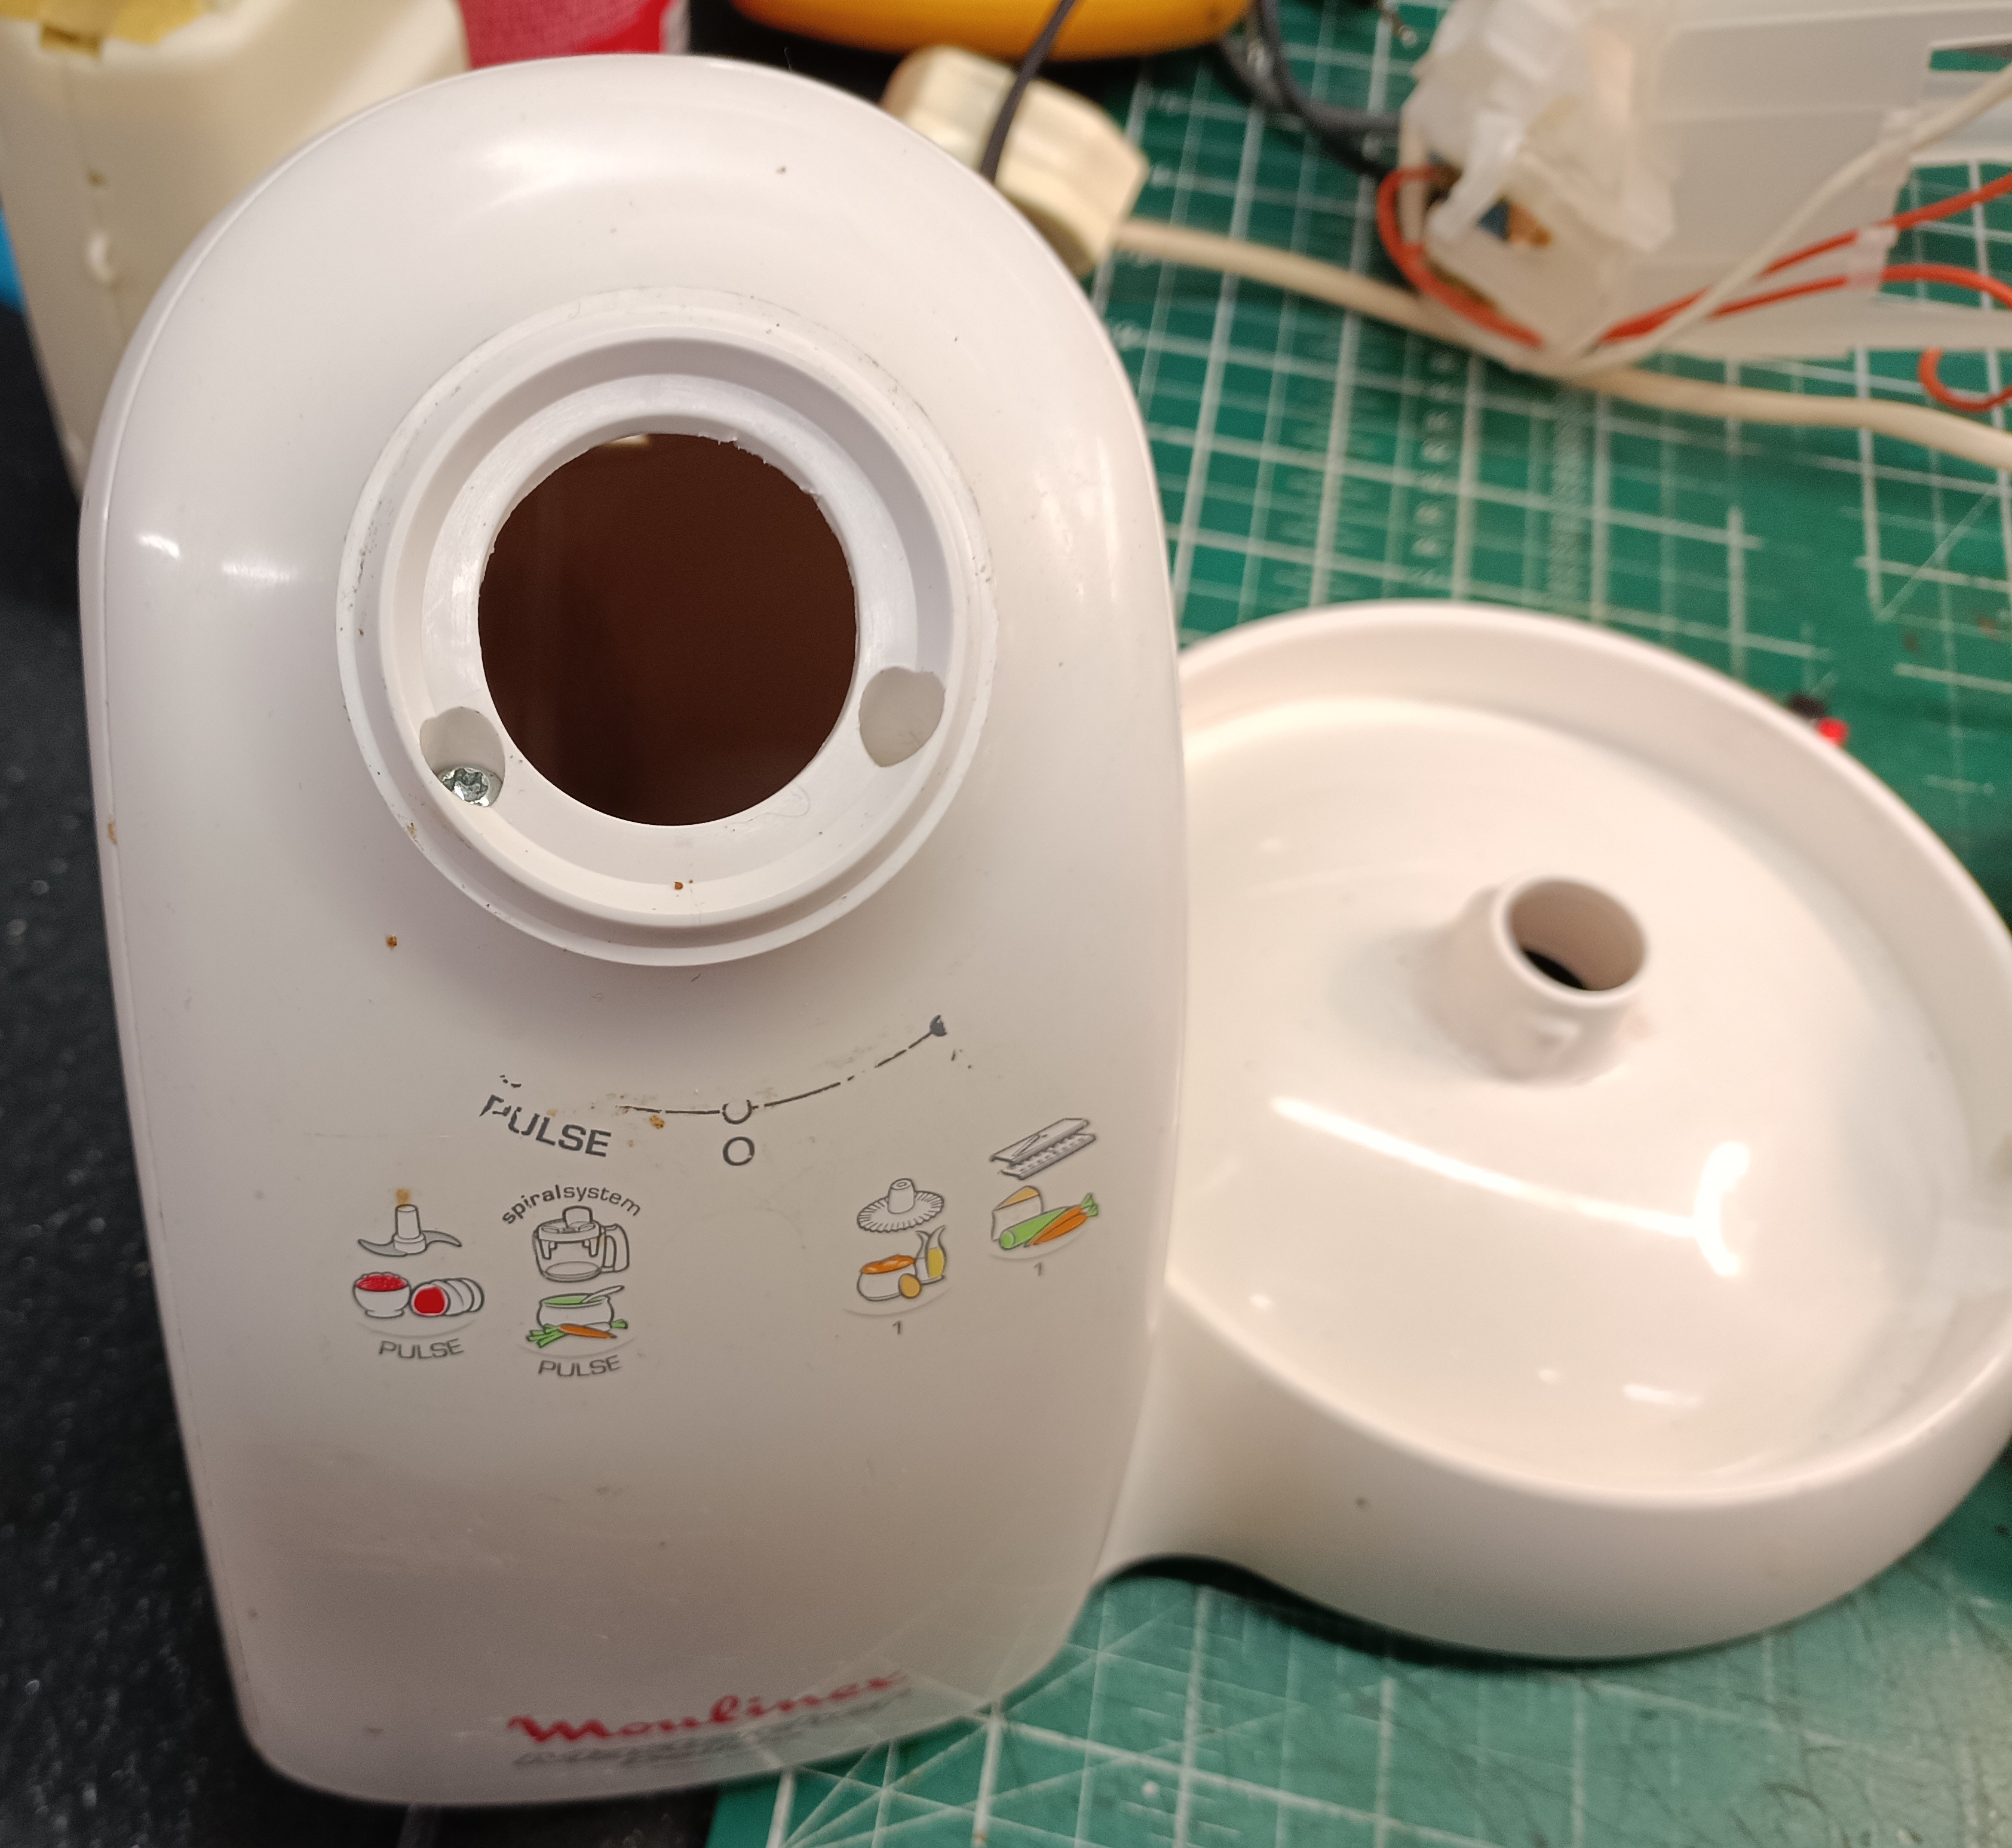
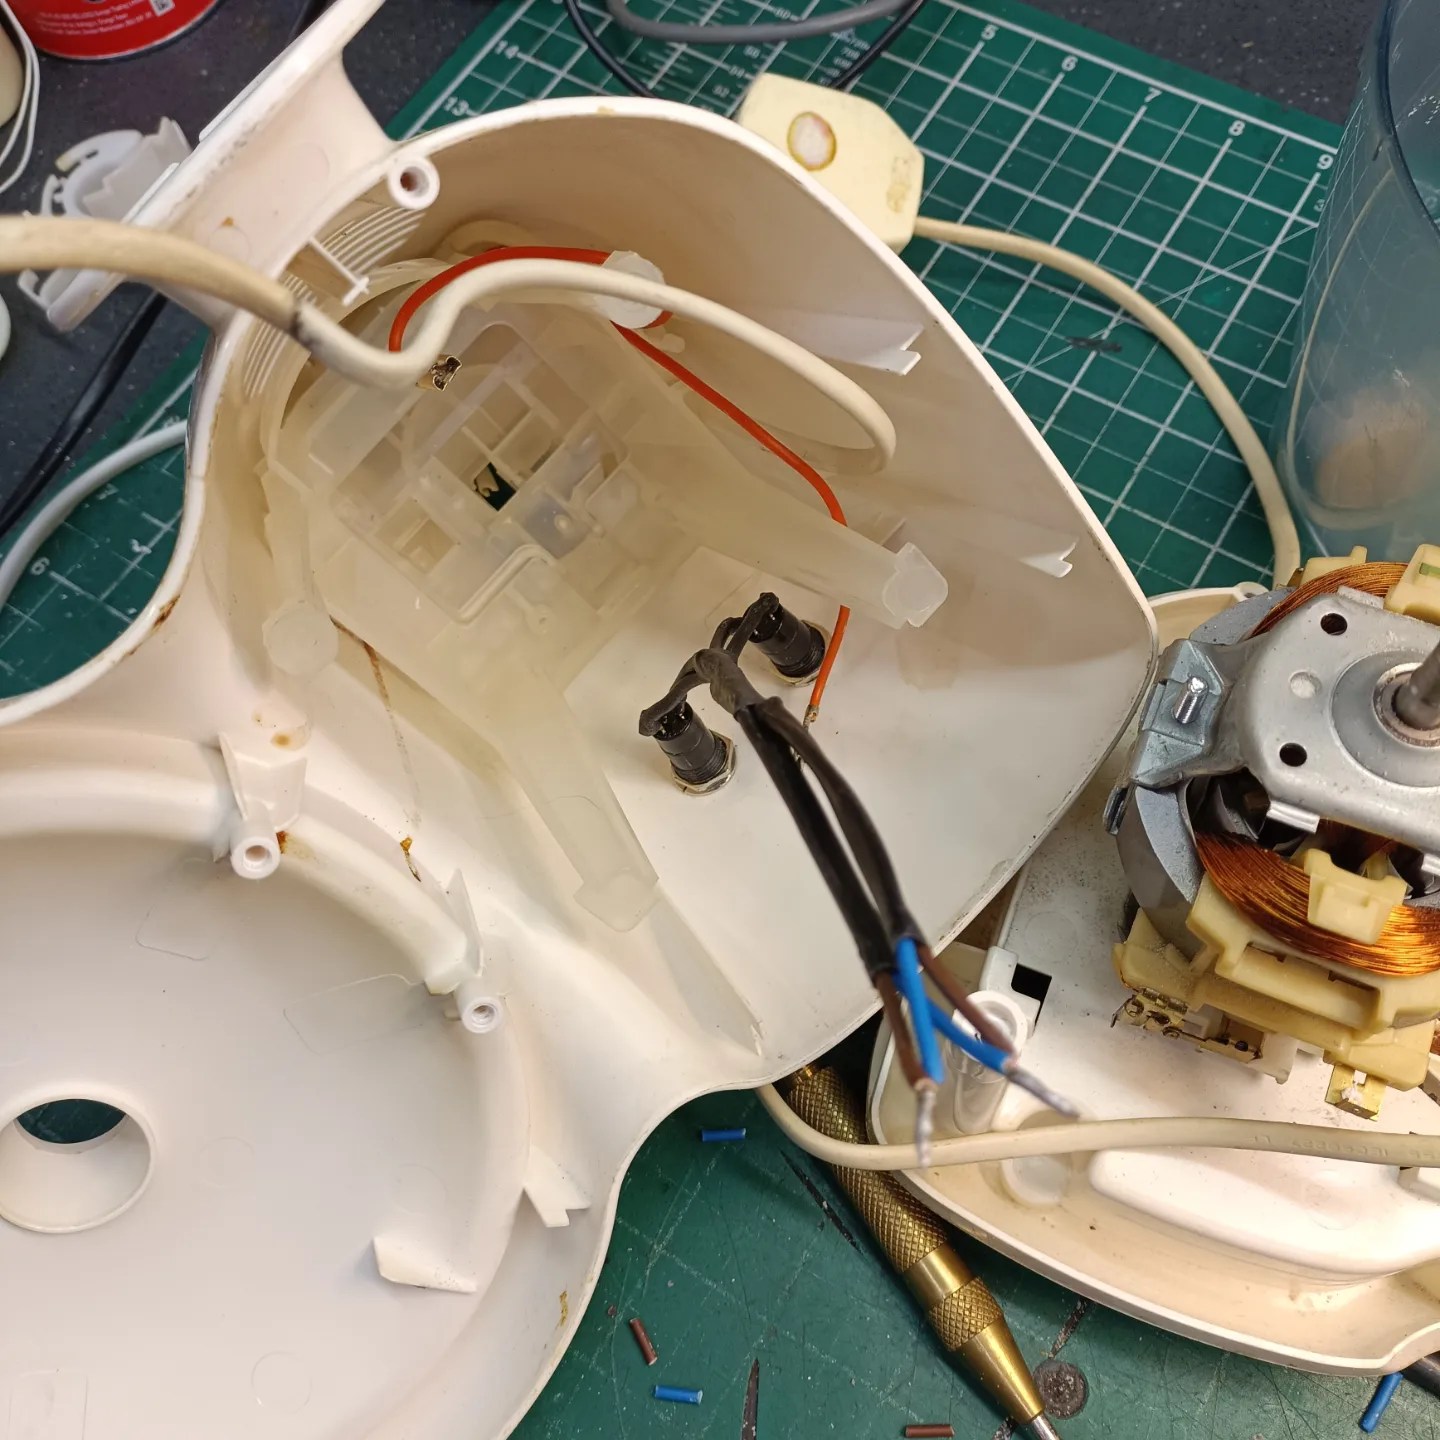
There’s something quite satisfying in selecting an item, taking it apart and then modifying it by way of repair, improvements or both, in such a way that differs little from its original design.  Subtle modifications or improvements, that the casual observer will never notice. If you look closely at the photos, I managed to line up the new buttons with the old printed text, to match the operation. Lucky.

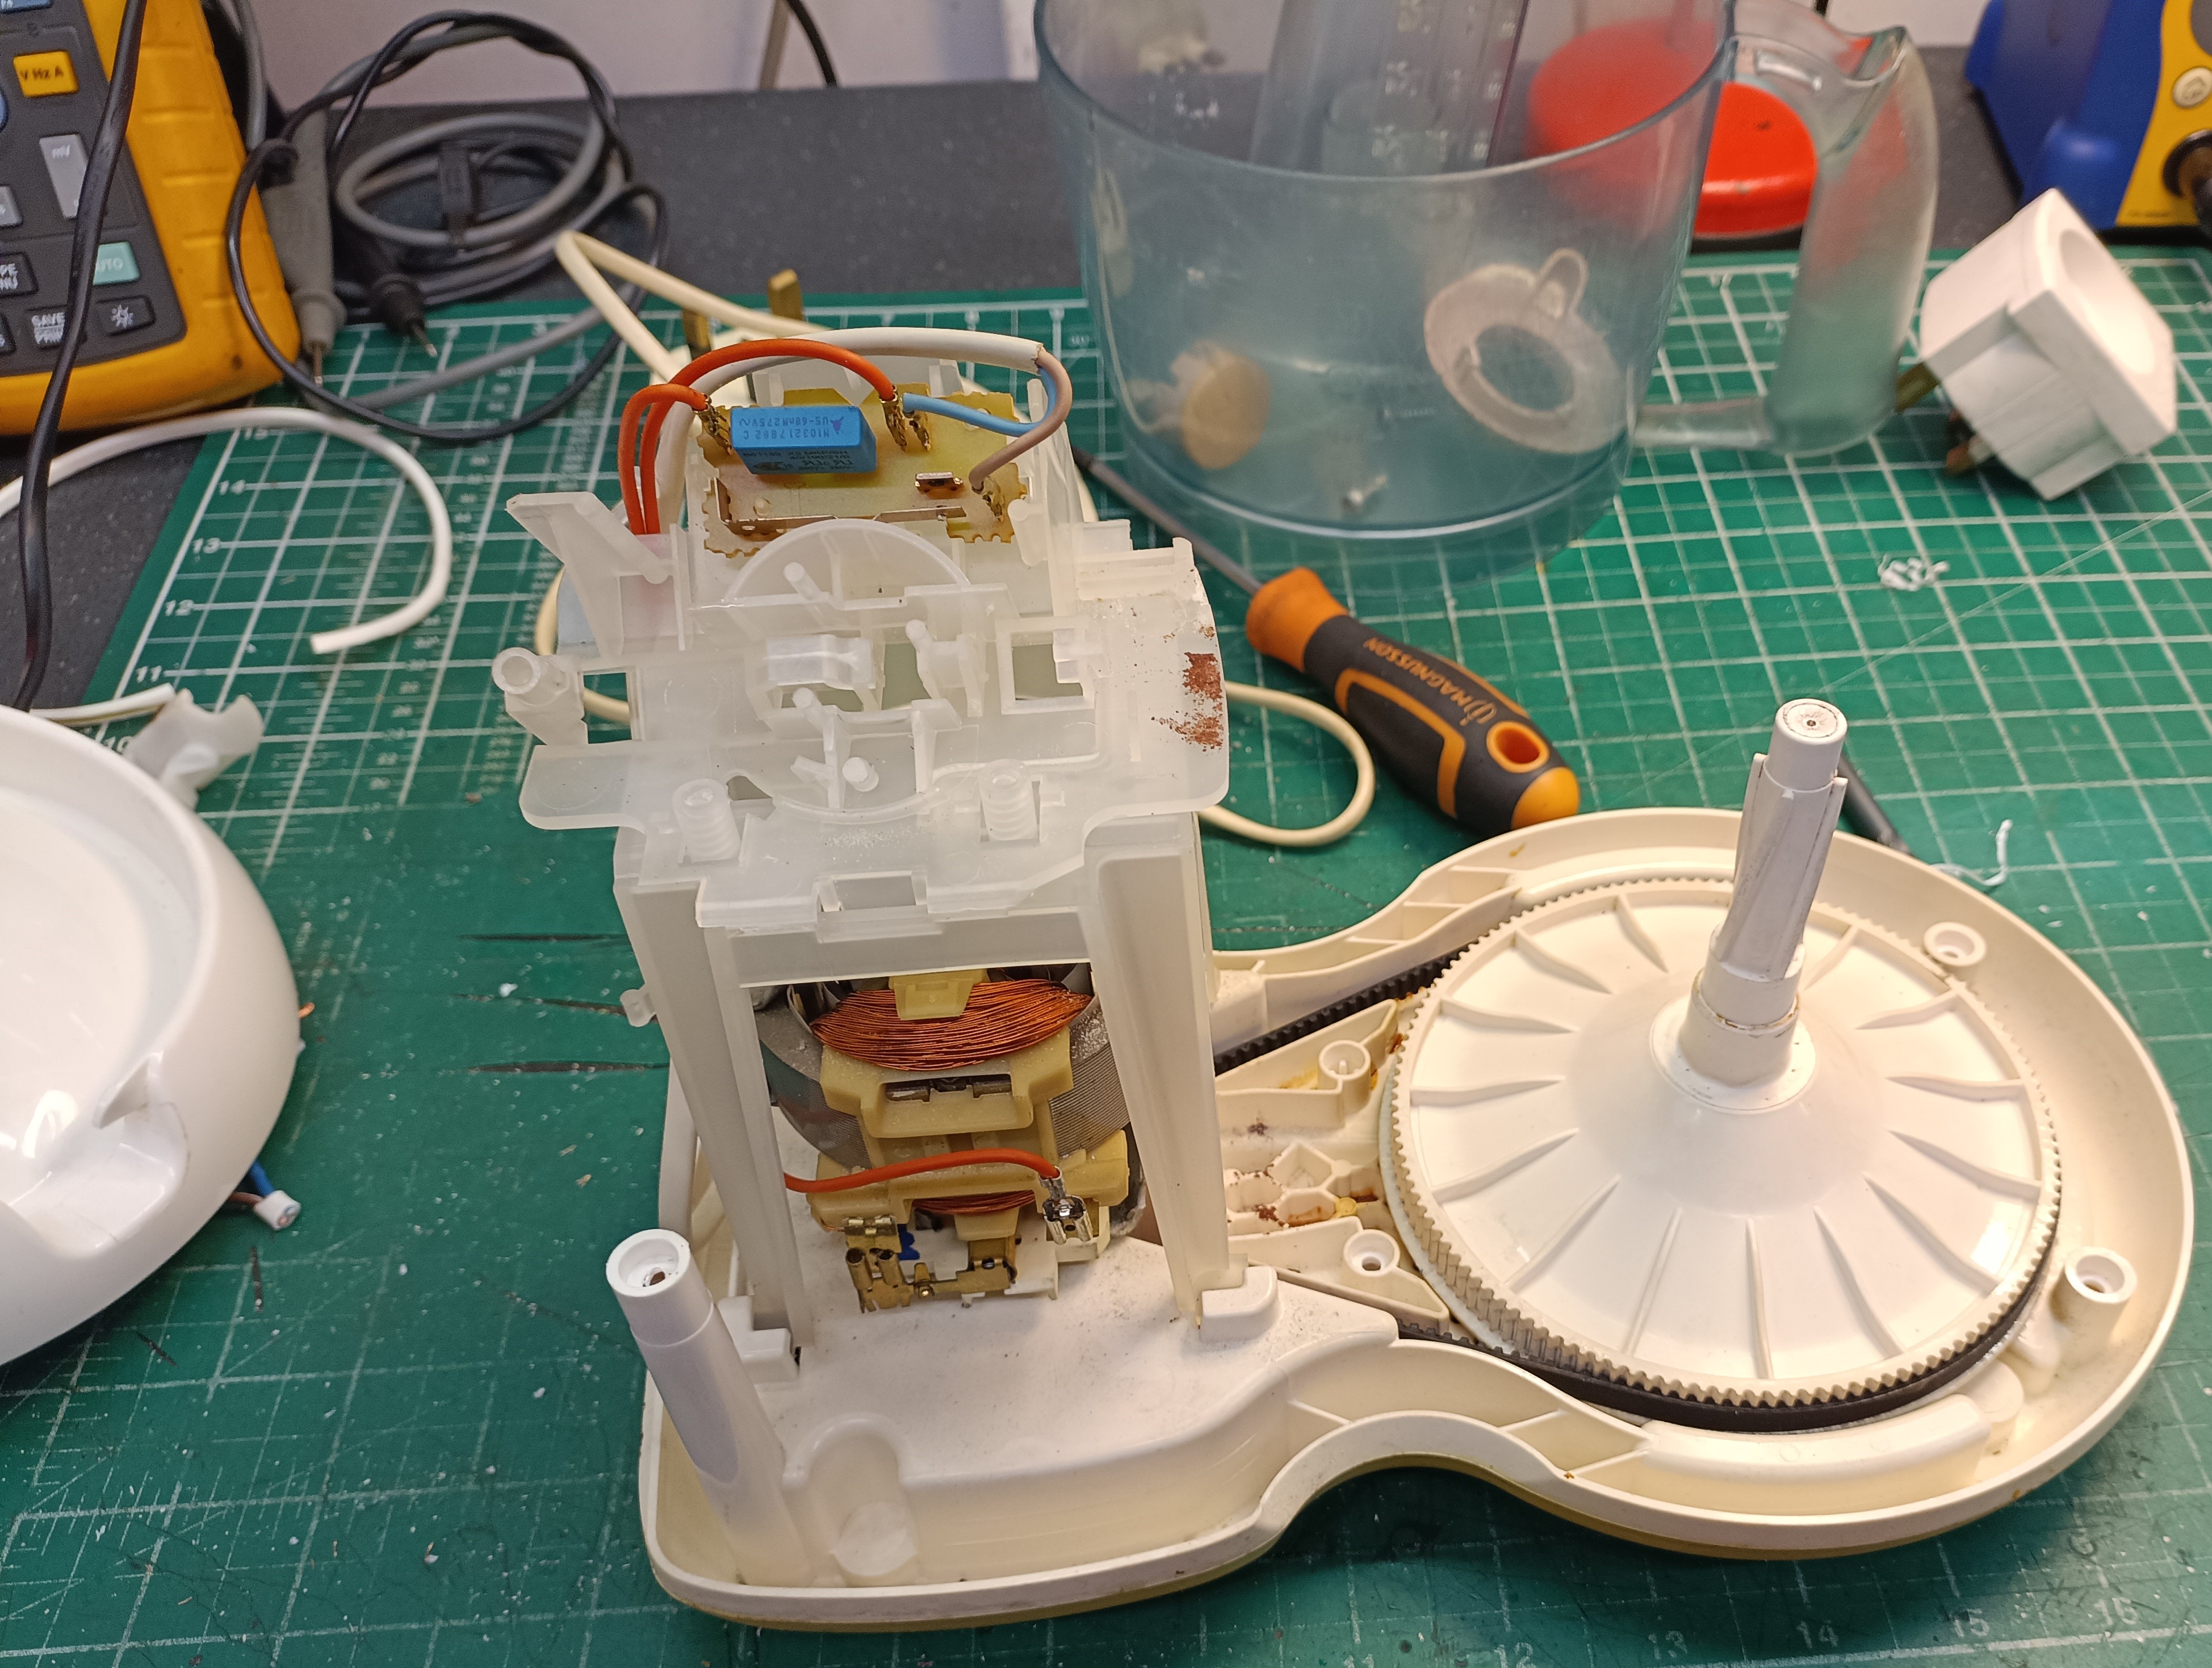
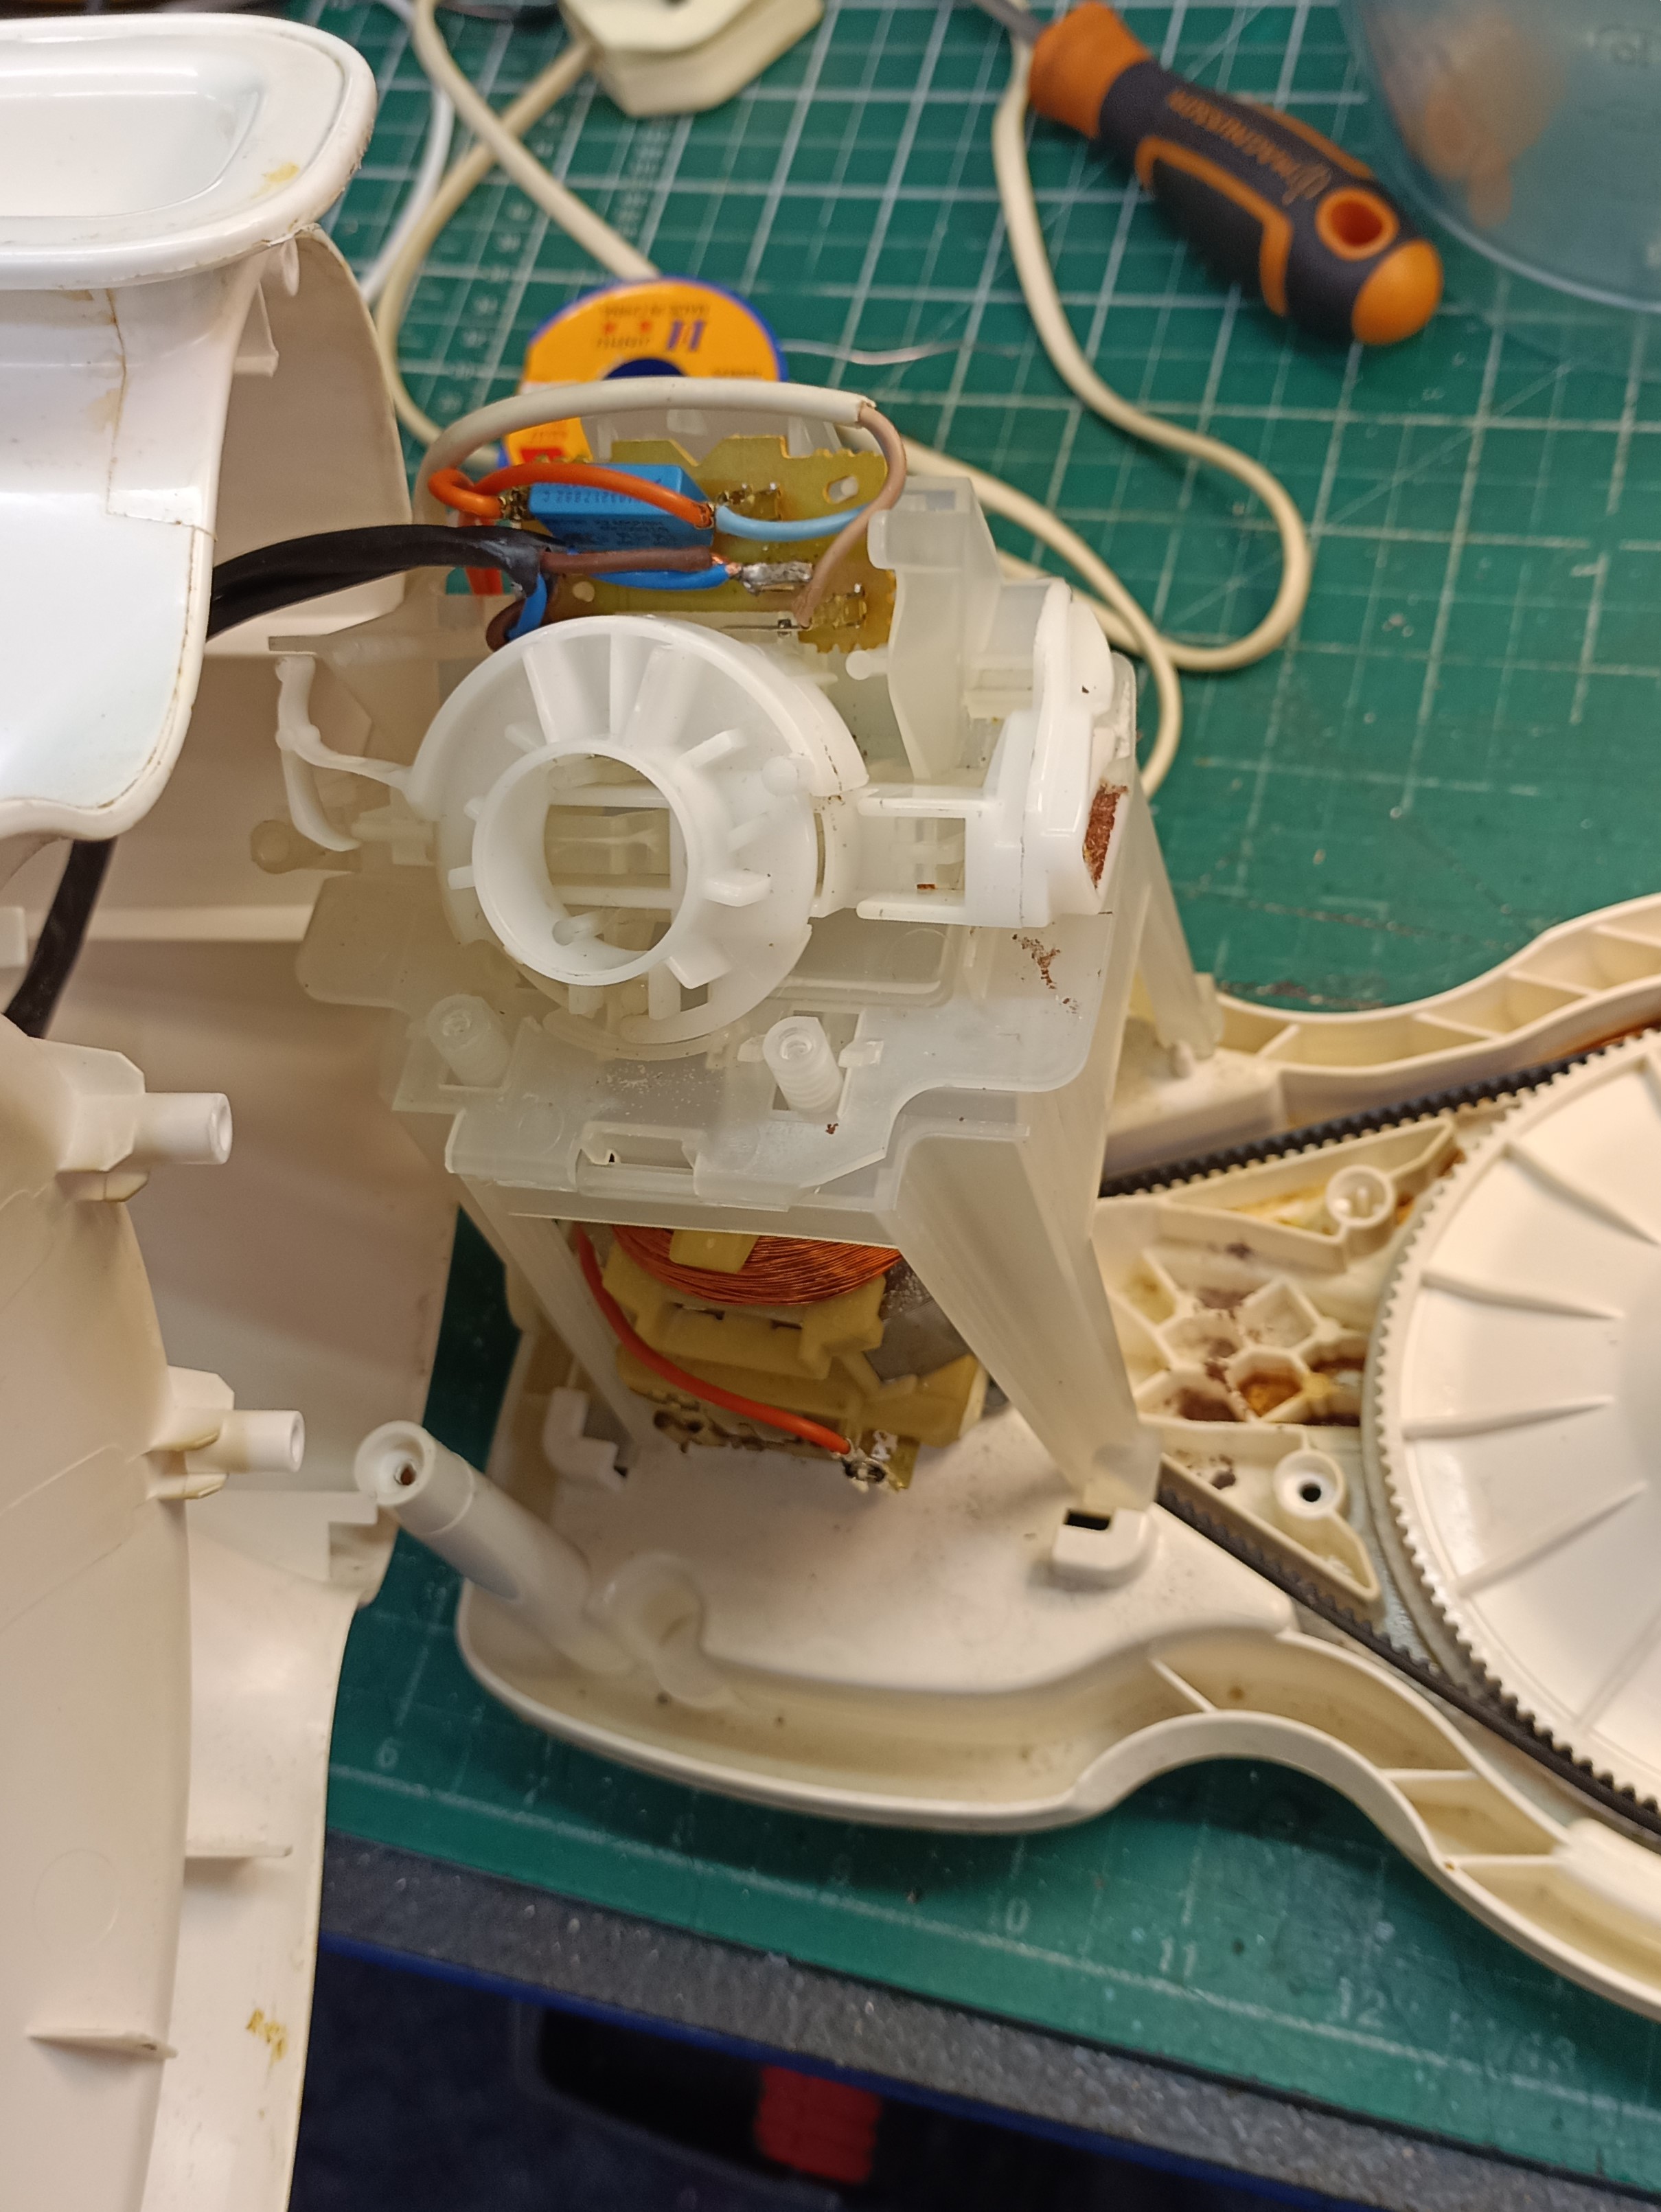
I won’t describe the repair in detail, suffice to say that I found a suitable location for the new switches in the machines’ chassis, drilled out the holes and then fitted them in place with the nuts supplied in the switches’ kit. No special tools required for this job really, just a selection of standard screwdrivers, some 0.75mm wire, heat shrink, cutters and a 12mm drill bit.  I already had some cable, I connected the new switches to the existing wiring harness, by-passing the original.

I was able to retain the original switches’ interlock by keeping the original switch in situ with a little epoxy resin.  This ensured both safety and the original aesthetic.  See what you think in the photos. I was quite pleased with it.

I completed the repair within an hour, which I almost forgot to report, included a wipe over and polish. And I managed it on only one cup of tea with a couple of my favourite ginger nuts.  Oh, and I didn’t go over budget. Any chance of a Vicky sponge, mum?!

Inside The Real Repair Shop 5

Why do people get things repaired? Some thoughts shared. One day, I’ll write a book on the subject.

What makes something cool and just maybe worth hanging on to? Is it good design? Is it great functionality? Is it celebrity endorsement? Is it scarcity? Is this a list that could go on forever? Yes, probably.

Some stuff is just cool and loved from the off, and some things take a while longer to enter the hall of fame. But why is that? Why does it happen?

FixItWorkshop, Worthing, September 2021, the mug

I was pondering this while going through my workshop enquiry inbox recently, and began wondering what motivates people to get something working again or restored to its former glory. The subject is probably a study in its own right, but I thought I’d share my own thoughts on the subject here.  Now might be a good idea, assuming you fancy a drink, to grab a cuppa.  Please come back as soon as possible.

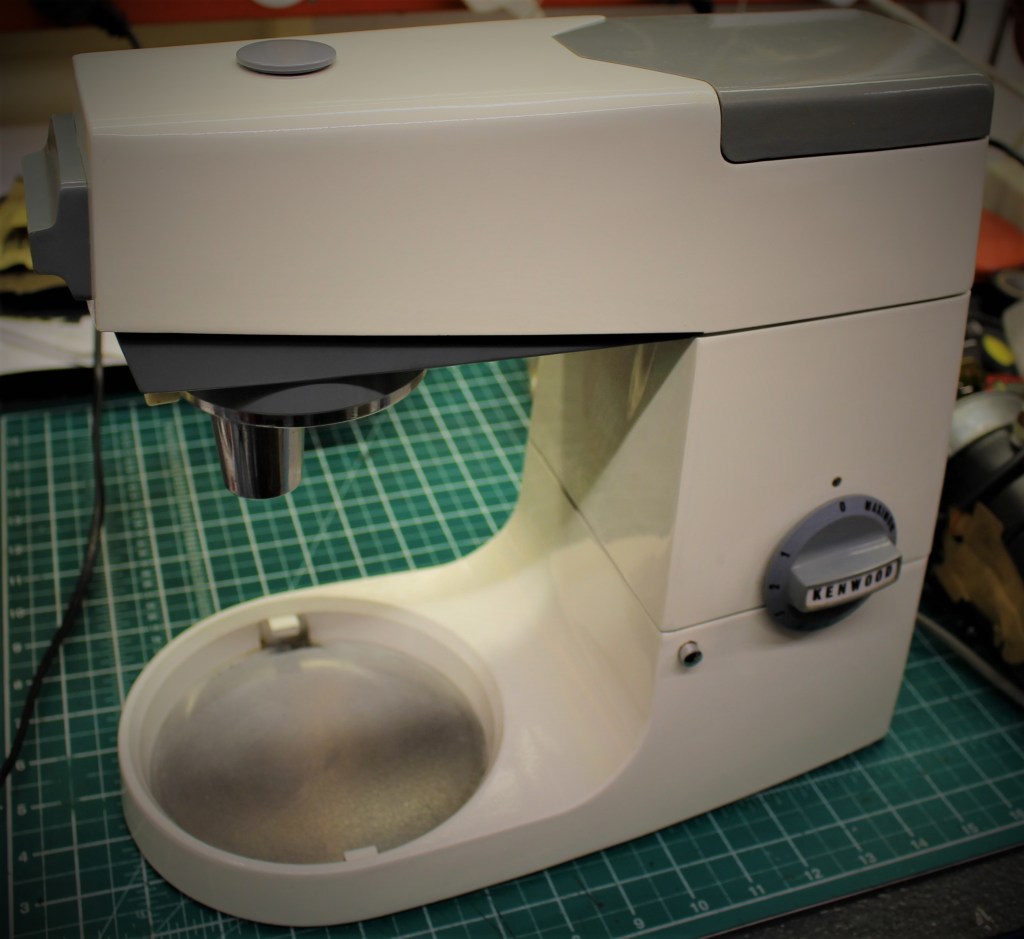
One of the things I get asked to repair frequently is food mixers, especially Kenwood Chefs.  Like the original Mini, AEC Routemaster London Bus and K6 Phone Box, the Chef in its many forms has become a design icon.  It also helps that the mixer excels in function and is timeless in design. Many Chefs that I receive come with an interesting family backstory.  Recently, one such example involved a 1964 machine which had travelled the world, after being originally purchased in South Africa. It had accompanied an army family each time my customer’s husband had transferred to start another tour.  The Chef had grown up with her family making cakes, treats and dinners for over 60 years and had visited over 15 countries and was now worth way more to its owner than the sum of its parts.  After the mixer was repaired and returned, I was told that the Chef would be passed down to the next generation to enjoy, when the time came. This particular Chef was, quite literally, one of the family.

Luckily, many Chefs new and old have spare parts readily available with straightforward access to technical information, making repair possible, and I was able to fix this one which only needed a motor overhaul and gearbox re-grease. Not bad service really, considering its age and life!

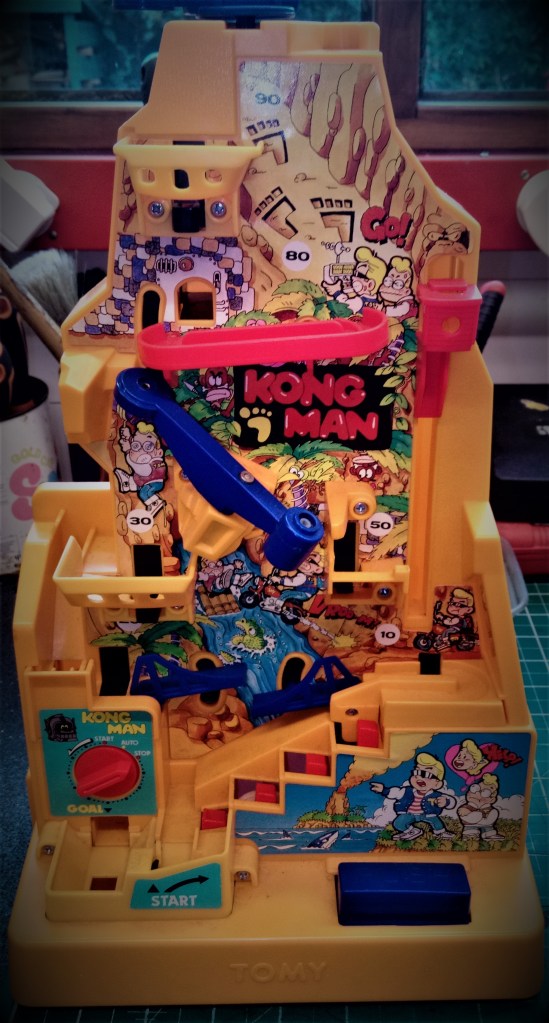
Old toys are another ‘workshop favourite’ enquiry. Many toys from the 1970s and 1980s have seemingly survived playtime to then be laid up in attics and cupboards for many years, only to be rediscovered when children move out or something similar is spotted, while browsing eBay! Toys from this era which take batteries, tend to have traditional electro-mechanical parts (switches, motors and bulbs etc) which if broken, can be repaired or replaced.  By comparison, later made toys with microprocessors and micro components are sometimes very difficult to reboot without donor parts. A few months ago, I repaired a motorised ‘Tomy Kong Man’ toy for a customer who had found it in his parents’ loft.  The toy was in good condition, but wasn’t working.  The Dad wanted to get it working for his kids as he remembered having so much fun with it, when he was their age. After a good hour of dismantling, cleaning, re-lubricating and a touch of soldering, the toy was working well once again, ready to be enjoyed by the next generation.

The great thing about the repairs recalled here is that the owners all had a connection with their item and were prepared to preserve it for future generations. For whatever reason a strong bond had formed between item and owner, established over many years and incorporating many shared experiences.  It’s programs like BBC’s The Repair Shop and Drew Pritchard’s restoration TV which draw out those backstories to bring tales of product ownership to life.

Sustainable is probably an overused word at the moment, but in order to really live more sustainably and reduce our impact on our environment, we need to buy less stuff, love the things we already have for longer and lobby decision makers to assist when repair barriers exist.  So, the next time you’re thinking about binning your old Hoover, just think about all the fun memories you’ve had together and consider repairing it.

For ‘The Workshop’, it’s about preserving an item, with its story intact, keeping it going, providing good service and enjoyment for as long as reasonably possible.  Until the next time.

A KitchenAid struggling to make dough!

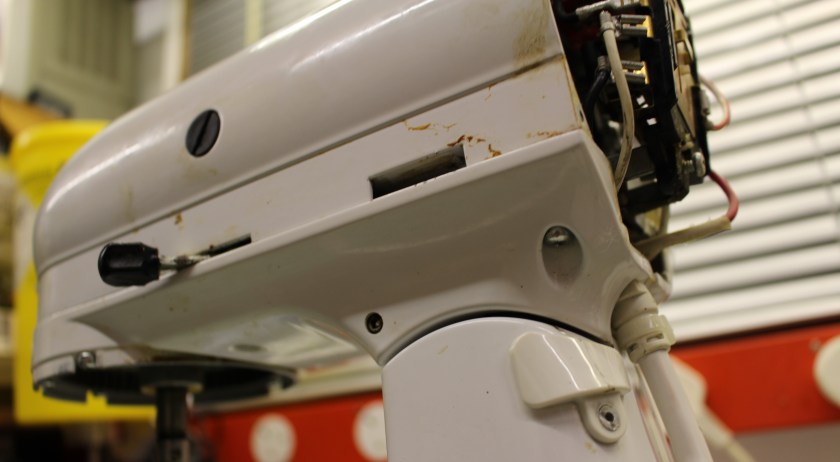
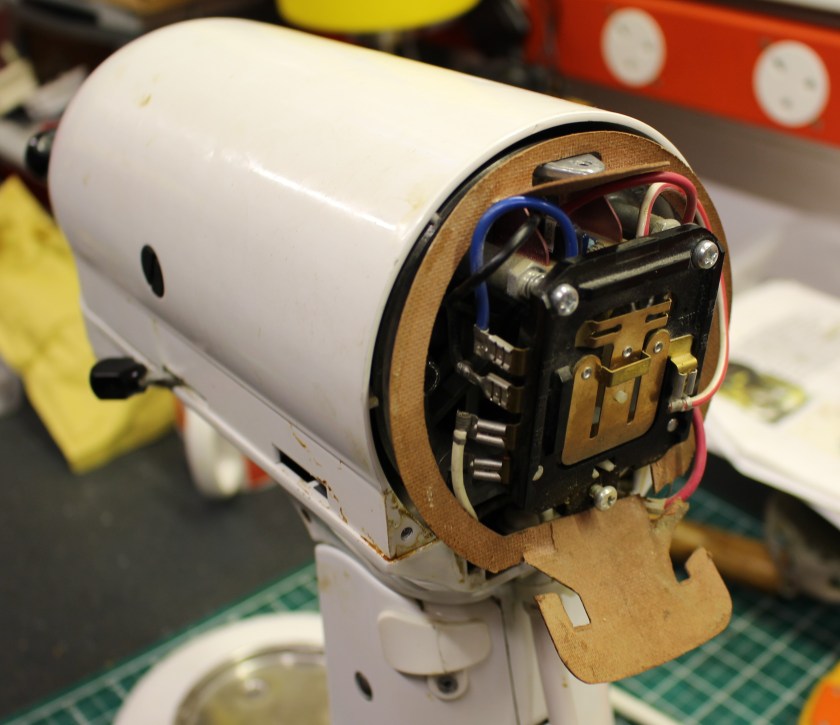
A KitchenAid 5K45SS gets a light overhaul and a replacement worm gear assembly to restore it to its former glory.

My regular reader might gasp in horror to learn that this time on ‘Diary of a Tinkerer’, I’m writing about the opposition. What? Uh?

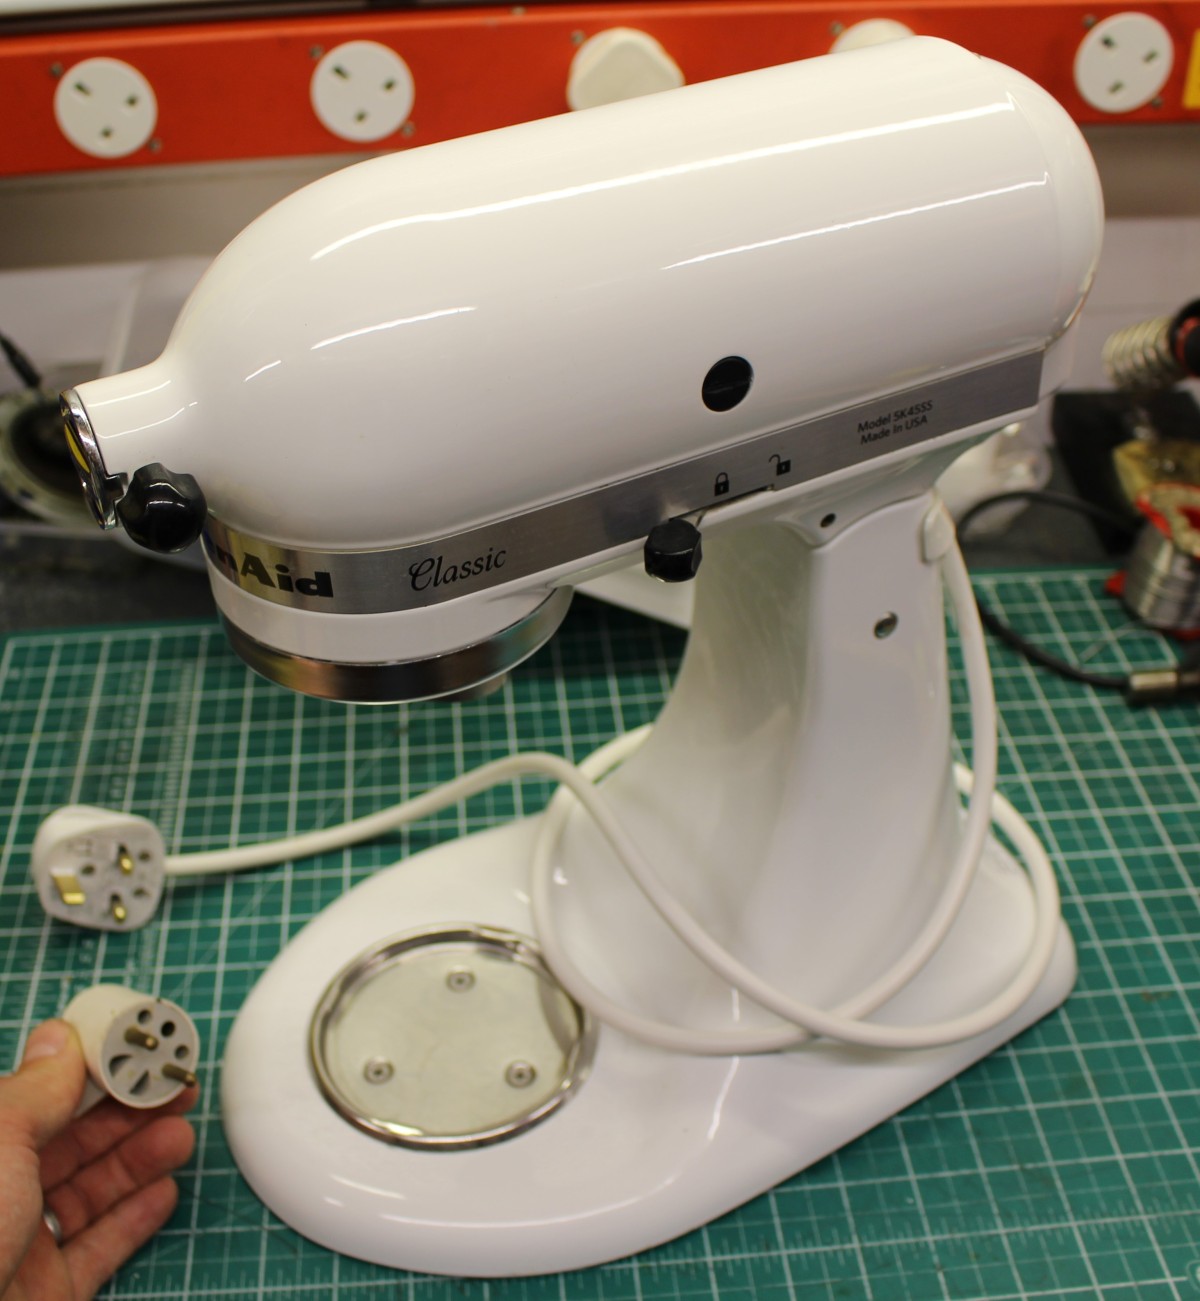
Yes, I’m writing about a KitchenAid stand mixer and not a Kenwood Chef for a change. Are these things all the same? Well, I guess that the model you see below does a similar job and has a wide range of accessories, making it extremely versatile, like a Chef. However, the overall package is different and while the Chef has gently evolved over 70-odd years in production, the original KitchenAid remains closer in function and form to its original design. That’s not to say that a KitchenAid bought today is the same as one bought 50 years ago, far from it. New models benefit from modern motors and modern manufacturing processes, but it’s all packaged with a retro-feel. I’m not a fan of retro-stylised items as they’re often not as good as the original. However, the KitchenAid is different as it’s truly original, well-made and not just playing at it.

KitchenAid stand mixers have been around for over 100 years and the basic design has its origins in the US with the Hobart Company. The KitchenAid brand is now owned by the Whirlpool Corporation, and current models feature robust construction and hard wearing finishes ensuring long-service. KitchenAid machines are durable, stylish and available in a wide selection of colours.

Now, I know what you’re thinking; Do I prefer the Kenwood Chef or my new American friend, the KitchenAid? Well it’s hard to say. I love the construction and the sound industrial design of older Chefs, and it must be said that recently made models have lost some of that robustness with the use of overcomplicated electronics and gimmicky LED lighting.

Over the years in production, KitchenAid machines have retained a ‘function over form’ approach and appearances have changed little. KitchenAids are simple to operate, durable and can be repaired easily. It’s an example that ‘modern Kenwood’ and other manufacturers, could learn from.

KitchenAid’s mantra is simple; Less is more, so much so, that it’s now a design classic in its own right.

Make and model: Whirlpool Corporation KitchenAid 5K45SS

Fault reported: Rough running, noisy operation

Cost of replacement machine: £500

Manufacturer support (in the UK): 6/10

Cost of parts (for this repair): £37.98 (Worm gear assembly 240309-2)

My time spent on the repair: 2 hours

Tools needed: Screw drivers, pliers, cutters, drift for planet pin

Sundry items: Food safe grease

Cleaning materials: Silicone spray, damp cloth, cleaning spirit

Repair difficulty: 4/10

Beverages: 2 X teas

Biscuits consumed: 3 X ginger nuts

This machine you see in the photos came into the workshop with a few issues. Firstly, it needed a good clean; something that machines visiting me get whether they need it or not. I always make sure that things are polished or paintwork touched-in, if possible. It’s a little bit of OCD that’s hard to shake-off. I think I want all my customers to see what’s possible with a little-workshop love!

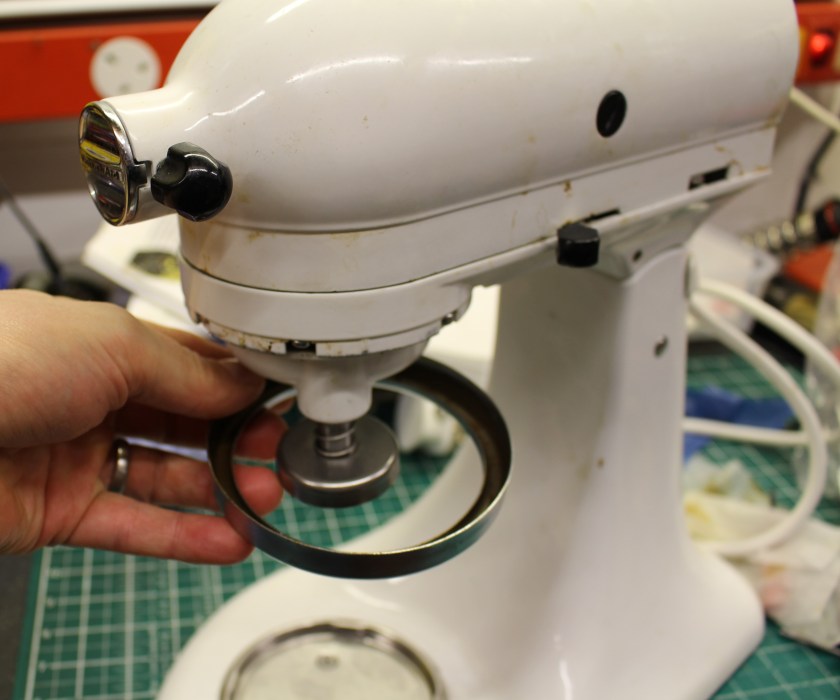
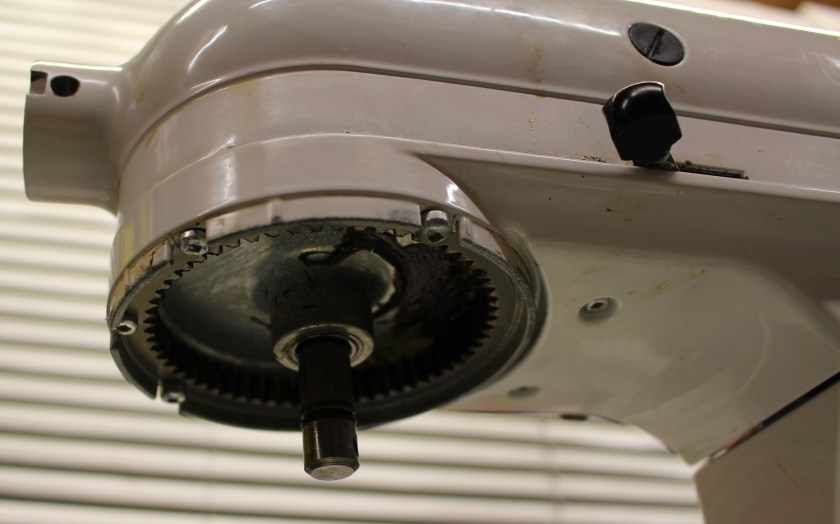
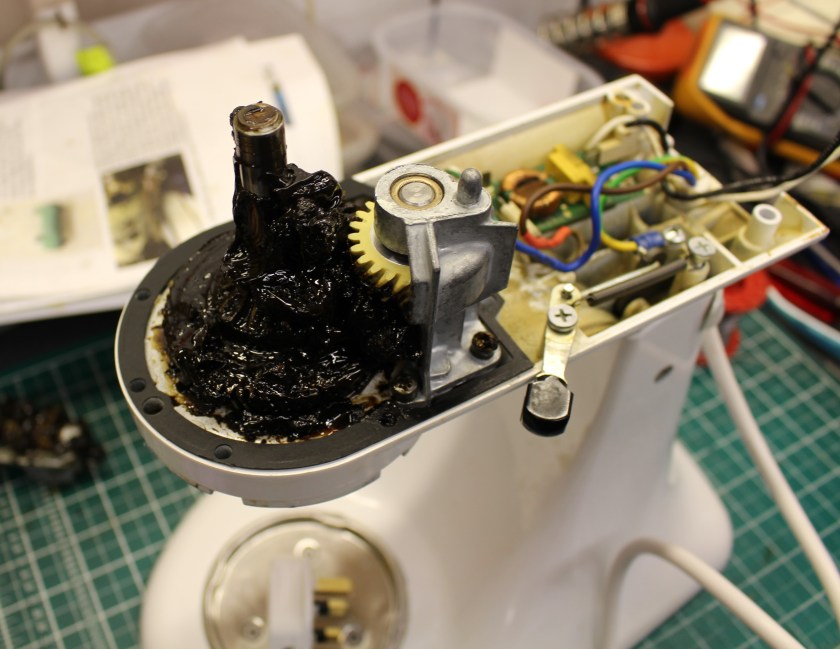
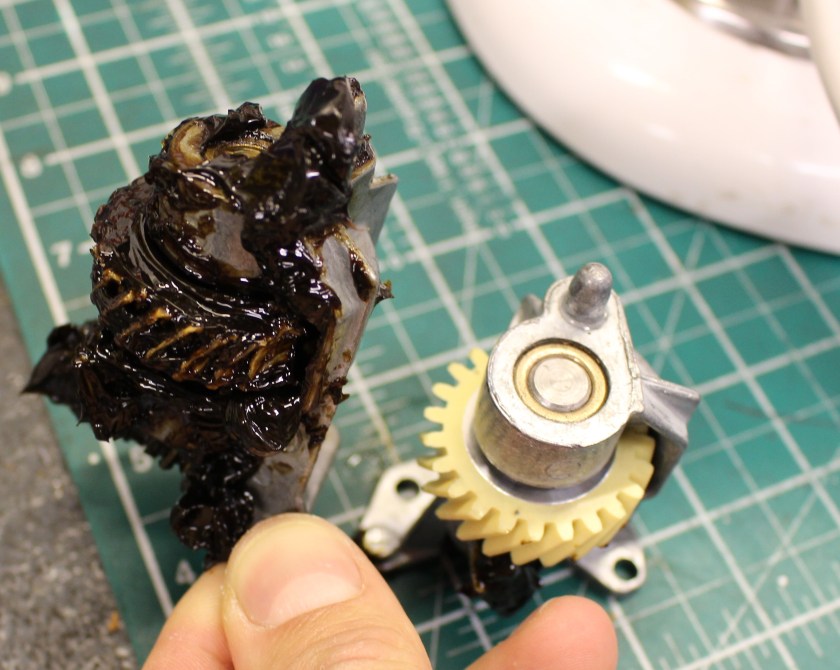
Cleaning over, and on to the main problem. This machine had had a hard life making lots of dough, or maybe cement, and routine use day-in day-out had taken its toll on the worm pinion gear assembly. I’m sure you’ve heard of that. In Plain English, it’s the bit that transfers the movement from the motor to the bit which drives the mixer’s blender.

The machine was rough in operation and the planet wheel (where the mixer bit attaches) was intermittent. No good for dough. No good for anything.

Due to their simple construction, dismantling just involves one cross-head screwdriver and a small drift and soft hammer. Simple stuff, no Torx screws or plastic tangs to worry about here, just traditional assembly techniques, which means that the machine can be repaired many times over a long-life, without fixings becoming loose and tired.

The worm pinion gear assembly (I hope you were paying attention) is available as a complete unit with bracket and bearing or available as seperate components. On an item like this, I prefer to replace the whole assembly as parts like this wear together. It’s personal choice at the end of the day, but sometimes, it’s a false economy to replace a spare part within a spare part, as I’ve found out to my cost, during many a previous repair.

As a side point; the worm gear on this machine can be described as a sacrificial part. The motor output is made of toughened steel, the gear that drives the mixer bits is forged steel, both hard and tough. The worm gear is made from Nylon, which is hard wearing, but less so than the other moving metal parts. If the machine is overloaded, it’s the worm gear that will fail first before the other, more expensive parts. Many manufacturers do this and it’s recognised as good engineering practice.

With the gear replaced, just a couple of screws to remove and replace, together with new (top-up) grease applied and the mixer worked well, once again.

The last job on this machine was to replace the very short flex and Euro plug fitted. This particular machine had been owned by an American couple, living in Europe but were now living in England and therefore required the correct UK specification plug. Together with the correct three-core flex, this machine was ready again to earn its keep.

Time to make a pizza I think.

Inside The Real Repair Shop 1

They do make them like they used to. You just have to know where to look.

Think back 30 years, and if you can’t, ask anyone over the age of 42. In the place you grew up, how old was the kettle? It might seem a strange question, but as a (slightly odd) child, I noticed stuff like that. I can fondly remember my parents’ own Russell Hobbs K2 kettle, which had been given to them as a wedding gift and was still going strong after they divorced, 25 years later. Unlike their marriage, the kettle was well engineered, robust and easy to mend.

Russell Hobbs advert for the seminal K2 kettle, familiar to many. Image taken from Google Images, FixItWorkshop is not the copyright owner.

Not long ago, long service was expected from appliances and my friends and relatives had similar experiences. Trust me, I’ve asked them. Buying spare parts was also a thing. You could easily repair kettles of that vintage with basic tools and without the need of a yet-to-be-invented online video. Hardware shops would stock cost-effective spare parts like elements and rubber seals to keep your kettle running for longer, but over time, this type of thing has become the reserve of nerds like myself.

During the last 40 years, the market for small appliances such as vacuum cleaners, toasters, kettles and much more has become congested with laughably cheap goods, and while the prices can make items accessible, it’s usually a case of ‘buy cheap, buy twice’. 

Manufacturers have perfected built-in obsolescence to such a degree that they can time your product to fail, just after the warranty expires. Bad for many reasons, but the main thing is that a £15 toaster thrown out after two years will probably end up as landfill. There are free, environmentally kinder disposal routes available from your local council in the UK, but many people just don’t bother.  Sad, but true.

It’s still possible to buy something well-designed and robust that will be supported by a responsible manufacturer, you just need to know what to look for.

Do you really need it?

Just because your friend has a kettle with an interactive disco display controlled by their iPhone, do you need one?  Probably not.  No one does. Google ‘the best kettle’ and you’ll find products that have more knobs and whistles than a power station.  This makes them more complicated and likely to go wrong in the future and contain more precious metals, increasing their environmental impact.  Remember what you need the product to do. Keep it simple.

How long will it last, will it be any good?

This is a tricky one to quantify as lots of things affect that.  But ask yourself, is a kettle costing a tenner going to be a family heirloom to hand-down?  Probably not.  It will boil water, it will make a lot of noise, it will be inefficient.  Take  customer reviews on Amazon with a pinch of salt. Trust organisations such as ‘Which’ to guide you on matters of performance and longevity before handing over your hard-earned wedge.

Can I get help when I need it?

Many retailers and manufacturers are not set up to take care of your product once it’s in your hands.  At the end of your twelve-month warranty, is there a local agent or are there spares available to fix your product, when you need it?  Before making a purchase, do some online research on your chosen toaster manufacturer.  Do they have a help desk, can they supply reasonably priced parts, are there engineers out there who can help repair your item? Responsible manufacturers are out there…

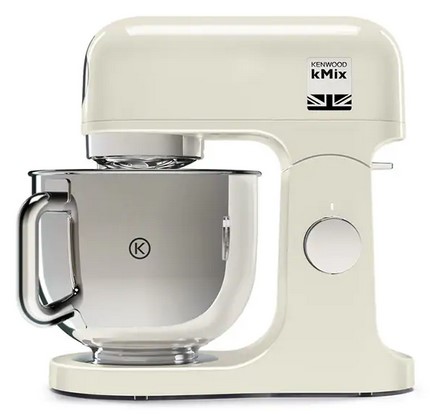
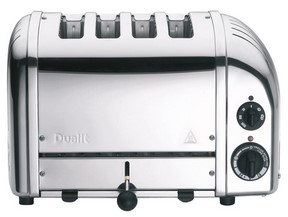
Russell Hobbs K65, Henry HVR160 vacuum cleaner, Kenwood Kmix KMX750 Dualit classic toaster. What do they all have in common? All have reasonable support from the manufacturer, after purchase.

Give yourself time to work this stuff out, and you’ll end up replacing your appliance less often.  Better still, you’ll be able to fix it when it goes wrong, saving it from becoming waste. You’ll also be able to pass it on when the time comes, which is a far better thing to do.  If buying new isn’t an option, don’t be afraid to buy quality appliances second-hand from places like eBay, Facebook and Gumtree.  It might not come in a new box with a receipt, but it’ll still be decent, without costing the earth.

Matt or Fixitworkshop is not affiliated with any of the products shown in this article.  The items displayed are for illustration only, but were chosen with care based on Matt’s own repair knowledge and experiences.

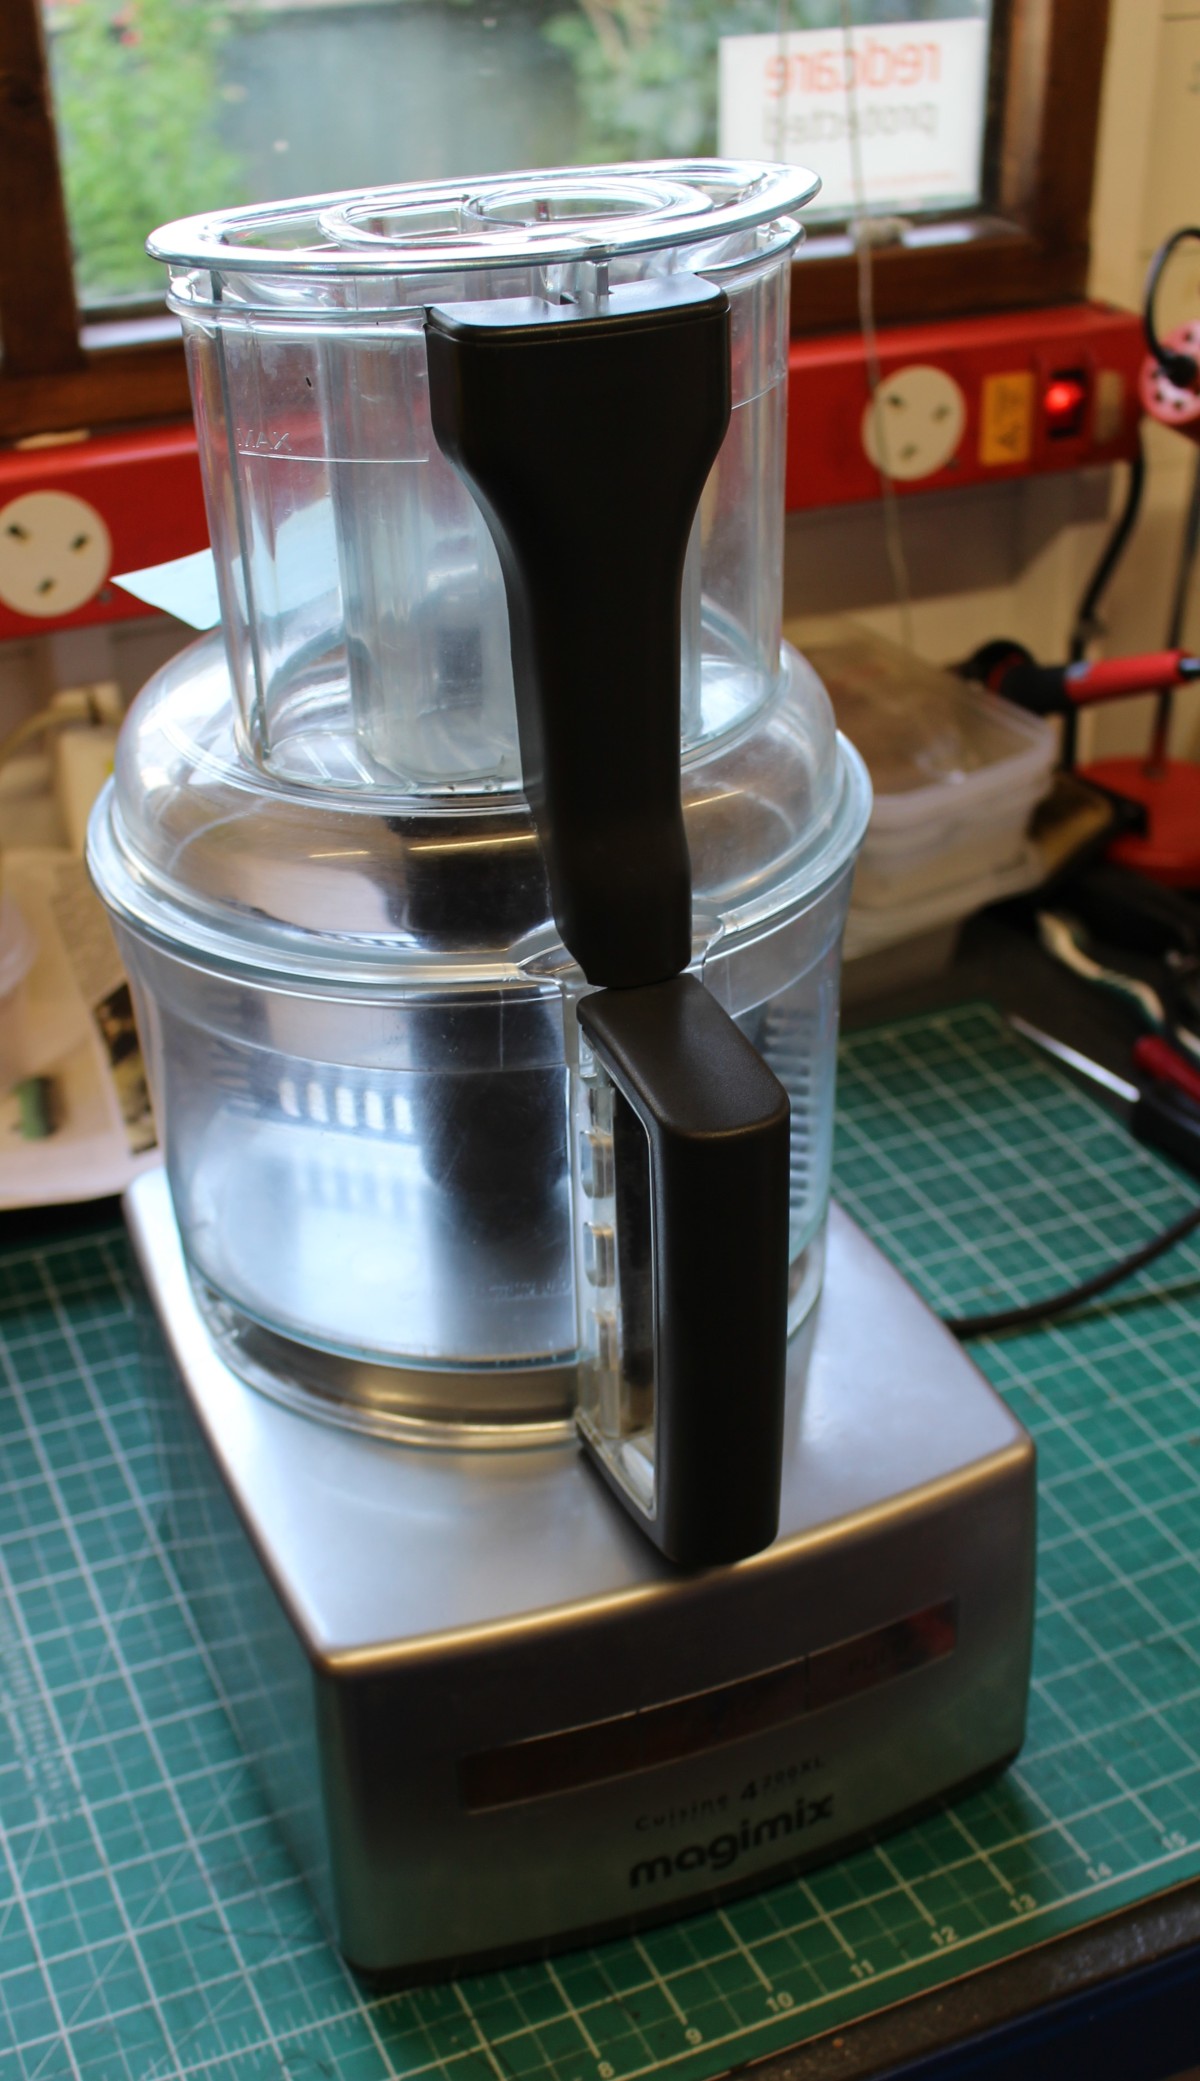
Magimix 4200XL – safety as standard

A little bit of ‘shed magic’ to rescue a Magimix 4200XL

Like everything else, food mixers come in all shapes and sizes and there’s a make and model on the market to suit all applications, tastes and budget. Magimix have been around for a long time and make premium mixers for the wannabe chef. These mixers specialise in chopping and slicing and tend to be more specific in task over, say, a traditional bowl mixer. The Magimix 4200XL is a current model at the time of writing and is all yours for around £300. When whisking something delicious in the kitchen myself, I prefer a traditional Kenwood Chef, but if I was regularly chopping veg with NASA micron-precision, I can see why a mixer like this might appeal. Since I’m a bit of a salad dodger, the need for this has never arisen.

Make and model: Magimix 4200XL

Fault reported: Not running

Cost of replacement: £300

Manufacturer support: 4/10

Cost of parts (for this repair): £0.00

My time spent on the repair: 1 hour

Tools needed: Screw drivers, pliers

Sundry items: None

Cleaning materials: Silicone spray, damp cloth

Repair difficulty: 3/10

Beverages: 1 X tea

Biscuits consumed: 2 X custard creams

The owner of this mixer reported that despite every effort to press buttons and click the safety catch on the lid, the mixer simply wouldn’t comply when switched on. Dead as a dodo.

FixItWorkshop, Worthing, November’20, Magimix 4200XL, inside the mixer’s safety switch.
FixItWorkshop, Worthing, November’20, the 4200XL features a motor with oomph!
FixItWorkshop, Worthing, November’20, Magimix 4200XL, removing the base.
FixItWorkshop, Worthing, November’20, Magimix 4200XL, these little horrors are designed to deter repair- I dislike them immensely.
FixItWorkshop, Worthing, November’20, Magimix 4200XL, the repaired mixer.
FixItWorkshop, Worthing, November’20, Magimix 4200XL, the cheeky little safety switch.

The owner of this machine reported that their beloved Magimix 4200XL was playing up and despite trying to wriggle, jiggle, shake, rattle and roll things, it simply wouldn’t comply and work. They asked if I would take a look at it for them before it was launched out of the window. There’s nothing like a frustrated owner.

The Magimix 4200XL features a really rather elegant, totally passive, safety device to ensure that one isn’t tempted to operate the machine without the lid fitted correctly, risking one’s little pinkies. A simple sprung lever mechanism built into the lid and jug matches a small recessed switch in the machine’s base. The machine will only fire-up once the lid is in place on the jug, which must be correctly aligned on the base. It’s a nice touch that probably keeps Magimix out of the courtrooms.

On first inspection, I decided that this mechanism was a reasonable place to start my investigations. After you’ve checked things like ‘is the power on’ it makes sense to ‘start simple’ and go from there.

Taking the base cover off only involved four Torx screws, the damned anti-tamper kind. Luckily I have the technology to do this.

Taking the base cover off revealed good access to the safety switch mechanism. Thankfully.

The mechanism all seemed correct and present, which was a bit of a guess since I’d never worked on a mixer like this before. However, a lack of loose parts rattling inside is usually a good sign. Phew.

Despite appearing OK, the operating safety switch lever did seem stiff, so a quick spray with silicone lube had things sliding nicely once again. A quick continuity test of the switch proved that it was switching OK. Things were starting to look up for ‘Maggy’.

Since I had the lube out, it made sense to clean up the jug and lid mechanism and give that the same treatment. It all seemed to work better after and testing the lid and jug, refitted to the base with the base cover removed allowed me to visually confirm that the safety switch mechanism was indeed doing its thing correctly once again. A good result.

After carefully reassembling the base cover, taking care not to damage some of the more delicate plastic parts, it was ready for testing. There’s always a little moment of ‘will something go bang’ when I switch things on for the first time, but luck was on my side as the motor spun up as Magimix intended. A good result. All fingers intact.

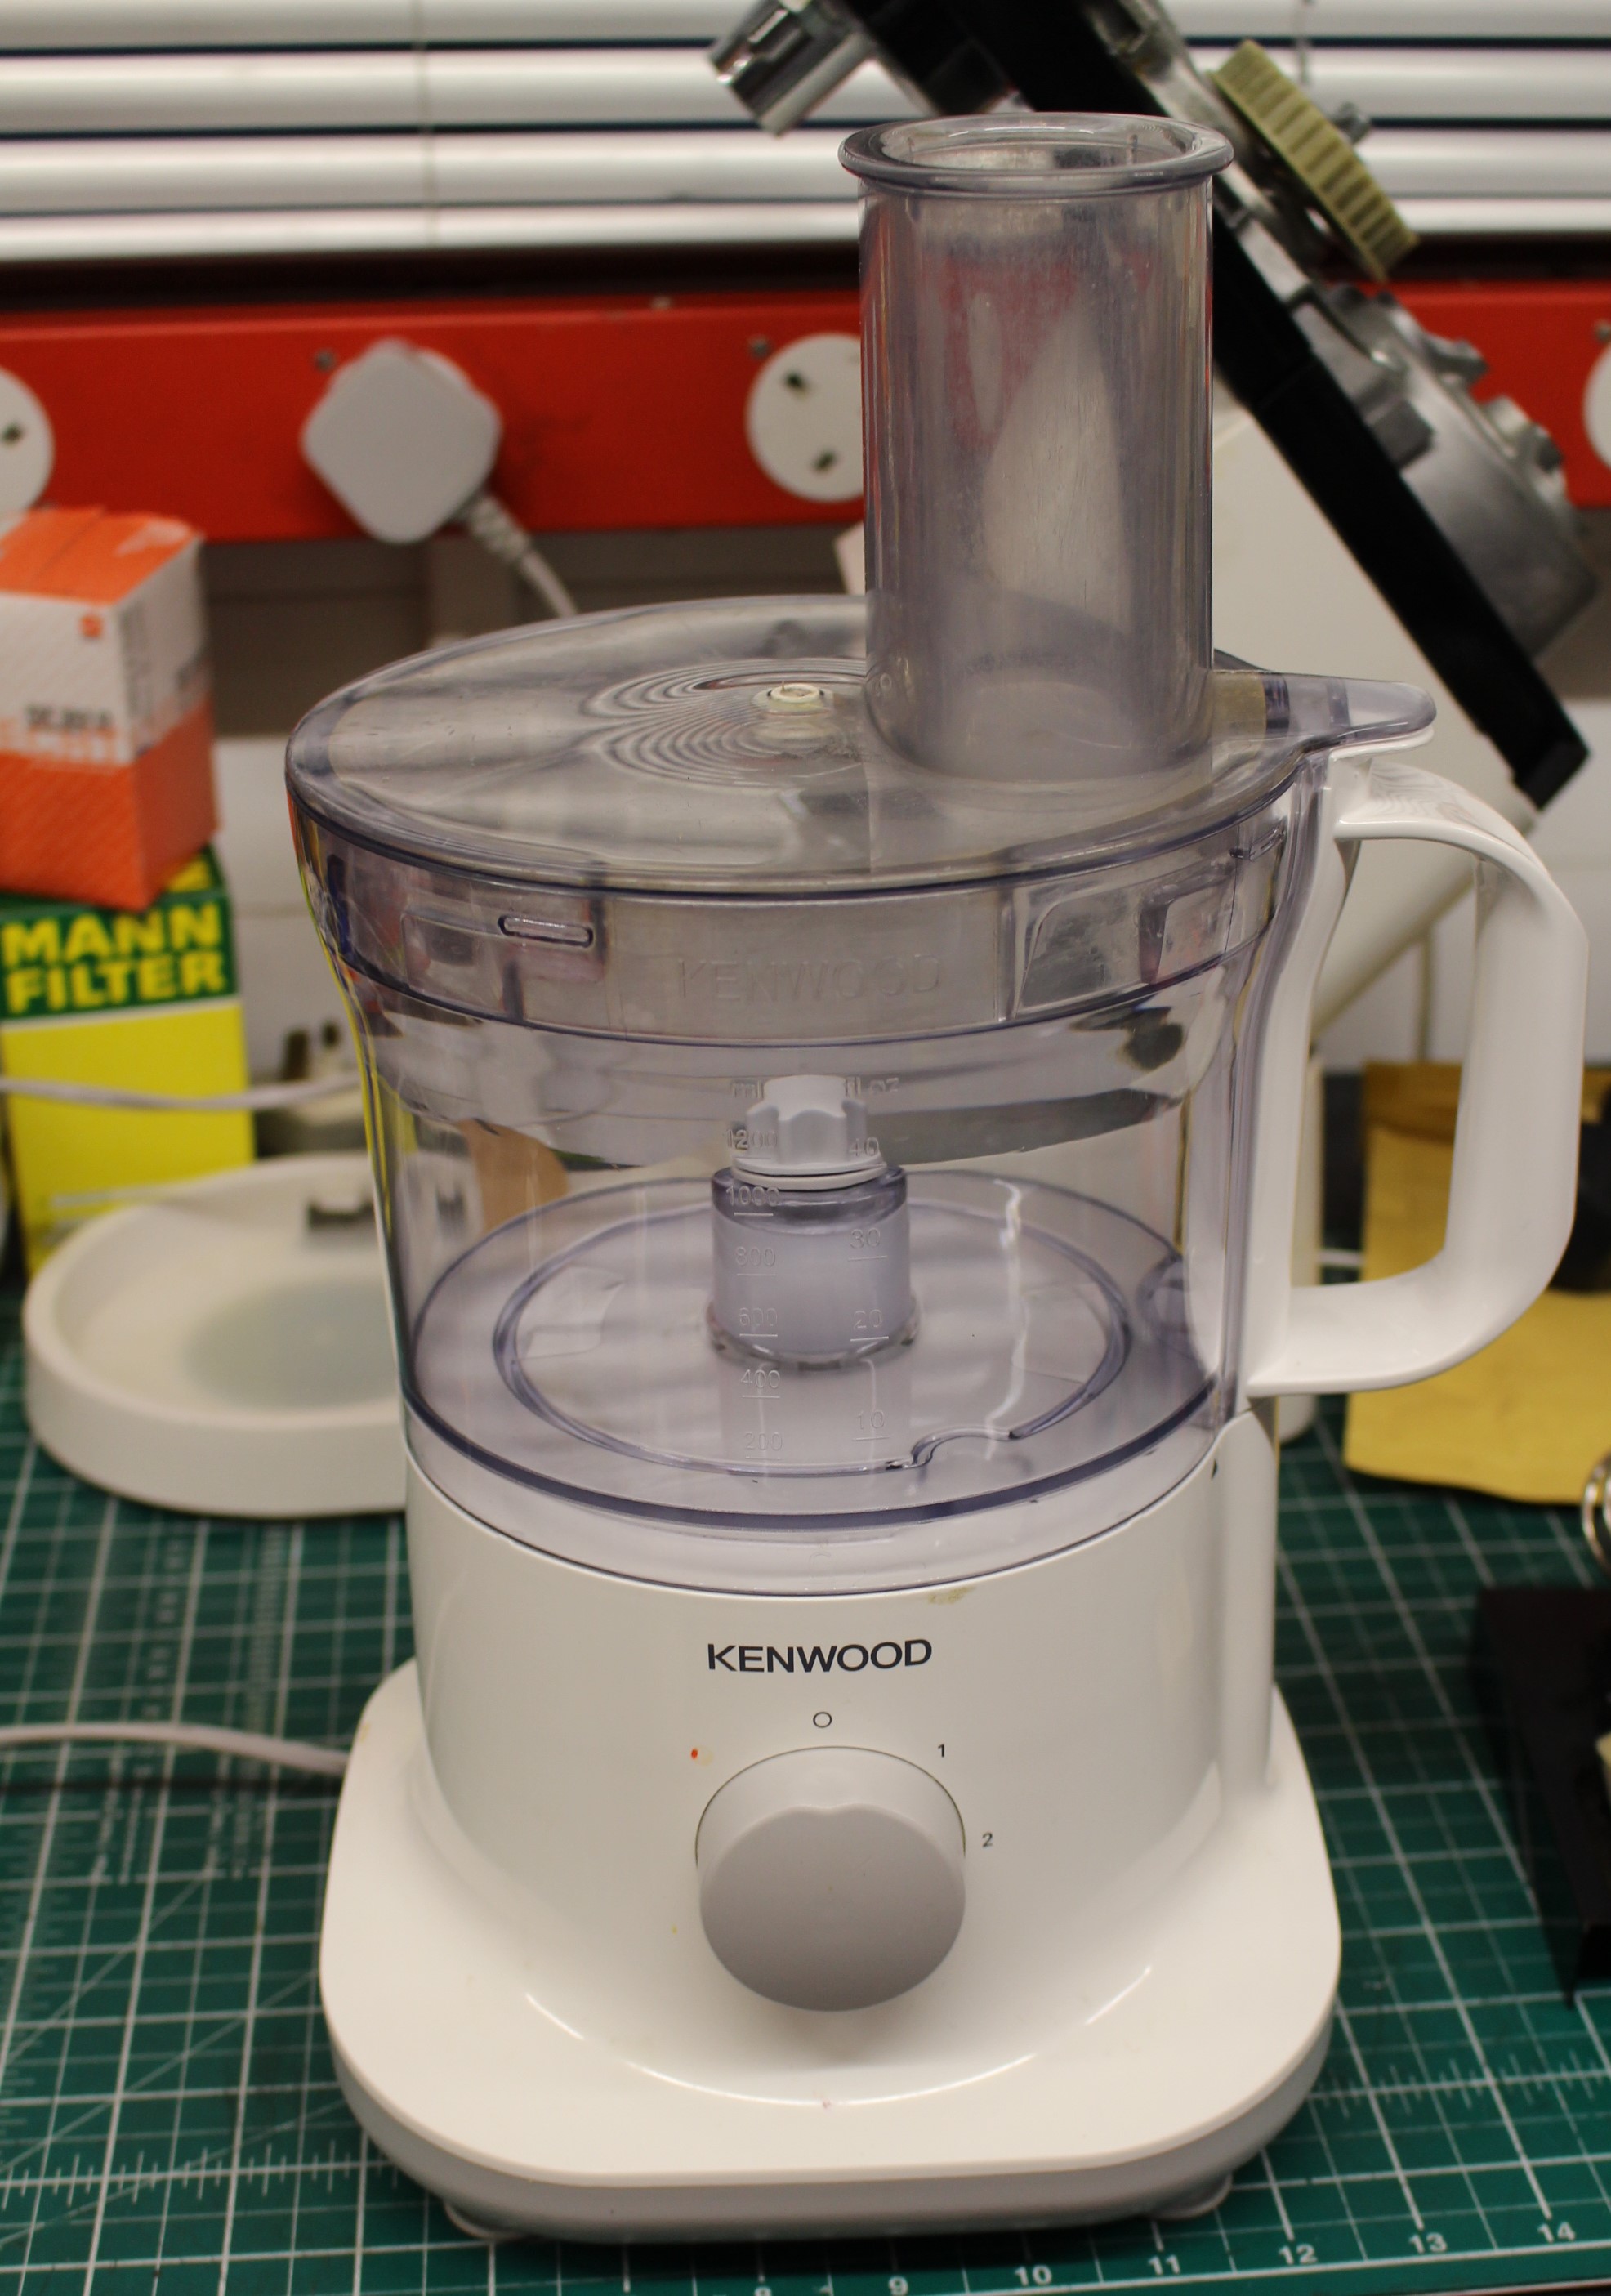
Kenwood FP220 easy fix

An easy fix for a change

Every now and then an enquiry drops into my inbox where my heart sinks.  It sinks as I know that many products on sale are poorly supported for specific spares which means that when the product fails, it can be impossible to repair.  But sometimes, just sometimes, I’m surprised!

Make and model:  Kenwood FP220 Food Mixer

Fault reported: Mixer not working when main jug used

Cost of replacement:  £120.00 (equivalent new machine)

Cost of parts:  £17.69 (plus my time)

Hours spent on repair:  About 10 minutes (test and cleaning)

Tools needed:  None.

Sundry items: 1 X Grimex cloth

Repair difficulty:  1/10

IMG_9581
FixItWorkshop, Worthing, June’19, Kenwood FP220.

The mixer was a good quality item which had cost over £100 when new and upon inspection, the mixer has failed due to a single component, the main jug.  A little clue from the owner that the blender attachment (not pictured) worked, but the jug didn’t, set me off on the right track.

The mixer features a safety mechanism which is designed to prevent the main drive assembly spinning accidently, potentially with a cutting tool, if the switch is operated without the mixer jug attached.  Many mixers of this type feature such a device.

The FP220 features a double-armed safety mechanism which means that the jug must be fully engaged in the mixer base, with the lid in the correct position.  It’s an unobtrusive and fail-safe design.  A part of the jug’s base, made of a composite plastic, had sheared off, so the jug could not attach to the mixer properly.  The safety device had worked as it should.

At first, I thought that there was no chance of obtaining a spare jug, but after a bit of Googling, I found a brand-new replacement jug, in the right colour, from Sussex Spares (via eBay).  It soon arrived and fitted perfectly, which allowed the machine to work again, once more.  The old lid was still serviceable and fitted the new jug without problems.  I recommended that owner keep the old jug for spares as the handle and drive coupling were still servicable and might come in handy if the new handle gets broken.

After a quick clean up and test, the machine was ready to make Victoria Sponges again.  It just proves that with a bit of research, even seemingly unrepairable items can get a second chance.

Another smoking Kenwood Chef A901E sorted in time for Christmas…just

Another Kenwood Chef gets the treatment in the Workshop

How about another Kenwood Chef story?  I know I’ve covered this machine a few times now, but I’ll try and make it as interesting as I can.  I just LOVE Kenwood Chefs.

IMG_7700
FixItWorkshop, December’18, Worthing, Kenwood Chef A901E on the bench.

A customer got in touch with me via the FixItWorkshop ‘contact us’ link asking if I could fix his family’s much beloved Chef.  While last in-use, it started smoking and smelling terminal.  How could I refuse.  I’m located in Worthing, but the customer was based in North London, quite a distance for a repair and would have been usually cost prohibitive using the Royal Mail.  However, using local drop-off points, carriers such as Hermes and DPD offer (slightly slower) courier services for about £7.00 one way, which starts to make more fiscal sense.  This is what we did.

I wish I’d taken a photo of the box the Chef came in, because the customer had clearly gone to a lot of effort to make sure it was well protected!

On with the repair.

The Chef has been in production many years and although they can often appear similar on the outside, they do vary on the inside, depending on the year of manufacture as small tweaks and improvements are made.  Evolution, rather than revolution, usually the backbone of any successful design.

The A901E is different from the previous A901 as it features an electronic speed controller, rather than a centrifugal affair.  While the later design is an improvement, it wouldn’t deter me from buying an earlier model; the improvement is small.

The A901E still features similar components to previous models which can and do fail, especially with age.  The subject here is about 30 years old, give or take.

IMG_7678
FixItWorkshop, December’18, Worthing, A901E, motor removed.

The motor on the A901E comes out quite easily; first remove the motor cover, remove the mains cable (disconnect first of course), remove the top cover, belt, then the four screws holding the motor in.  The motor then pulls down from inside, out through the gap left by the hinge.  Easy.

The motor circuit board showed traces of component catastrophe with dust and dirt left by exploding components.  Nasty.  Pre-empting the fault, I ordered a repair kit before I’d taken the machine apart, together with replacement feet as the ones on this machine were knackered.  The kit includes capacitors, resistor and triac as these are the main components that tend to fail.

These kits are available on eBay and are worth the money as they are often cheaper than buying the components separately and they contain instructions for newbies.  Here’s a little slide show showing the process.

This slideshow requires JavaScript.


With the kit fitted, the motor re-installed, mains reconnected, the Chef ran well again, this time without burning or smoking.  However, all was not well as the speed control was a bit wobbly at lower speeds, which was just plain wrong.  Having worked on a good few Chefs, this problem is usually down to excess end-float on the motor spindle.  Working with the motor still in situ, the motor fan, which controls end-float could be adjusted with an Allen key.  Sorted.

Just the replacement feet to fit and after a quick clean-up, the Chef was reassembled, ready to go home.

A top tip for you.  If you intend to replace the feet on your machine and you probably should if they are old as they go hard or fall apart, then soak the area around the feet recesses with WD-40 or similar a day or so before as this will make getting the remnants of the old feet out, much easier.

Cost of a replacement:  £400 up.  Cost of repair:  £12.65 plus my time and tea.

Raucous Kenwood Chef A701a

A noisy Kenwood Chef A701a gets a gearbox rebuild.

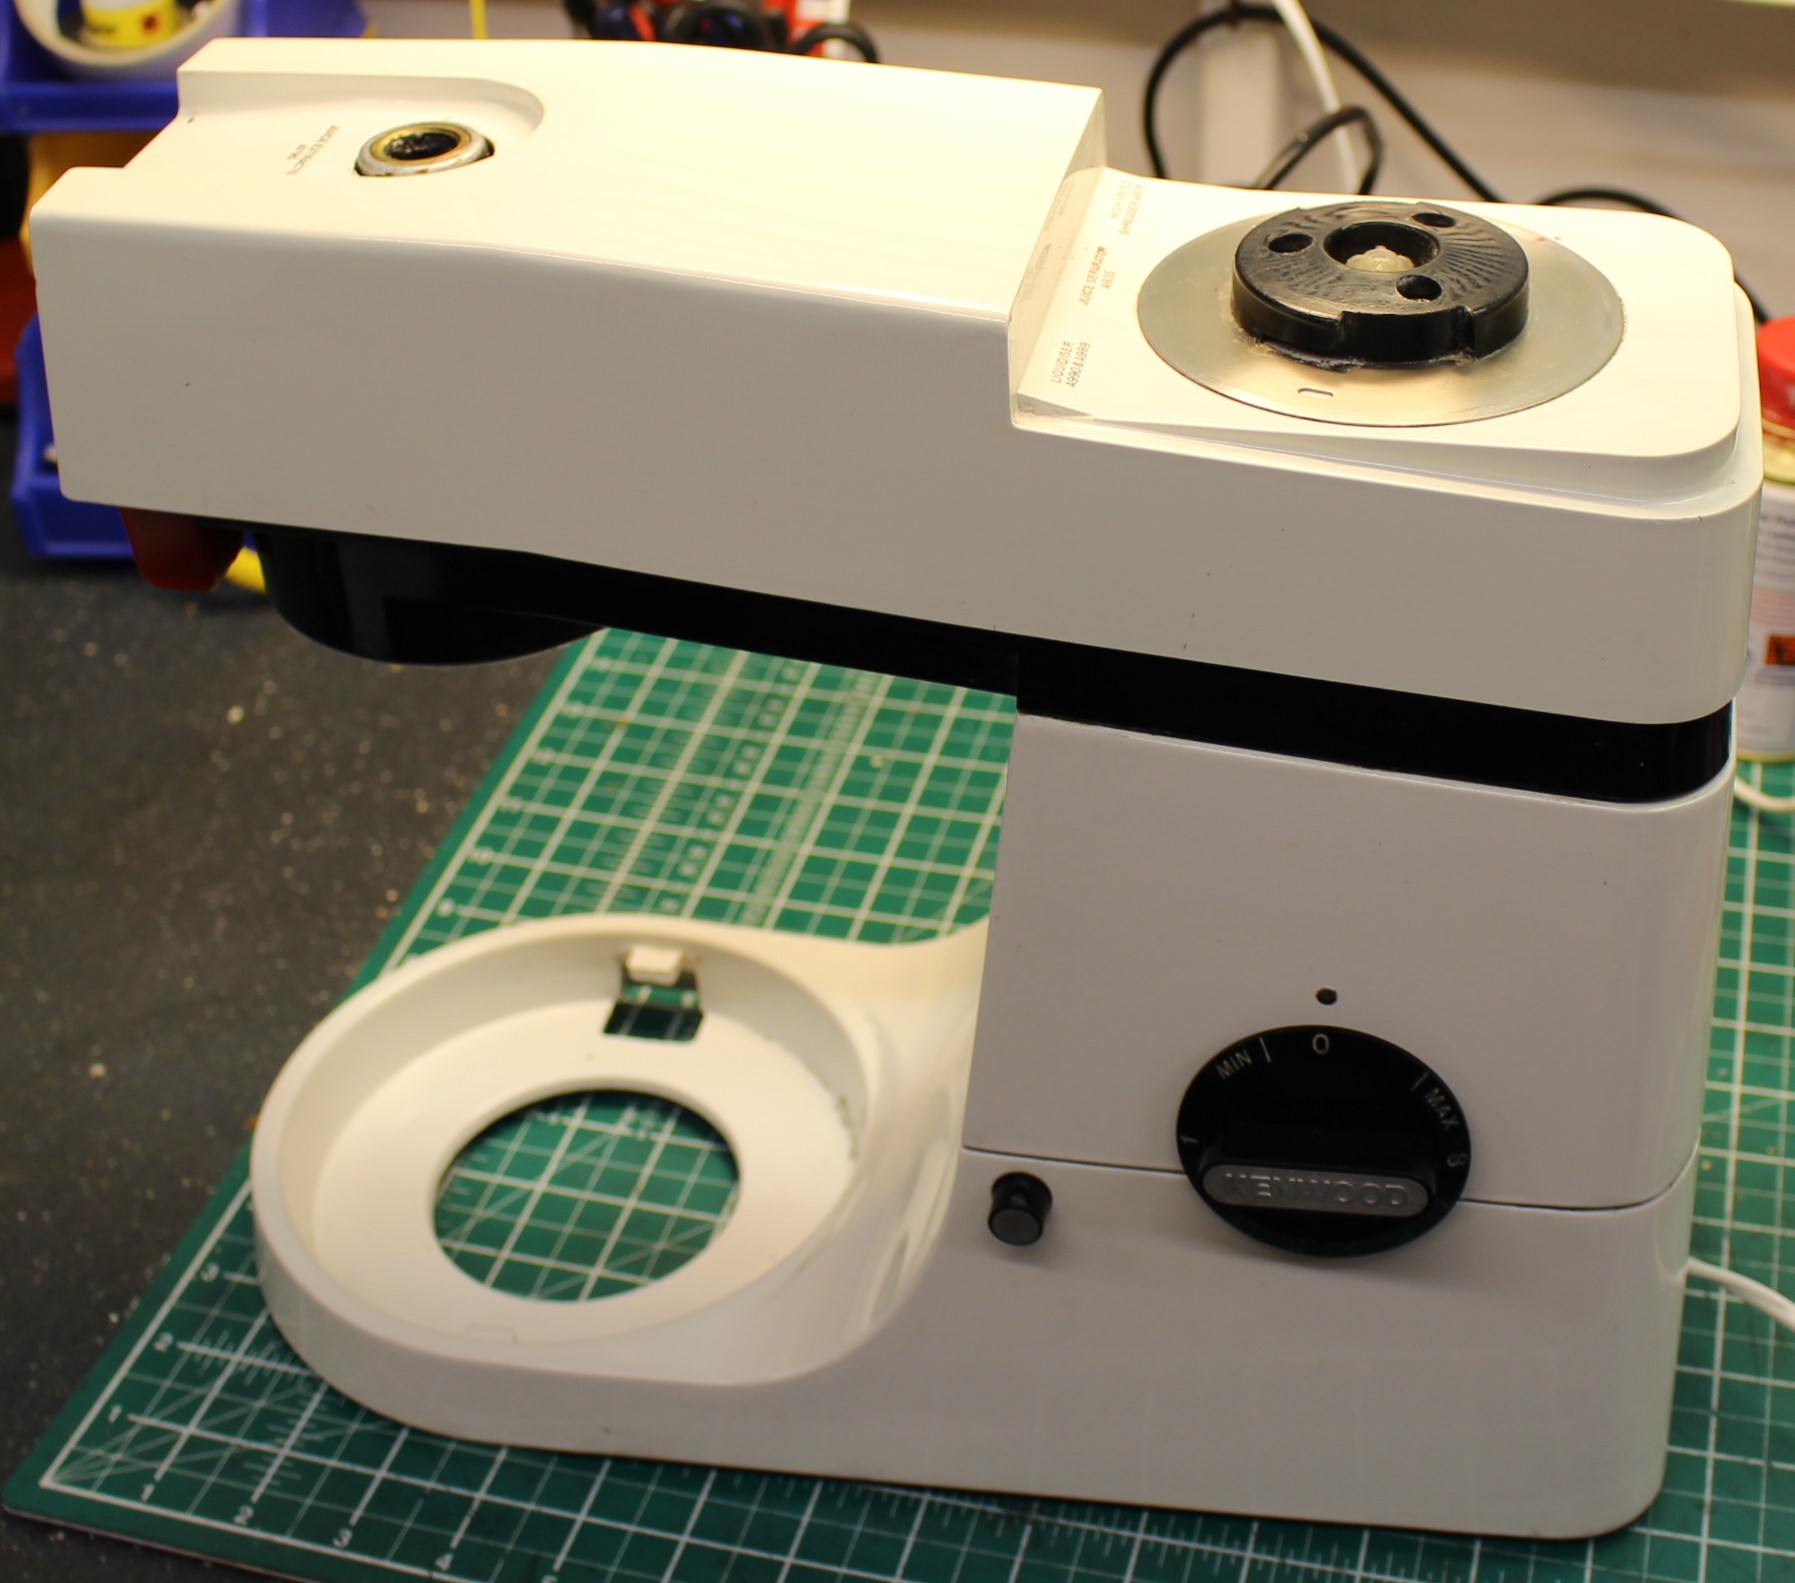
This Chef had been sleeping quietly in a kitchen cupboard for some time before being woken up to make cake mixtures once again.  The owner had owned the mixer for many years from new and was sentimentally attached to it.  I fully sympathise, they’re great machines.  It had been used many times in the past and then packed away as new machines came and went.  Having decided that there was still a place for the A701a, it was fired up.

The owner didn’t remember it being quite as noisy and wondered if something was wrong with it.  She got in touch and brought it in to the workshop.   After listening to the mixer at varying speeds, we agreed that perhaps it was a bit noisy and that further investigation was required.

 At this stage I must confess at this repair has been on the bench for a long while..!

I think the A701 is my favourite Kenwood Chef product as it’s very elegant, beautifully proportioned and almost over-engineered.  It comes from a time where built-in obsolescence was a swear word.

White removed
FixItWorkshop, Oct’17, Kenwood Chef, A701a.

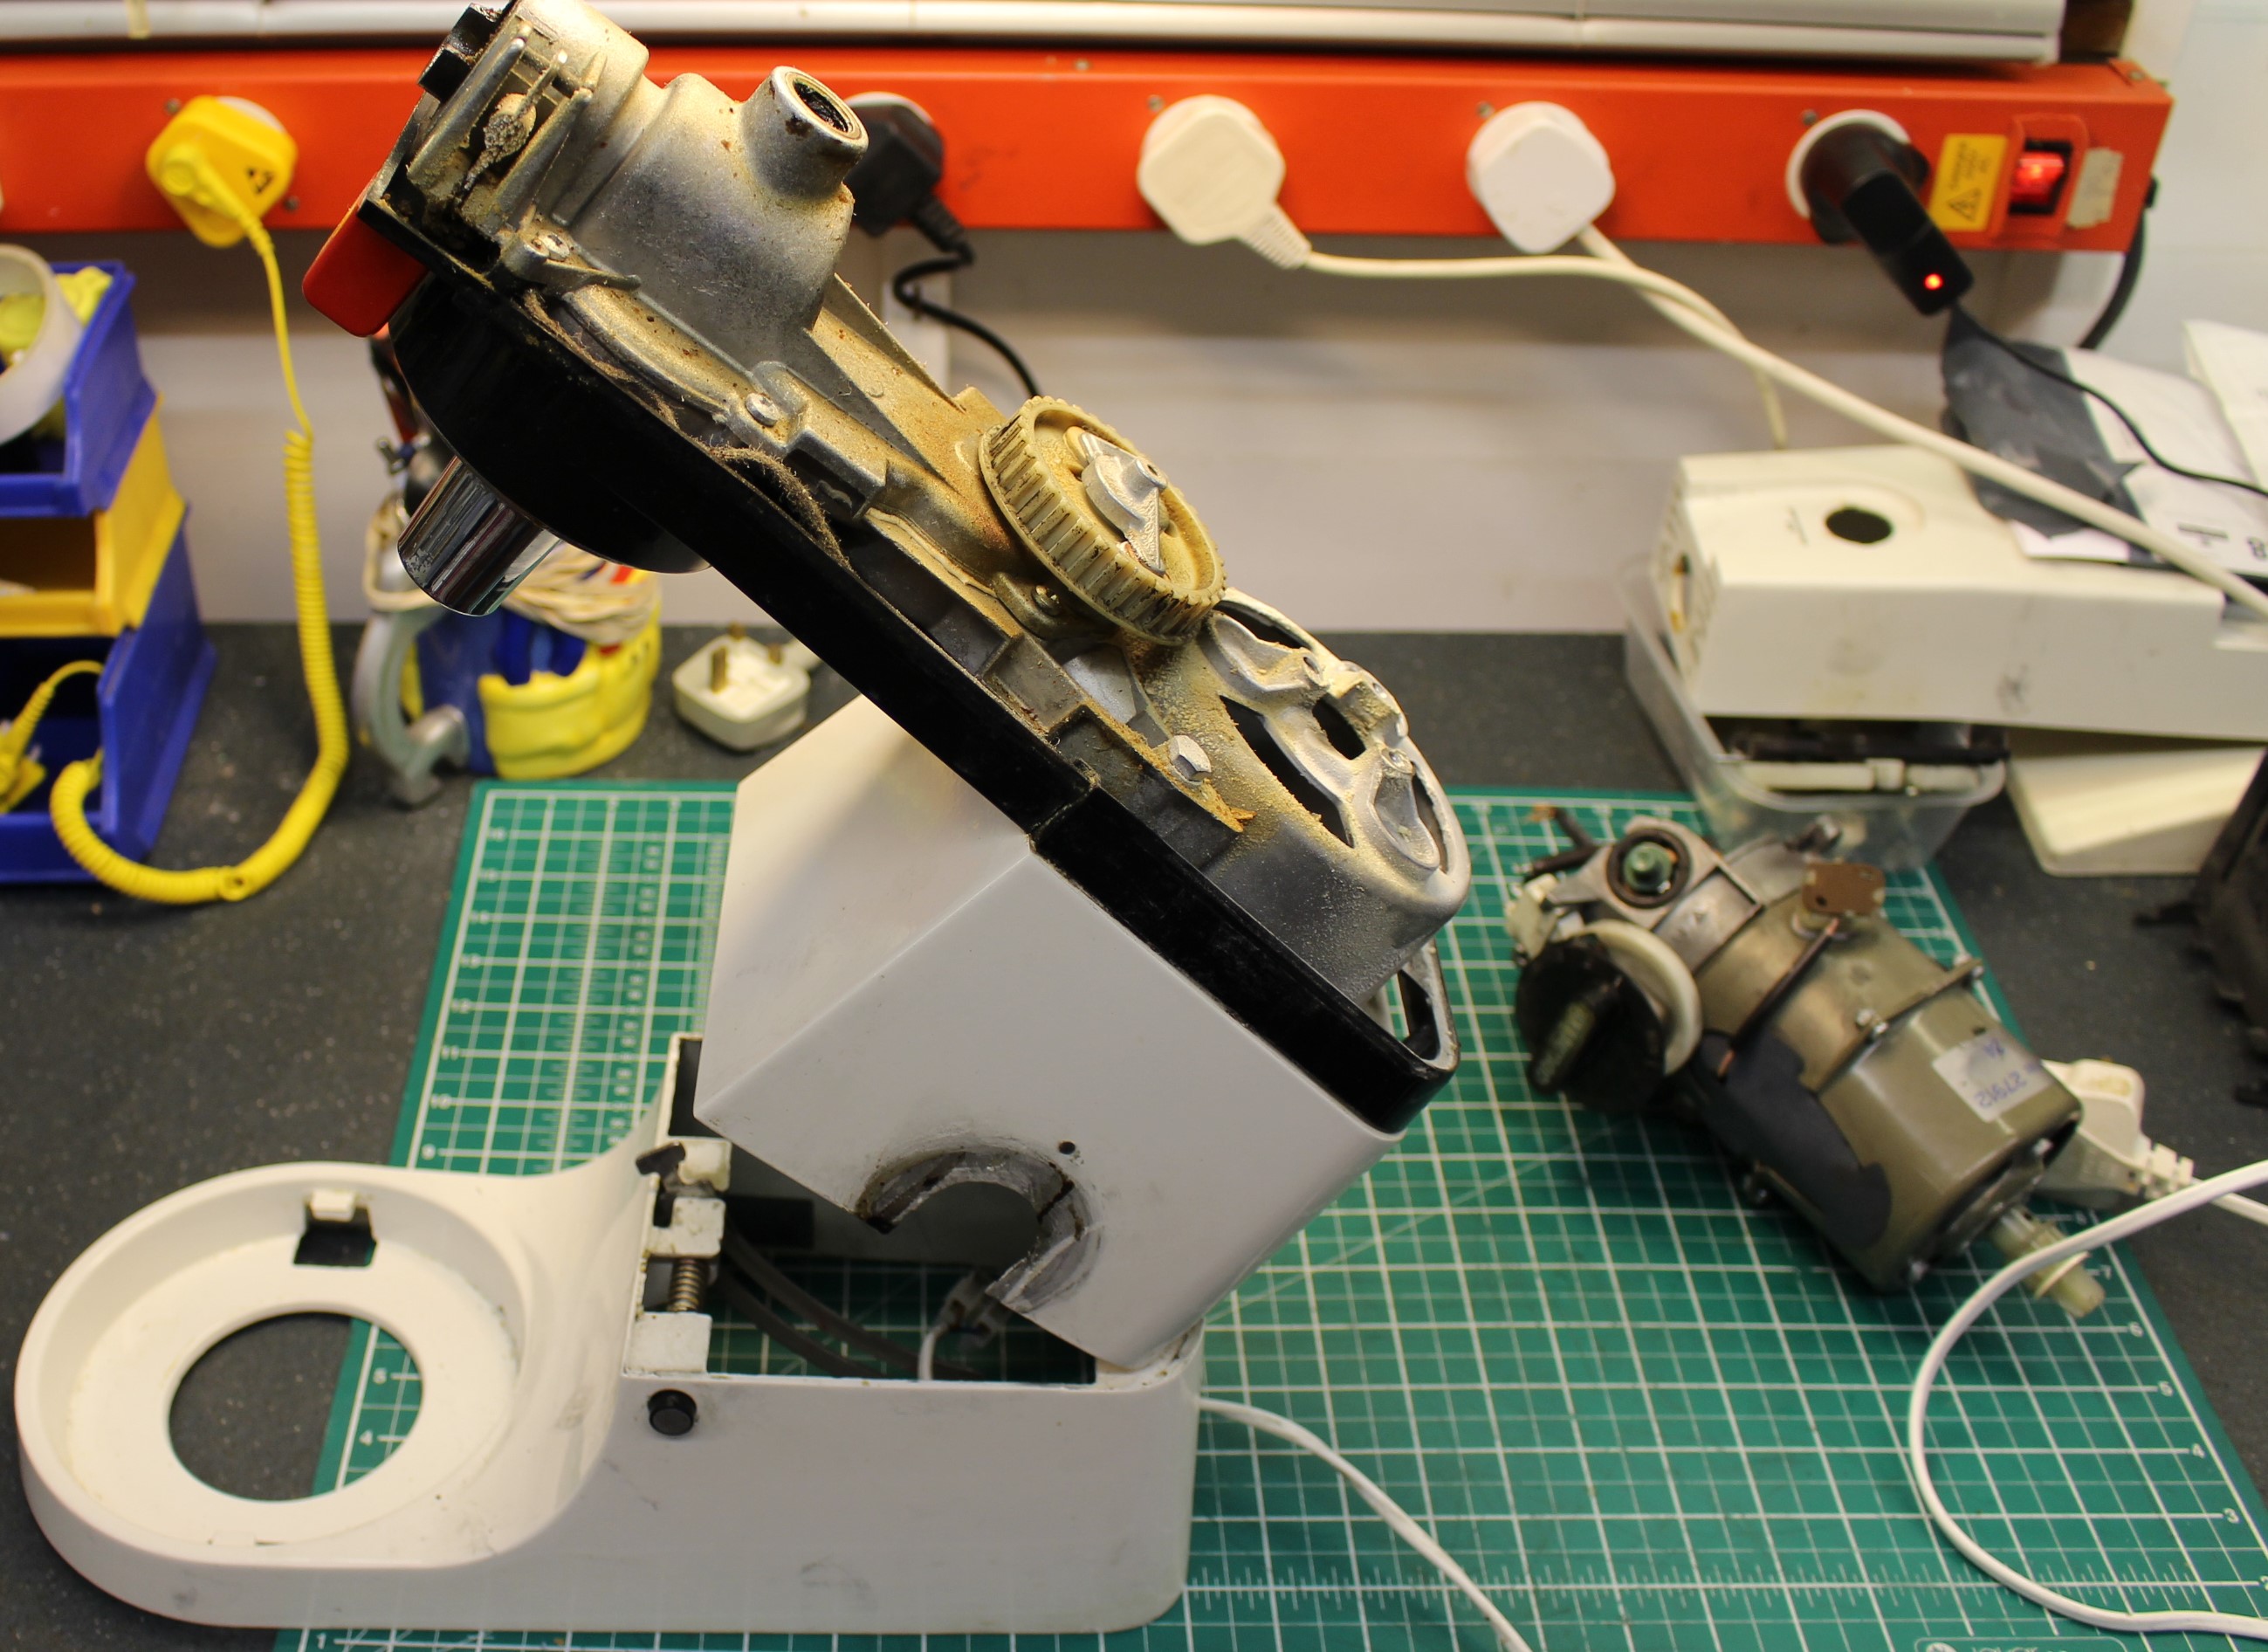
On with the problem.  After disconnecting the gearbox by removing the drive belt, I checked the motor for general wear and tear, the brushes and speed control mechanism and I concluded that it all seemed OK and working smoothly.  The gearbox however did seem a bit noisy when turned manually, nothing hideously graunchy, but a little rough.  To be honest, it would have probably survived, but I wanted to open up the gearbox to make sure that it was as it should be.

Whilst removing the Chef’s casing around the gearbox, I’d noticed traces of grease around the joints and various power take-offs.  All models seem to do this to an extent, but this one seemed to be quite bad.  Closer inspection revealed that some of the grease had escaped out of the seal between the two halves of the gearbox casing.  Opening up the casing revealed that the grease that was left had been pushed to the corners of the space within the gearbox and that the gears were a bit dry, this was probably the root cause of the noise.  The planet wheel that drives the beater was also bone dry.

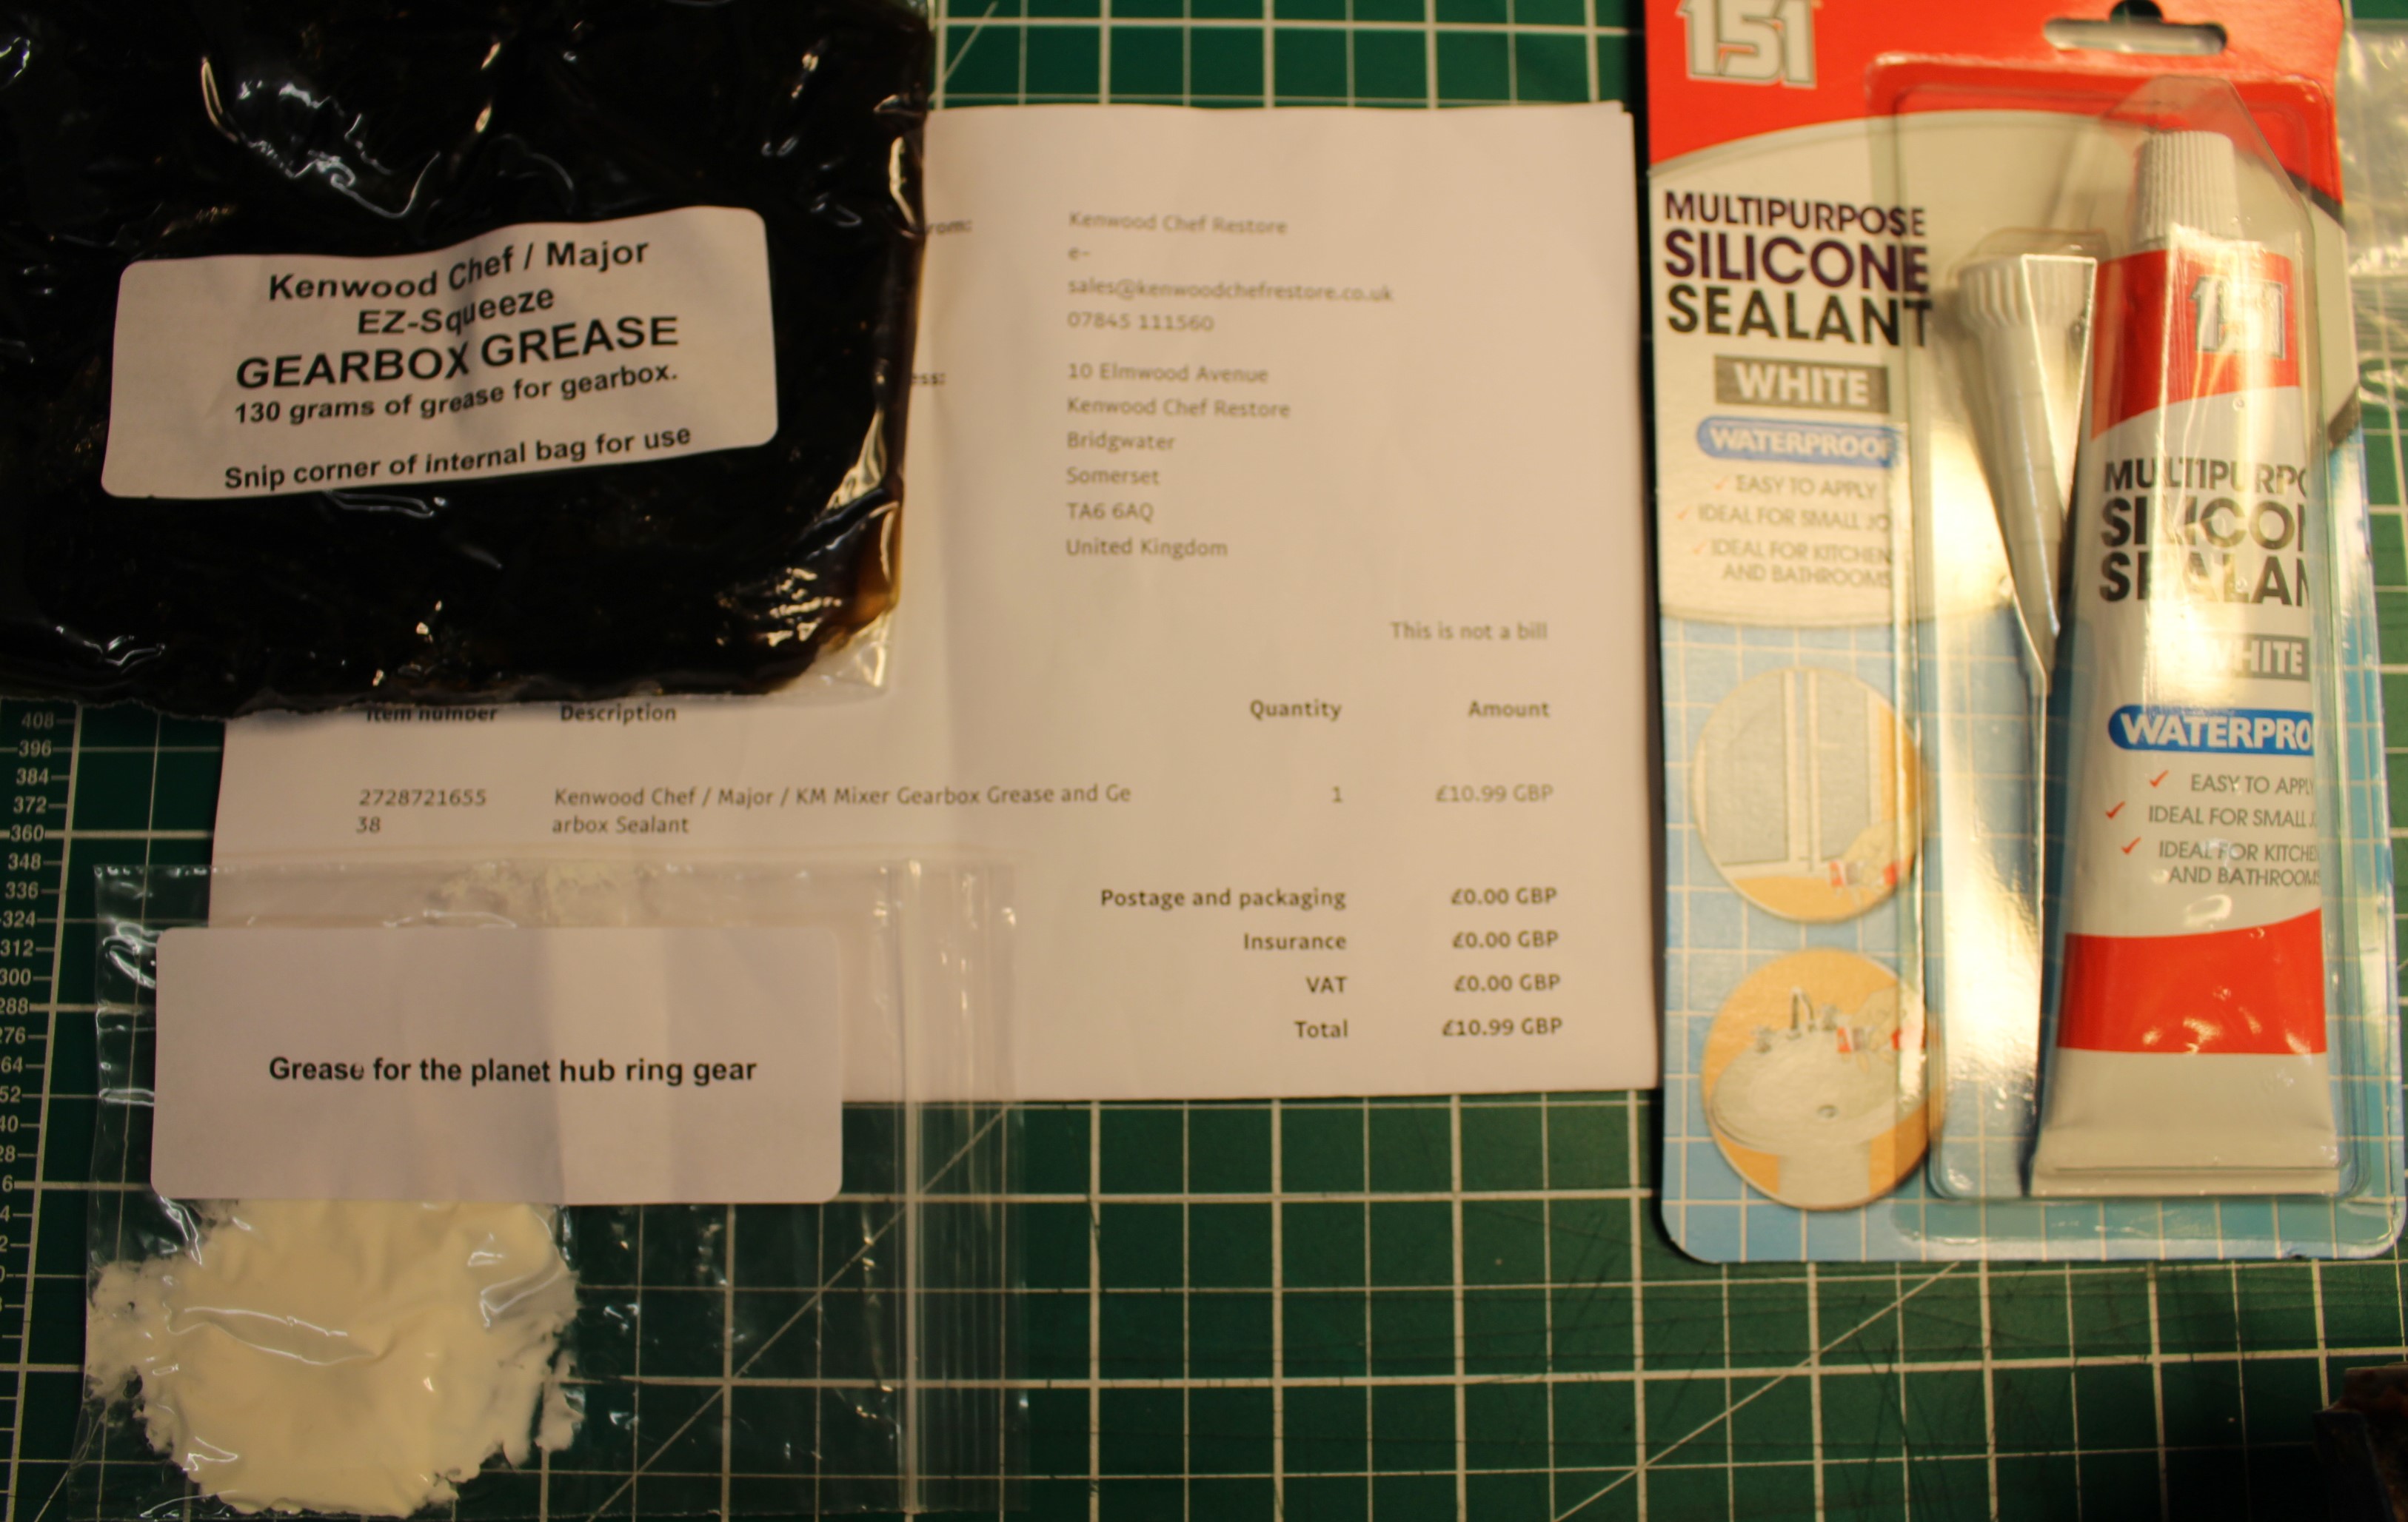
Luckily, there are plenty of suppliers who can supply rebuild kits for Kenwood Chef gearboxes, including new gears and grease.  The gears in this seemed serviceable, but it seemed very sensible to replace the lubricant with the correct 130g of Kenwood gearbox grease, which is food safe.  I used ‘Kenwood Chef Restore’, an eBay seller and the kit was a reasonable £10.99, including P&P.  The kit included the main gearbox grease, white grease for the planet gear and sealant for the gearbox casing.

IMG_4570
FixItWorkshop, Oct’17, Kenwood Chef A701a, repair kit from Kenwood Chef Restore, eBay.

Before replacing anything, the first job was to clean out all traces of the original grease which had gone very sticky and was contaminated with general wear.   The first pass clean involved using paper toweling, followed by water and detergent, before a final clean with brake cleaner, which removed the last few traces of grease and dirt.

With the gearbox refilled and resealed making sure the spacers were re-fitted to the correct parts, the drive belt re-fitted with just enough slack, the gears sounded much sweeter with the final parts of the casing reassembled.  One last point to note is that I used silicone sealant on the blender attachment power take-off plate in replacement to the one fitted, since the original seal was well past it (see below).

As a finishing touch, I replaced the existing machine feet which had turned to mush with replacements from Sussex Spares (eBay shop) for a very reasonable £2.70, delivered.

The Chef was now ready to prepare cake mixtures again.

Cost of new machine: £300 and up.  Cost of replacement parts: £13.69 (plus my time).


Kenwood Chef A901 -a fishy story!

If your Kenwood Chef A901 starts to smell of burning, don’t despair, it can usually be saved.

I had an enquiry via this site from a fisherman who was very upset that his trusty Kenwood Chef A901 had given up the ghost.  Rather than using the Chef to make Victoria sponges, it had been used to prepare fishing bait.  It just demonstrates how versatile these machines are.

Kenwood Chef A901
FixItWorkshop, Oct’17, Kenwood Chef A901 with motor speed control fault.

Whilst it was in use, the owner witnessed a bang then the smell of burning before the machine came to a halt.  The plug was quickly pulled!

Whilst discussing the fault on the phone, I suspected that the fault was probably due to the failure of the motor speed control circuitry, which is known to fail with age.  I had carried out similar repairs to other machines, including my own (in this blog) so agreed to take a look.

I received the machine quickly and upon inspection, the machine had obviously been cared for and considering its age, was in good condition.  The smell of burned-out components was clear, lifting it out of the box.

Dismantling the machine and removing the motor on the A901 is fairly straightforward, providing you allow time and make notes on where things go.  The components that need to be replaced are very accessible and anyone with moderate soldering skills would be OK with this task.

Luckily, the Chef is very well supported by long-term aftermarket suppliers and I bought an off-the-shelf spares kit at £14.10 delivered, from KAParts (www.kaparts.co.uk) via eBay, featuring upgraded components.  This kit is a little dearer, but component technology has moved on since this machine was first on the market, so fitting anything else is a false economy in my opinion.

With the old components removed and replacements fitted, the motor ran smoothly and fully reassembled, the machine is now ready to mix bait mixtures once again.  Lovely.

Cost of a new machine: Circa £300 and up.  Cost of repair:  £44.10 (kit plus my time).

Here’s a little video I made of the repair.

Enjoy.