Back in the 1980s, VAX were famous for making bright orange, usually very robust, carpet washers. The products were premium priced at the time, and the sort of thing that ‘someone else had’. It was the sort of thing you borrowed when someone had spilled wine or worse on the floor in a last ditch attempt before condemning the carpet. I’ve only used one a few times, but I can remember that very distinct carpet shampoo smell.
Fast-forward to now and it seems that the VAX badge is owned by someone else and the name is applied to many vacuum cleaner designs. In my own recent experience, the products are a bit flimsy and parts are not easy to obtain. Indeed, on a recent repair, I tried and failed to get hold of a replacement motor for an 18-month-old machine only to be told by VAX that they don’t supply it, but that’s another story. Such a shame.
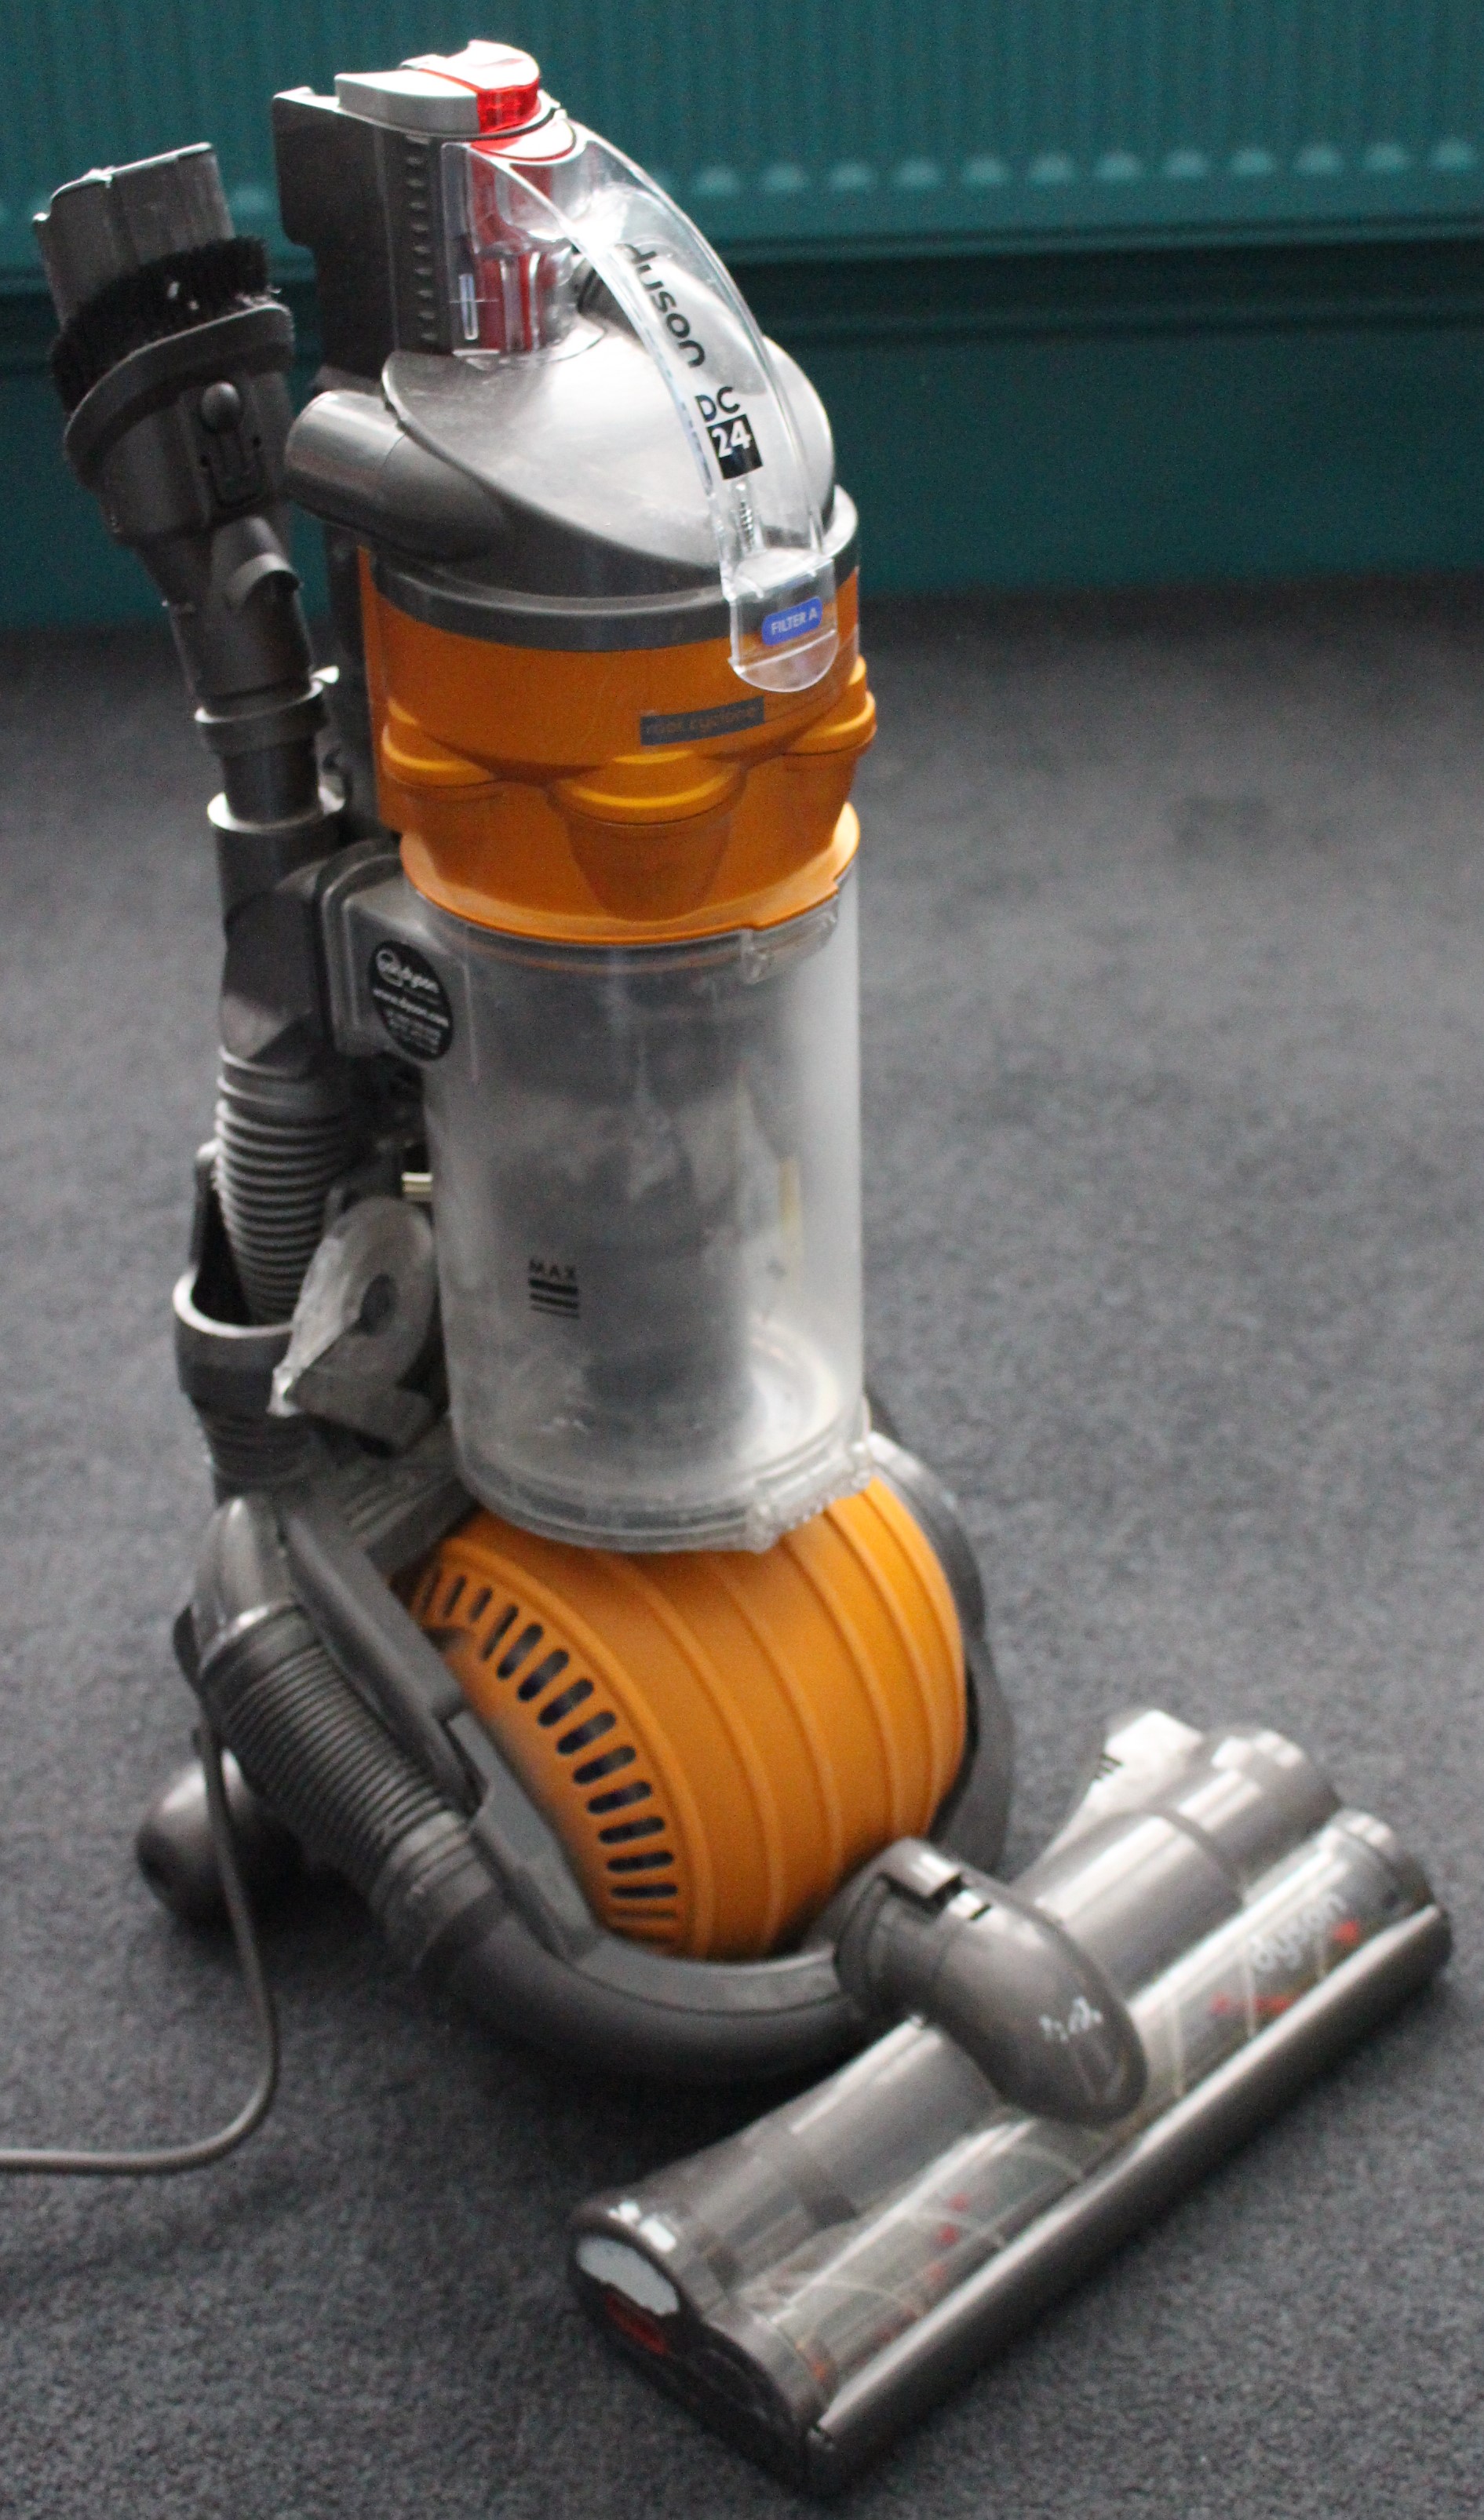
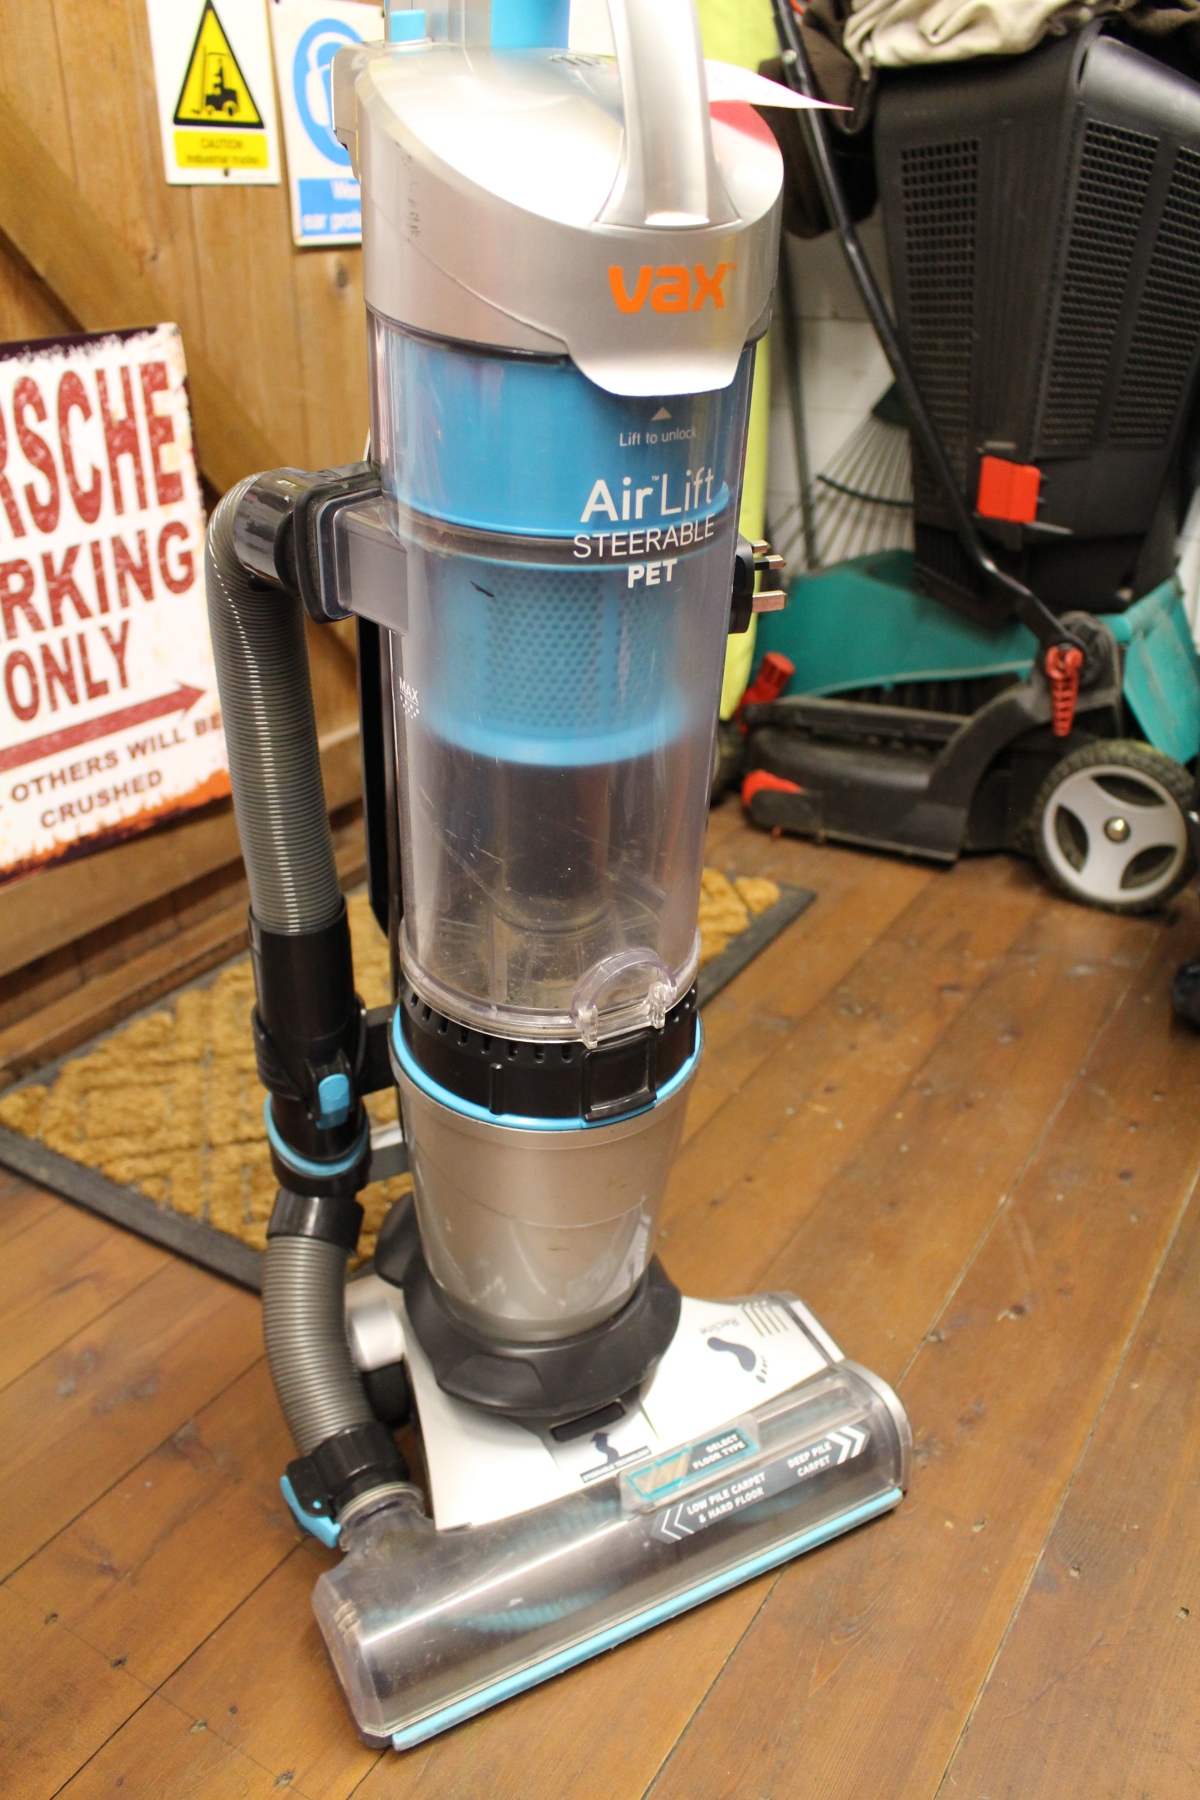
Anyway, on with a more positive story I think. The owner of this vacuum cleaner (not carpet washer) got in touch to tell me that they would like me to repair their VAX Airlift. As the name suggests, the machine is lightweight and slim, which makes lifting and manoeuvrability easier. However, lightweight in this case meant limited lifespan.
Make and model: VAX Airlift
Fault reported: Split hose
Cost of replacement machine: £200
Manufacturer support: 0/10
Cost of parts (for this repair): £1.00
My time spent on the repair: 1 hour
Tools needed: Screw drivers, pliers, cutters
Sundry items: None
Cleaning materials: Silicone spray, damp cloth
Repair difficulty: 3/10
Beverages: 1 X tea
Biscuits consumed: None, 1 slice of cheese on toast instead, must have been lunchtime
This model carries all dust sucking tools, brushes and other ‘extendibles’ onboard, for convenience. It’s neat and tidy and considering the amount of stuff onboard, it’s still amazingly light, hence the name. To be frank, I wish that I’d weighed it, but that might be going a bit far…
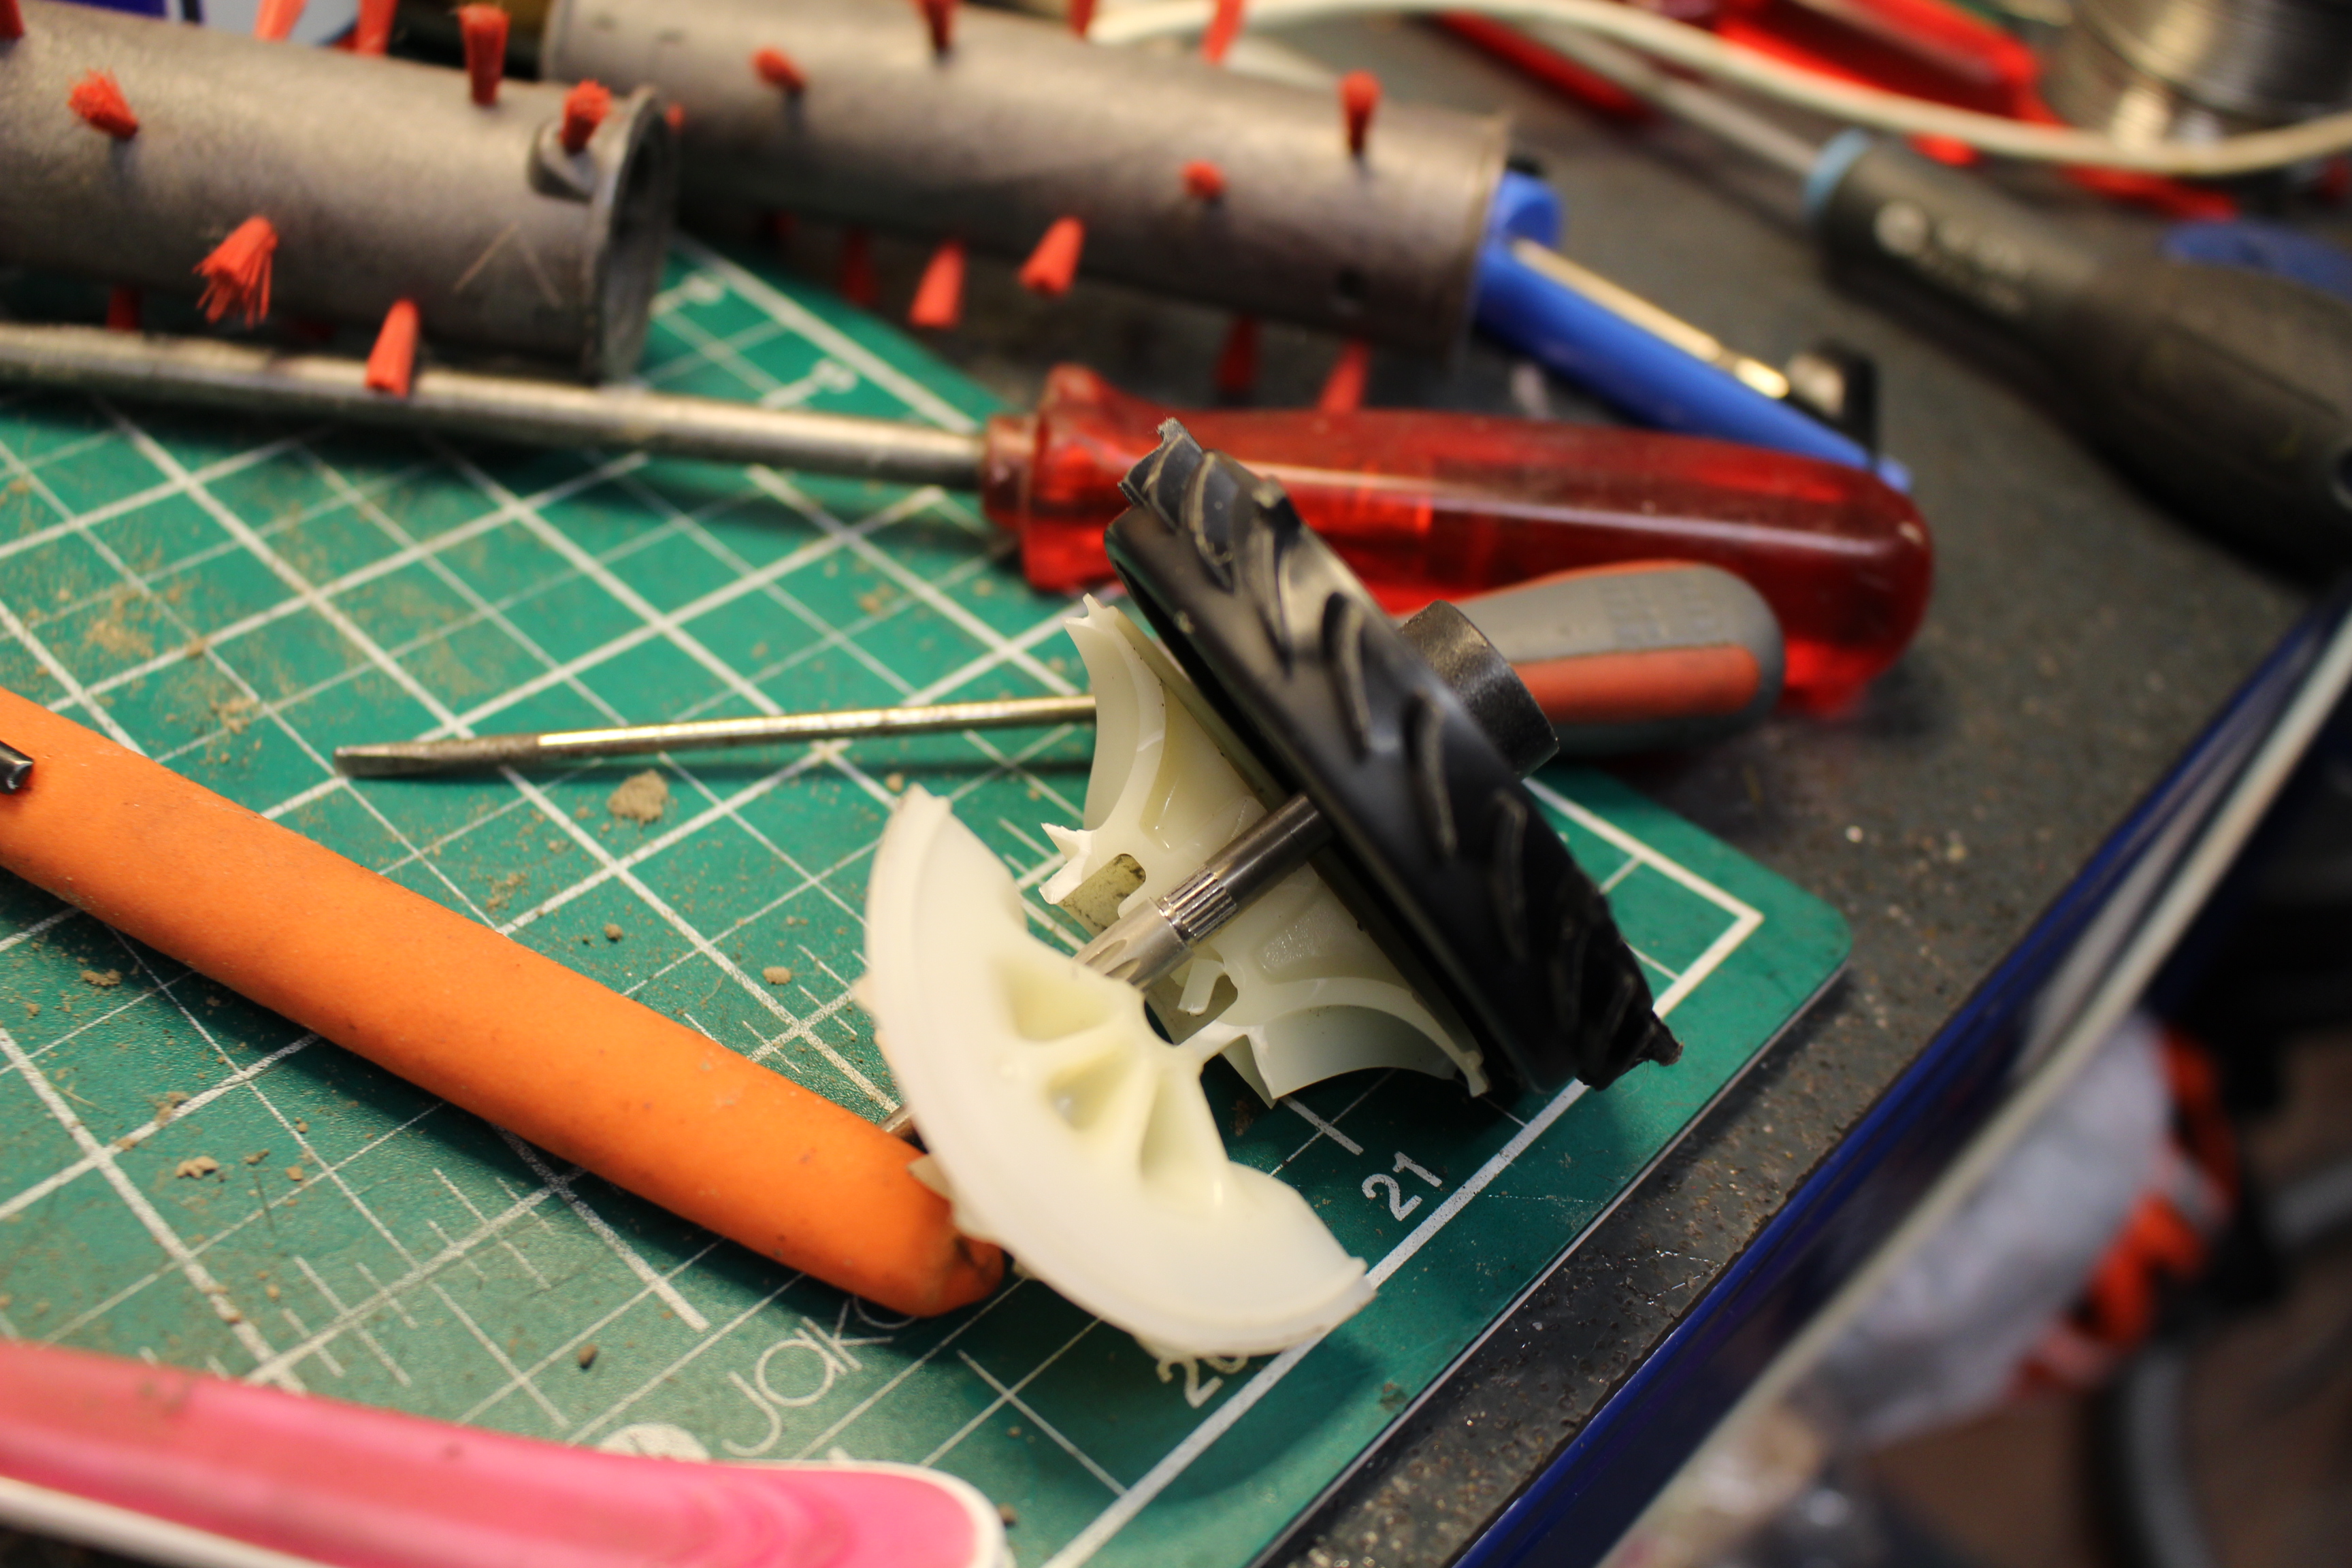
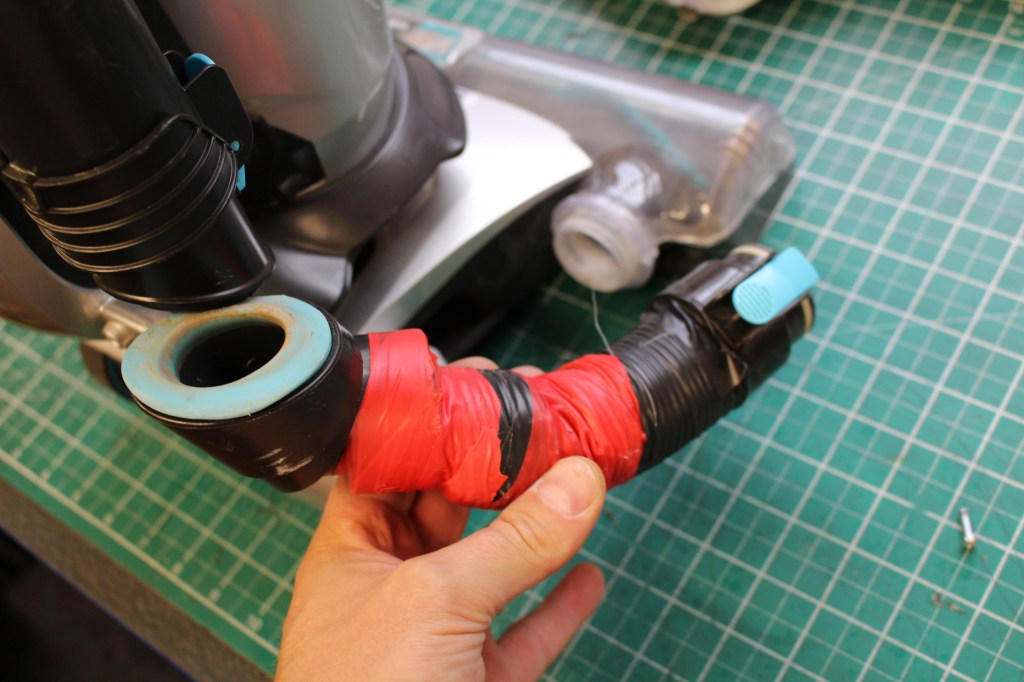
The problem with this machine was that the flexible hose from the brush head to the main machine had split. This caused air to rush into the hose’s hole when the vacuum was in use, which in turn meant that the vacuum simply wouldn’t suck up. The owner had attempted several previous repairs with electrical tape. These repairs had worked for a while, but after several hoovering sessions, the tape repair had failed and the machine was back to square one.
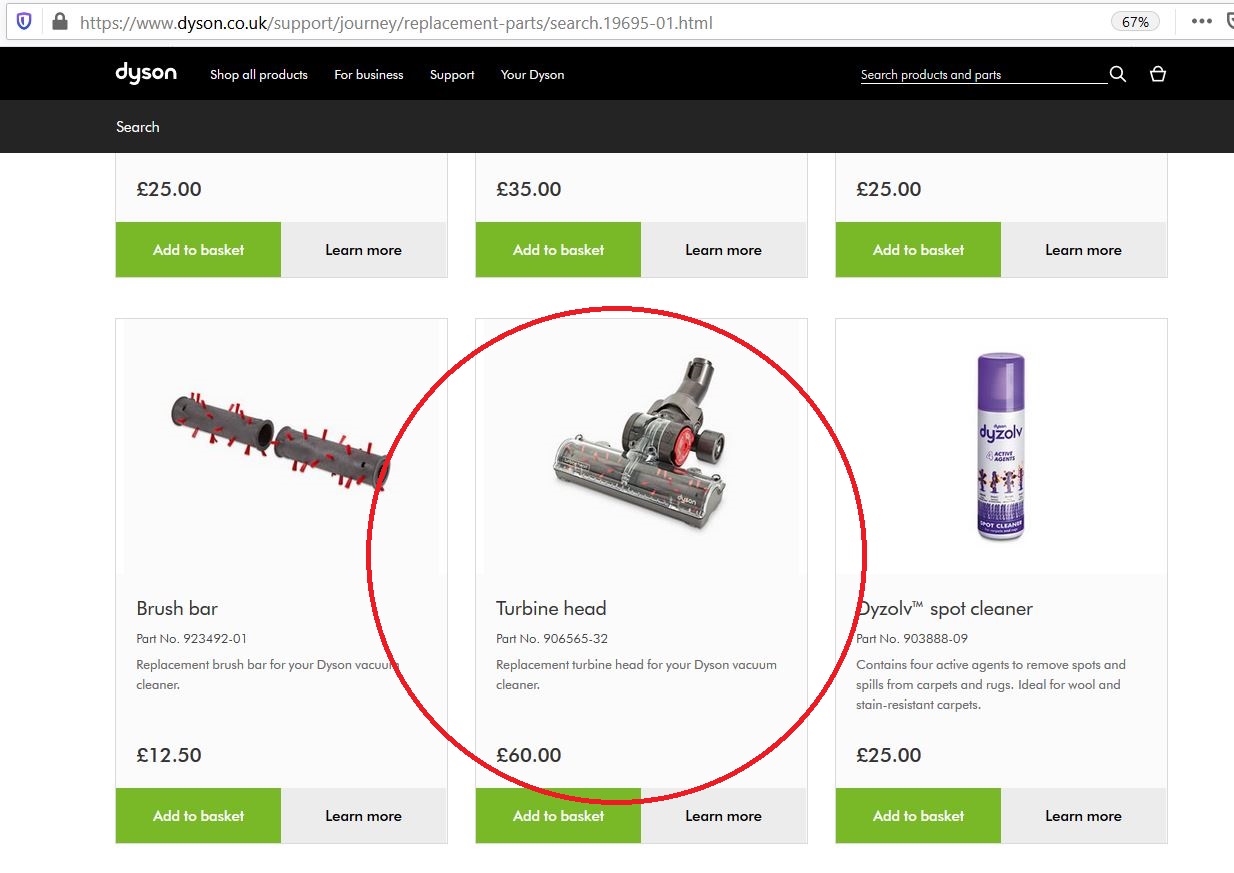
I took on the job and realised quite quickly that VAX’s sporadic spares listings on various websites neglected our poor friend and only certain consumables like filters were still available. Terrible really as the machine was only a few years old. The part I needed certainly wasn’t anywhere and looked unique to this model. When a situation like this confronts me, I do what any other sensible person does. Put the kettle on.
It’s often situations like this that will condemn a machine to waste, even when the rest of it is in serviceable condition. I can see why some may simply throw in the towel.
It soon dawned on me that I’d saved various bits of hose from old Dyson and Numatic vacuum cleaner repairs and that maybe something I’d salvaged might do the trick. That’s the power of a strong cup of Yorkshire Tea.
FixItWorkshop, Worthing, December’20, VAX Airlift, damaged hose. 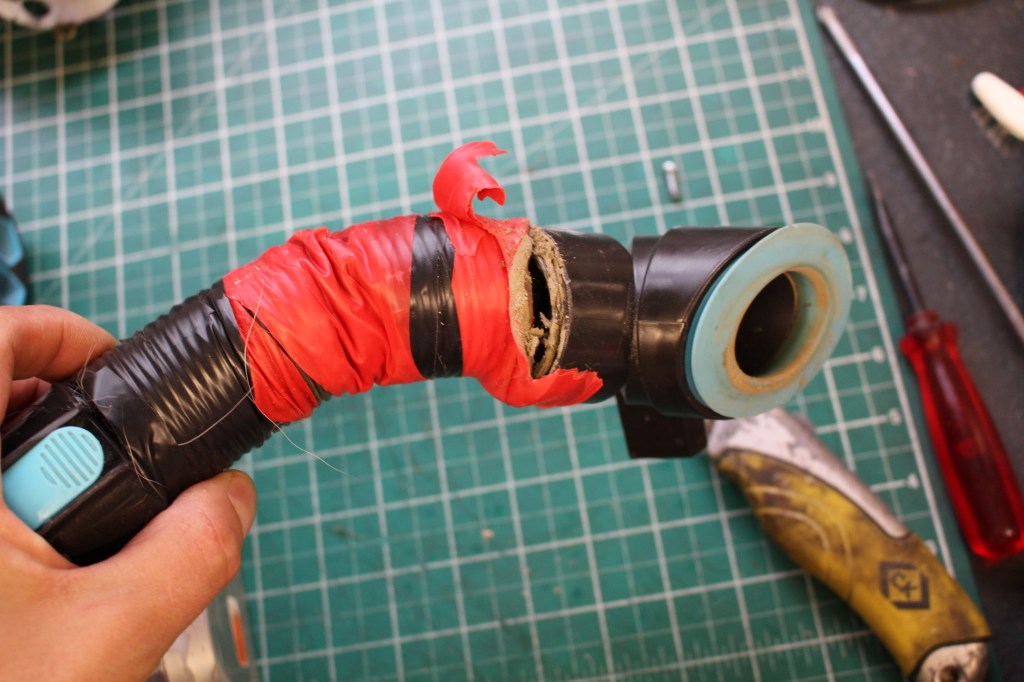
FixItWorkshop, Worthing, December’20, VAX Airlift, removing previous repairs. 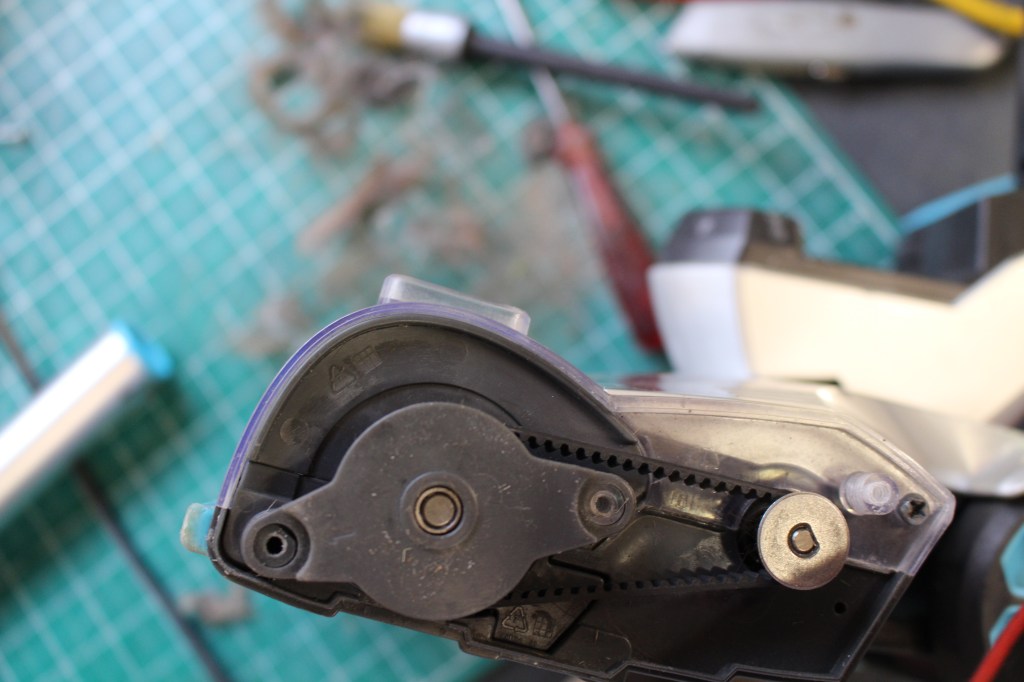
FixItWorkshop, Worthing, December’20, VAX Airlift, cleaning belts and moving parts. 
FixItWorkshop, Worthing, December’20, VAX Airlift, remove curls. 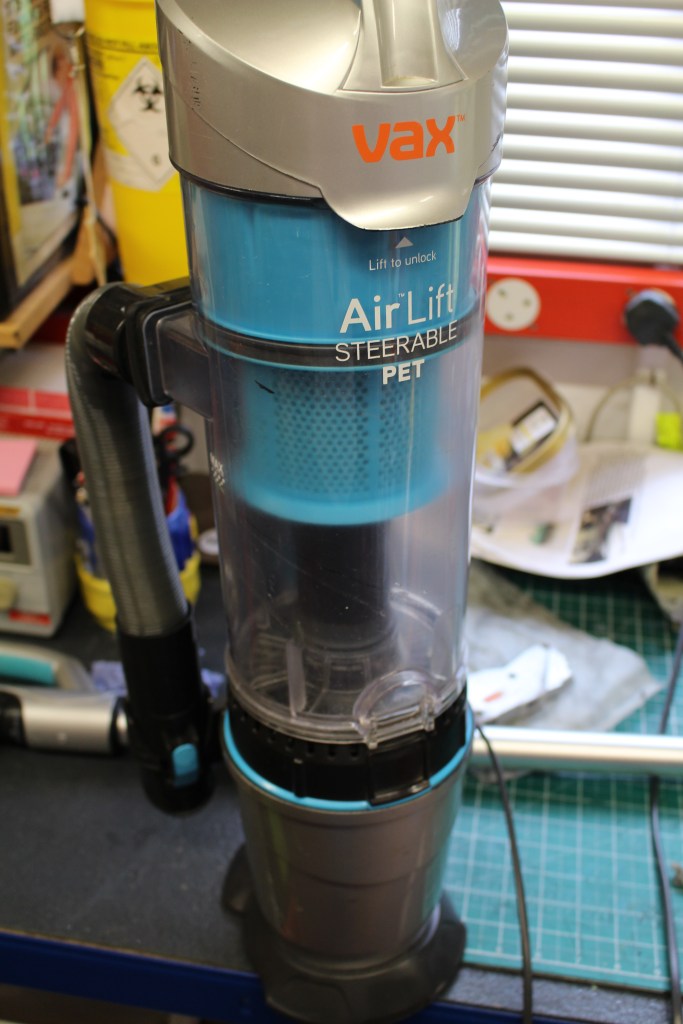
FixItWorkshop, Worthing, December’20, VAX Airlift, it’s lightweight. 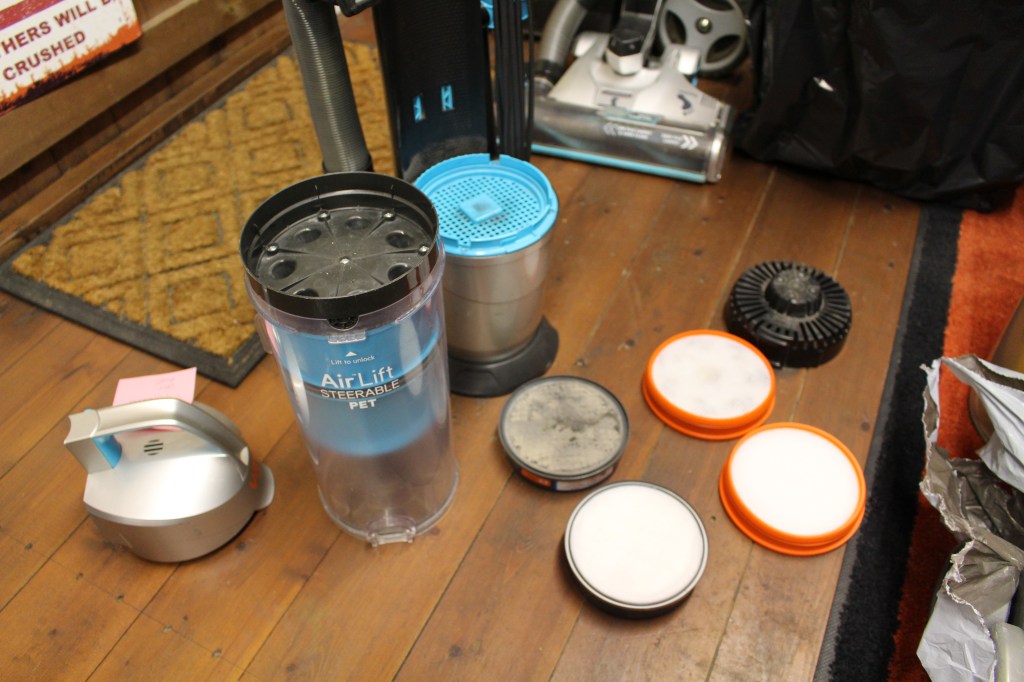
FixItWorkshop, Worthing, December’20, VAX Airlift, filters are cheap. 
FixItWorkshop, Worthing, December’20, VAX Airlift, completed repair.
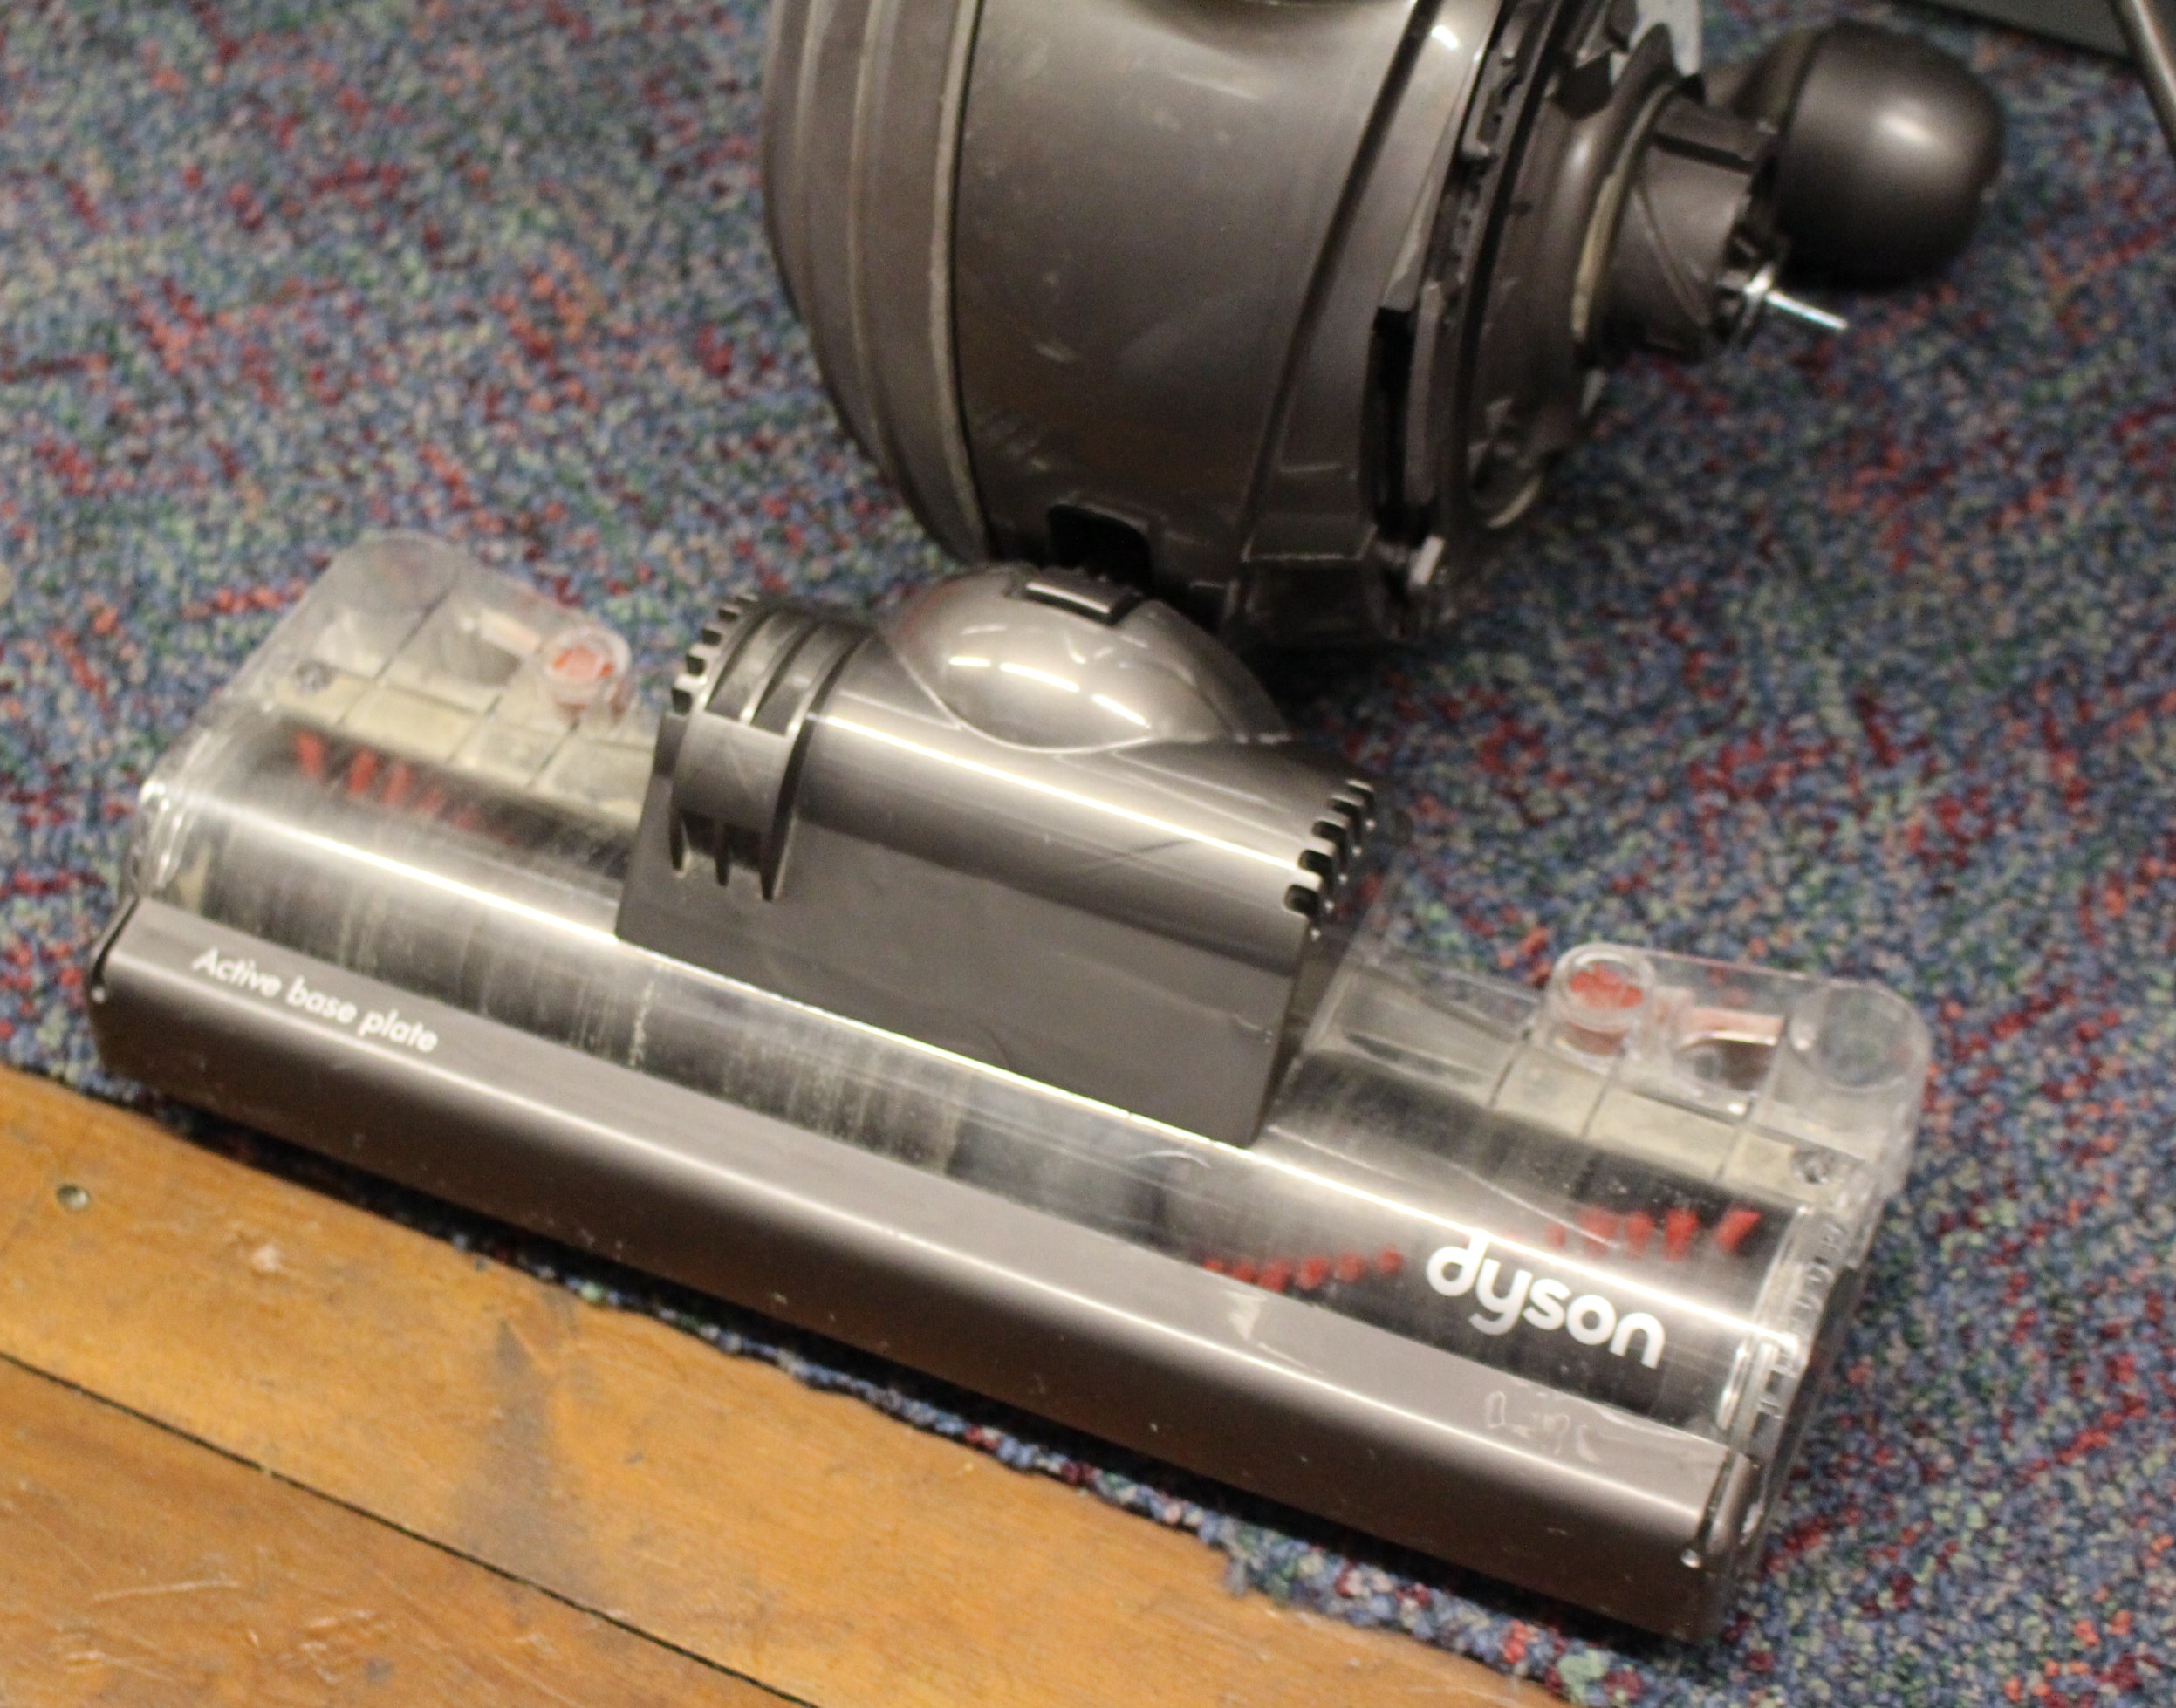
This was turning out to be my lucky day as some old grey Dyson vacuum hose that I’d salvaged from a knackered Dyson DC25 (if memory serves) looked like it would do the job.
The first task was to remove the bespoke Airlift connectors from the old hose and peel off the metres of horrible hairy electrical tape. Yuk. I needed the old hose, so that I could measure the correct length to allow a good fit in every position the machine would be used in. The hose end connectors were screwed on and bonded with impact adhesive, which just needed brute force to remove.
The Dyson hose was a gnats-whisker wider, but it still fitted the old hose connectors OK, with a little impact adhesive applied. The new-old hose with old connectors simply fitted back on the machine and I think you’ll agree, the new/old part looks like original equipment.
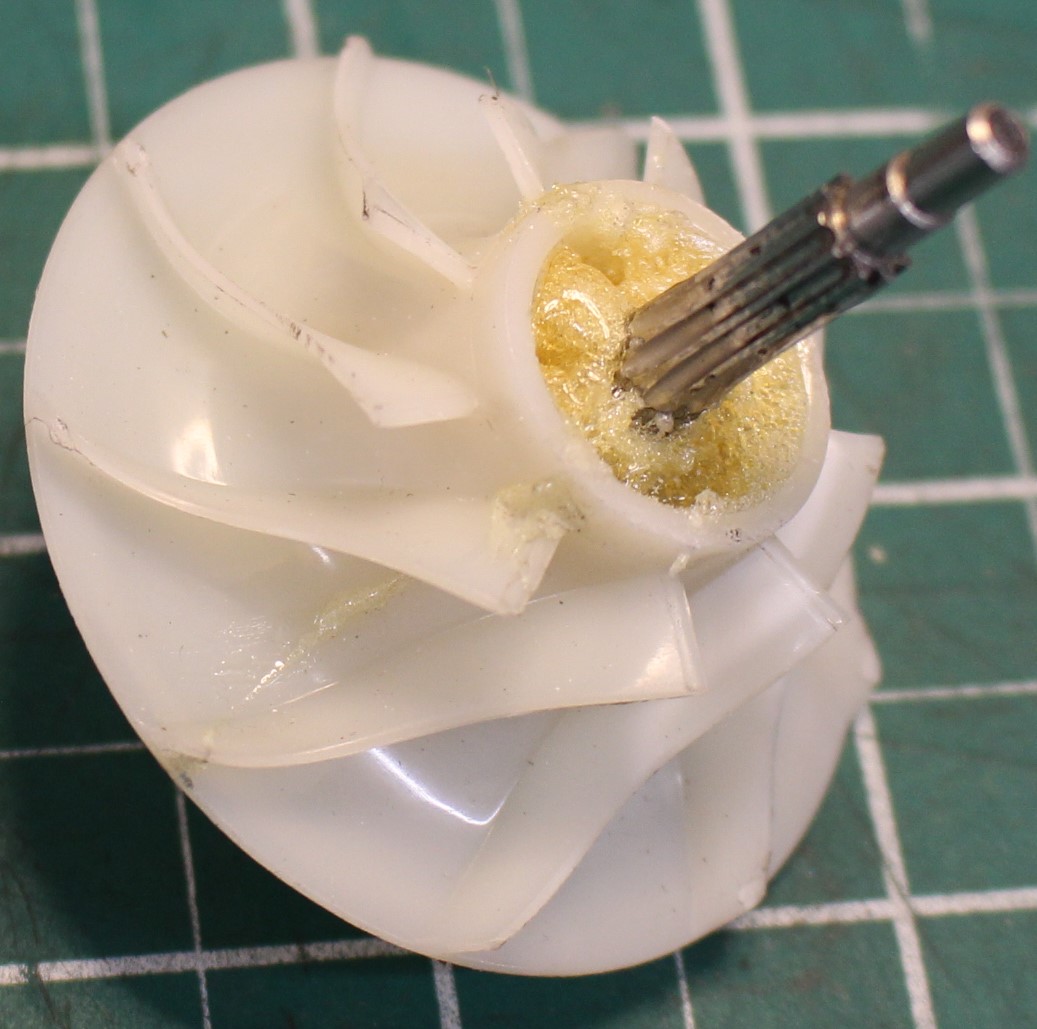
While I had the machine, I took the liberty to clean the seals, dust container and drive belts to the brush head as these were all clogged up. As filters were readily available, I also replaced these as they were only a few quid.
So, for small beans and using some old salvaged parts I already had, this VAX was ready to see another day. Most satisfactory.