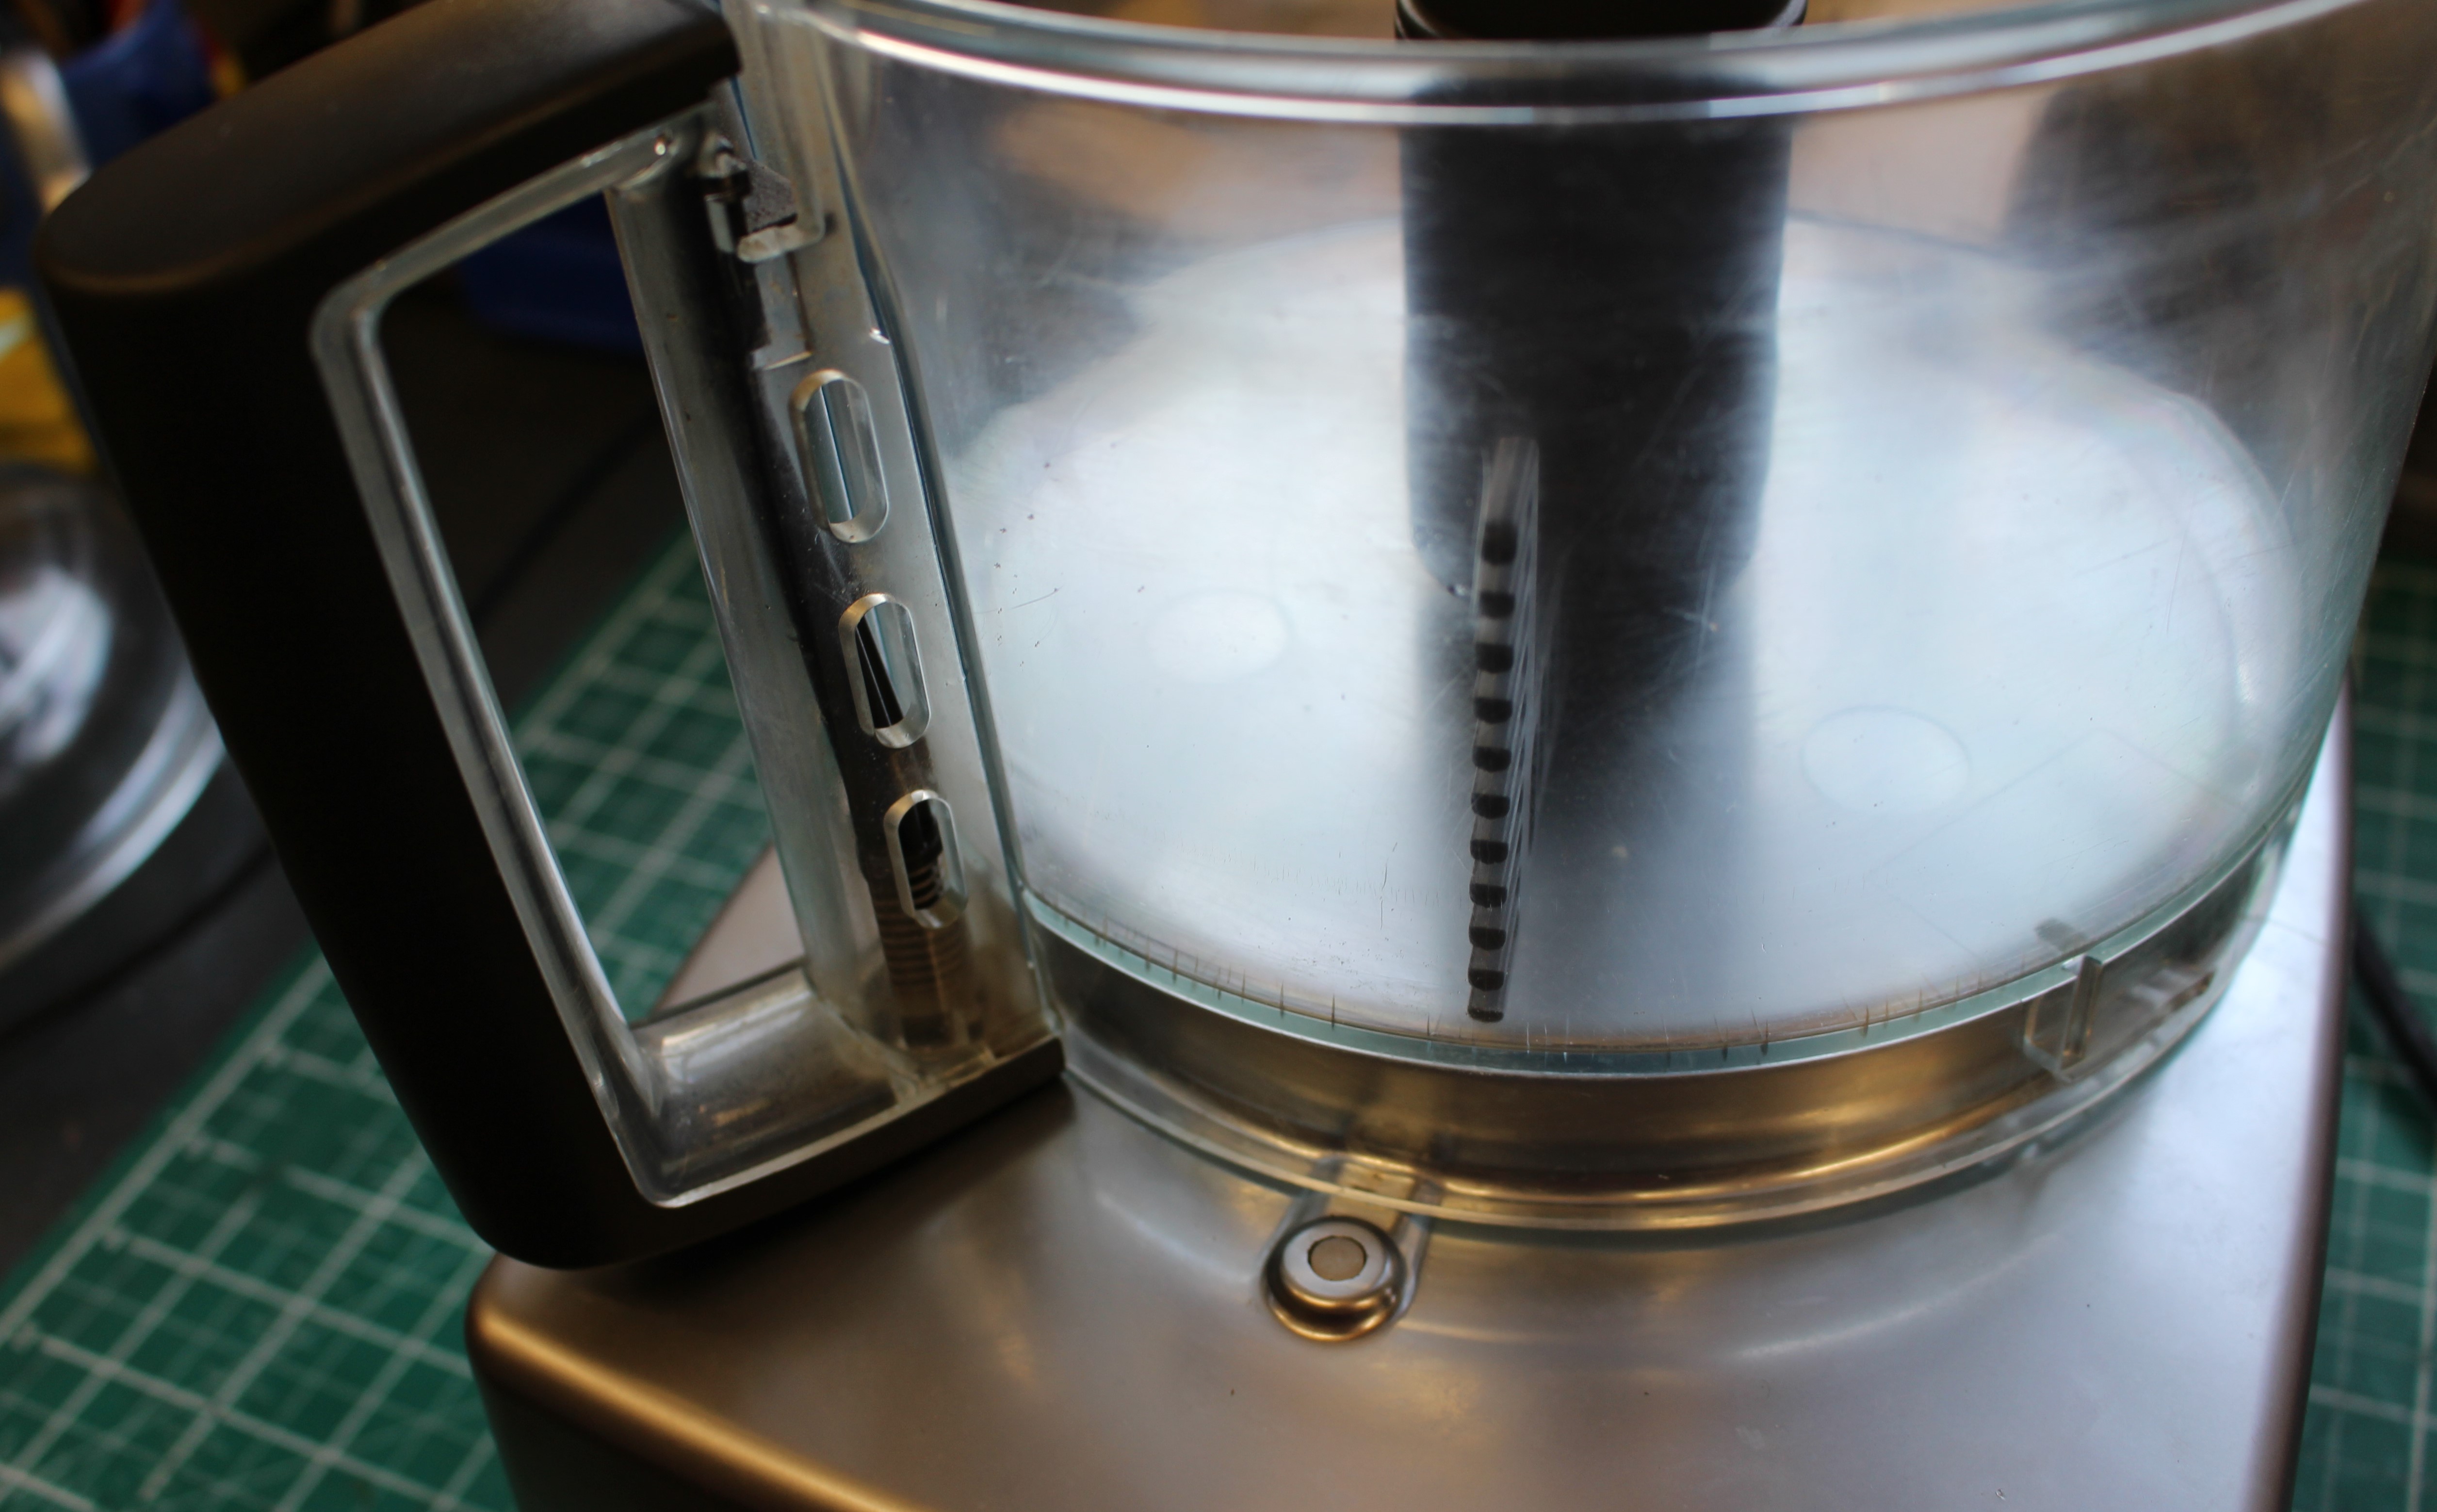
Moulinex magic in the workshop

Economically unviable, virtually no manufacturer support, practically zero second hand value. I’ve had worse machines through the workshop.

It’s not always about the cash…Better crack on.

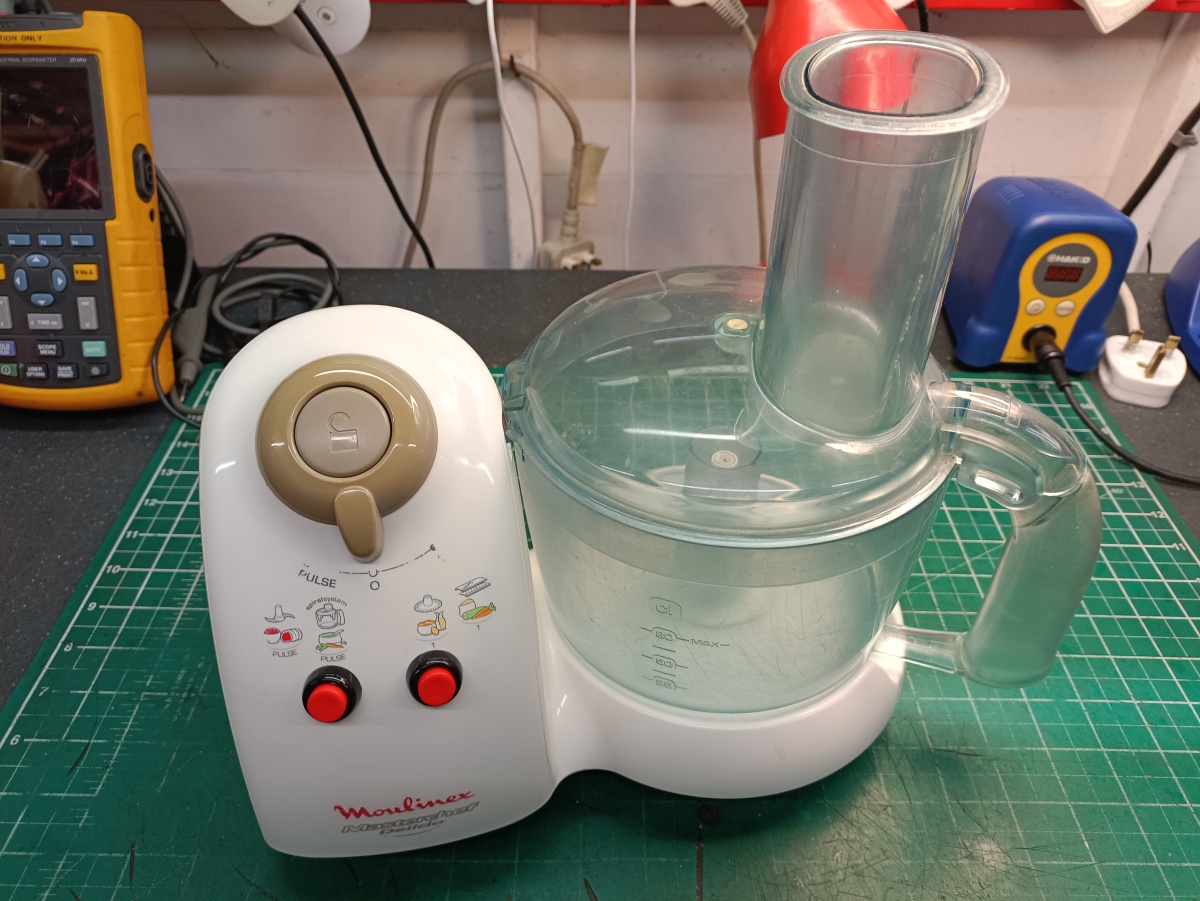
Make and model: Moulinex Delicio (food processor)

Fault reported: Broken switch

Cost of replacement machine: £40.00 – £50.00 for an equivalent

Manufacturer support (in the UK): 0/10

Cost of parts (for this repair): £ under a tenner, including all parts, but not labour

My time spent on the repair: 1 hour

Tools needed: Small knife, pliers, small screwdrivers, soldering iron

Sundry items: Cable, heat shrink

Cleaning materials: Silicone spray, contact cleaner, wipes

Repair difficulty: 5/10 (fiddly)

Beverages: 1 tea

Biscuits: 2 ginger nuts

Bad language: 2/10

It must start early.  An attachment to inanimate objects, a personification if you will, of machines and their mechanical feelings.  Maybe it starts with teddy bears, Lego people or Matchbox cars. Of course, deep down I know that machines do not have feelings, but I do sometimes find it hard to simply give in with something, and throw it away. 

I don’t think that it’s a coincidence that many classic cars, rescued from the crushers’ teeth, tend to have a ‘face’.  Indeed, designers can often hit on a million-seller, if they get the ‘face’ right.  Think VW Beetle, Morris Minor and Mini. Perhaps these shapes bring back childhood memories of a favourite cuddly toy, which might translate to them being taken care of better and cherished for longer.

Anthropomorphism, the attribution of human traits and tendencies, is something many of us experience, but us repair nerds seem to take it to another level.  I’ll have to think of a catchy name for it.

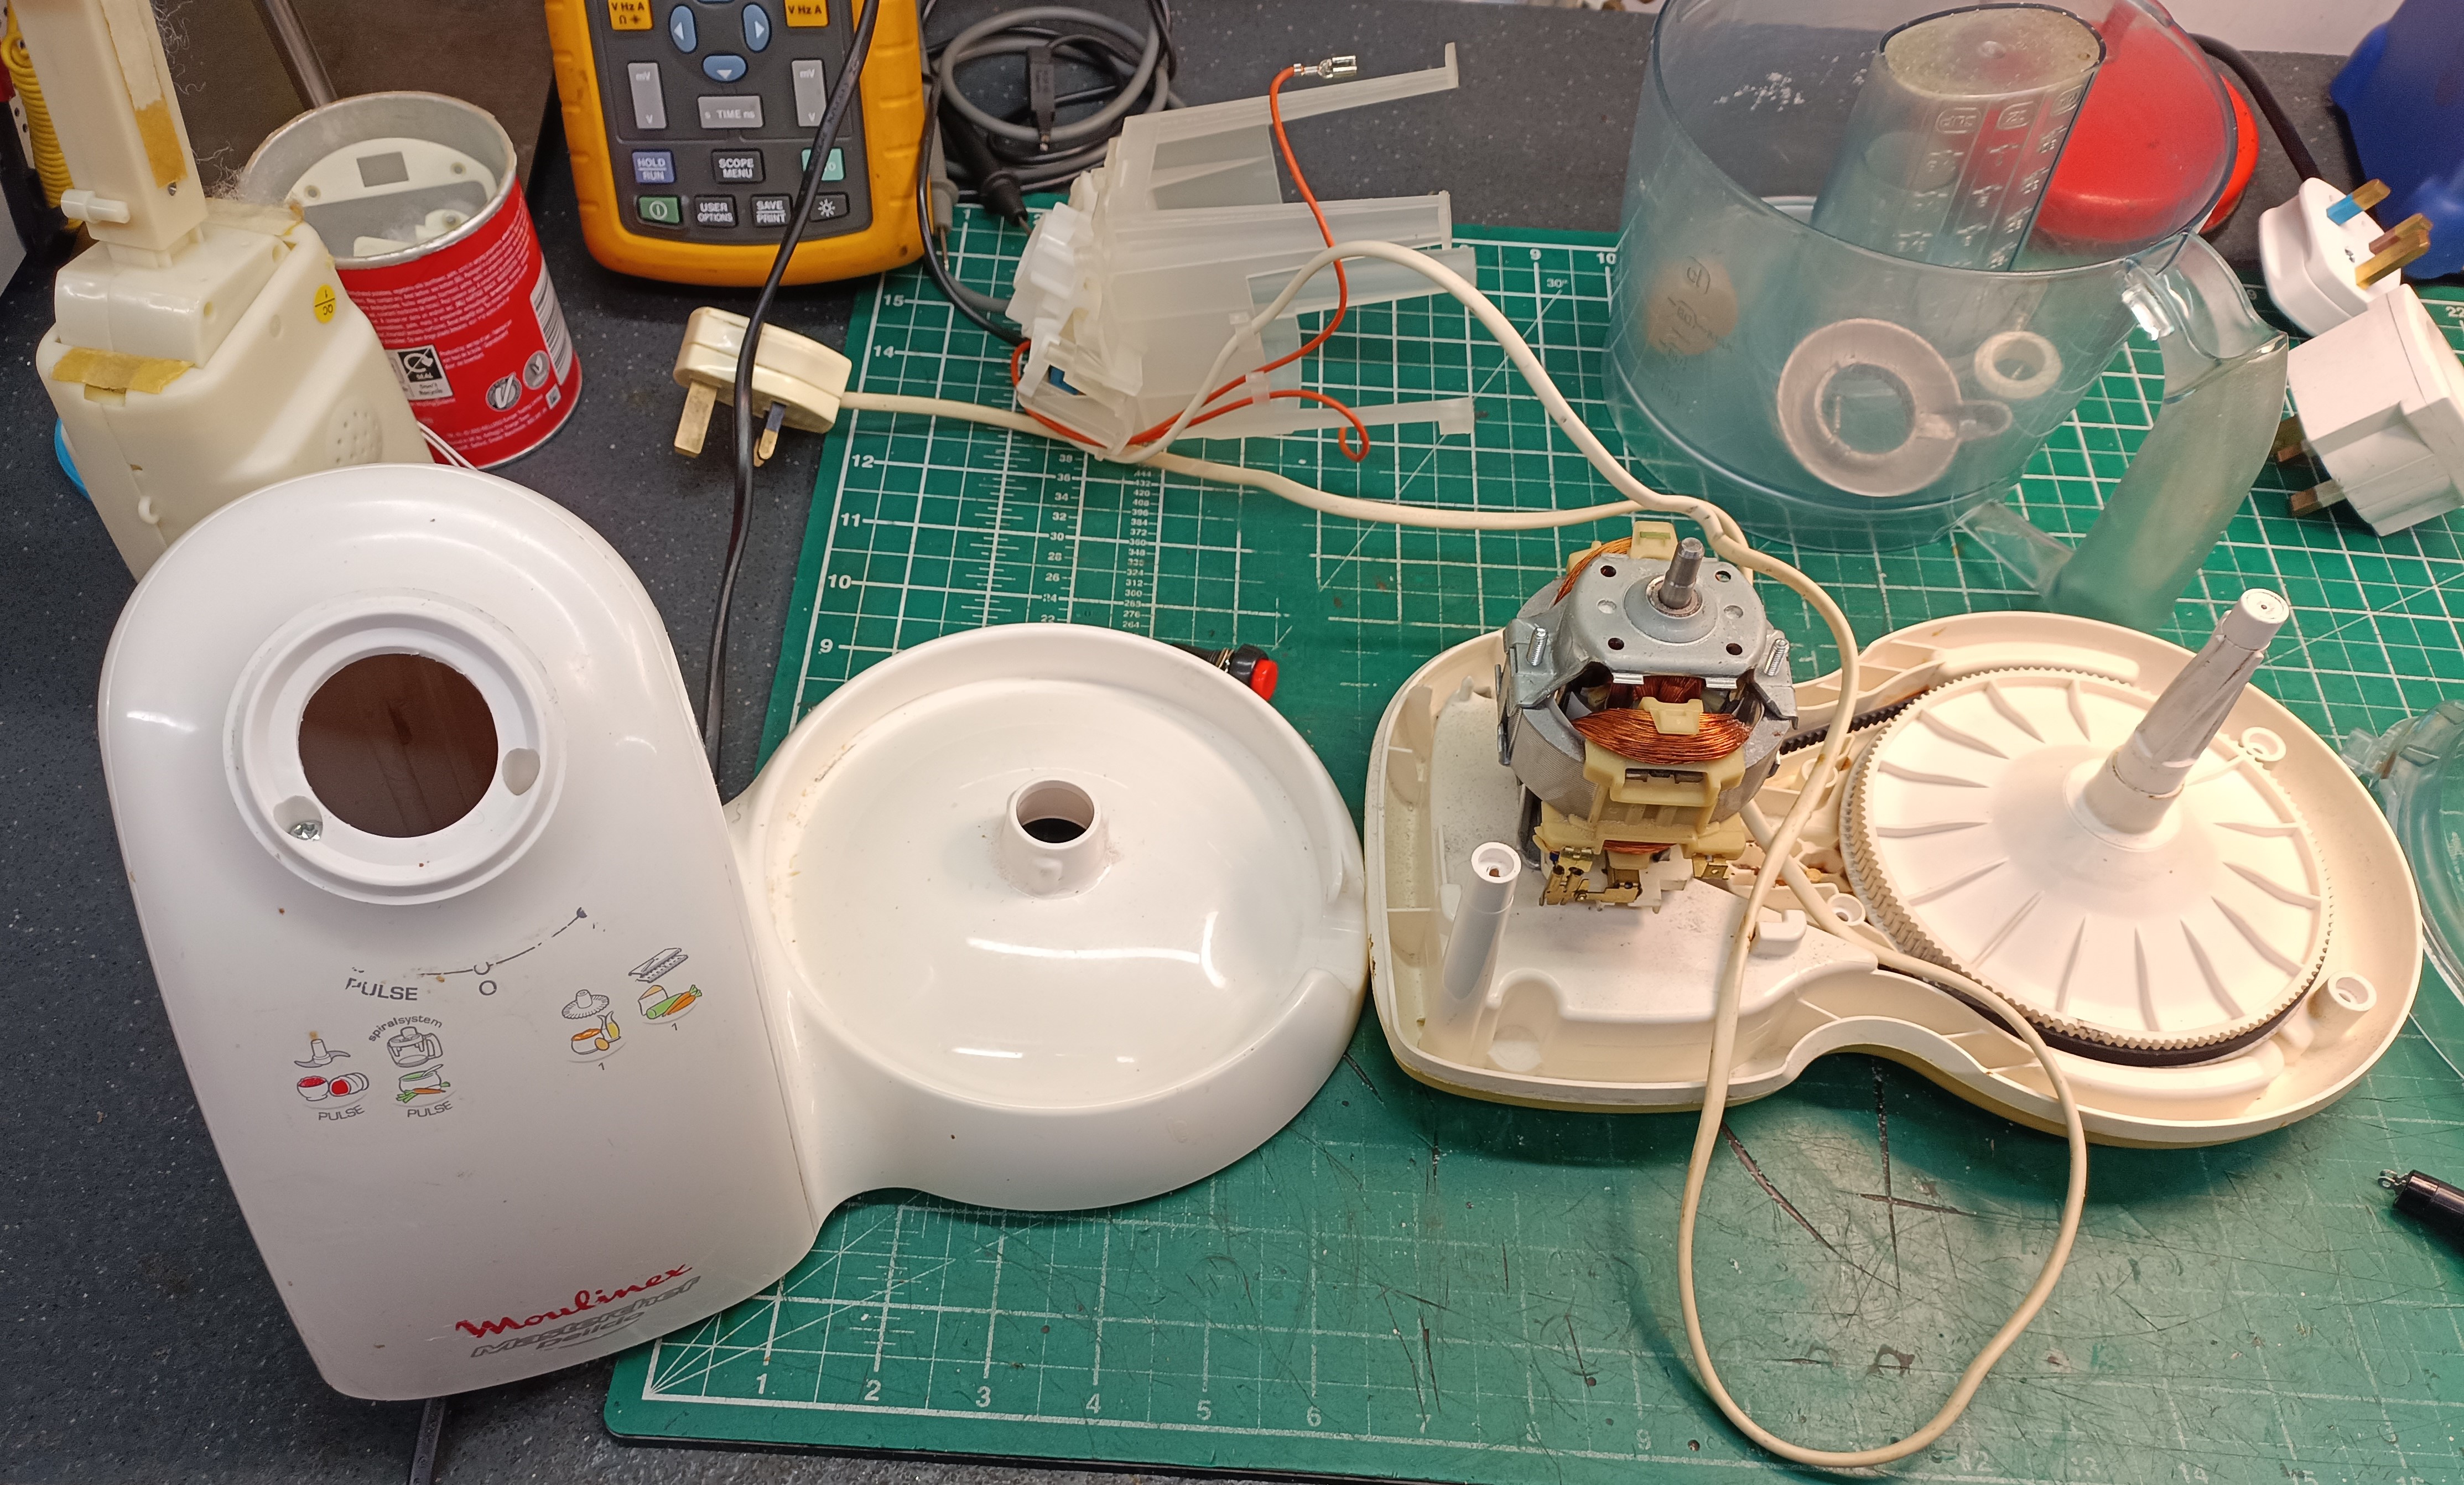
All this has reminded me about a recent such situation where my mum asked me if I could fix her broken Moulinex Delicio food processor, if it wasn’t too much trouble. 

The condition I ‘suffer’ from certainly doesn’t run in families and my mum was at first, ready to recycle the thing. But remembering all the cakes made with it over the years, especially ones made with my two daughters, seemed to put a different complexion on matters. So, I took the mixer away with me and put it on the workshop shelves, awaiting some attention.  At least there were other machines alongside, to keep it company.

Many food mixers tend to be large, heavy and bulky affairs which is OK for many, most of the time, but if you can’t manage the weight of something like an eleven kilo Kitchenaid Artisan every time homemade brownies are called for, something like this little light-weight Moulinex is ideal. So, two compelling reasons to keep the mixer; it’s lack of weight and some fond memories.

The problem was that the main on/off switch didn’t seem connected with the rest of the machine and to make things more complicated, the integral lid-lock was operated with the same button.  This part is therefore quite important since it might prevent one from shortening their fingers, by not allowing the spinning blades to ever come in to contact with wondering digits.

Now, I’m sure that this all seemed rather lovely in Moulinex HQ at the time, but small plastic switches connected with several thin moving parts combined with knocks and scrapes in a kitchen, is not going to end well.  As a matter of fact, Moulinex offered the offending switch assembly as a spare part until recently, so they must have known that the design was a bit iffy.  Sadly, I missed the boat and despite several attempts, I couldn’t find a replacement part anywhere. eBay revealed a couple of similar machines with faults, so it was back to the drawing board.

3D scanning and printing makes low-volume, but high-quality production a reality, and it’s really something that I need to get into, as I often have the need to copy rare, obsolete parts.  In time, I will. 

In this case, I did consider using one of the many online UK companies now specialising in this kind of thing, but the costs did not warrant it in this instance, so a new strategy was required.  I’ve spent many hours of my life browsing parts like this in catalogues, so I decided that a repair should be possible for under £10.00, using readily available, generic switches. Yes, that should be my budget challenge then, do the whole job for a tenner or under and since it was a family affair, no charges for labour!

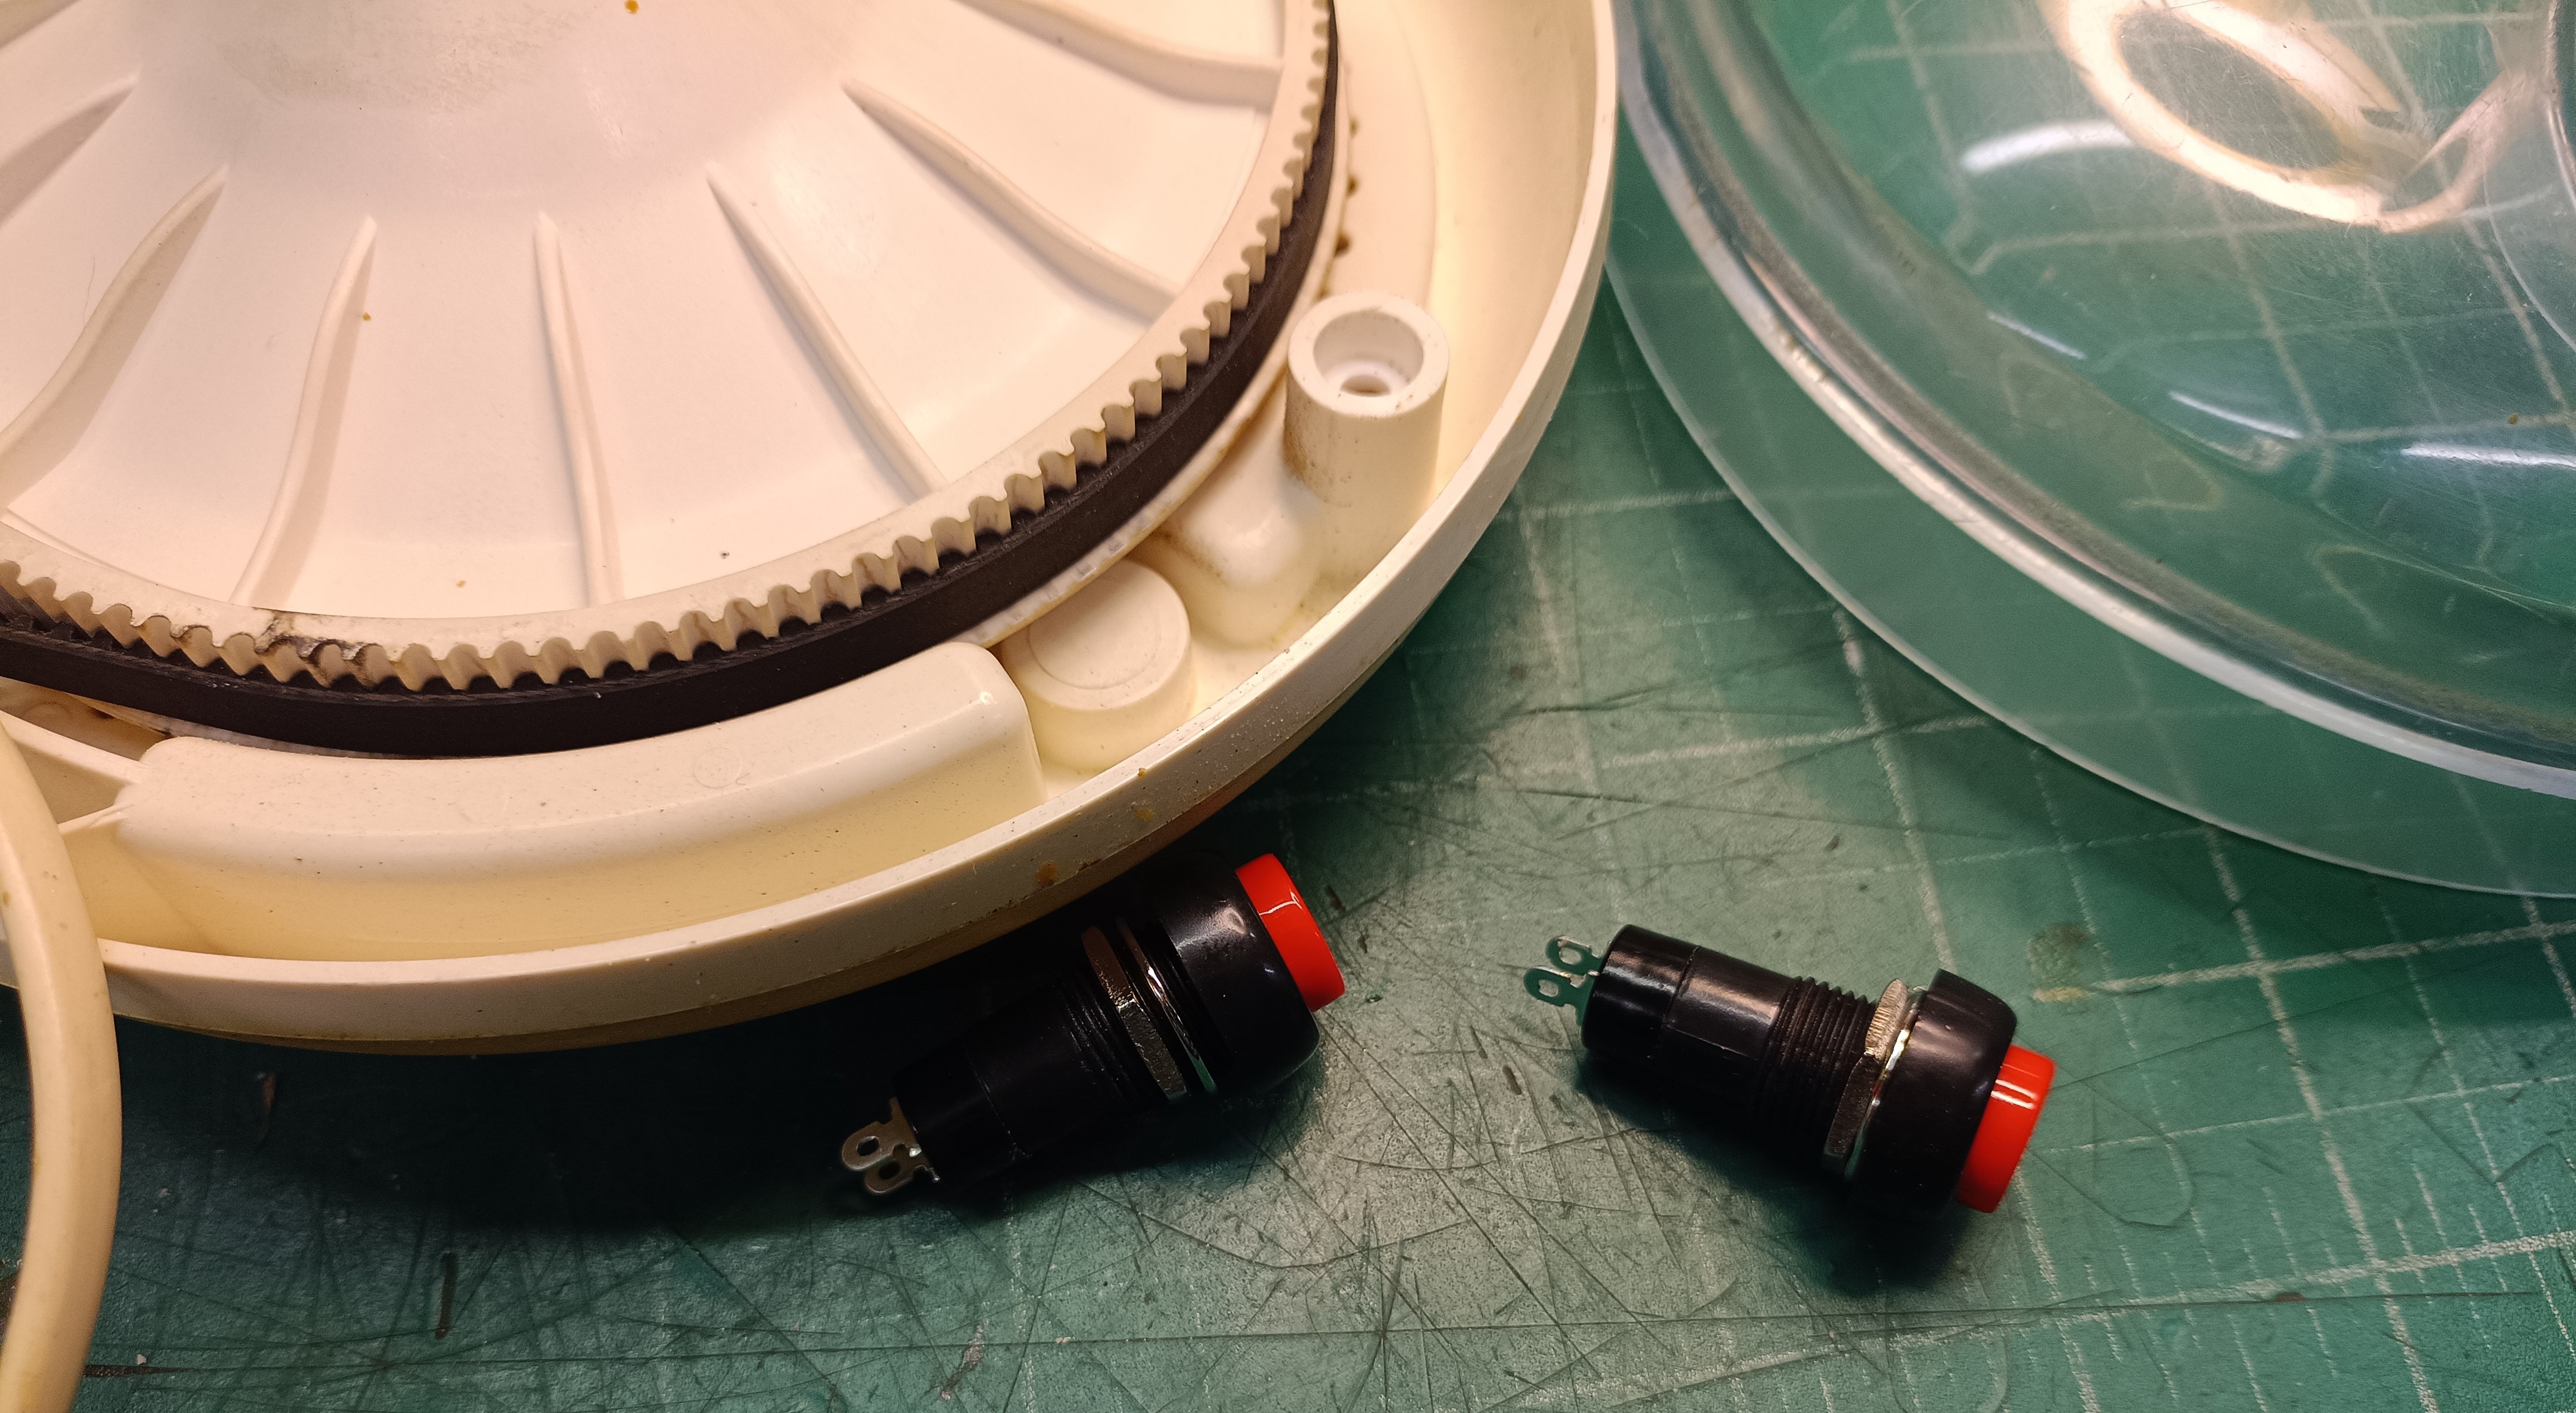
The Delicio is a simple machine; no variable speed controller, just a single speed operation controlled either by latching or push-to-make switch.  It gets the job done quickly and without fuss. After a quick trawl of eBay, I opted for two small round, red button in black bezel switches with solder tags.  The switch series I opted for was available in push-to-make and latching, bingo!  And at £5.98 delivered, a total bargain.

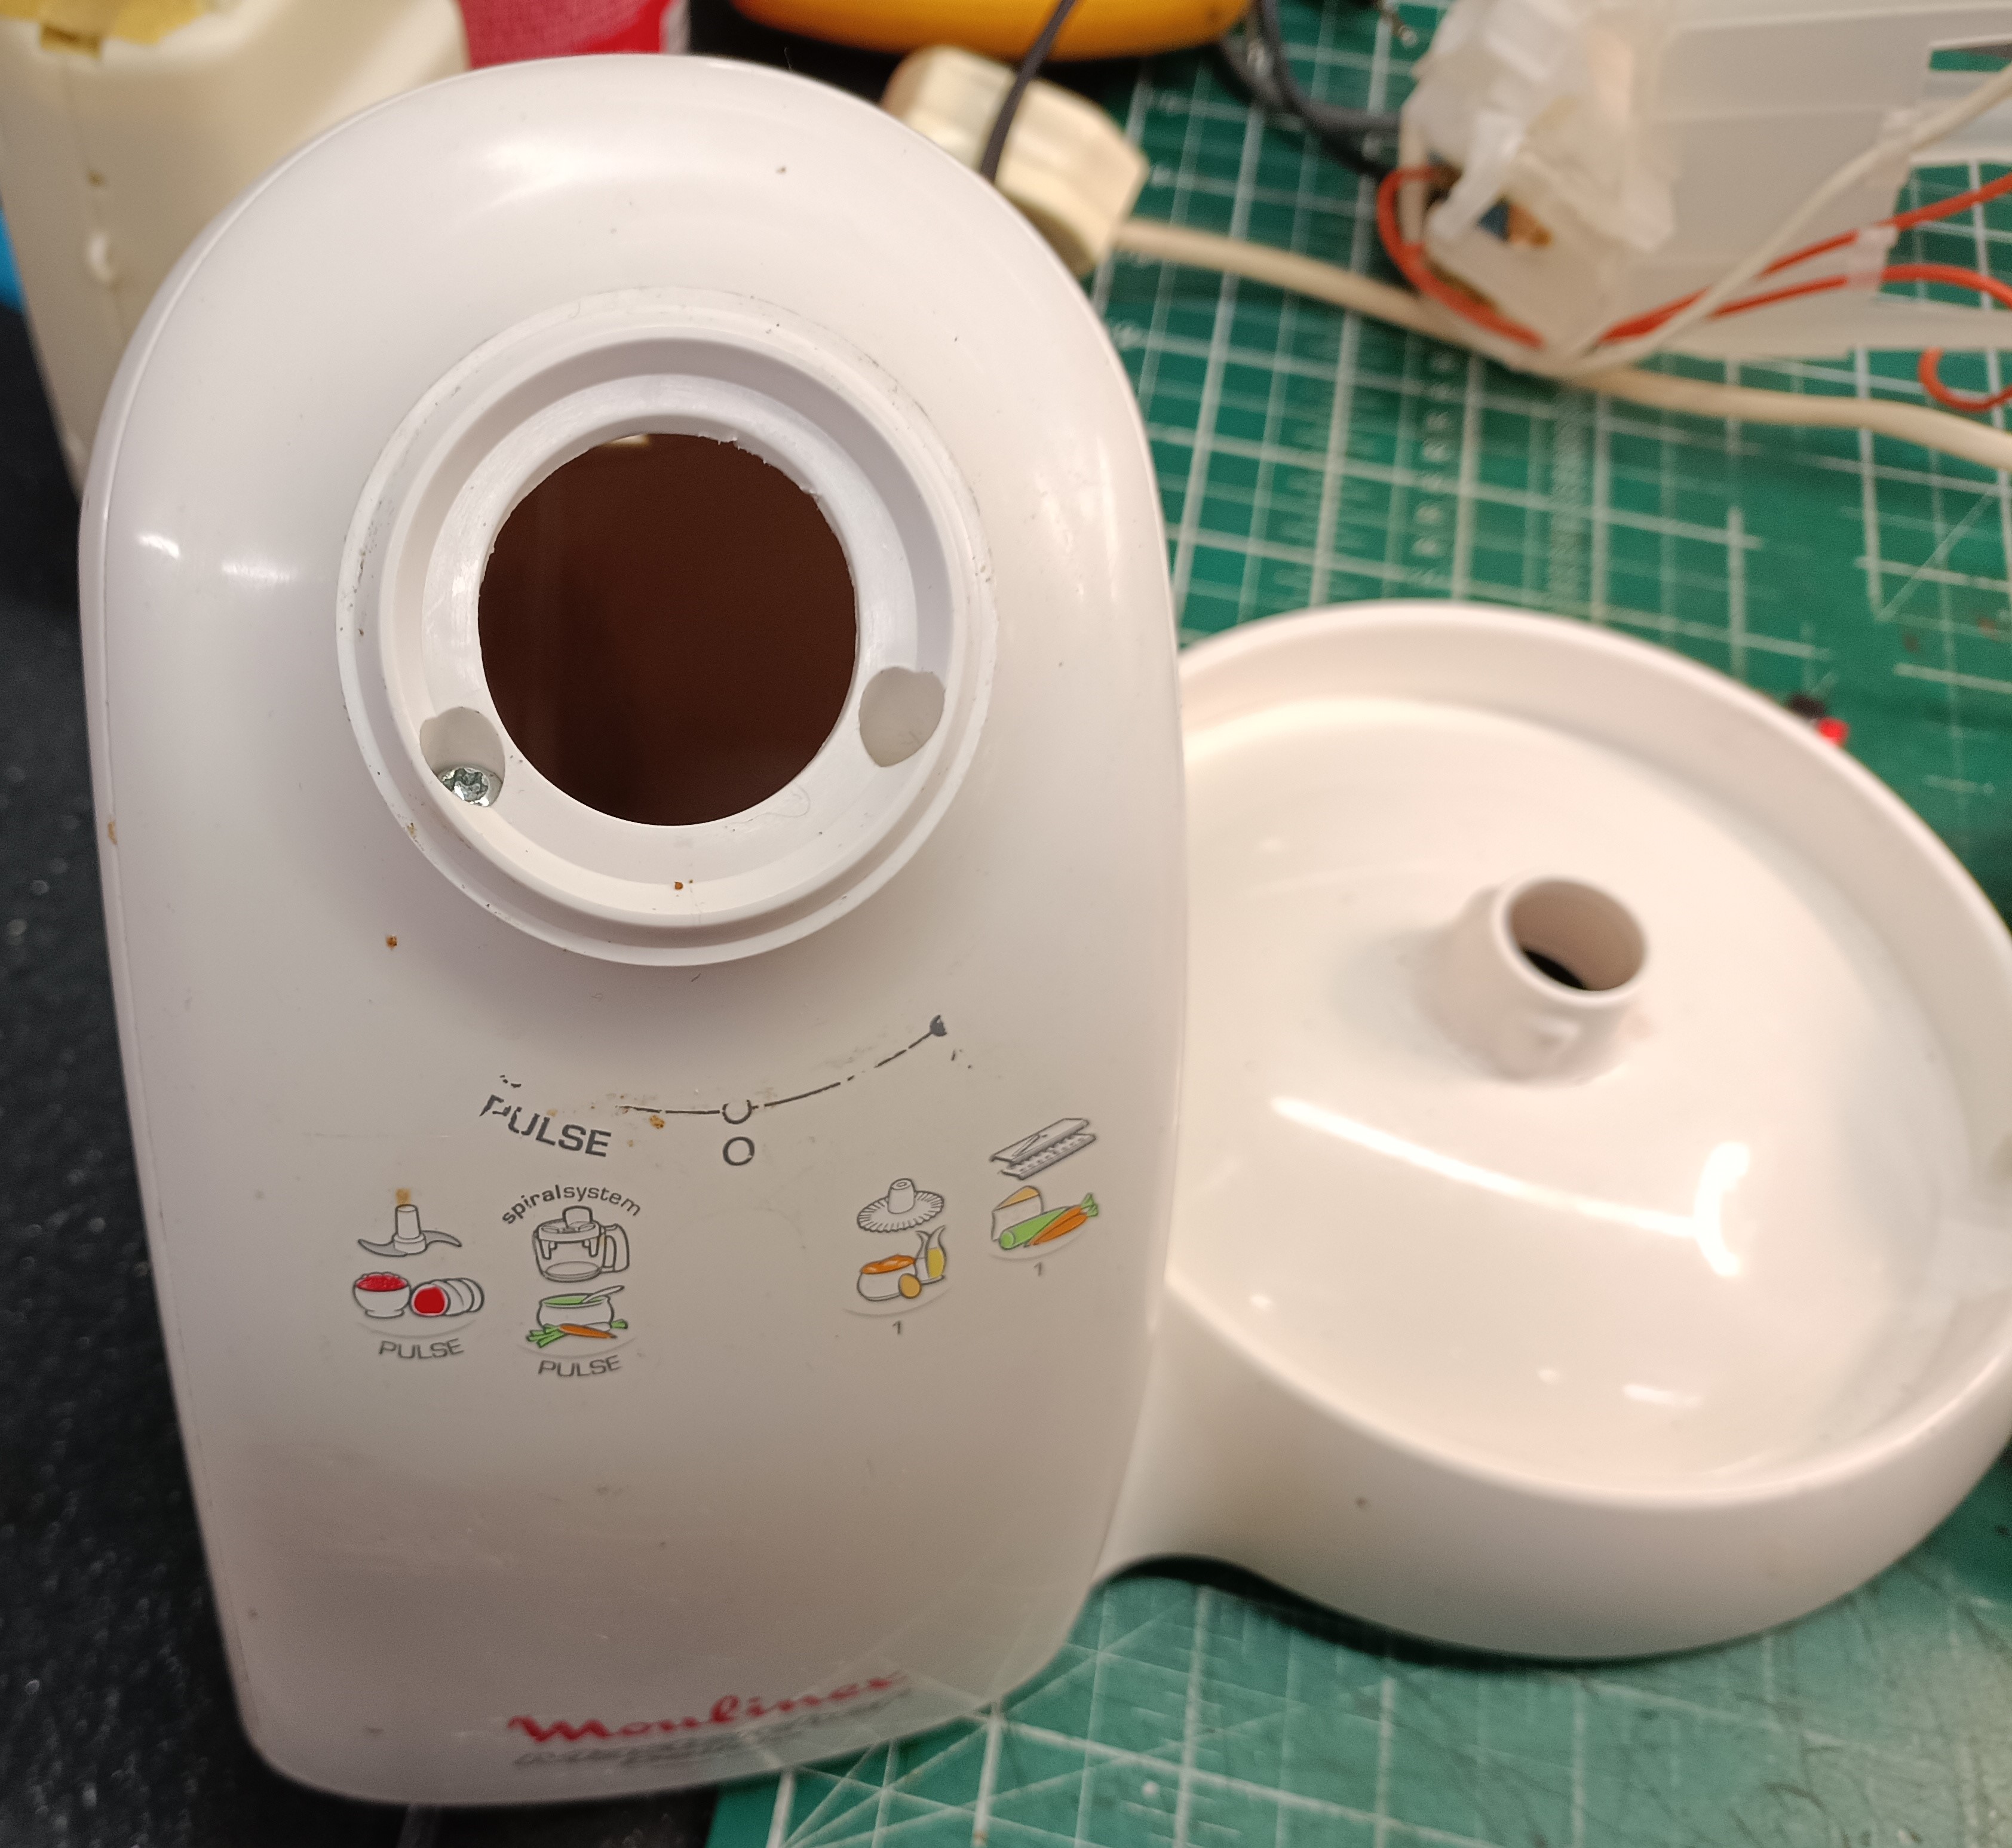
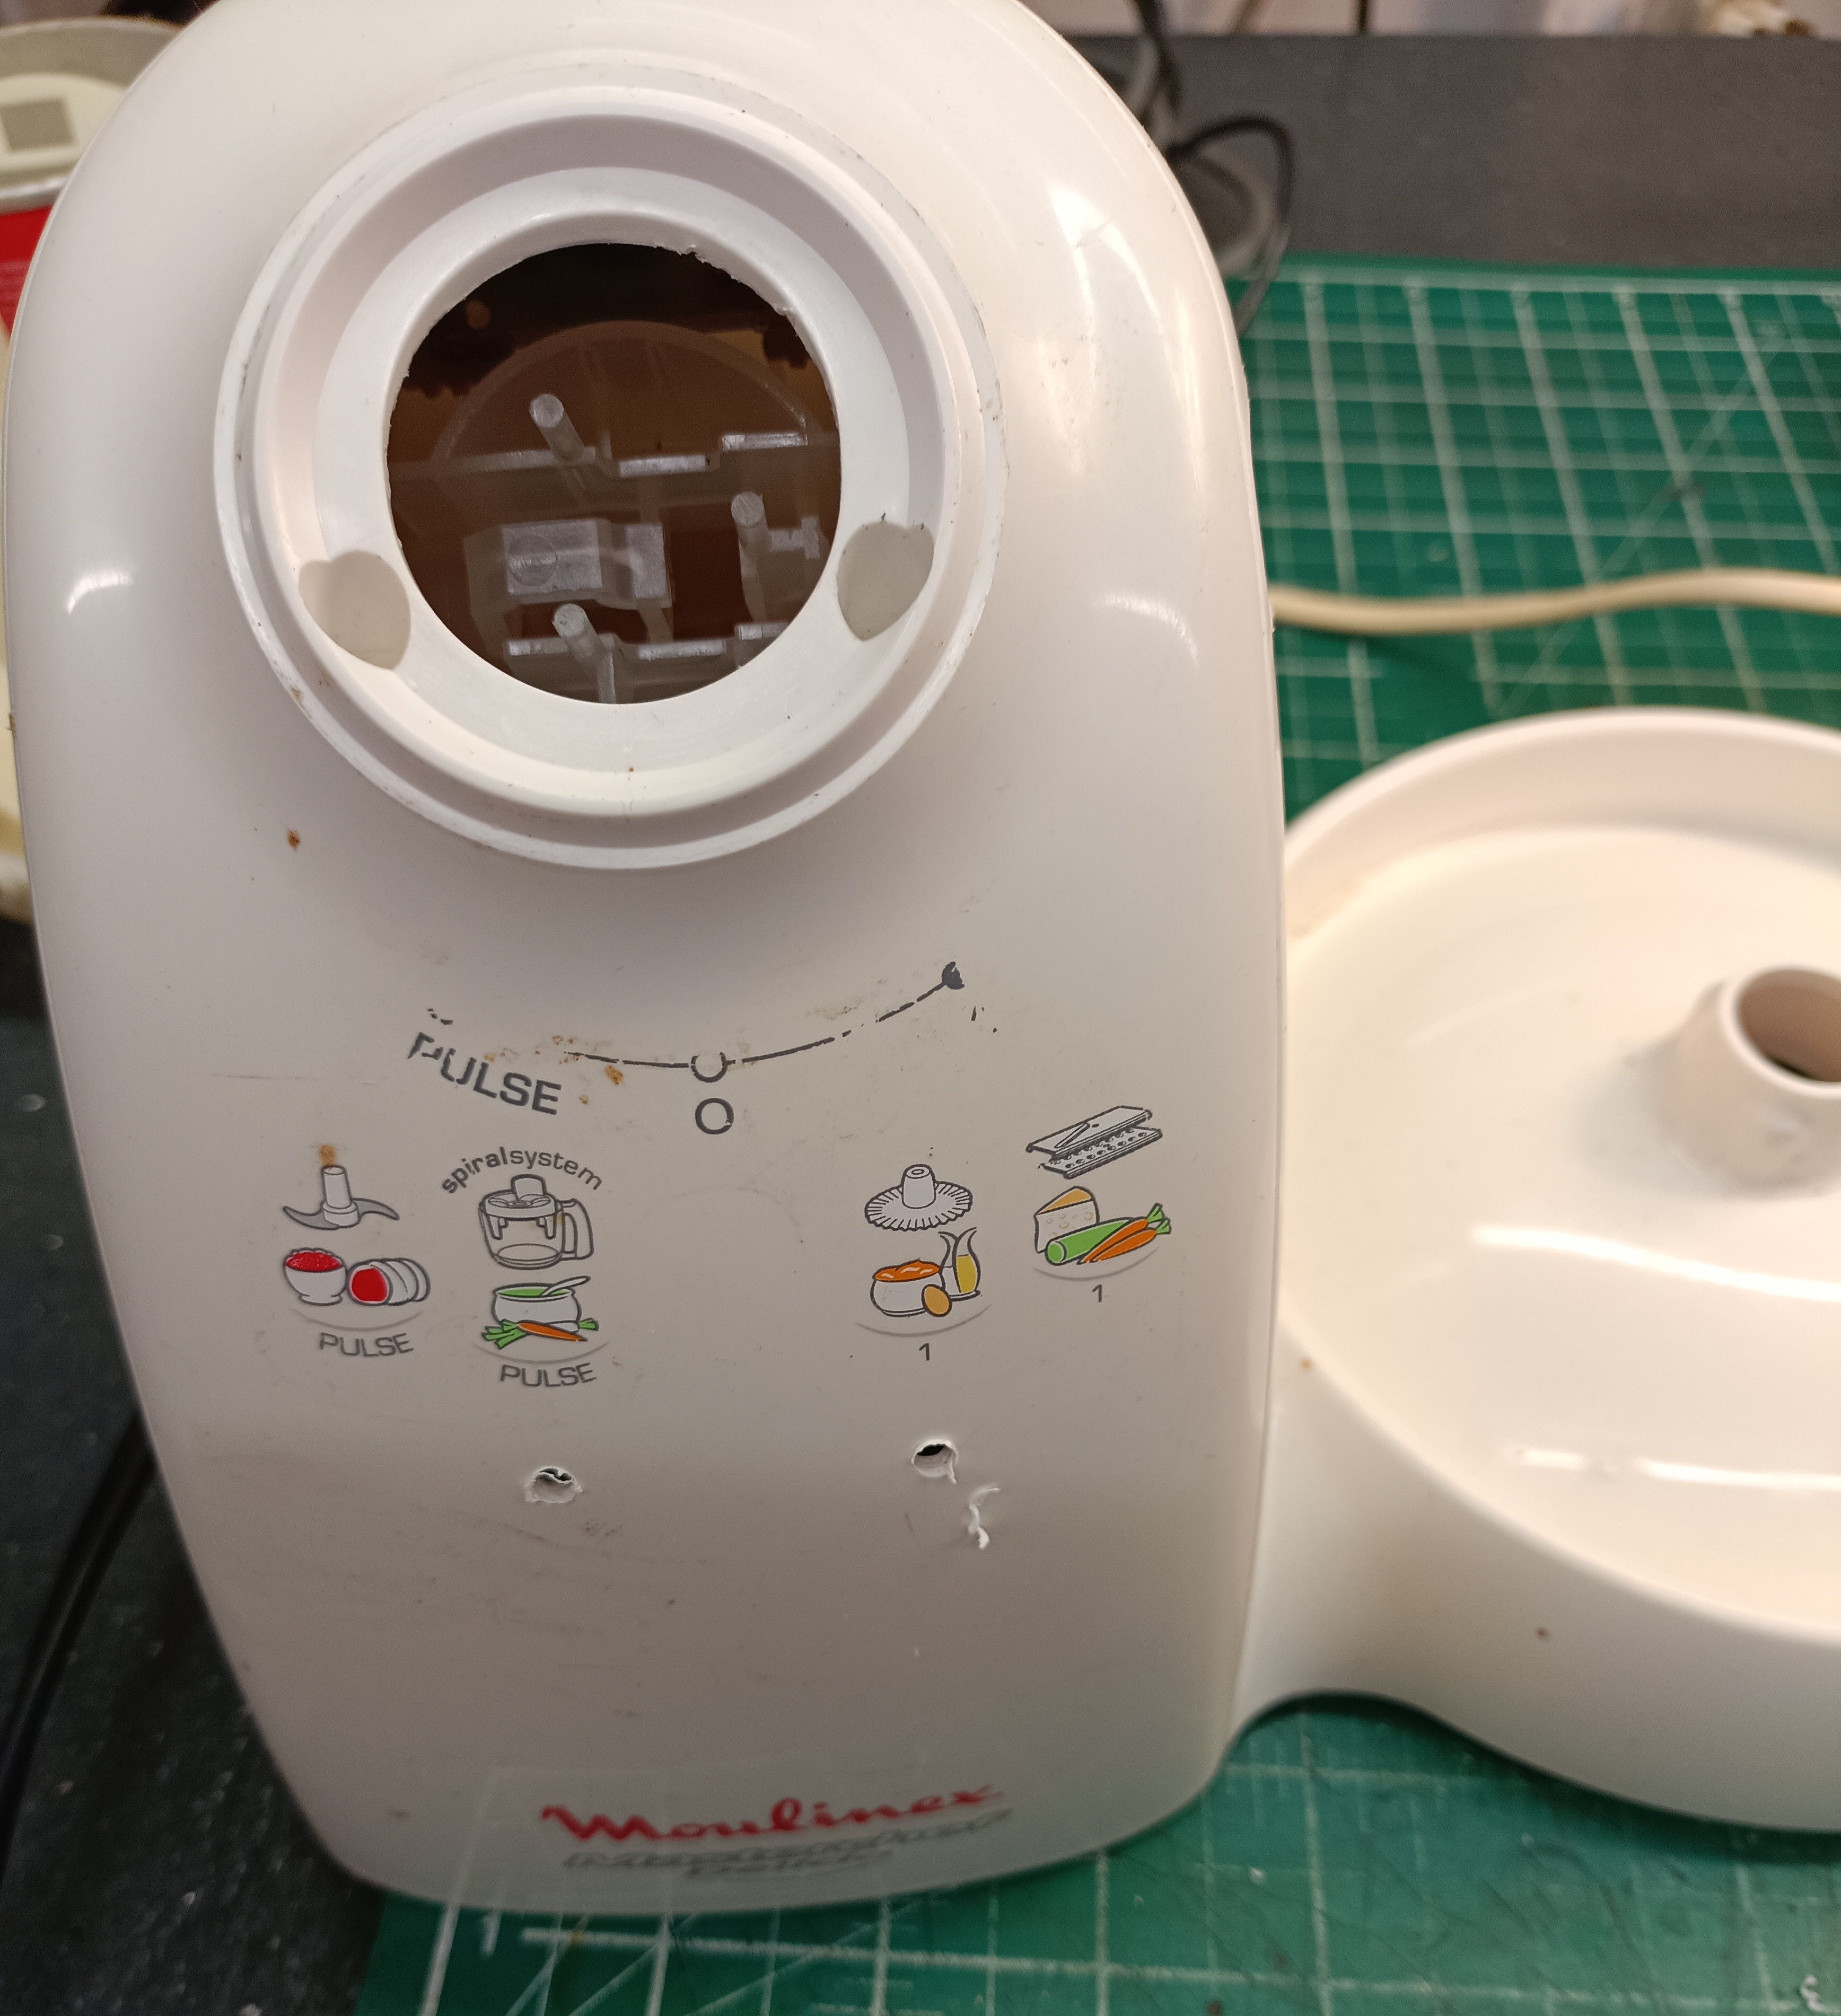
There’s something quite satisfying in selecting an item, taking it apart and then modifying it by way of repair, improvements or both, in such a way that differs little from its original design.  Subtle modifications or improvements, that the casual observer will never notice. If you look closely at the photos, I managed to line up the new buttons with the old printed text, to match the operation. Lucky.

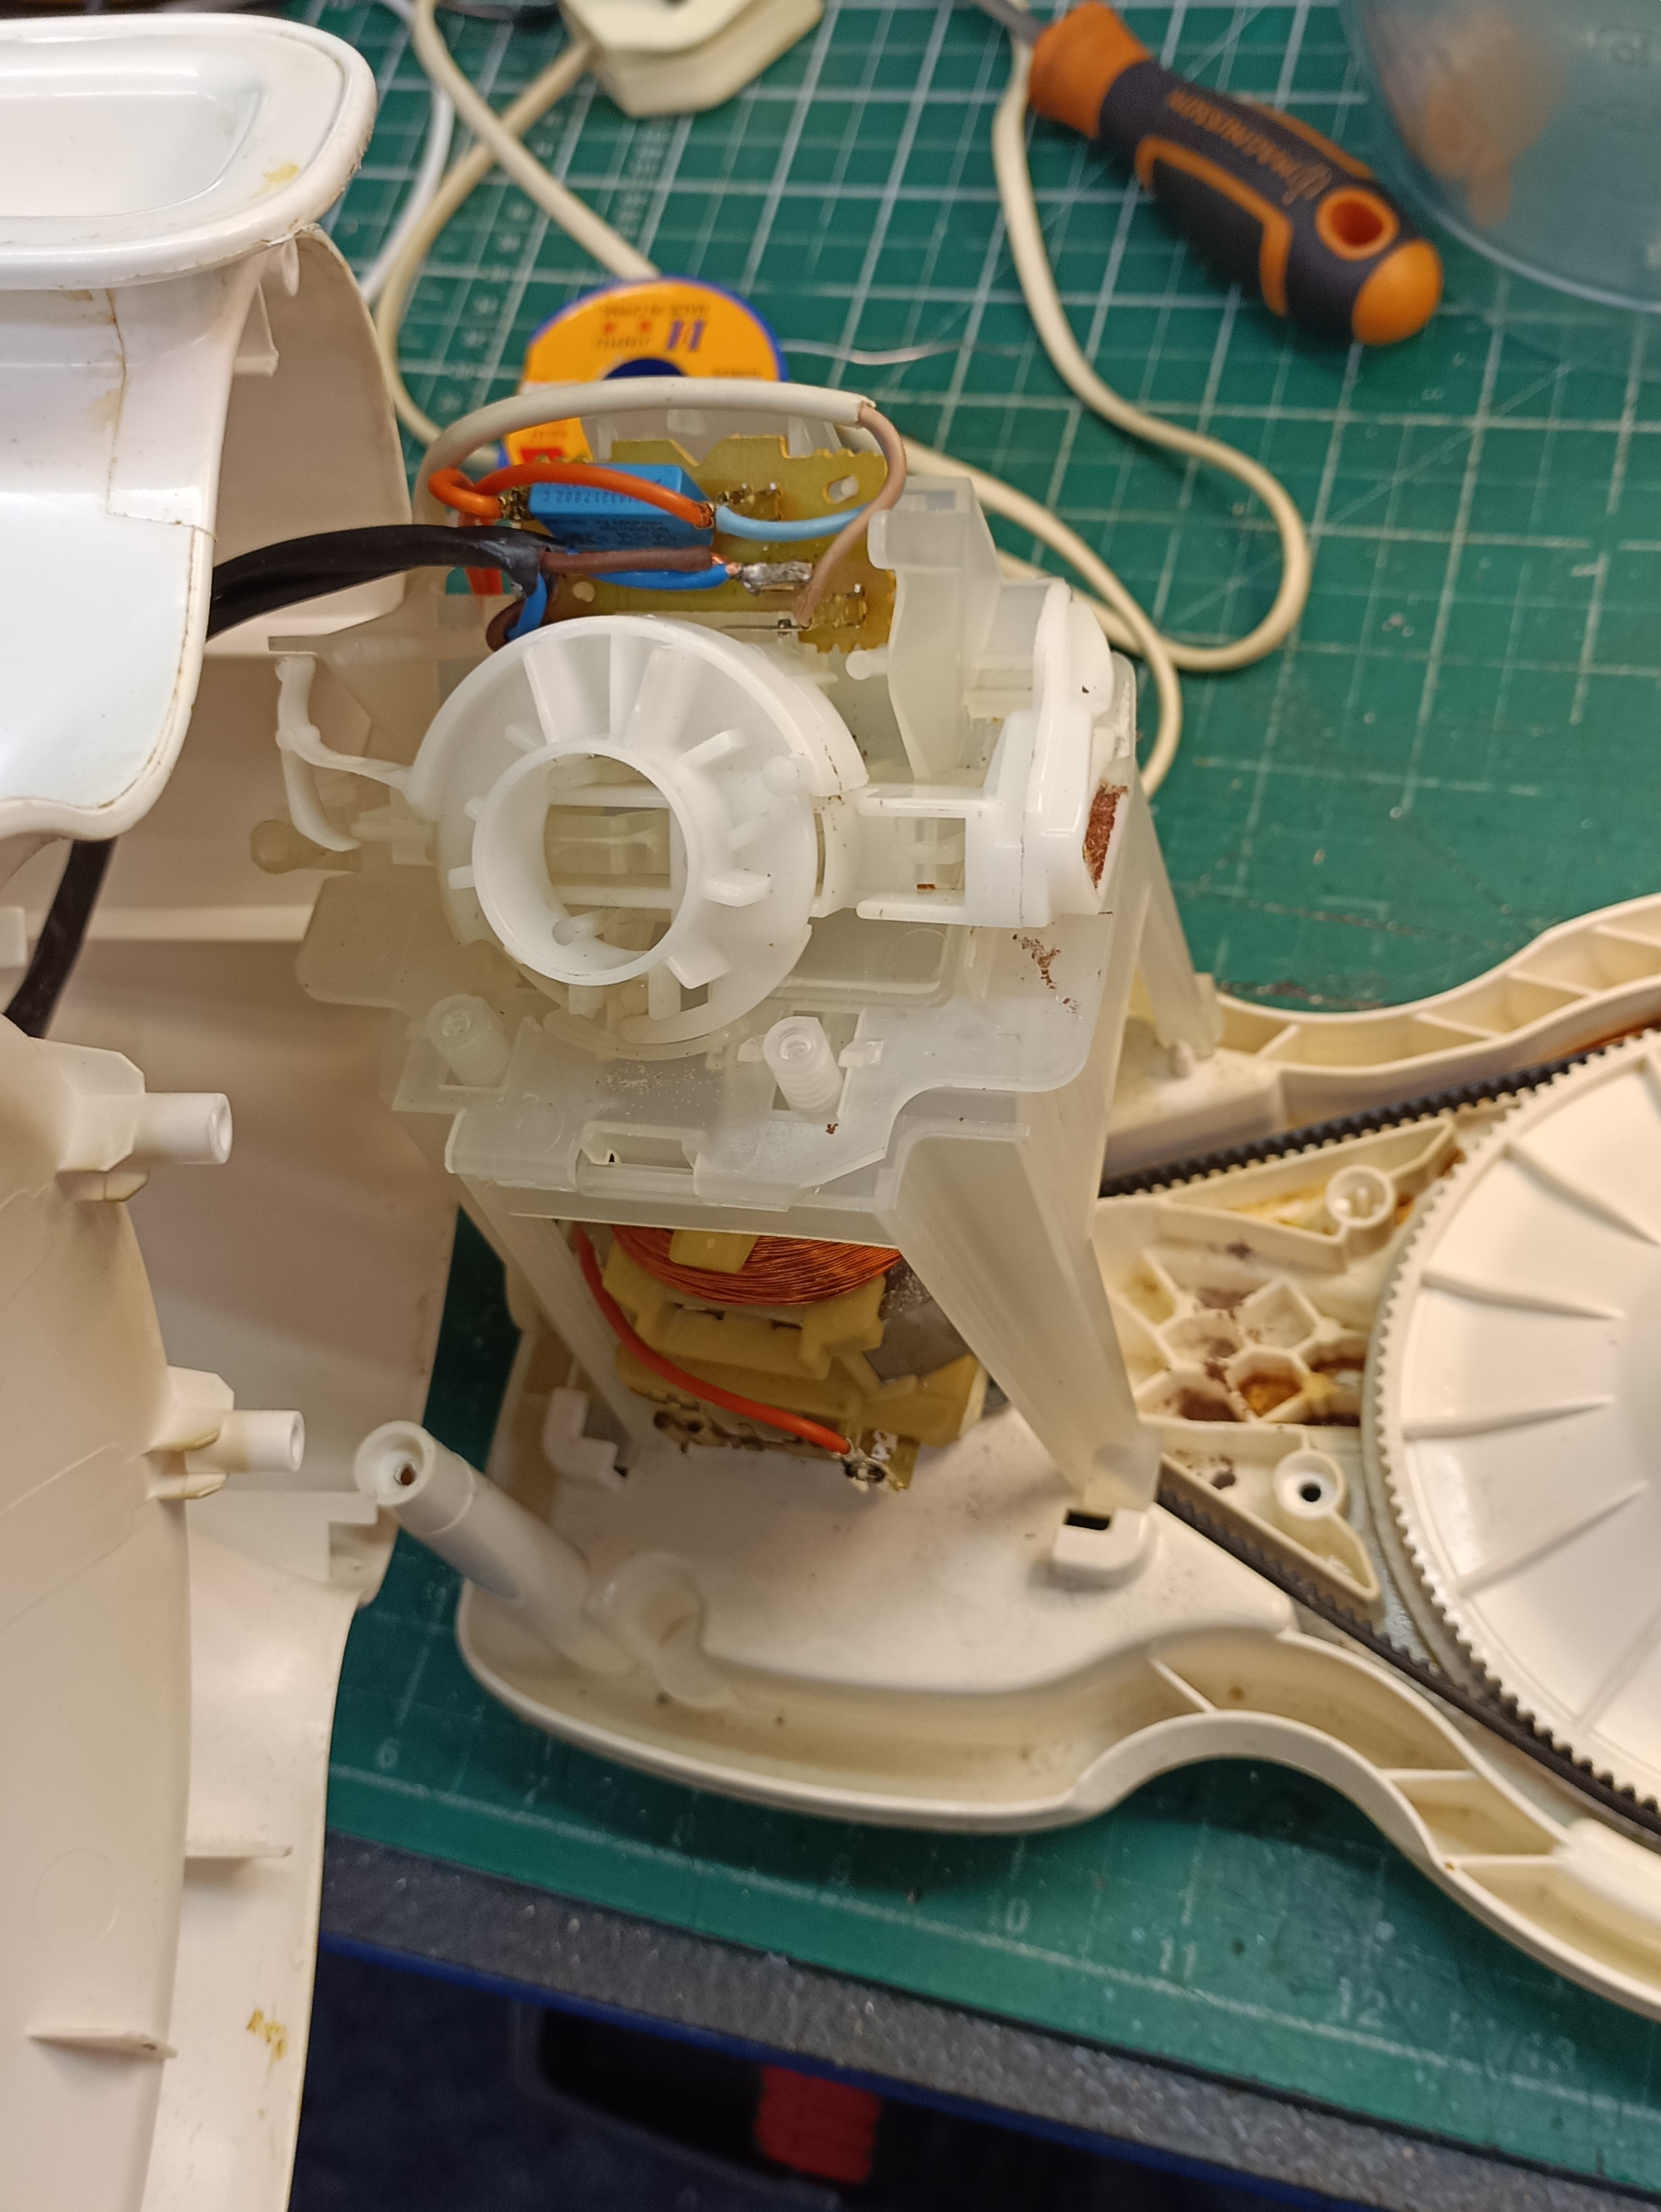
I won’t describe the repair in detail, suffice to say that I found a suitable location for the new switches in the machines’ chassis, drilled out the holes and then fitted them in place with the nuts supplied in the switches’ kit. No special tools required for this job really, just a selection of standard screwdrivers, some 0.75mm wire, heat shrink, cutters and a 12mm drill bit.  I already had some cable, I connected the new switches to the existing wiring harness, by-passing the original.

I was able to retain the original switches’ interlock by keeping the original switch in situ with a little epoxy resin.  This ensured both safety and the original aesthetic.  See what you think in the photos. I was quite pleased with it.

I completed the repair within an hour, which I almost forgot to report, included a wipe over and polish. And I managed it on only one cup of tea with a couple of my favourite ginger nuts.  Oh, and I didn’t go over budget. Any chance of a Vicky sponge, mum?!

A KitchenAid struggling to make dough!

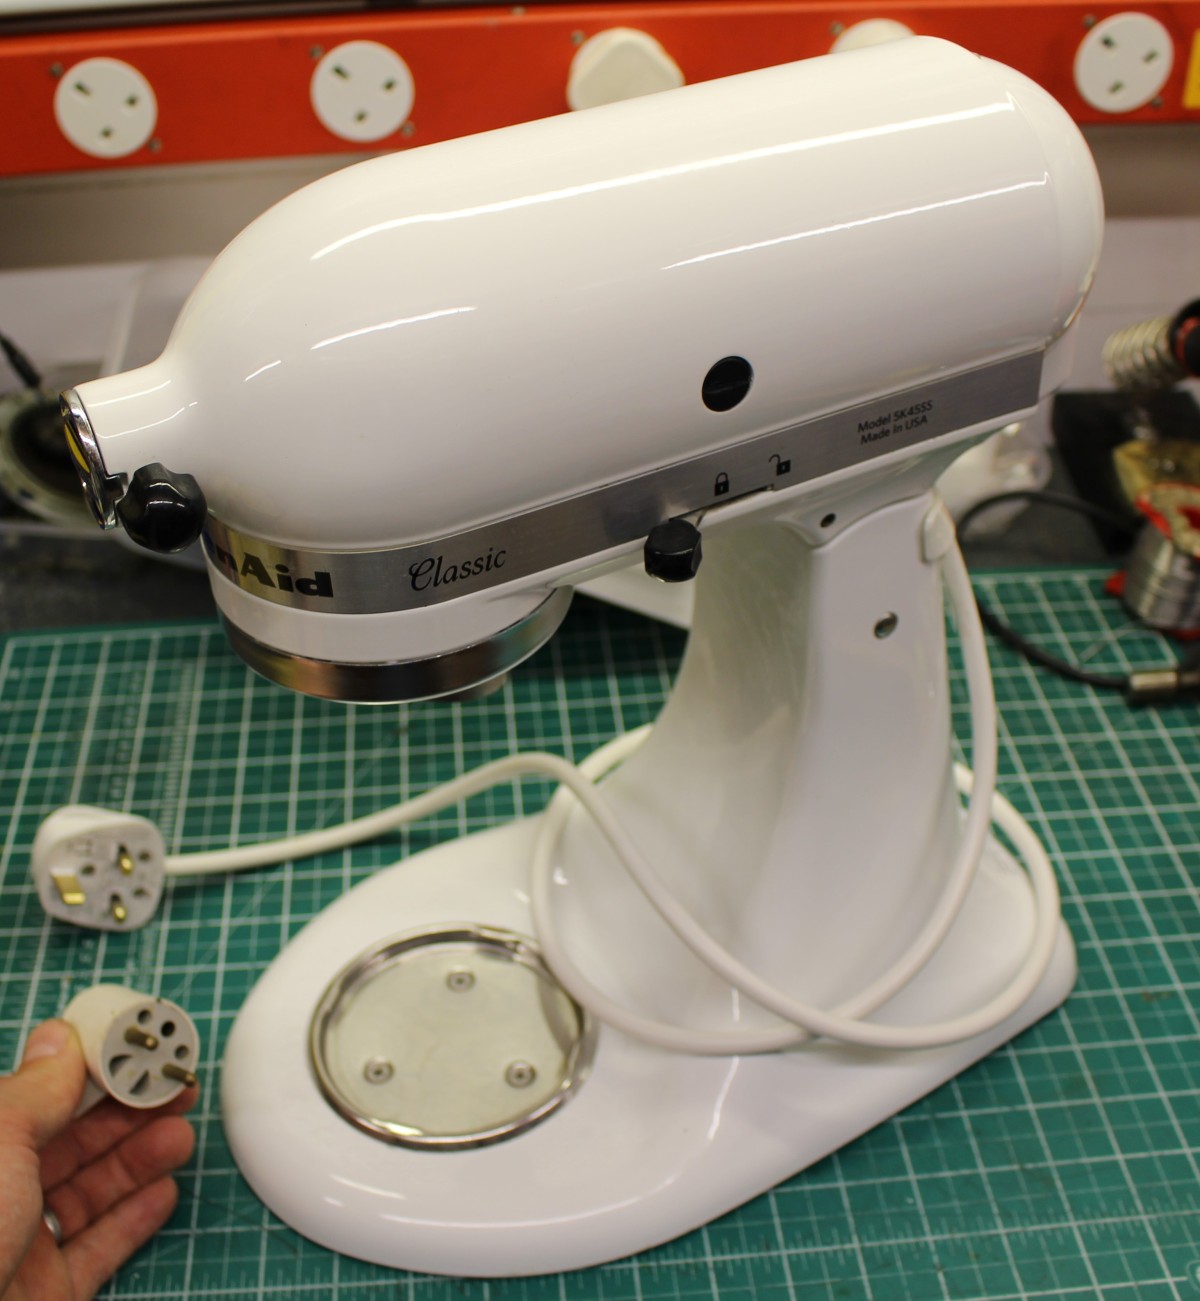
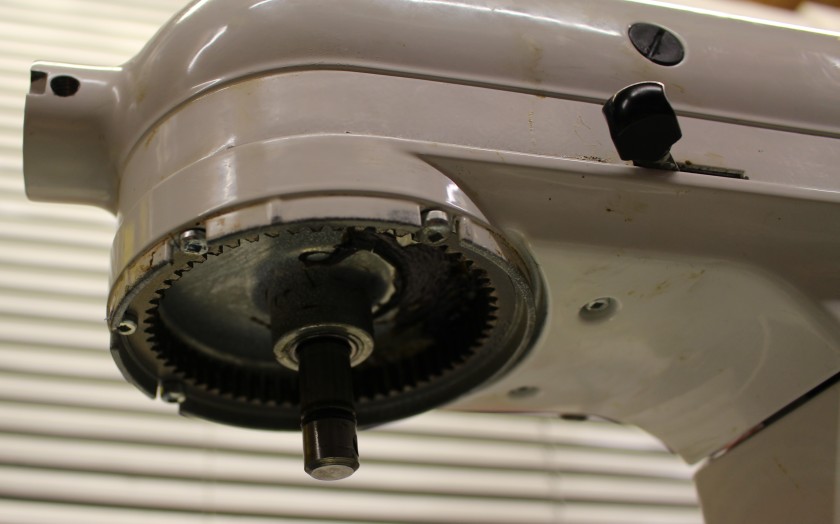
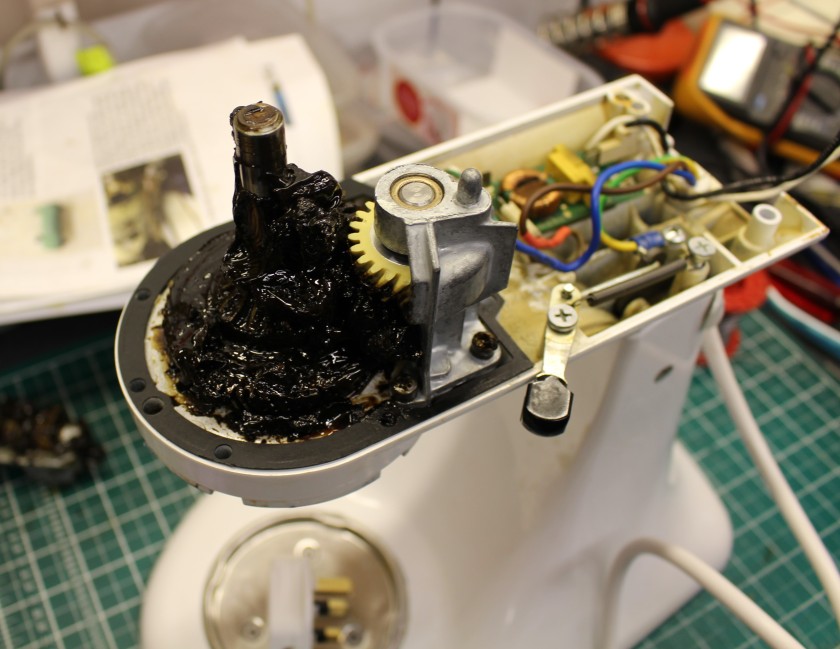
A KitchenAid 5K45SS gets a light overhaul and a replacement worm gear assembly to restore it to its former glory.

My regular reader might gasp in horror to learn that this time on ‘Diary of a Tinkerer’, I’m writing about the opposition. What? Uh?

Yes, I’m writing about a KitchenAid stand mixer and not a Kenwood Chef for a change. Are these things all the same? Well, I guess that the model you see below does a similar job and has a wide range of accessories, making it extremely versatile, like a Chef. However, the overall package is different and while the Chef has gently evolved over 70-odd years in production, the original KitchenAid remains closer in function and form to its original design. That’s not to say that a KitchenAid bought today is the same as one bought 50 years ago, far from it. New models benefit from modern motors and modern manufacturing processes, but it’s all packaged with a retro-feel. I’m not a fan of retro-stylised items as they’re often not as good as the original. However, the KitchenAid is different as it’s truly original, well-made and not just playing at it.

KitchenAid stand mixers have been around for over 100 years and the basic design has its origins in the US with the Hobart Company. The KitchenAid brand is now owned by the Whirlpool Corporation, and current models feature robust construction and hard wearing finishes ensuring long-service. KitchenAid machines are durable, stylish and available in a wide selection of colours.

Now, I know what you’re thinking; Do I prefer the Kenwood Chef or my new American friend, the KitchenAid? Well it’s hard to say. I love the construction and the sound industrial design of older Chefs, and it must be said that recently made models have lost some of that robustness with the use of overcomplicated electronics and gimmicky LED lighting.

Over the years in production, KitchenAid machines have retained a ‘function over form’ approach and appearances have changed little. KitchenAids are simple to operate, durable and can be repaired easily. It’s an example that ‘modern Kenwood’ and other manufacturers, could learn from.

KitchenAid’s mantra is simple; Less is more, so much so, that it’s now a design classic in its own right.

Make and model: Whirlpool Corporation KitchenAid 5K45SS

Fault reported: Rough running, noisy operation

Cost of replacement machine: £500

Manufacturer support (in the UK): 6/10

Cost of parts (for this repair): £37.98 (Worm gear assembly 240309-2)

My time spent on the repair: 2 hours

Tools needed: Screw drivers, pliers, cutters, drift for planet pin

Sundry items: Food safe grease

Cleaning materials: Silicone spray, damp cloth, cleaning spirit

Repair difficulty: 4/10

Beverages: 2 X teas

Biscuits consumed: 3 X ginger nuts

This machine you see in the photos came into the workshop with a few issues. Firstly, it needed a good clean; something that machines visiting me get whether they need it or not. I always make sure that things are polished or paintwork touched-in, if possible. It’s a little bit of OCD that’s hard to shake-off. I think I want all my customers to see what’s possible with a little-workshop love!

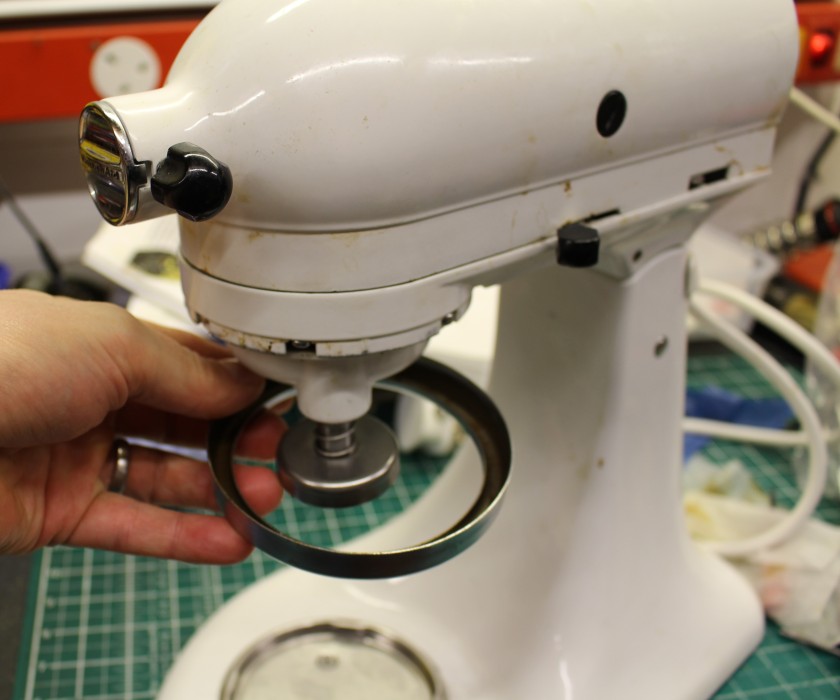
Cleaning over, and on to the main problem. This machine had had a hard life making lots of dough, or maybe cement, and routine use day-in day-out had taken its toll on the worm pinion gear assembly. I’m sure you’ve heard of that. In Plain English, it’s the bit that transfers the movement from the motor to the bit which drives the mixer’s blender.

The machine was rough in operation and the planet wheel (where the mixer bit attaches) was intermittent. No good for dough. No good for anything.

Due to their simple construction, dismantling just involves one cross-head screwdriver and a small drift and soft hammer. Simple stuff, no Torx screws or plastic tangs to worry about here, just traditional assembly techniques, which means that the machine can be repaired many times over a long-life, without fixings becoming loose and tired.

The worm pinion gear assembly (I hope you were paying attention) is available as a complete unit with bracket and bearing or available as seperate components. On an item like this, I prefer to replace the whole assembly as parts like this wear together. It’s personal choice at the end of the day, but sometimes, it’s a false economy to replace a spare part within a spare part, as I’ve found out to my cost, during many a previous repair.

As a side point; the worm gear on this machine can be described as a sacrificial part. The motor output is made of toughened steel, the gear that drives the mixer bits is forged steel, both hard and tough. The worm gear is made from Nylon, which is hard wearing, but less so than the other moving metal parts. If the machine is overloaded, it’s the worm gear that will fail first before the other, more expensive parts. Many manufacturers do this and it’s recognised as good engineering practice.

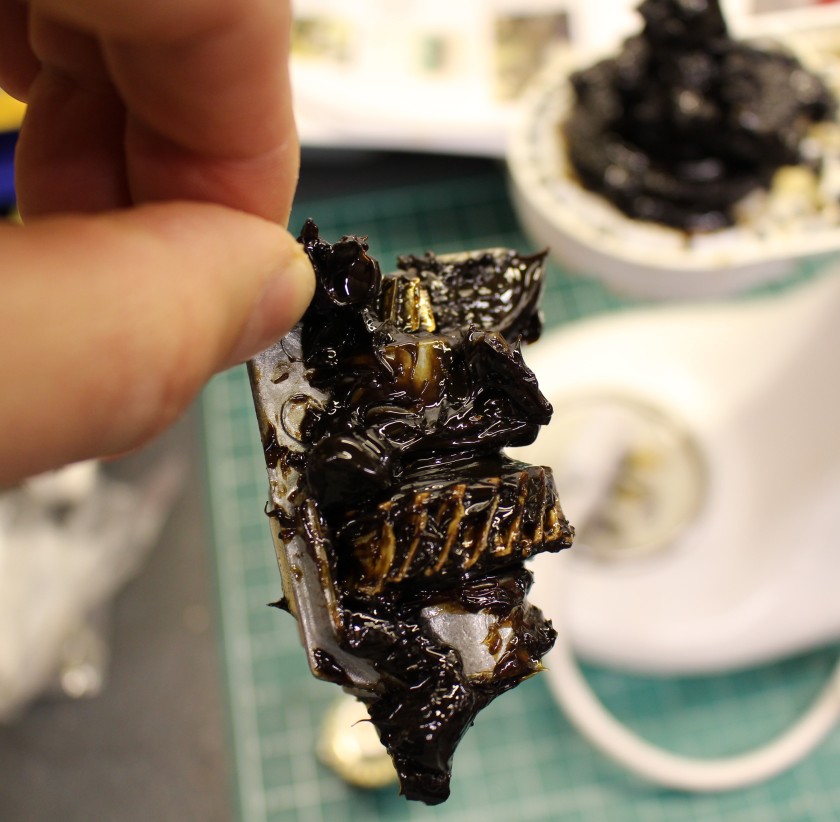
With the gear replaced, just a couple of screws to remove and replace, together with new (top-up) grease applied and the mixer worked well, once again.

The last job on this machine was to replace the very short flex and Euro plug fitted. This particular machine had been owned by an American couple, living in Europe but were now living in England and therefore required the correct UK specification plug. Together with the correct three-core flex, this machine was ready again to earn its keep.

Time to make a pizza I think.

Magimix 4200XL – safety as standard

A little bit of ‘shed magic’ to rescue a Magimix 4200XL

Like everything else, food mixers come in all shapes and sizes and there’s a make and model on the market to suit all applications, tastes and budget. Magimix have been around for a long time and make premium mixers for the wannabe chef. These mixers specialise in chopping and slicing and tend to be more specific in task over, say, a traditional bowl mixer. The Magimix 4200XL is a current model at the time of writing and is all yours for around £300. When whisking something delicious in the kitchen myself, I prefer a traditional Kenwood Chef, but if I was regularly chopping veg with NASA micron-precision, I can see why a mixer like this might appeal. Since I’m a bit of a salad dodger, the need for this has never arisen.

Make and model: Magimix 4200XL

Fault reported: Not running

Cost of replacement: £300

Manufacturer support: 4/10

Cost of parts (for this repair): £0.00

My time spent on the repair: 1 hour

Tools needed: Screw drivers, pliers

Sundry items: None

Cleaning materials: Silicone spray, damp cloth

Repair difficulty: 3/10

Beverages: 1 X tea

Biscuits consumed: 2 X custard creams

The owner of this mixer reported that despite every effort to press buttons and click the safety catch on the lid, the mixer simply wouldn’t comply when switched on. Dead as a dodo.

FixItWorkshop, Worthing, November’20, Magimix 4200XL, inside the mixer’s safety switch.
FixItWorkshop, Worthing, November’20, the 4200XL features a motor with oomph!
FixItWorkshop, Worthing, November’20, Magimix 4200XL, removing the base.
FixItWorkshop, Worthing, November’20, Magimix 4200XL, these little horrors are designed to deter repair- I dislike them immensely.
FixItWorkshop, Worthing, November’20, Magimix 4200XL, the repaired mixer.
FixItWorkshop, Worthing, November’20, Magimix 4200XL, the cheeky little safety switch.

The owner of this machine reported that their beloved Magimix 4200XL was playing up and despite trying to wriggle, jiggle, shake, rattle and roll things, it simply wouldn’t comply and work. They asked if I would take a look at it for them before it was launched out of the window. There’s nothing like a frustrated owner.

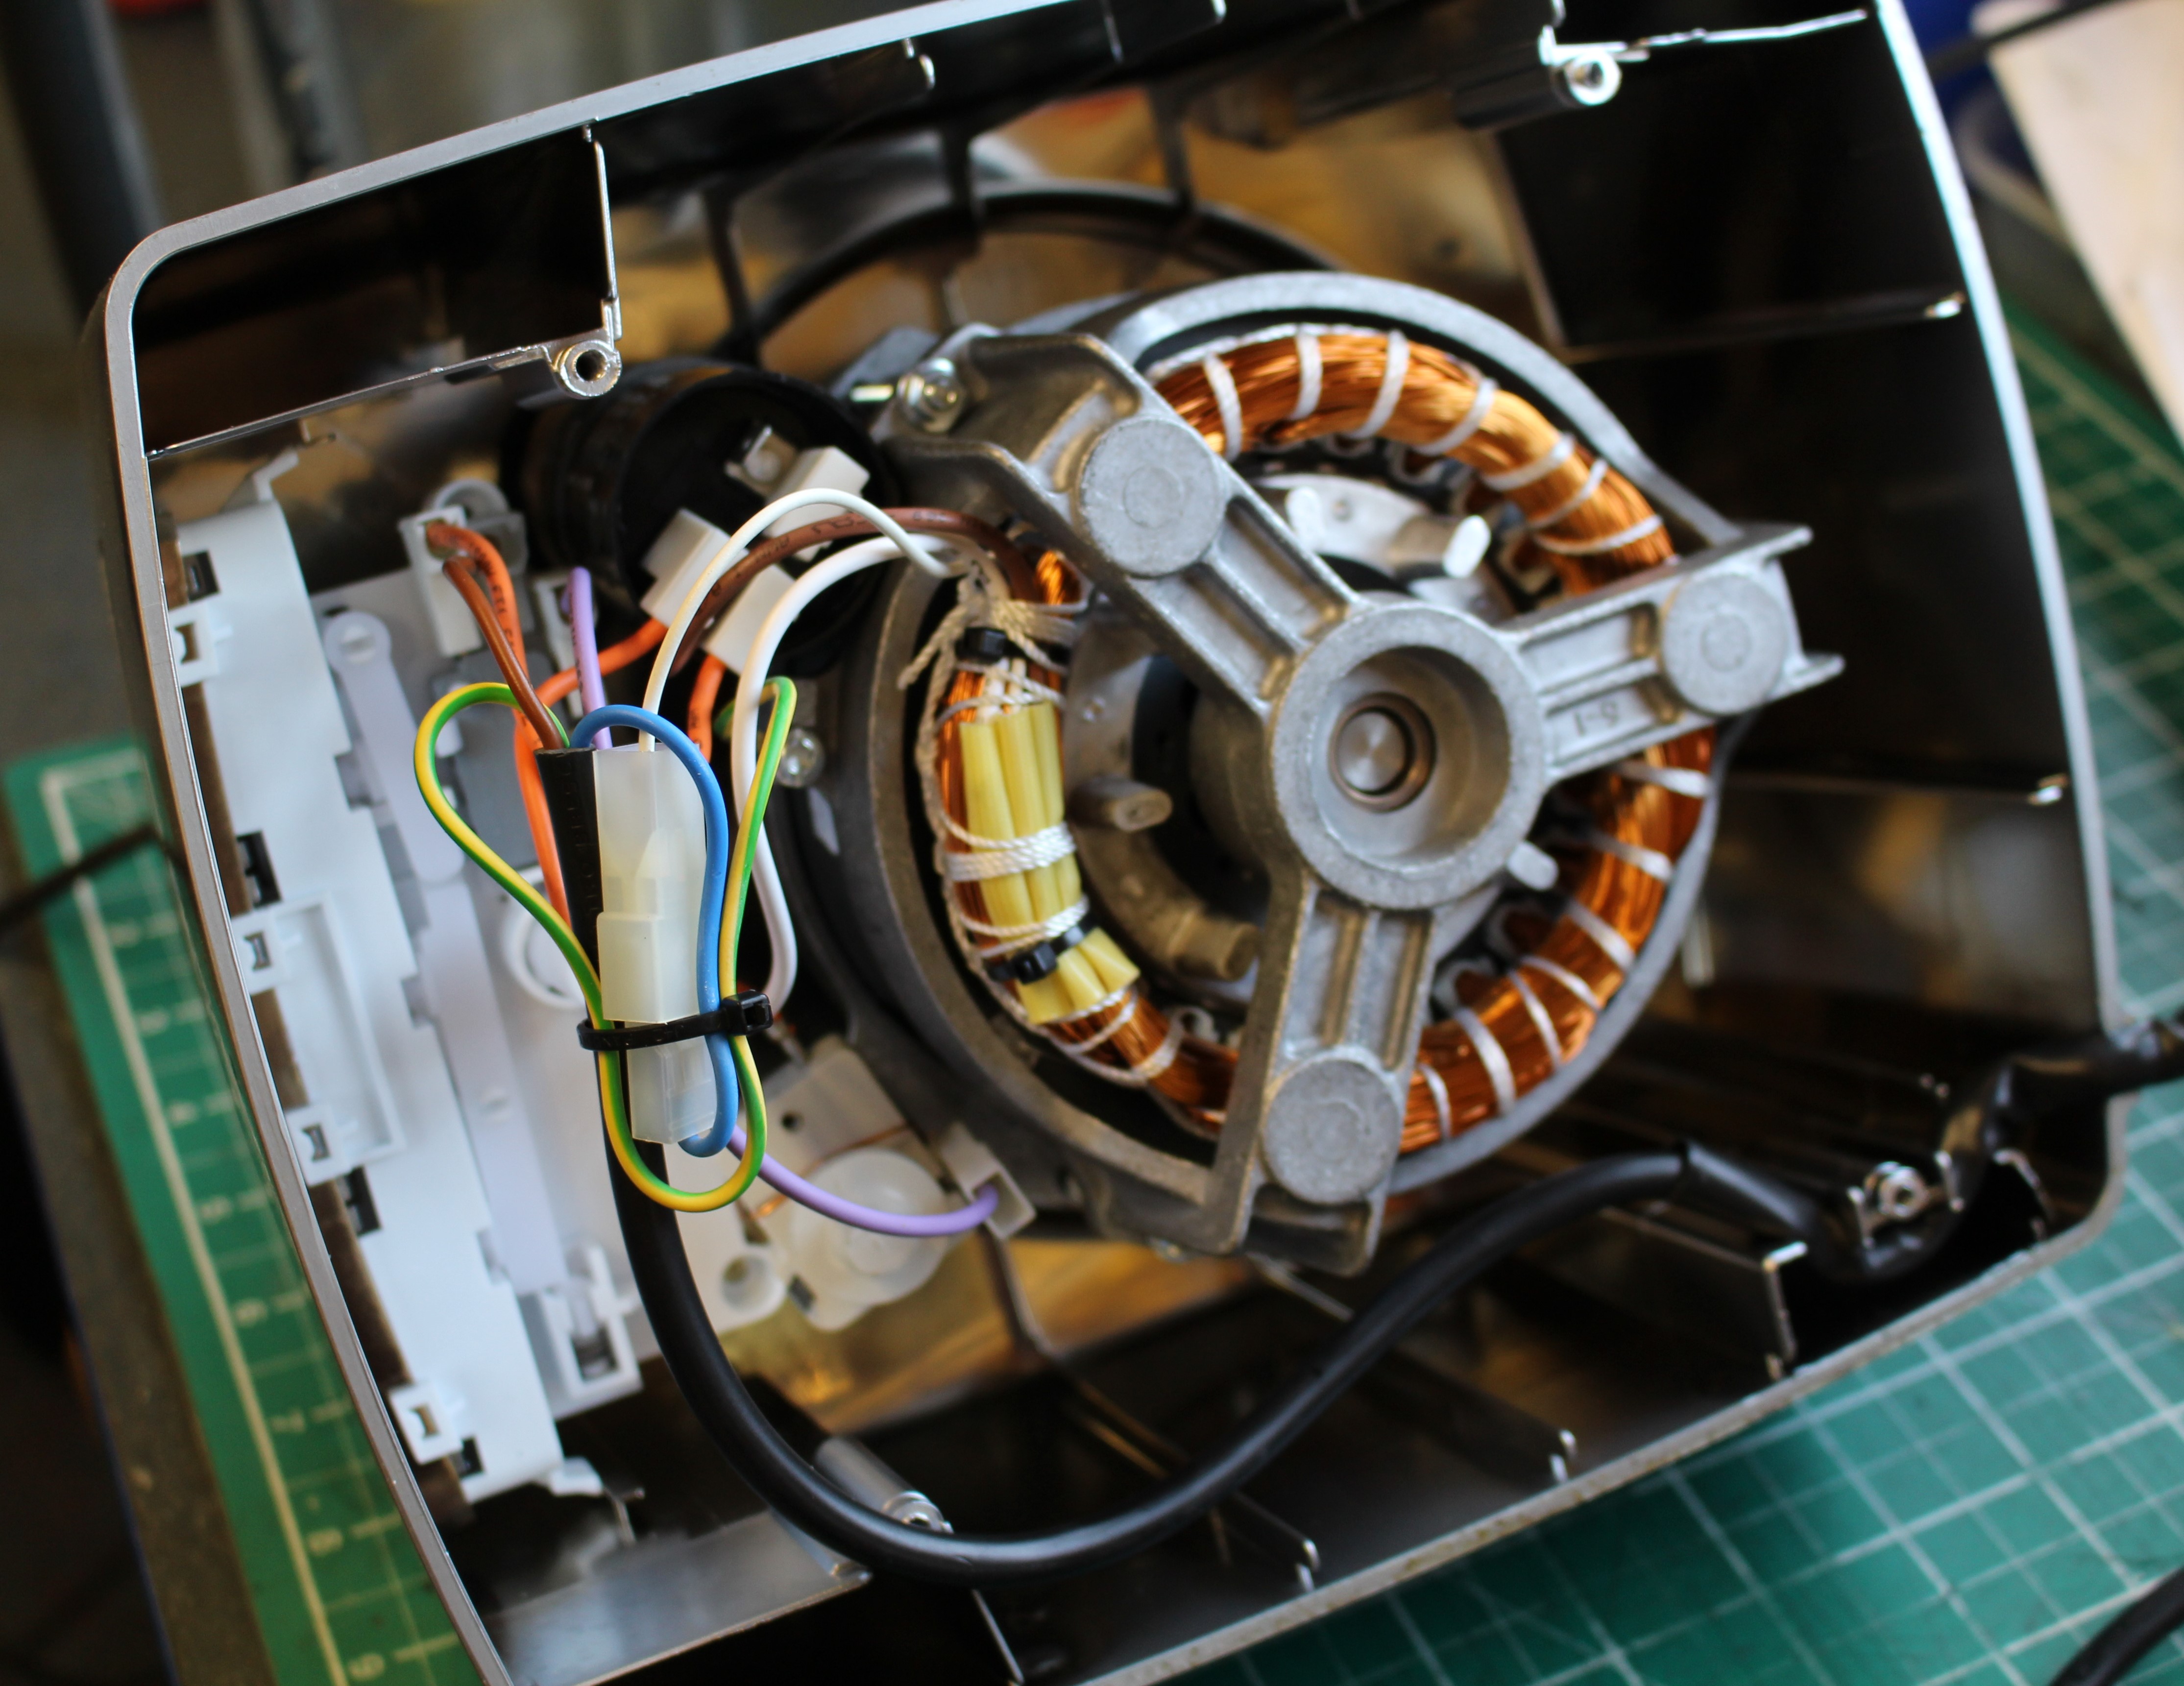
The Magimix 4200XL features a really rather elegant, totally passive, safety device to ensure that one isn’t tempted to operate the machine without the lid fitted correctly, risking one’s little pinkies. A simple sprung lever mechanism built into the lid and jug matches a small recessed switch in the machine’s base. The machine will only fire-up once the lid is in place on the jug, which must be correctly aligned on the base. It’s a nice touch that probably keeps Magimix out of the courtrooms.

On first inspection, I decided that this mechanism was a reasonable place to start my investigations. After you’ve checked things like ‘is the power on’ it makes sense to ‘start simple’ and go from there.

Taking the base cover off only involved four Torx screws, the damned anti-tamper kind. Luckily I have the technology to do this.

Taking the base cover off revealed good access to the safety switch mechanism. Thankfully.

The mechanism all seemed correct and present, which was a bit of a guess since I’d never worked on a mixer like this before. However, a lack of loose parts rattling inside is usually a good sign. Phew.

Despite appearing OK, the operating safety switch lever did seem stiff, so a quick spray with silicone lube had things sliding nicely once again. A quick continuity test of the switch proved that it was switching OK. Things were starting to look up for ‘Maggy’.

Since I had the lube out, it made sense to clean up the jug and lid mechanism and give that the same treatment. It all seemed to work better after and testing the lid and jug, refitted to the base with the base cover removed allowed me to visually confirm that the safety switch mechanism was indeed doing its thing correctly once again. A good result.

After carefully reassembling the base cover, taking care not to damage some of the more delicate plastic parts, it was ready for testing. There’s always a little moment of ‘will something go bang’ when I switch things on for the first time, but luck was on my side as the motor spun up as Magimix intended. A good result. All fingers intact.

The perfect blend…

An Optimum 8200 Blender, escapes the chop!

IMG_2844
FixItWorkshop, Worthing, August’20, Optimum 8200 Blender… in red.

When I agreed to ‘have a look’ at a customer’s beloved broken blender, I had no idea that the market for blenders was so, well, juicy.  One can spend anything from £50-£1800 – a huge price range.  You have to ask yourself a question; is the juice made by a blender costing 36 times more than a cheaper one, any better?  Hmm, the virtues of blender technology, robustness and efficiency could be debated in a future, exhilarating article, maybe. But for now, our attention is on this one, the repair of an Optimum 8200 Blender.

The reason I mention the huge price range is that prices for spare parts also vary wildly too.

Make and model: Optimum 8200 Blender

Fault reported: Leaking, noisy, crunchy, horrible

Cost of replacement: £300.00

Manufacturer support:  5/10

Cost of parts: £18.95

My repair time: 1.5 hours

Tools needed: Screwdrivers, test meter, heat shrink, soldering iron etc

Sundry items:  paint, contact cleaner

Cleaning materials: Bleach, bicarbonate of soda, washing up liquid, car polish

Repair difficulty: 3/10

Cups of tea: 2

Biscuits: 2 X custard creams

I received this blender with a broken drive coupler/ socket (the bit that transfers the power to the blades in the jug) and a rough, leaking blender jug.  This high-mileage kitchen appliance had been used until it would work no more.

Upon taking the blender into the workshop, I suggested to the owner that ‘it must have been sounding rough’ for a while… There then might have been a small admission of guilt.

Now, I realise that I’m unusual.  I regularly service my vacuum cleaners, sandwich toaster and kettle and I know that this isn’t normal, so my views on machine maintenance are a little outside the bell curve.

The owner had done her own research on repairing her blender.  She’d located a spares provider and had identified the parts required, to get the blender back making smoothies, which is more than many folk do.  The trouble was that the total amount for all the new parts required, was more than the price of a reconditioned unit.  This is often the case as some reconditioning agents have access to cheaper parts, not available to regular punters, through economies of scale.  To make this repair financially viable, I was going to have to work smart.

As mentioned earlier, blenders vary widely in price and there are established names out there that command a high price.  However, look beyond the logo and things are a little greyer.  Badge engineering, colour and subtle style changes can literally add hundreds of pounds to the asking price for the same basic machine.  This is nothing new.  Manufacturers have been sharing designs and production since the dawn of time and when it comes to buying spares for an expensive machine, there can often be a cheaper route for good quality alternative spares that are compatible, intended for the cheaper variation.  The skill is knowing where to look.

This slideshow requires JavaScript.

A picture paints a thousand words as they say and the slide show above shows the stages that I went through with this repair.

Using the original parts listed for an Optimum 8200 blender, the best deal the customer and I could find was:

  • Replacement drive socket, £39.95
  • Replacement blade and bearing, £69.00
  • Tool for blade removal, £11.99

Total, £120.94 (more if you want speedier delivery). Source:  froothie.co.uk

Shopping around for alternatives…

  • Replacement blade and bearing, £18.95 for a Vitamix blender (Amazon.co.uk)
  • Repair to existing drive socket (I drilled and tapped a new grub screw), £ my time
  • I used a tool I had already to remove the old blade (a plumbing bracket) so no need to buy one

Total, £18.95, plus my time

I chose a Vitamix blade as I noticed that some Optimum and Vitamix blenders shared the same jug design.  I actually saw the blade assembly for £7.99 on eBay, but decided that the warranty offer on Amazon.co.uk, was a better deal.

Now, I know I haven’t been that scientific here, but one suspects that there is little or no difference in blender blade robustness and all the ones I’ve ever seen to date contain the same bearings you might find in a scooter or skateboard.  I suspect that the blade assemblies are all made in the same factory, somewhere.

My guess here is that the aftermarket parts supplier must charge a comparitively high price for some items to:

  • Cover staff and site overheads
  • Provide a sense of reassuring expense compared to the original purchase price
  • Potentially recover a high charge from the manufacturer

The trouble with this strategy is that many domestic appliances are worth little once unwrapped compared to the original ticket price.  The comparative high prices for aftermarket parts would likely in many cases, put a customer off doing the repair at all.  The customer then weighs up the cost of:

  • Finding someone to do the repair work
  • Doing the repair work themselves
  • The price of parts
  • The price of labour

Often, when added up, it’s cheaper to replace, rather than repair which in my opinion, not the way to go.

As a repairer, the statement I’m always grappling with is:

Value Repair ≤ Replacement Product Purchase or simply: VR ≤ RPP

So, when someone brings me an item to repair, I’m always looking for:

  • An overall repair that costs-in for the customer, encouraging the customer to keep the existing machine for longer, saving it from the dump
  • A repair that’s likely to be reliable in relation to the condition of the machine
  • An upgrade to the original design (where possible) taking advantage of the innovations or modifications to the original design that enhance longevity or performance

It’s a careful balancing act and one that doesn’t always work first time, but that’s the challenge!

I’ve gone a little off subject but it all relates.

Back to the blender, I saved the customer money on the purchase of a new appliance, saved money on a potential repair elsewhere and saved the broken blender from the chop.  The customer was happy.  As with all items I receive for repair, I also cleaned and polished the blender to make it shine like new.


Footnote: The repair was over, or so I thought.  A week or so later, the customer contacted me again to tell me that a new fault had started.  Speed control was now a little erratic and was making the blender hard to use.  I said no problem and agreed to have a look.  Likely to have happened during my repair work, a small lead on the printed circuit board had become loose.  A quick tighten up and normal operation resumed.  Phew!


Old vs new, which is best?

Having repaired more than 100 Kenwood Chefs, I compare newish and older machines. Which is best?

IMG_2724

Believe it or not, people do ask me which is best: New or old machines?

There is of course, no right or wrong answer and the answer will vary, depending on the product and application.

But since the question comes up from time-to-time, I thought I’d give my opinion on the matter and have a bit of fun with the subject, a kind of shoot-out if you will.

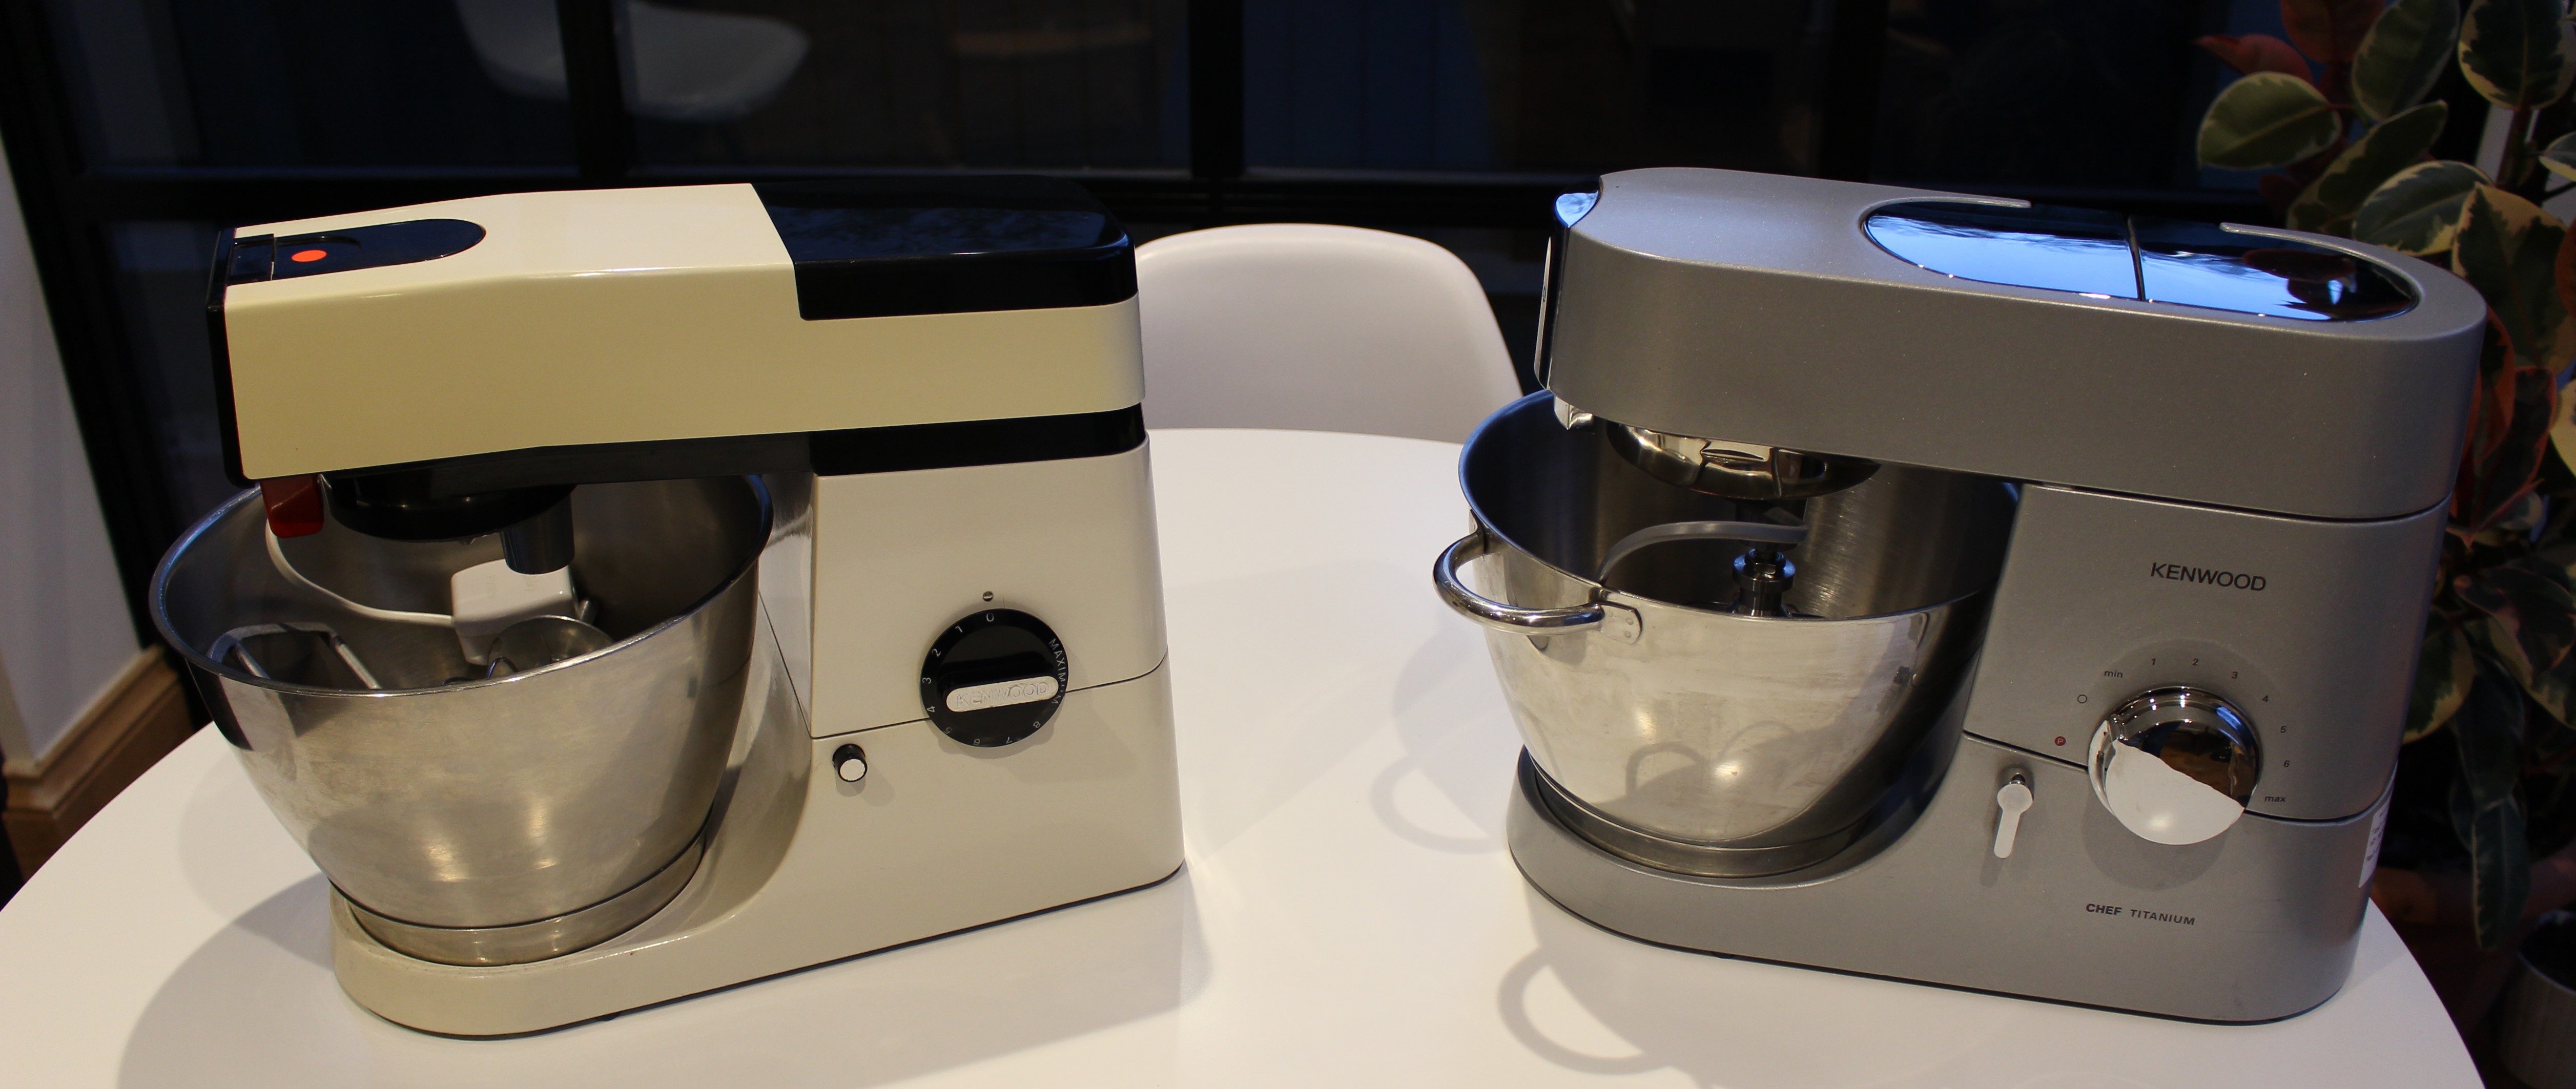
My illustration focuses on an old favourite of mine; the Kenwood Chef. My chosen opponents are a model from the early 1980s, the ubiquitous A901 Chef, made in England, and the much later 2000s KMC010 Chef, made in China.

The Chef is a good example for the shoot-out as the machine’s purpose hasn’t changed since it’s introduction to kitchens in the 1950s. Many Chef accessories produced over the years are interchangeable, owning to the foresight of good design.

Some people think that new machines are best and more capable while other people think older machines are best as they were built to last. Since I’ve dismantled, used and admired 100s of these machines, here’s my take.

Round 1 – Performance

Older Chefs are less powerful than newer machines. For example, the A901 has a 450W motor, whereas the later KMC010 has a much more powerful 1400W motor. This means than the newer machine will be more capable to mix more stodgy mixtures for longer. Counter intuitively, the more powerful machine may be more efficient for some loads, compared to the lower power one, although I’ve never measured this.

A901 – 0 KMC010 – 1

Round 2 – Noise (from the machine)

Kenwood has tended to favour evolution rather than revolution with their product progression. Many models available over the years appeared not to change much on the surface, but under the skin, small tweaks and improvements were taking place. So, in general, the newer the machine, the quieter they tend to be. There are some model variant exceptions to this, but the KMC010 is much quieter than my own good condition A901.

A901 – 0 KMC010 – 2

Oh dear, new things might be better after all..?

Round 3 – Durability

Now this is where things get interesting. Many of the machines I receive in my workshop for repair are getting on a bit. Some of them are over 40 years old. The machines have served their families well with faithful service.

Faulty older machines can often be turned around within a few hours in the workshop, to be back with the customer, to make more cakes. The A901 Chef is a tough old beast. The materials and finish rarely give any problems and major components rarely fail it seems.

KMC010 Chefs (and all newer models) that I see in the workshop are obviously much younger than the A901s. While very capable and powerful, sadly, they seem to have failed, often only with occasional light use.

Seemingly, it’s true what they say, the older machines were built to last and I base that purely on customer enquiries and items I see to repair every week. The newer machines often have features and buttons that don’t serve any real advantage, but have associated circuits which can and do go wrong, rendering the whole machine useless, if they fail.

A901 – 1 KMC010 – 2

Round 4 – Repairability

Now obviously, I am ‘repairability-biased’, this is a blog about repair after all. However, the facts speak for themselves. Older Chefs can be repaired with basic tools, reasonably priced components and a little know-how.

Newer Chefs, like the KMC010 are more complicated and have less user-serviceable parts. This makes otherwise serviceable machines far more likely to end up in the scrapyard with seemingly minor faults, that were too hard to diagnose and repair. The A901 wins hands down in the repairability stakes.

A901 – 2 KMC010 – 2

The feeling is tense and there’s an air of excitement as I get to call the decider on this slightly odd dual.

Round 5 – Value for money (the decider)

A new KMC010 Titanium costs over £600 today and it should be said that all Chefs are great machines and a worthy addition to any kitchen. However, a decent second-hand Chef from the 1960s to the early 1990s is a worthy contender for a tenth of the cost.

Have a look on eBay and you’ll see A701s, A701a, A901, A901E, KM200 model Chefs, starting at £40, often with many accessories. They’re just as useful and capable to serve most home needs. Indeed, I have a customer who uses her standard A901 in an industrial kitchen, every day, with no problems.

A901 – 3 KMC010 -2

The non-scientific conclusion…

  • Buy an older machine and take satisfaction that it will last generations, can be easily repaired and work with most accessories available now. Buying an older machine is probably less environmentally damaging than the manufacture of a new machine.
  • Buy a new machine and take satisfaction with additional performance and a manufacturers’ guarantee for the first year…

You know which machine I would buy…

This slideshow requires JavaScript.

Time to put the kettle on.

Swan tea urn off the boil

A cheap fix gets this essential tea making machine back in business…

I admit it. I do get some satisfaction when I divert an appliance, on a journey to the bin, to my workshop for repair.  I have been known to collect the odd item from skips or just dumped on the pavement while supposed to be doing something more productive. I think I just feel sorry for things. Weird, but true.

Make and model: Swan Hot Water Tea 20L Urn

Fault reported: Not staying hot

Cost of replacement: £80ish

Manufacturer support:  3/10

Cost of parts: £1.70

Hours spent on repair: 45 minutes

Tools needed: Screwdrivers, test meter etc

Sundry items: Cleaning materials, heat transfer solution

Repair difficulty: 2/10

Cups of tea: X1

Biscuits: Malted Milk X1

This Swan hot water tea urn was one of those items.  Spotted during an office reorganisation in the ‘scrap pile’, it had been put there as it wasn’t working properly and a new one had now been ordered.

IMG_20200621_214203
FixItWorkshop, Worthing, July’20, Swan Hot Water Urn… shiny!


Being fairly light-fingered, I spirited the urn away to the workshop for some tinker time.  Not strictly staff policy, but you know, seek forgiveness after etc.

An urn is really just a big kettle.  This one has an all metal 20 litre tank with bar-style tap to brew up, when needed.  There are no real controls as such; just an on/off switch with neon light and two tell-tail lights to indicate boil and keep warm.  Keep warm is usually on all the time when switched on.

The fault seemed to be that the urn reached boiling temperature when switched on, but then switched off totally, allowing the water to cool again excessively.  Timing the switching intervals of the thermostat, 20 minutes or so, and a 15-200 hysteresis confirmed a fault. There was also no ‘keep warm’ green light on, when in use.  To push the thermostat further, I poured cold water into the urn to see if that sped up switching between hot and cold, it didn’t.

Opening up the urn’s base involved just three screws, allowing access to all components.  Such a nice change to not have layers of covers and things to move out of the way first!

Checking the wiring out for logic revealed that someone had been here before! The wiring was incorrect and the ‘keep hot’ element was not wired up correctly and effectively not in circuit with the power source. A small wiring change corrected this and meant that the ‘keep warm’ element was now working again.

The thermal reset fuse/ button seemed to be working OK- proved with a test meter and the thermostat did seem to switch on and off, albeit with excessive hysteresis.  Time to fit another one! Luckily, these thermostats are very common and I managed to get one from eBay, rated at 1000 (a couple of degrees over the one fitted) for less than £2. Fitting a new thermostat only involved a couple of screws, a light smear of heat transfer solution and reconnecting back into the wiring harness.

This slideshow requires JavaScript.

With all wiring back in place and the cover refitted, it was time to test and brew up.  This time, the urn boiled, switched off and then stayed warm on the secondary ‘keep warm’ circuit.  To prove that the new thermostat was an improvement, I then topped up the urn with cold water and within 5 seconds, the thermostat clicked in and the boiling process started again.

Time for a brew.

(PS, the urn has now returned to its normal place of work)

Repair, kettles and er, the Citroen 2CV

Less is usually more. Simpler devices can mean repair is more likely in the event of failure.

I keep a model of a Citroen 2CV car on my desk at work.  It’s about 30-odd years old and it’s a bit battered due to an incident involving a shelf, my old cat and an 8ft drop, but that’s another story.

IMG_20200704_122535
FixItWorkshop, Worthing, July’20, The 2CV (AZ series)

The 2CV is there to remind me to keep things simple, to the point.

To me (and many others) the 2CV represents pure function over form.  Nothing on the car is superfluous to its function as a capable load lugging, robust, ever-repairable and frugal vehicle. I have a soft spot for these cars. They encapsulate the phrase ‘less is more’.

Not every story from the workshop is rosy and my heart usually sinks when I receive something to fix that has tiny printed circuit boards fitted inside that do ‘something’ and nothing at the same time.

What the Tin Snail do I mean by that? Many appliances and machines manufactured in the last 20 years or so often contain ‘mini’ circuits that control ‘something’.

Take an electric kettle, something that most people have in their homes. Kettles generally are a water holding vessel, a heating system, and an on/off switch with a boiling water state detecting negative feedback loop (it switches off by itself when the water boils).  There’s also some wire and stuff.

Electric kettles haven’t really changed that much over the years, after all the basic need hasn’t changed:  You put water in, you switch it on, you get hot water to make a drink. Nothing has changed. However, many offered these days are fitted with things like filters, LED lighting and other electronic temperature control systems with bells on.

Trouble is, all these (kettle) gadgets tend to be controlled by a small circuit board which isn’t repairable or even replaceable. It only takes an accidental water spill, some static electricity or bump mishap and that tiny circuitry is toast.  Not even a professional circuit repair agent, let along home spanner wielder would have a chance of repairing the broken circuit. When failure occurs, many will just discard the appliance and go and buy another one, quickly. Who wants to be without tea or coffee?!
The tragedy is that the rest of the (kettle in this case) appliance is, nine times out of ten, OK and if it was made with more traditional components that one could see with the naked eye, the appliance would stand far more chance of being repaired easily and economically. Something to think about, next time you’re considering a new purchase.


Dinner will be served in a flash…

A Tulip A350T Electric Rice Cooker is repaired

IMG_2609
FixItWorkshop, Worthing, June’20, Tulip A350T 12Y1EI (to be exact).

I particularly enjoy receiving something to fix that I’ve never come across before.  Indeed, I’d never used an electric rice cooker, let alone heard of Tulip, the manufacturer of this example.  To be frank, I haven’t often thought about the popularity of electric rice cookers in general as an additional labour-saving device in the kitchen.  Clearly, I must be slipping.

This actual machine was a family treasure, which had moved around a bit and had originally been purchased in Holland and had since been converted from using a standard Euro plug to IEC/ kettle UK mains plug at some point.  All very interesting you say (maybe), but how did it end up in my workshop?

Make and model: Tulip A350T Electric Rice Cooker

Fault reported: Not working

Cost of replacement: £30

Manufacturer support:  0/10

Cost of parts: £2.00

Hours spent on repair: 1 hour

Tools needed: Screwdrivers, test meter, heat shrink, looped crimps etc

Sundry items: Cleaning materials

Repair difficulty: 3/10

Cups of tea: 2

Biscuits: Custard Cream X 2

After many years of reliable service, poor old ‘Tulip’ decided it had had enough of boiling up pilau rice and assorted vegetables and conked out.  When the owner tried to switch the cooker on, nothing happened, no light, no heat, no hope.

Most people would then usually have thrown in the towel, reached for their phone and within a couple of clicks, bought a new one on Amazon to be delivered the next day.

Perhaps it was the thought of poor old Tulip being crushed in the scrap metal pile at the tip which made the owner go online and find my website of strange domestic appliance tales instead of Amazon*…  But I’m glad they did.  *other online electrical retailers are available!

The machine is basically a large kettle with a removable bowl that holds whatever you wish to cook.  It has a thermostat for temperature regulation, a switch to change modes (cook/warm) and a safety cut-out mechanism, should something go wrong.  It was this safety system which had operated and caused the machine to fail-safe.

The design of the machine is quite simple, dare I say crude in places.  Within a few minutes, I had removed the base, exposing the wiring, switch, thermostat and other gubbins.

The earth bonding cable had melted which was the first alarm bell to ring.  Digging a little closer, the main issue revealed itself.  The heat-proof insulation on the ‘over heat’ one-shot thermal fuse had shorted out via a cracked piece of wiring on the metal casing of the unit.  Surprisingly, this had not overloaded the main plug fuse, but had heated the thermal fuse and had blown that instead.  Flash-bang, kaput.

The cooker’s switch, thermostat, element and other wiring checked out OK, so it was now worth fixing the failed system.

After purchasing a suitable replacement thermal fuse for a couple of quid, I set about installing this in place of the failed one, taking the time to upgrade the wiring harness with heat shrink to avoid a short again in future.  I removed the damaged earth and replaced it with fresh wire, securing it on to a better earth-bonded location and after some careful wire re-routing and fettling, the base of the machine was ready to be re-attached, ready for testing.  With the cooking bowl full of water and power applied, the ‘cook’ light lit up and the machine started to work.  Utter joy.  After a few cycles of heating and warming, I was satisfied that my work was done.

This slideshow requires JavaScript.

Even though this device wasn’t marked as such, it’s a metal bodied Class One device here in the UK and ideally required a thorough integrety test of the safety system.  Using my newly-acquired Megger PAT150 tester, I was able to prove that the machine was compliant with current UK legislation for Portable Appliance Testing.  Ricely done.


Fetch me a coffee Parker… Yes Milady!

A Gaggia Milady gets unblocked

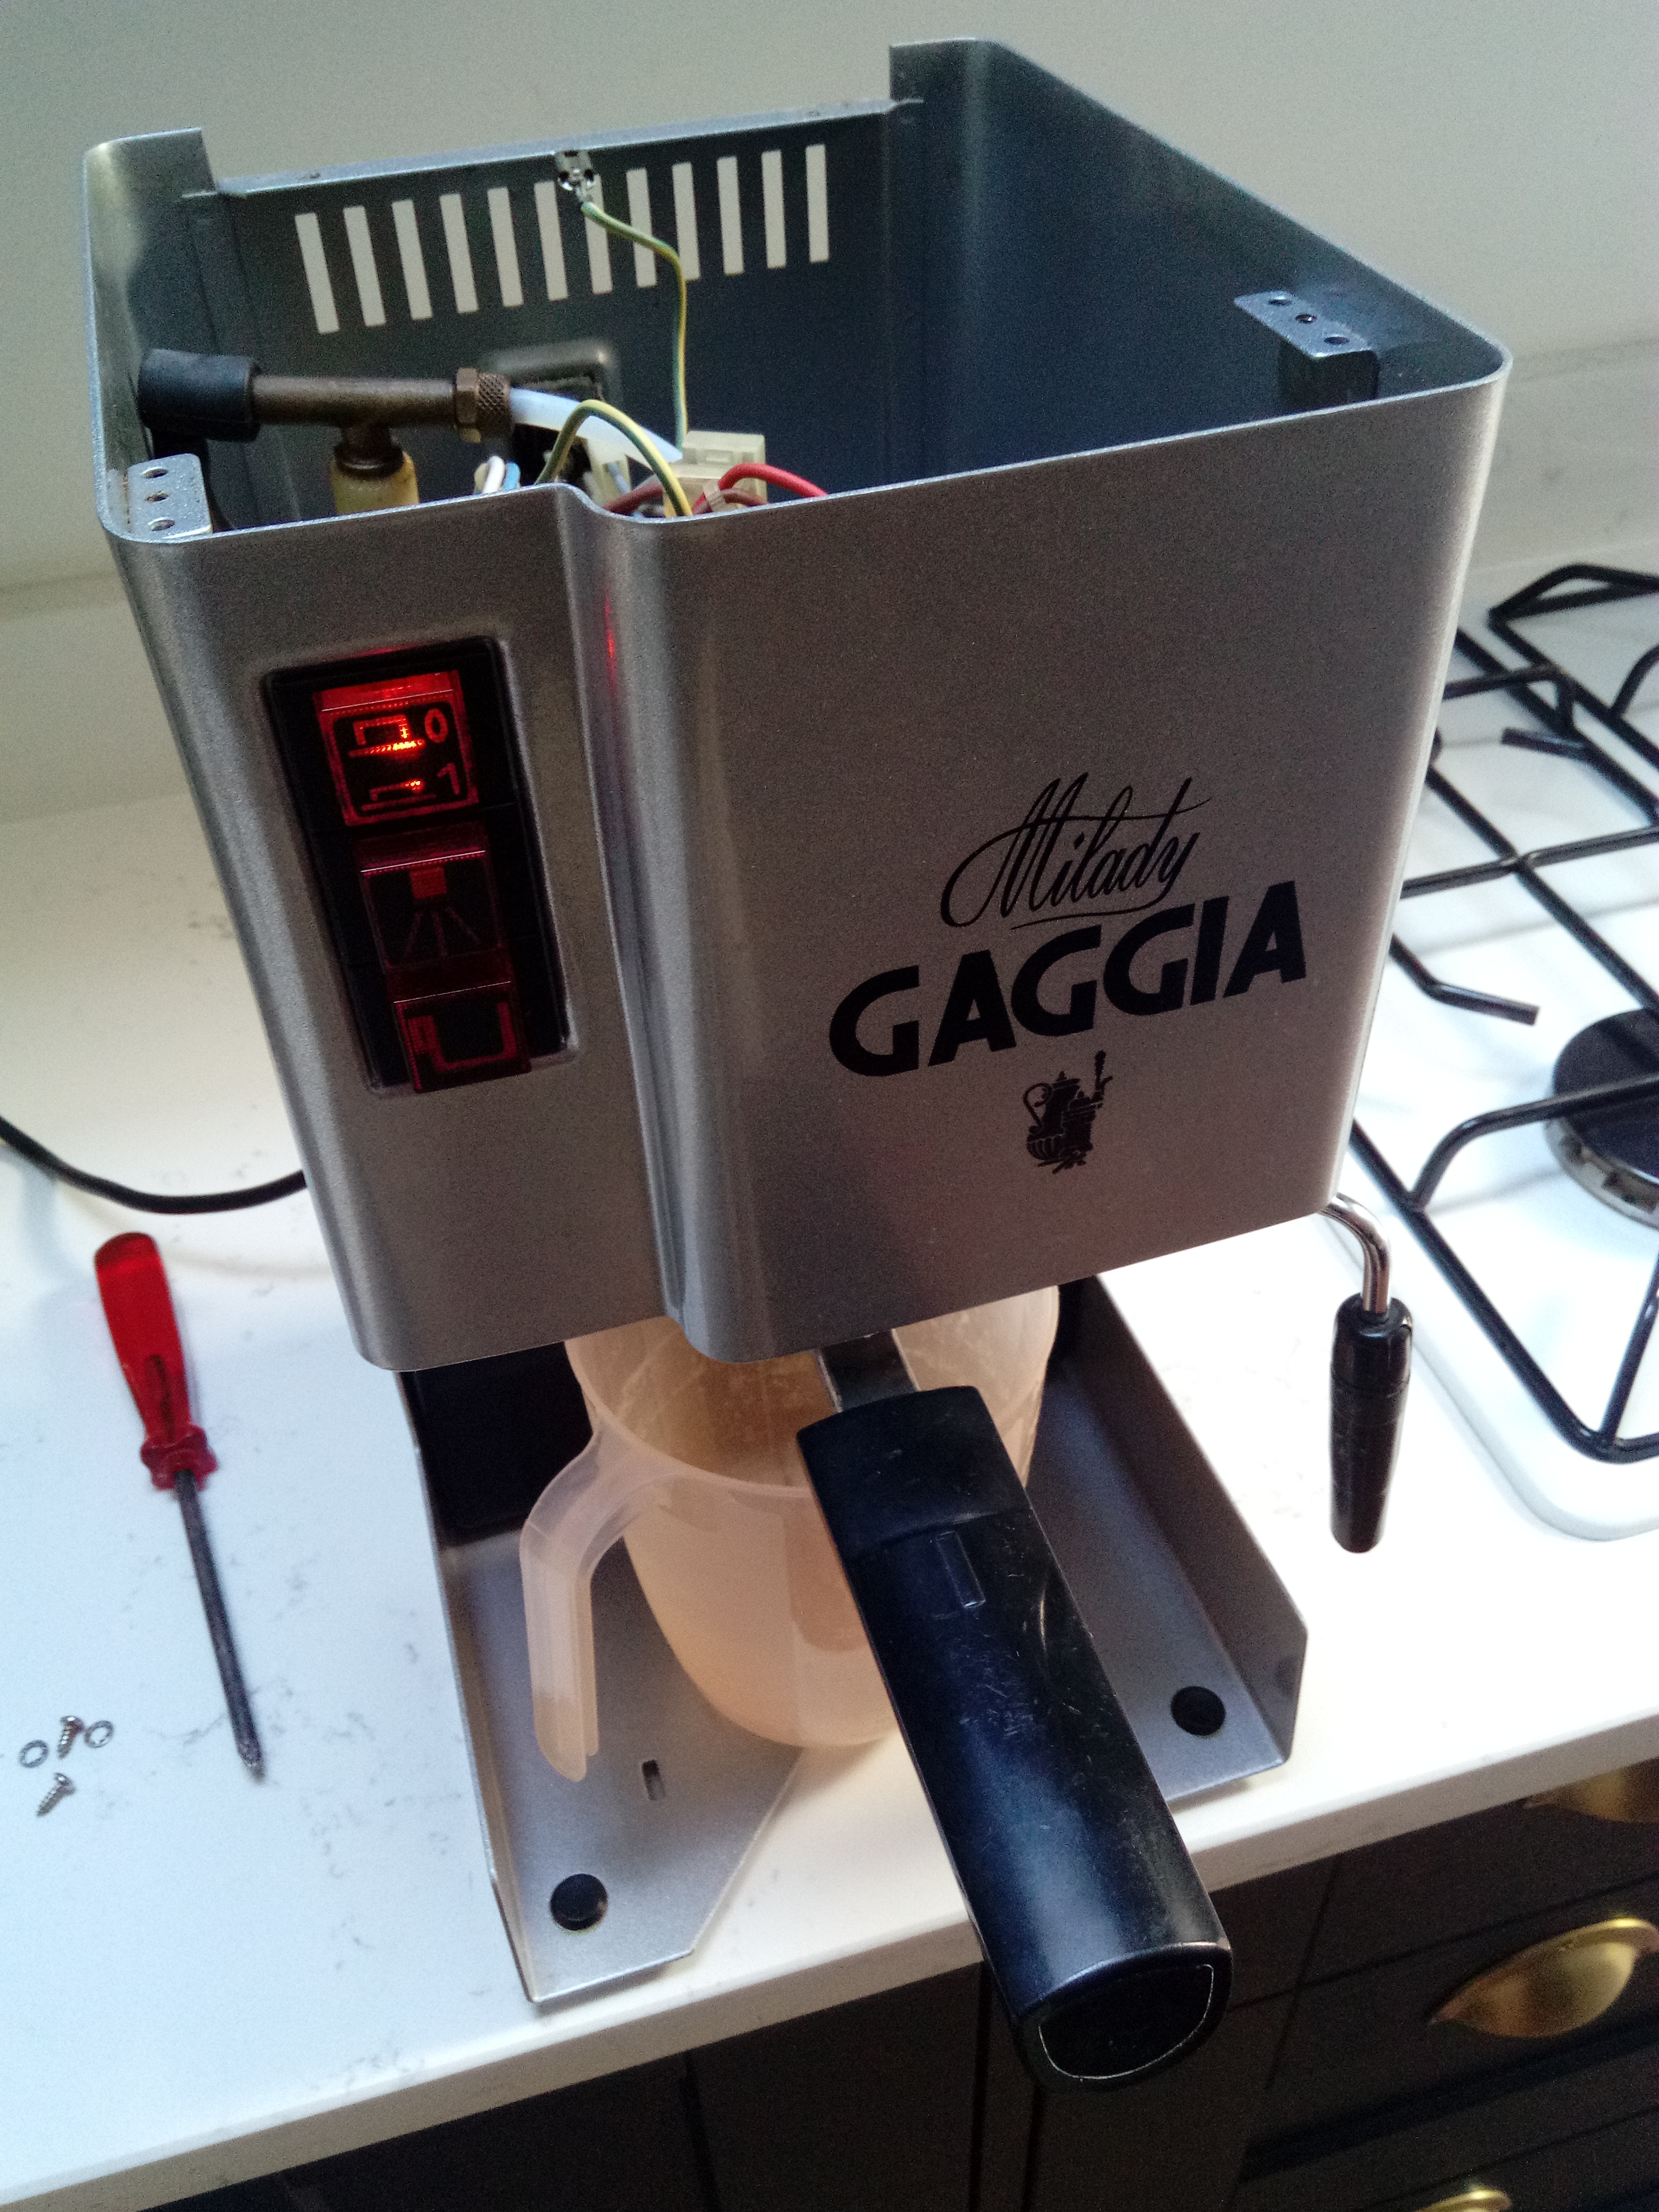
Despite various warning labels and advice from manufacturers, sometimes it’s better to ignore official advice and just dive in, especially if something has stopped working altogether.  Gaggia coffee machines of this vintage are well supported by various online parts suppliers, so when your machine stops making the perfect brew, the chances are that it can be sorted out with a little know-how…

Parker
FixItWorkshop, Worthing, June’20 Aloysius Parker from Thunderbirds (picture from Wikipedia)

IMG_20200525_181240
FixItWorkshop, Worthing, June’20, Gaggia Milady.

I couldn’t resist a reference to one of my favourite childhood programs…

Make and model: Gaggia Milady Coffee Machine

Fault reported: No coffee/ blocked group head

Cost of replacement: £300 (approx.)

Manufacturer support:  3/10

Cost of parts:  £0, inc. carriage

Hours spent on repair: 1 hour

Hours spent on finding parts: 0 hours

Tools needed: Screwdrivers, spanner, pliers, drill, tap set

Sundry items: Silicone spray, WD-40, water safe silicone lube, cleaning materials

Repair difficulty: 4/10

Cups of tea:  X 2 (and one coffee for testing purposes)

Biscuits: None (Ice Cream X 1)

Someone got in touch to see if I could repair their much loved Gaggia Milady, after receiving some unhelpful advice from the UK distributor.  A new Gaggia had already been purchased, but the owner was missing the ‘solidness’ of his original machine and wanted it back working again.

Fault reported:  Heater working, pump running, no water at all at the group head, therefore no coffee.

Opening the machine’s lid reveals lots of cables and pipes, so if you’re attempting this repair yourself, I recommend making notes and taking photos, carefully marking the location of all the positions.

I suspected a blockage from the boiler to the group head, as sometimes happens with older machines, as scale builds up on the inside.  In cases like this, de-scaler is usually no good and more drastic action is required.

Removing the boiler on this model is similar to many other Gaggia machines, the only variant differences usually being cosmetic.  Just four screws usually hold the boiler to the cabinet.  I suspected that there was a blockage between the boiler area and valve to group head ‘jet’ and in order to access it, a few layers of metal work needed to be removed.


This slideshow requires JavaScript.

Just one screw holds the strainer, but removing the head involves removing two bolts, which secure two halves of the group head.  The trouble is that over the years, corrosion makes the two halves ‘weld’ together and the only way to split them is to use a little ingenuity.  Fortunately, there are four water holes in the head which make ideal leverage points and with a small M5 tap, those holes become anchor points for the two bolts holding the head together.  Winding those bolts into the new threaded holes forces the two halves apart…

…Revealing the brass valve base.  Using a 10mm spanner releases the valve’s spring and valve rubber.  In this case, it was full of scale and debris.  A thorough clean using WD40, wire brushes and wire wool and the group head was ready for reassembly.

All surfaces scrubbed, all rubber seals cleaned and treated to some water-safe lubricant, the group head back together, the boiler was ready to be re-installed into the machine.  After some careful re-plumbing and re-connecting, the machine was ready for testing.

Just one more job.  Make the coffee for Milady!

Another machine dodges the tip with only a small tin of elbow grease used. F.A.B!

An orange Kenwood Chef A901! I mean, what’s not to like?

More orange please!

Why oh why oh why are more kitchen machines not orange?  I mean, just look at this beauty.  Rare-ish and as a Chef spotter, I think the only time I’ve seen another is on the kids’ TV program, Waffle the Wonder Dog on Cbeebies, here in the UK.  Do you have one in another funky colour?  If so, please send me a picture!

An orange Chef in the workshop:  It was like Christmas had come early.

IMG_20191209_213850
FixItWorkshop, Worthing, December’19, orange Chef A901.


Make and model: Kenwood Chef A901 (orange)

Fault reported: No go

Cost of replacement: About £300

Cost of parts: £13.74

Hours spent on repair: 2

Tools needed: Cutters, screwdriver, soldering iron, multi-meter, cleaning tools

Sundry items: Light oil

Repair difficulty: 5/10

Cups of tea: 1

Cheesecakes: 2

Capture
FixItWorkshop, Worthing, Kenwood Chef Major in Orange.  Super rare?

The Chef had actually been working for a living since it provided daily assistance in the production of artisan cheesecakes, being sold at a local market.  Recently it had decided to start a smoking habit and then go on strike leaving the owner in a bit of a muddle and customers with rumbling tummies.  That simply wouldn’t do.

Anyway, on with the repair. Opening up the casing revealed the problem straightaway.  One of the capacitors had failed and a resistor had burned out, leaving a failed circuit.

IMG_7870 cap
FixItWorkshop, Worthing, December’19, A901 failed components.

With a decent repair kit bought (from eBay), I replaced all components relating to the speed control circuit, which made the motor run again.  I also replaced all the machine’s 5 feet, since the originals had long since gone to mush, something they all do with age. Since the motor was out of the unit, I took the trouble to adjust the motor’s end float and oil the bearings, for ultra-smooth running.  Very satisfying.

IMG_20191202_210500
FixItWorkshop, Worthing, December’19, orange Chef in bits.

With the casing all back together, I gave the machine a light T-Cut and polish to make it look as good as new and despite its 30-odd years and the odd bit of flaky paint, I think you’ll agree- it looks fab.

IMG_20191209_213838
FixItWorkshop, Worthing, December’19, orange Chef A901, open, looking fab.

PS, thanks to Andrew for supplying the very yummy scrummy, lime cheescakes.