Magimix 4200XL – safety as standard

A little bit of ‘shed magic’ to rescue a Magimix 4200XL

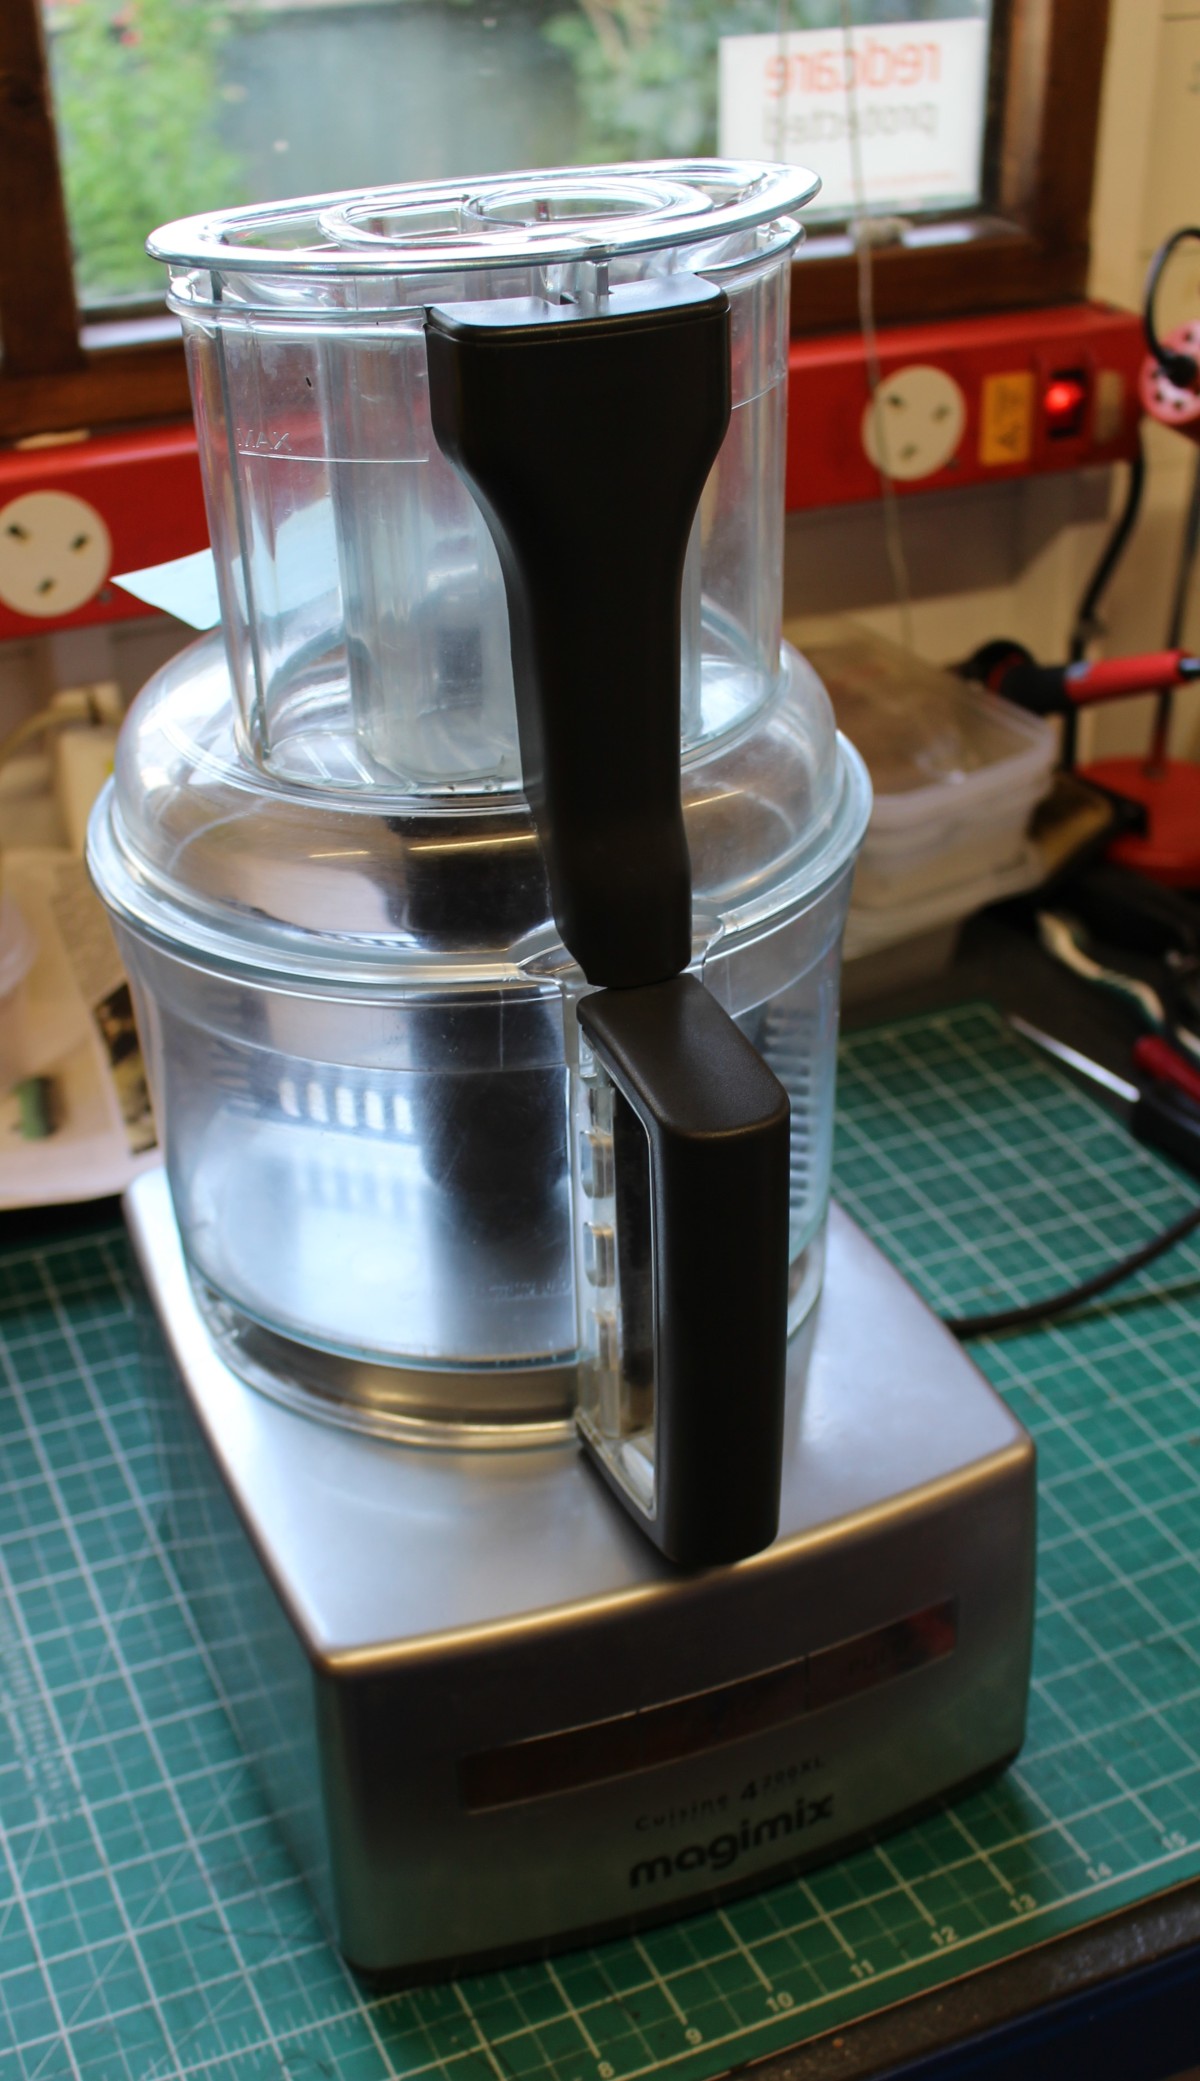
Like everything else, food mixers come in all shapes and sizes and there’s a make and model on the market to suit all applications, tastes and budget. Magimix have been around for a long time and make premium mixers for the wannabe chef. These mixers specialise in chopping and slicing and tend to be more specific in task over, say, a traditional bowl mixer. The Magimix 4200XL is a current model at the time of writing and is all yours for around £300. When whisking something delicious in the kitchen myself, I prefer a traditional Kenwood Chef, but if I was regularly chopping veg with NASA micron-precision, I can see why a mixer like this might appeal. Since I’m a bit of a salad dodger, the need for this has never arisen.

Make and model: Magimix 4200XL

Fault reported: Not running

Cost of replacement: £300

Manufacturer support: 4/10

Cost of parts (for this repair): £0.00

My time spent on the repair: 1 hour

Tools needed: Screw drivers, pliers

Sundry items: None

Cleaning materials: Silicone spray, damp cloth

Repair difficulty: 3/10

Beverages: 1 X tea

Biscuits consumed: 2 X custard creams

The owner of this mixer reported that despite every effort to press buttons and click the safety catch on the lid, the mixer simply wouldn’t comply when switched on. Dead as a dodo.

FixItWorkshop, Worthing, November’20, Magimix 4200XL, inside the mixer’s safety switch.
FixItWorkshop, Worthing, November’20, the 4200XL features a motor with oomph!
FixItWorkshop, Worthing, November’20, Magimix 4200XL, removing the base.
FixItWorkshop, Worthing, November’20, Magimix 4200XL, these little horrors are designed to deter repair- I dislike them immensely.
FixItWorkshop, Worthing, November’20, Magimix 4200XL, the repaired mixer.
FixItWorkshop, Worthing, November’20, Magimix 4200XL, the cheeky little safety switch.

The owner of this machine reported that their beloved Magimix 4200XL was playing up and despite trying to wriggle, jiggle, shake, rattle and roll things, it simply wouldn’t comply and work. They asked if I would take a look at it for them before it was launched out of the window. There’s nothing like a frustrated owner.

The Magimix 4200XL features a really rather elegant, totally passive, safety device to ensure that one isn’t tempted to operate the machine without the lid fitted correctly, risking one’s little pinkies. A simple sprung lever mechanism built into the lid and jug matches a small recessed switch in the machine’s base. The machine will only fire-up once the lid is in place on the jug, which must be correctly aligned on the base. It’s a nice touch that probably keeps Magimix out of the courtrooms.

On first inspection, I decided that this mechanism was a reasonable place to start my investigations. After you’ve checked things like ‘is the power on’ it makes sense to ‘start simple’ and go from there.

Taking the base cover off only involved four Torx screws, the damned anti-tamper kind. Luckily I have the technology to do this.

Taking the base cover off revealed good access to the safety switch mechanism. Thankfully.

The mechanism all seemed correct and present, which was a bit of a guess since I’d never worked on a mixer like this before. However, a lack of loose parts rattling inside is usually a good sign. Phew.

Despite appearing OK, the operating safety switch lever did seem stiff, so a quick spray with silicone lube had things sliding nicely once again. A quick continuity test of the switch proved that it was switching OK. Things were starting to look up for ‘Maggy’.

Since I had the lube out, it made sense to clean up the jug and lid mechanism and give that the same treatment. It all seemed to work better after and testing the lid and jug, refitted to the base with the base cover removed allowed me to visually confirm that the safety switch mechanism was indeed doing its thing correctly once again. A good result.

After carefully reassembling the base cover, taking care not to damage some of the more delicate plastic parts, it was ready for testing. There’s always a little moment of ‘will something go bang’ when I switch things on for the first time, but luck was on my side as the motor spun up as Magimix intended. A good result. All fingers intact.

Very quiet Bauhn DAB Radio from Aldi

A little DAB radio, repaired at the workshop.

A colleague of mine brought this cool little DAB radio in to the workshop as it’s once crisp DAB tones were now no more and all life from the little device, had seemed to have ceased.  It was, very much, a dead radio.  When working, it picked up every station available, really clearly and seemed to out-perform the much more expensive devices my colleague also owned.  However, after a few months in the hands of his son, the radio would no longer turn on when plugged in.

IMG_20180515_153713.jpg
FixItWorkshop, May’18, Aldi Bauhn Radio, in for repair.

It was brought from Aldi for under £10, which seemed like a bit of a bargain to me.  It’s amazing just how much DAB radios have fallen in price in the last 5 years or so.

IMG_20180515_153836
FixItWorkshop, May’18, Aldi Bauhn Radio, in for repair, back of the radio.

The Bauhn UDABR-0197 (catchy name) is a compact, portable radio and is capable of being used with either a plug-in adaptor (supplied) or 4 x ‘AA’ batteries.  When powering this radio using either plug-in adaptor or batteries, the little radio refused to do anything.  Very sad.

I always start with the basics, so I checked the power from the plug-in adaptor first, which seemed to be delivering its 5.9VDC, pretty much spot-on. As a side note, I always check the condition of plug-in adaptor leads and plugs as they seem to almost always be made of the thinnest wire available in the Far East and prone to cracking causing poor connections.  This one was fine.

Opening up the radio was really easy, just 4 cross-head screws and the two halves of the radio came apart without any major dramas.

The first thing you notice about (cheaper) small appliances like this, is the ‘lack’ of anything inside.  The circuit boards in new small devices can sometimes be multi layered affairs, using micro components, making repair with normal workshop tools very difficult or impossible.

Luckily for this little radio, the designers have had the foresight to keep the power distribution board separate from the main ‘radio’ gubbins and this seemed to be of conventional construction.

On closer inspection of the power distribution board, it revealed a break in two of the pins from the ‘power-in’ jack socket meaning that power would not get through to the main circuit board.  The two pins were also shorting together, causing a local loop connection.  This meant than neither mains adaptor supply nor battery would power the radio.  Problem realised.

I was then able re-make the connection using a soldering iron on the board, reconnecting the pins to a spare section of copper detail on the power distribution printed circuit board.  Very satisfying.

Once the radio was back together, all screws back in place, power supply connected, the radio burst in to life, just in time for me to listen to my favourite station.  Happy days.

IMG_20180515_155029
FixItWorkshop, May’18, Aldi Bauhn Radio, in for repair, all fixed.

Cost of a new radio; £10.  Cost of repair; A bit of soldering and a cuppa plus gingernut biscuit.