Inside the Real Repair Shop 7

This month in Tales from the Workshop, I want to talk about three sensitive subjects that are not often discussed in repair circles, and readers of a nervous eco-disposition are advised to look away now!

Controversy Inside The Workshop

Repair Cafes and campaign groups such as Restart.org and Repair.eu are working hard to defend our repair rights and offer support to local communities, by providing empowering repair skills.  It’s all good stuff.  But I’m often asked to fix things which are not viable because the damage or wear is so great or the time required to do the fix will take many months, that I can’t offer.  And that’s all before we’ve discussed parts availability, cost and other materials.  So, this month, I thought I’d consider the case against repair. Have I gone quite mad?

One

Sometimes, it just isn’t worth repairing stuff, sometimes a broken thing should just be thrown out at the appropriate recycling facility, of course… or scavenged for usable spares in my case!

It’s no coincidence that popular TV series The Repair Shop majors on pre-1980 cherished items. Older items, made from quality materials, conceived before manufacturers built-in precise planned mechanical and electronic obsolescence, usually stand a chance of being repaired by crafts people, as that’s how they might have been made in the first place.

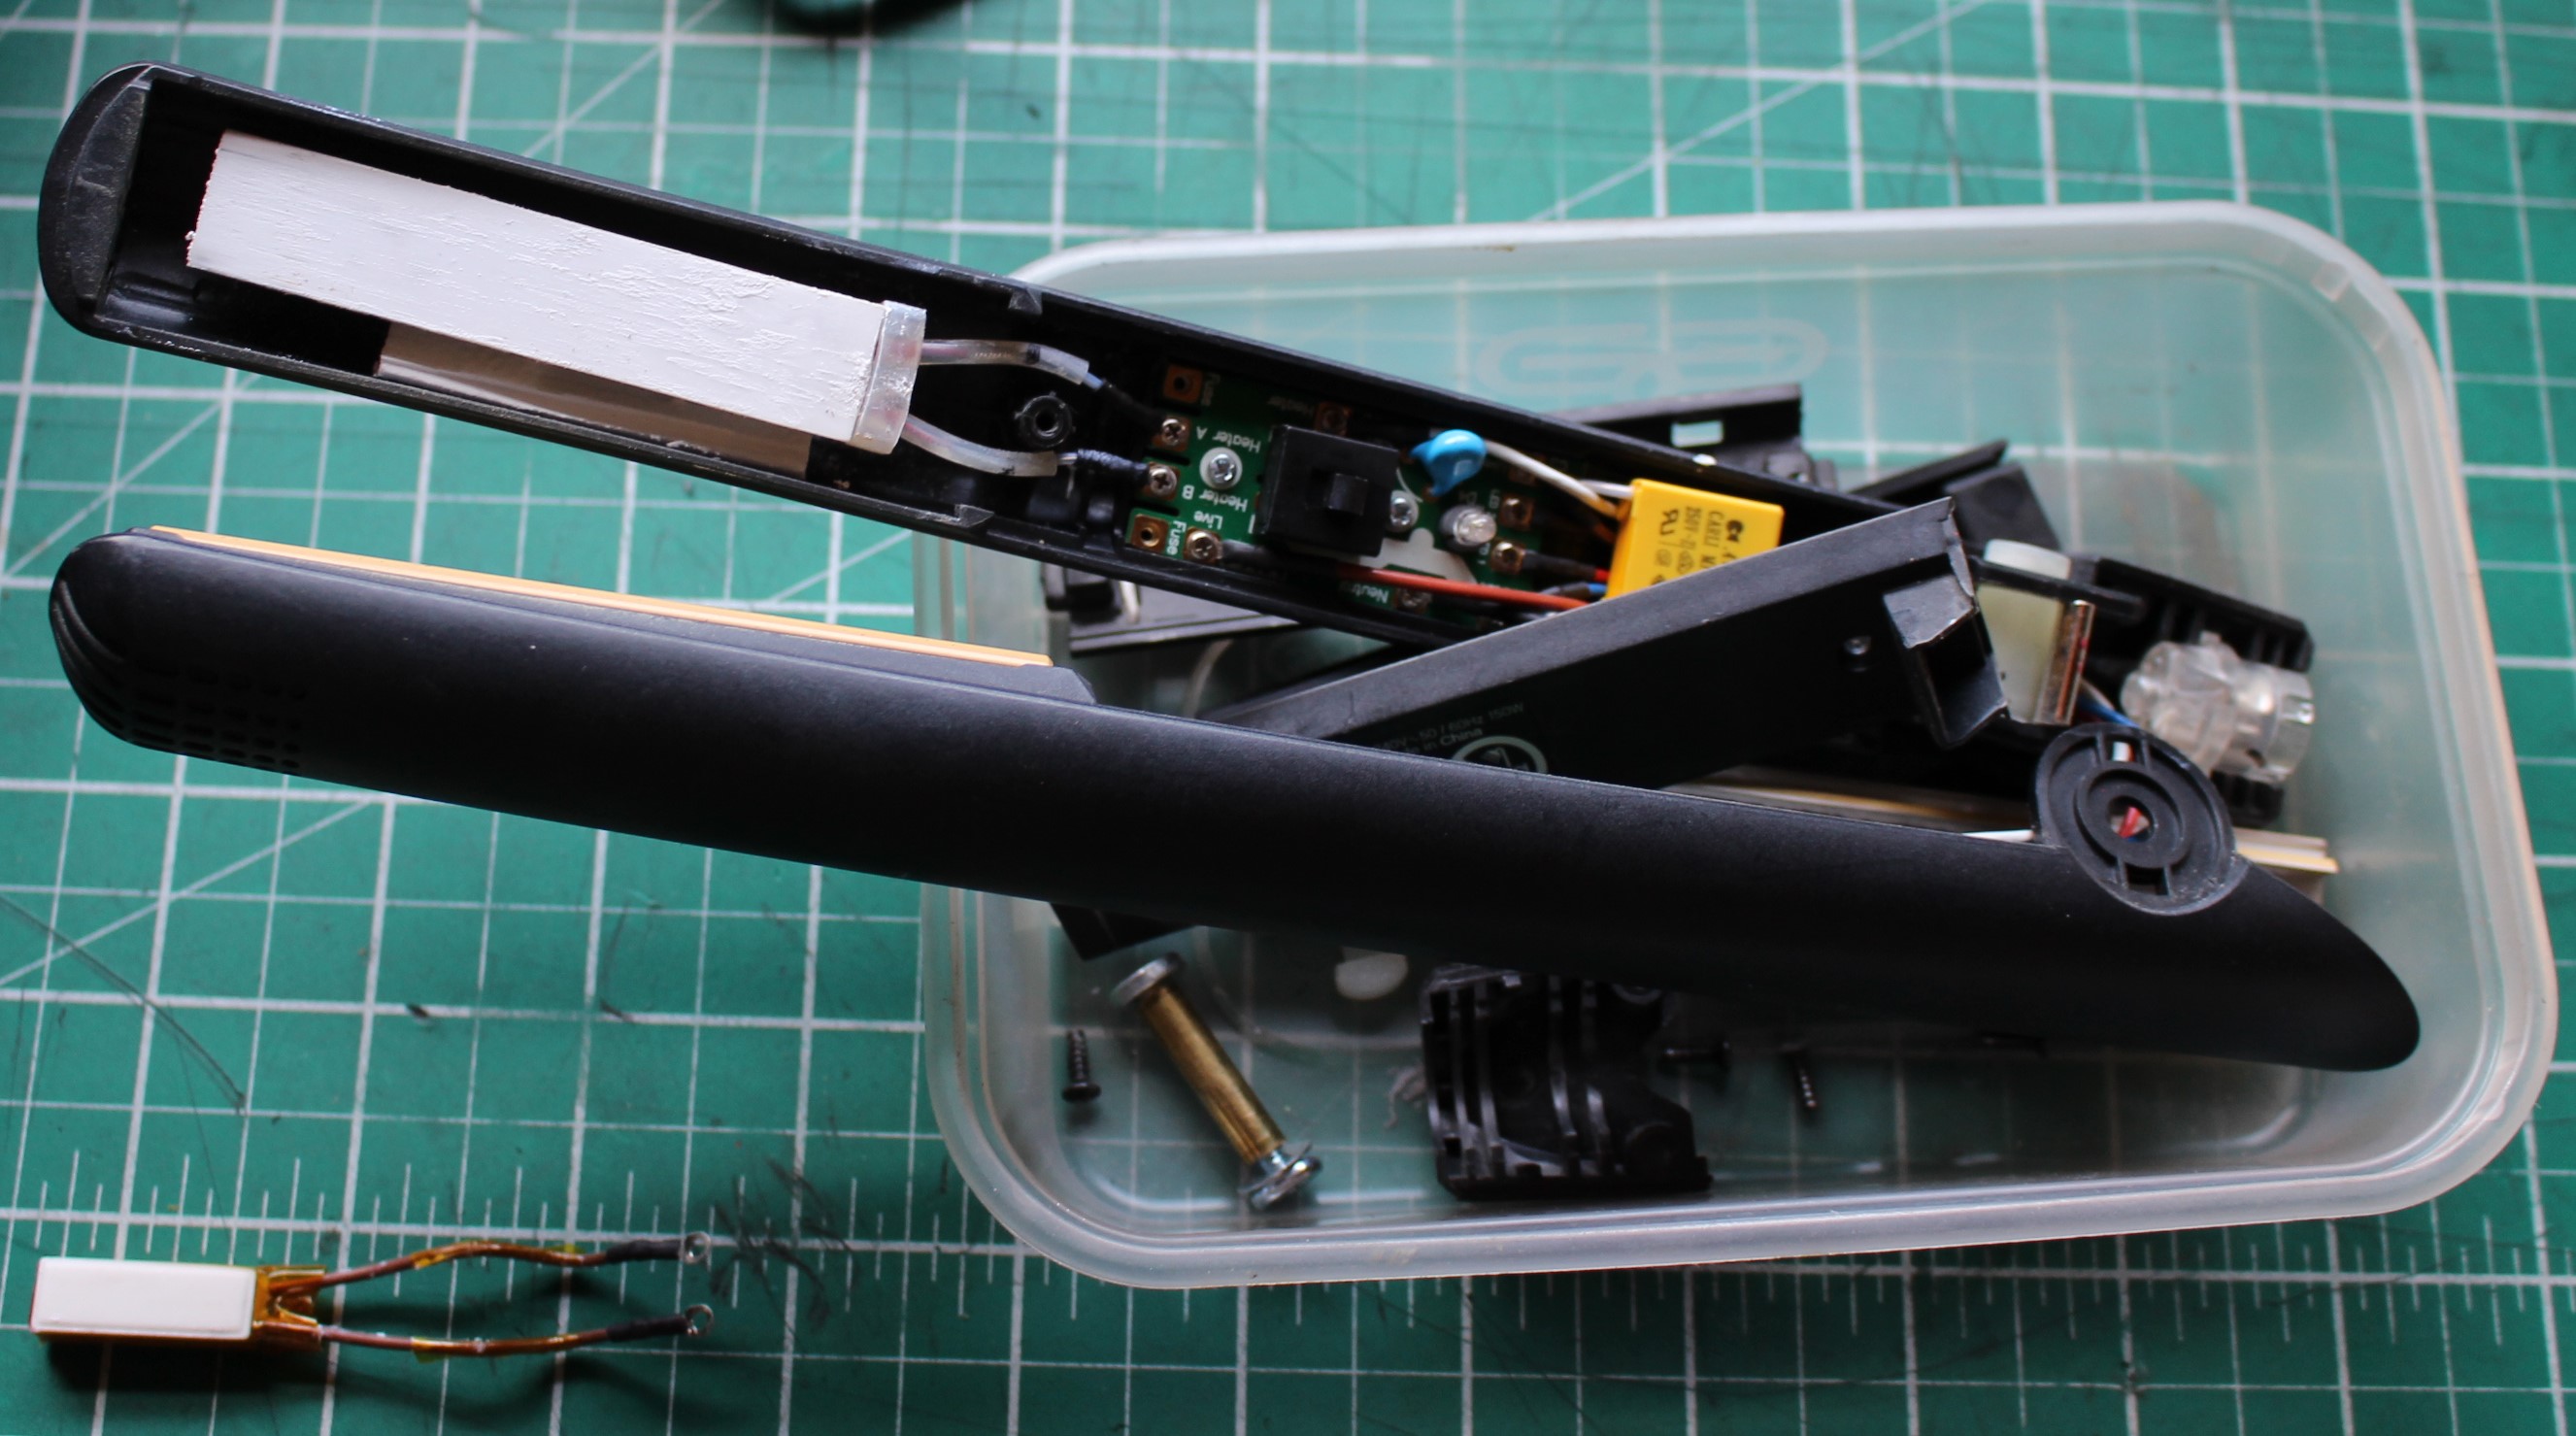
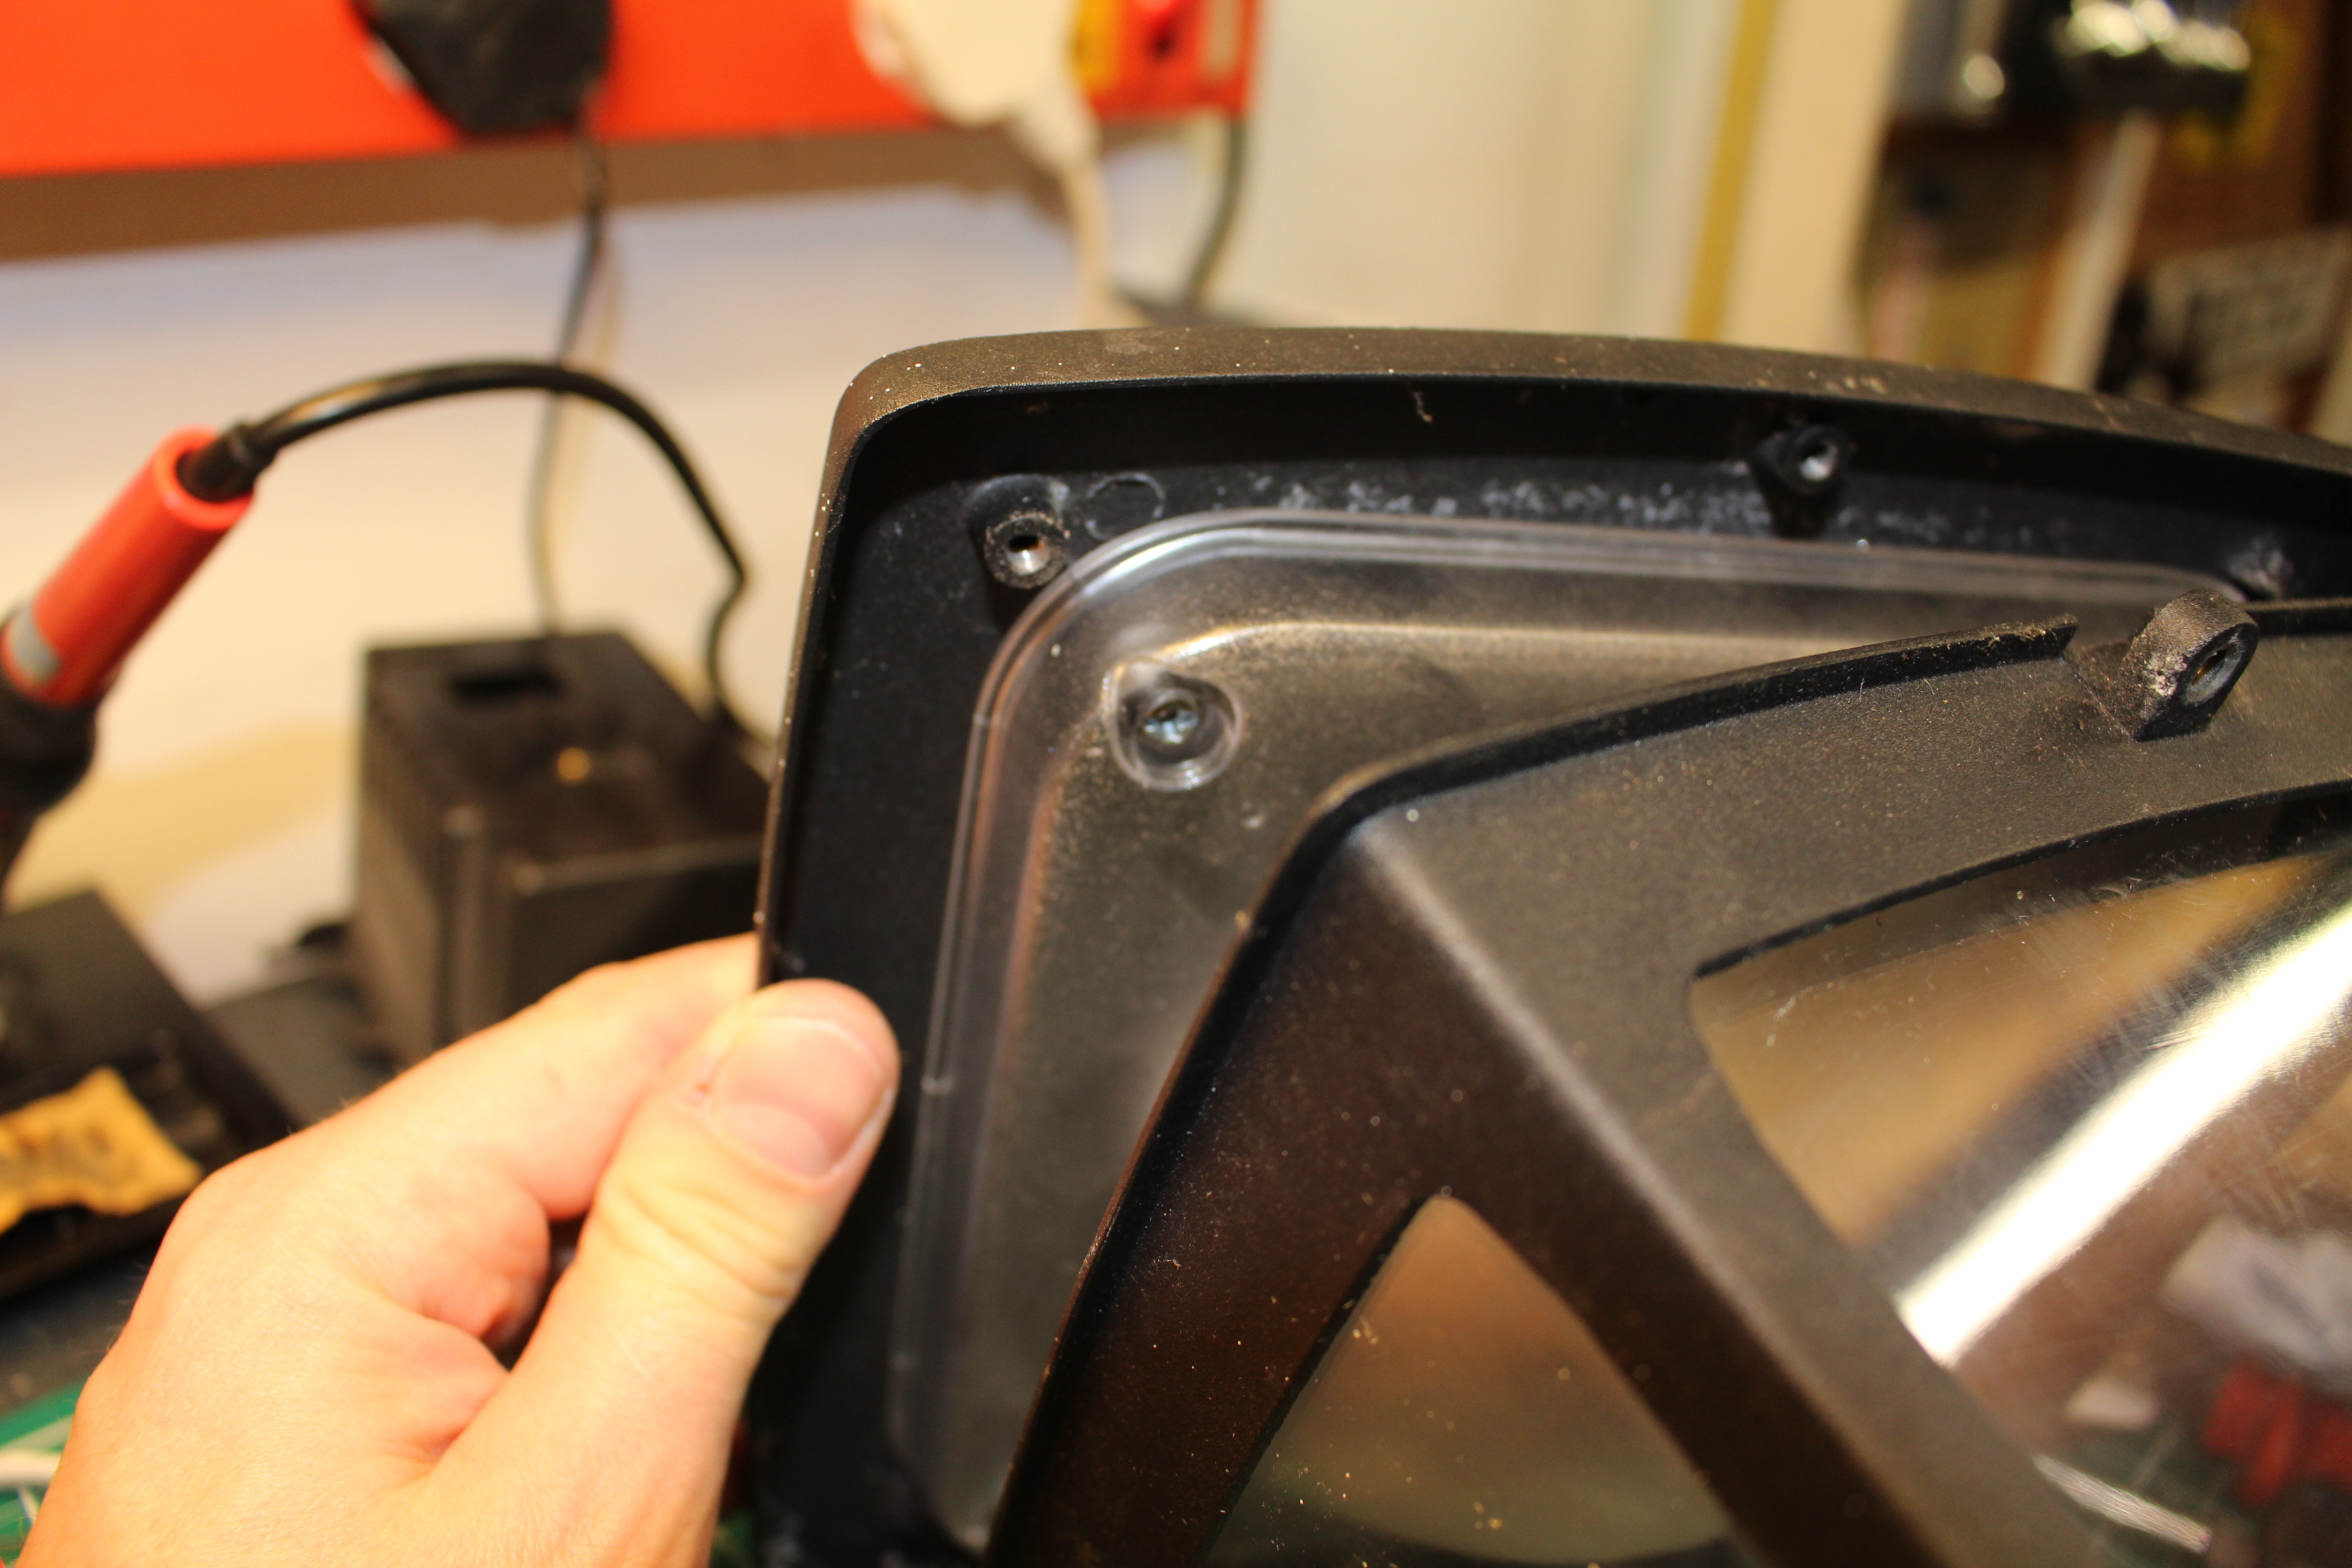
You see, a child’s toy or home printer manufactured today, on a sophisticated plastic moulding machine with sealed-in electronics will be almost impossible to repair without destroying the outer casing first. And even if you could get to the faulty battery or printed circuit board, it would be virtually impossible to repair at a reasonable cost, assuming the spares were available. Believe me, I’ve tried. When asked to take on certain repairs, I must be honest and frank with would-be customers about the chances of success and likely time a repair will take, which isn’t a conversation I like having, but it’s essential.  Those conversations are not TV friendly.

FixItWorkshop, Worthing, April 2022 – Matt with a washing machine.

Years ago, and I generalise here, people repaired things as it was usually cheaper to patch things up to get more wear out of the item.  Whether clothing, cars or kettles, repair kits and local engineers were always available and usually cheaper than buying new.

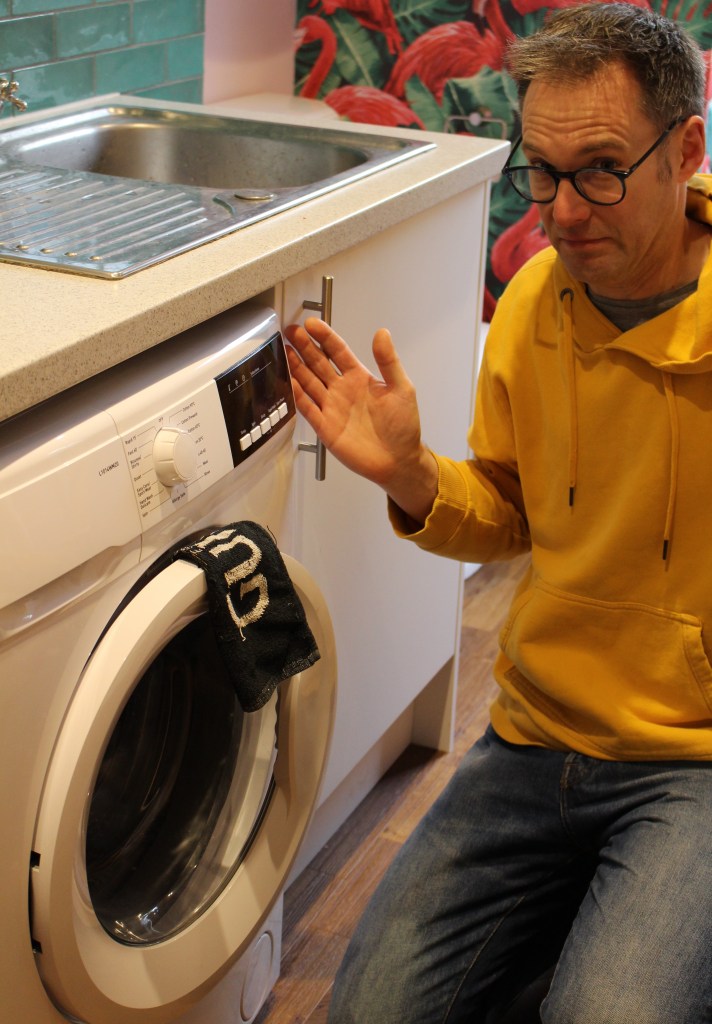
But take a modern washing machine, and parts prices are often not economic to buy, especially when you factor-in an engineer’s time for the repair Its often easier and cheaper to replace the whole thing anyway with next day delivery, just a click away on your phone with interest free credit. And that’s a mighty tempting prospect when the family’s washing is piling up on the floor.

Two

On to my second controversial point; repair is now the reserve of the reasonably well-heeled. As a general observation, most of my customers are reasonably affluent, women coincidentally, and have a historic connection with the faulty item which they want repaired.  It could be a favourite family toy or food mixer that needs a little TLC.  To bring it back to life, it will need care, parts, experience and (usually lots of) time. All things that must cost money.  The results will hopefully bring joy to the customer, which is all part of the experience.  It’s why The Repair Shop works so well.

FixItWorkshop, Worthing, April 2022, A classic Anglepoise lamp in the workshop for some ‘light’ restoration.

Repair is definitely a discretionary purchase now and if you’re a bit brassic, and your microwave oven goes kaput, are you going to spend £100 getting your old machine repaired?  No, you’ll do the sensible thing and buy a new one from Amazon for £40 delivered next day, as you need to feed your family.

Three

New appliances are sometimes more efficient and perform better. Take a domestic fridge.  Modern ones could use as much as half the energy than those made 30 years ago, and offer more features as standard.

FixItWorkshop, Worthing, April 2022, torches old and older – but one has a modern CREE LED bulb that will burn retinas.

Compare a modern household torch made recently with one made 15 years ago and it will be like comparing a tea light with the sun.  Technology never stops marching on, and we can all benefit from replacing some creaking appliances with something up to date sometimes. But all this comes with a big health warning.

You might be wondering if I’ve lost the plot, knocked the shed down and chucked out my screwdrivers.  Not a bit of it.  It’s usually more environmentally beneficial to keep something running as long as possible by spreading the manufacturing and shipping impact over a long functional life. And I don’t know about you, but I dislike the thought that someone else has already booked the death day for something I own!

I mean, just by looking at carbon-offsetting alone, consider this:  Replacing a domestic kettle every three years, which has been shipped from China, made with complicated materials and electronics with no hope of repair, is not as environmentally kind as a simpler one that lasts for 9 years.  Sadly, those kettles just don’t exist any more and if they did, I suspect that they would be far too expensive to be a mass-market product.

It’s such a complicated conundrum to solve, it’s just not possible to do in these hallowed pages alone. But I can leave you with a simple piece of advice; look after your things, buy quality items if you can and consider second-hand at all times to make the Pound (or insert your chosen currency here) in your pocket go further, all very sensible in these uncertain times.

*** Stop press! Feedback from FixIt Clinic in the U.S. ***

One of the great things about keeping a blog is the engagement with readers. Over the years, I’ve built up a network and contact base with fellow fixers, around the world; from all over the U.K., Europe, North America and Australia. We are certainly not alone!

Following my light article on reasons why one might not repair something, my friend Peter Mui from FixIt Clinic in the U.S. got in touch to share his thoughts. I liked his letter so much that I thought I’d share it. And since you’re here and obviously interested in this subject, why not check out their website? http://www.fixitclinic.org

Hi Matt:

I’m compelled to drop everything and to respond to your three cases against repair:

One:

Agreed: many things these days are overly complex relative to their core functionality (the KitchenAid kettle is a good example) and I would totally support a return to simpler designs generally.

Currently there’s a “race to the bottom” where the dominant factor in design for manufacturing (DFM) is to lower manufacturing cost in ways imperceptible to the [purchaser user owner] until the item is out-of-warranty. That’s why Fixit Clinic hosts through colleges and universities: to inform up and coming design and engineering practitioners to design for [durability maintainability serviceability repairability] from the very start using open source designs.

– Totally agreed, Peter. It IS a race to the bottom and agree wholeheartedly with your point – Matt.

How can we get (return?) to a situation where most things can be cost-effectively repaired?

There might be an alternative future where the design and engineering of durable goods discourages “manufacture on sophisticated plastic moulding (sic) machines with sealed-in electronics that are impossible to repair without destroying the outer casing first”, instead: spare parts are readily available at low cost from multiple sources and are easily interchangeable.

Two:

(First: I believe you intended to write “well-heeled” not “well-healed”)

– thanks for the spot Peter – Corrected! – Matt.

Agreed: there’s a component of economic privilege in repair at the moment: ironically it’s more expensive to repair than to buy a replacement.

If the end-consumer / owner is sufficiently motivated to be willing to assume (most of) the research and labor for an item that can often change the calculus in favor of repair; that’s why Fixit Clinic emphasizes conveying generalizable skills over “free” repair or repair as a service. But only the well-heeled have the precious time to undertake repair; your average consumer / average user, factoring in the time and uncertainty of the outcome, makes a reasonable economic calculation against repair and just buys a new item.

Additionally, there’s the perception and widely held assumption that “new” is always better than “used” or “repaired”.

I don’t have a good solution here either: the true full cost of modern durable goods is not reflected in the price paid at the moment of purchase; until the myriad of upstream and downstream costs of an item are added into the moment-of-purchase price this is going to be a hard nut to crack.

Three:

See “They Used To Last 50 Years” https://ryanfinlay.medium.com/they-used-to-last-50-years-c3383ff28a8e which makes the case that if you factor in the embodied energy in their manufacture and their shorter durability, new appliances may not be as ideal as keeping less efficient appliances in service for as long as possible. And I submit that the LED lighting vs. incandescent lighting example is cherry-picked: lighting technology is a category where the energy savings through technology advancement is particularly visible (wink.) The vast majority of new items or features marketed as “advancements” are incremental or even retrograde; my (admittedly also cherry-picked) counter example is 3D TV: do the people who upgraded to pricey 3D TVs feel they got good long-term value? Probably not.

Anyway, thanks for keeping me engaged into the wee hours of the morning.

-Thanks Peter, an engaging response and continuation of the issue. Thanks for sharing the link too. Here it is again for folk who wish to copy/go to the link: https://ryanfinlay.medium.com/they-used-to-last-50-years-c3383ff28a8e -Matt

Your comrade-in-fixing,

Peter Mui @ Fixit Clinic

Blinking GHDs!

A pair of GHD 3.1B hair straighteners gets fixed

GHD hair straighteners are not something I’ve ever had the need to use, but they are seemingly very popular among the long-haired kind, none the less.  There are cheaper alternatives out there, but devotes tell me that the ceramic plates seem to have a better finish and run hotter for longer, all essential features for taming unruly curls.  So they tell me.

IMG_9909
FixItWorkshop, Worthing, August’19, GHD 3.1b hair straighteners.

Make and model:  GHD hair straighteners 3.1b

Fault reported: Buzzing noise, not warming up

Cost of replacement:  £97.00

Cost of parts:  £0.00

Hours spent on repair:  About an hour (ish)

Tools needed:  Cleaning cloths, small fine file

Sundry items: Contact cleaner

Repair difficulty:  4/10

Cups of tea:  2

Biscuits:  1 (Ginger Nut)

Someone got in touch to ask if I could fix their GHDs and to be frank, I’ve had mixed success with these repairs in the past as in general, the newer the model, the harder it is to fault-find and subsequently order parts for, something I find very frustrating.  However, the 3.1bs discussed here are pleasingly old-school.

Dismantling these GHDs involves just one small cross-head screwdriver and one small flat blade screw driver, none of your fancy Torx heads here, thank you very much.

Strangely, the GHDs made a disconcerting buzzing noise when switched on, which to my fairly trained ear sounded distinctly 50Hz-like.  That means that the mains electricity feed was causing some component to ‘arc’ or resonate- the buzzing noise, in plain English.

Fearing imminent catastrophe, I unplugged the GHDs and went to work.  The main PCB is pretty simple on the 3.1b.  Most of the solder joints were OK, but some of the joints around the switch had discoloured, showing that heat had built up, indicating a problem.  To be on the safe side, I re-soldered all the joints to avoid a dry-joint situation.

The buzzing noise still prevailed.  The switch seemed to be the next logical place to look and being of quality, the designers had provided easy access to the switch mechanism via a small metal cover with sprung tangs.  A quick bit of jiggery-pokery and the switch was in bits.

The problem was revealed in an instant.  Both switch contacts and corresponding wipers were burned and needed re-finishing and cleaning.  A quick whizz with a fine file and clean with special electrical contact cleaner and the switch was as good as new.  Since the GHDs were already in pieces, I gave the same clean up treatment to the 3600 flex mechanism, as a precaution.

This slideshow requires JavaScript.

So, this set of GHDs were saved from the bin, ready to straighten locks once more, thanks to a few basic tools and cleaning.  Very satisfying.


Cold GHD hair straighteners

GHD 4.2b hair straighteners with a new fuse.

Someone got in touch with a set of GHD 4.2B hair straighteners, which wouldn’t warm up.  Not even the light would come on.

Make and model:  GHD 4.2b hair straighteners

Cost of replacement:  £85.00

Cost of parts:  £2.89 (plus my time)

Hours spent on repair:  1 (plus testing)

Repair difficulty:  5/10

IMG_9120

 These older hair straighteners are well supported with spare parts and their design means that, with a systematic approach and basic test gear, the fault can be identified and parts replaced, fairly easily.

The thermal fuse on these straighteners can fail, even though the heating elements and associated wiring and circuitry is just fine.  A combination of age and accidental rough handling can affect the life of the fuse, so it was the first thing I checked on these straighteners.

It was first time lucky in this case.  The fuse tested open-circuit.  To prove that the rest of the circuit was working, I made a temporary short circuit to the fuse connection and the straighteners powered up OK.

Time to order a new fuse.  Using an eBay shop (SiriusHairUK), a fuse was ordered and it arrived very quickly, great service.

This slideshow requires JavaScript.

With the fuse re-fitted and the heating element re-installed the rest of the hair straighteners were ready for reassembly.  Using basic tools, the straighteners went back together well and after final testing, they were ready for use again.

Tommee Tippee Perfect Prep Problems

The right formula for a poorly Tommee Tippee Perfect Prep Machine

The owner of this Perfect Prep machine had reported that it had not been used for a while, then filled with water, powered up and … nothing.

Make and model:  Tommee Tippee Perfect Prep

Cost of replacement:  £70

Cost of parts:  £3.69 (plus my time)

Hours spent on repair:  1 (plus testing)

Repair difficulty:  6/10

IMG_8972
FixItWorkshop, Worthing, June’18, Tommee Tippee Perfect Prep.

I’ve repaired a machine like this before and I already had a theory about the problem, which went like this:

  • Machine not used for a while; watery scale deposits built-up in machine
  • Machine filled with water, with possible air-lock present
  • Air-lock causes bubble in heater, causing it to temporarily over-heat, safety thermal fuses blow

Dead machine.

At this stage, it was only a theory, so the only thing to do was to start wielding screwdrivers.

A few quick checks revealed that mains power was not getting to the main controller in the machine, which indicated that the safety thermal cut-out fuses had failed.  There are two on this machine.  A quick test with the multi-meter confirmed that both had failed.

After some dismantling, both fuses could be removed from the wiring harness.  Fuses like these are not available from the high street usually, but they are readily available online.  The manufacturer had used crimps to attach the fuses to the wiring, but I decided to solder the new ones back in place.  Care had to be taken as the melting point of solder is very close to the thermal rating of the fuses, so I came up with the idea of using a damp cloth wrapped around the fuse while doing the soldering.  A bit tricky!

Both fuses replaced meant that the unit powered-up and worked.  Great.

However, I wasn’t totally convinced that an air-lock wouldn’t happen again so I looked deeper at the machine’s plumbing.  There appeared to be a kink in one of the boiler tube feed pipes, so I decided to cut some material away, to prevent the pipe restricting water flow in future.

This slideshow requires JavaScript.

All back together, the machine worked well once again.


Leave the light on…

A Philips outdoor wall lamp with a major case of built-in obsolescence, gets a cheap fix.

A mate of mine mentioned that his outdoor wall light had given-up-the-ghost, despite not being more than three years old.  He’d put them up around his house as part of an extension and exterior restoration project.  The trouble was that despite only being a few years old, the product now seemed to be discontinued.  This meant that, should the lamp need to be replaced, he would need to replace all of them (three in this case) to keep them matching.  Annoying quite frankly.

IMG_20181112_194358.jpg
FixItWorkshop, March’19, Philips outdoor wall light, working.

He’d read that the bulb within the Philips lamp was not replaceable, in which case a faulty lamp would render the whole thing broken, which seemed very daft to me.  Items made in such a way that prevents even the most basic of repair get me very annoyed.  Sometimes an item is developed in such a way for safety reasons but I suspect that most of the time, the motive is just pure greed.  It’s such a shame.

At my mate’s house, over a cup of tea, I removed the lamp from the wall to take back to the workshop, to see what Philips had been getting up to.

Opening up the casing was straightforward, just a few simple screws and retaining nuts holding the casing together, before finally revealing the bulb itself, under a lamp diffuser.

IMG_7609
FixItWorkshop, March’19, Philips outdoor wall light, lamp unit.

The bulb/ lamp unit itself appeared to be a custom/ bespoke disc light, that wasn’t user serviceable.  It had blown and there was evidence of scorching on a few of the LEDs, linked in series, indicating the failure of the entire circuit.

I couldn’t find any replacement disc LEDs suitable for the lamp from any of the usual sources, which I expected.  It could be that Philips can supply a replacement disc, but this was not evident on their website.

Not wanting to be beaten by a bespoke part, I thought about what else might work, within the lamp’s enclosure, to have the same effect.  I had a spare GU9 LED bulb, about the same brightness, sitting on the shelf, left over from another project which was going spare, so I set about fitting it in the space.

The generic GU9 bulb, available from most hardware shops, fitted in the existing disc mounting bracket, with a small modification and once connected to the lamp’s circuitry, worked well, albeit with a slightly warmer glow.

In case anyone else has the same problem, I made a little video of the repair.  I hope it gives others inspiration if faced with a similar problem.

Cost of replacement (with something similar): £50.00.  Cost of repair:  £1.50 for the bulb and a couple of Belgian beers for my time.


Christmas blackout

A Christmas treat for me…

Christmas wouldn’t be complete without having to fix last years’ tree lights and this year was no exception.  It’s a tradition I look forward to and savour.

Gone are the days spending hours trying to find a faulty bulb, now due to the wide availability of cheap LED products, the thing that’s often likely to fail is the wiring, something which was much more unusual, a few years ago.  Manufacturers must make savings somewhere and I often wonder how retailers can offer new decorative lights, so cheap.  Compromises must be made somewhere I guess.

IMG_20181215_112843
FixItWorkshop, December’18, Worthing, Christmas Lights.

Being cheap, like a lot of things, makes them more disposable, which is a shame when things fail, often for trivial reasons.  This year’s blackout was caused by a couple of broken wires on the control box, which didn’t appear to have any obvious way to get inside.

We don’t like to be beaten in the workshop and sealed units and tamper-proof items are just seen as a challenge, rather than a deterrent.

Like many multi-function sets, the lights are operated via a control box with a switch, mounted in a plastic enclosure which appears sealed.  The fault was obvious here, just the main wire from the transformer had broken ‘flush’ with the control box, meaning that there was not enough wire either side of the break to re-join it.

The control box has no screws nor visible clips, holding it together, so it was time to break it open, using a small flat-bladed screwdriver.  The small section covering the wires snapped off cleanly, revealing several terminals covered in hot melt glue, annoyingly.  This meant that before any repair, the glue must be removed.  Several minutes picking this off with the screwdriver, revealed some conventional post terminals.  The fix was easy from there, just cut down the wire to make a new connection, remembering which way round they went, clean up the terminals and solder back together.  A little bit of fresh hot-melt glue to seal the connection and a bit more on the surface to be stuck together, and the cover was refitted.  I also fitted a little heat shrink to repair to reduce the chance of the cable from breaking again.

This slideshow requires JavaScript.

As I had the soldering iron out, I also did a small repair to the control box wire to transformer plug, which had also broken.  It was a case of cutting back two sides of the break, soldering, isolating with a small amount of electrical tape and sealing with heat shrink.

Now that’s all done, Christmas can now officially start.

Cost of replacement: £ 5.00 up.  Cost of repair: 1 cup of tea, heat shrink, tape and solder.


Outdoor LED porch light on the blink

Outside light on the blink

A couple of years ago, I made a light for our porch.  I wanted to ‘back-light’ the area under the porch with a subtle glow, when coming back home in the dark, handy when trying to find the front door keys.  I used a clear section of hose pipe, several clips and a strip of LED tape, commonly available from lighting suppliers.  I used a standard 12V power supply unit (PSU) from an electrical wholesalers’ and controlled the whole thing with a neat little PIR motion/ day-night detector.  It all worked quite well until the other day.

Whilst walking past the PIR detector the light came on in the usual way, but there was a strange ‘arcing’ noise, coming from the inspection panel, behind which I’d mounted the PSU.  The PSU seemed a sensible place to begin investigation.

It’s really irritating when manufacturers’ chose to make it so that a casing for something does not come apart, without breaking in to it.  This PSU was made this way and to gain access, I had to carefully lever the two halves of the glued casing apart with a screwdriver, breaking the glue holding it together.  It wasn’t working anyway, so what did it matter.

Looking at the printed circuit board (PCB) within the plastic casing revealed that the mains feed, presented as an IEC Kettle type connector in this case, had a ‘dry-joint’ and had begun arcing (small sparks) which left unchecked, would have caused permanent damage to the PSU.

With a small clean-up of the affected joint and a little soldering, the PSU was as good as new.  Sadly, the casing won’t be the same again, but as it’s hidden out of sight, I decided that a good wrapping of electrical tape around the two halves of the PSU casing was all that was needed.

Cost of a replacement PSU:  Circa £15.  Cost of repair: A bit of solder and my time.

Kaput Bosch AL1450DV Drill Battery Charger

An old Bosch battery charger gets a new lease of life.

These chargers often lead a hard life, working in dusty, hot and noisy conditions, so I guess many of these fail in time.

This Bosch unit is fairly common among Bosch DIY drill sets and this one had died catastrophically.  With the power applied, this one refused to give the slightest charge to a drill battery, once plugged in.

After some basic testing, I decided to change four components which would have caused the other to fail in a ‘domino effect’.  The cost of the replacement parts was just shy of £10, but definitely worth saving since second-hand units seemed to be changing hands for £40 on eBay, with their condition largely unknown.  The parts (two resistors, MOSFET transistor and diode/ transistor) were readily available online.

I recorded a short video to help others who might have a similar problem with theirs…