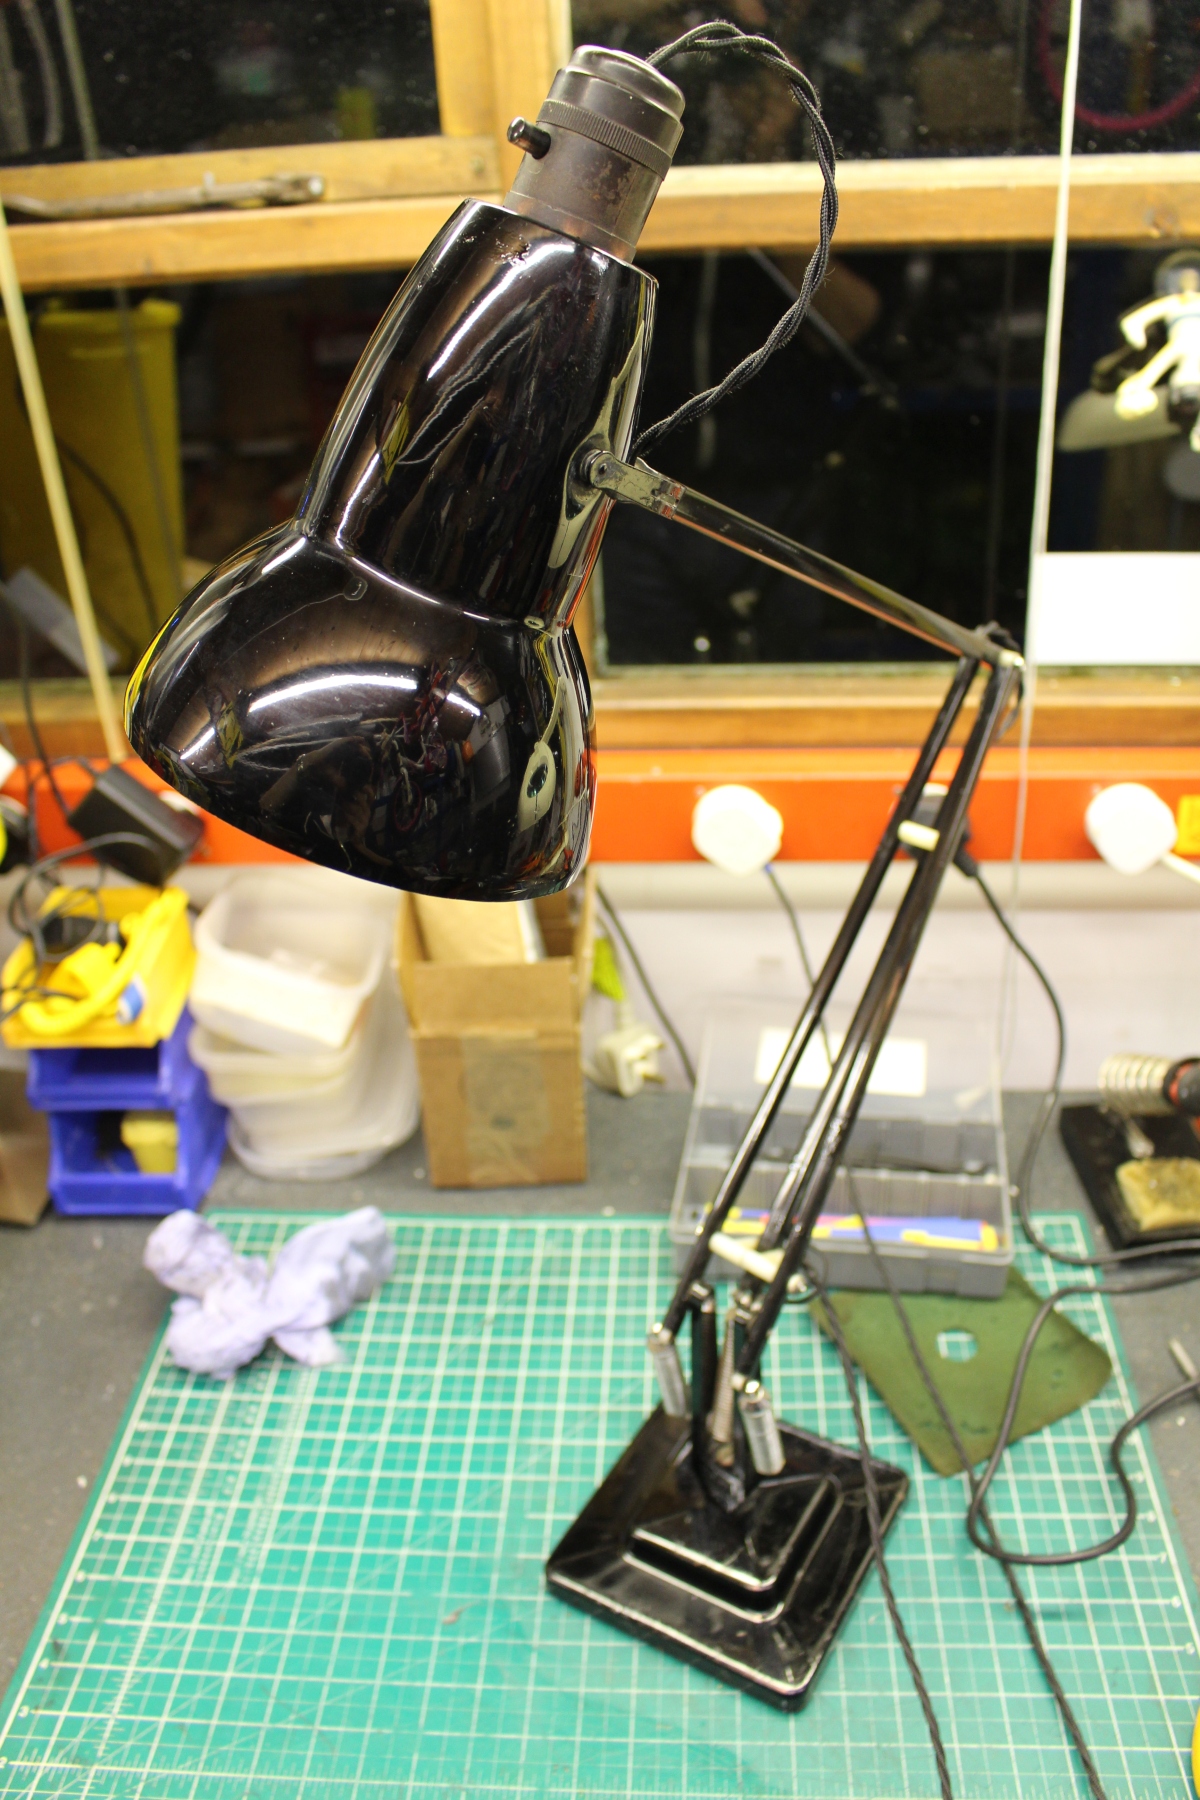
A Herbert Terry 1227 lamp gets a light make over in the workshop.
This lamp needs no introduction. Herbert Terry Ltd first produced ‘Anglepoise’ lamps in England from 1934 and this 1227 model is instantly recognisable, with its art-deco characteristics and perfect proportions. Some of those early examples have survived to today and are now very collectable.
Make and model: Herbert Terry 1227 ‘Anglepoise’ lamp
Fault reported: Wiring requires replacement
Cost of replacement machine: £80.00 -£300.00 for an equivalent
Manufacturer support (in the UK): 8/10
Cost of parts (for this repair): £20.00
My time spent on the repair: 1.5 hours
Tools needed: Small knife, pliers, small screwdrivers, soldering iron, cutters, scissors
Sundry items: Cable, heat shrink, impact adhesive
Cleaning materials: Silicone spray, contact cleaner, wipes
Repair difficulty: 5/10 (fiddly)
Beverages: 2 teas
Biscuits: 2 chocolate digestives
Bad language: 4/10


My customer contacted me to ask if I could overhaul his family’s Anglepoise lamp and had told me that it was in daily use, but they all felt that the wiring was getting on a bit, and therefore they’d lost confidence in it. In other words, they were worried about a small fire or electrocution.
That’s the trouble with old, well-made stuff like this. Often, on the outside, it all looks fine and sturdy with a quick clean up, and it’s easy to forget that some things are as old as they are. But, one has to bear in mind that after all that time here on earth, things like plastics, rubber grommets and wire insulation break down with age and can be damn right dangerous.
At 70 years old, this lamp was not in mint condition, but had been well looked after. It was still complete, with its original Bakelite bayonet bulb holder and switch, which is a rarity as they often crack. Over time, they get replaced with ‘B&Q special’ items, which never look right. Sadly, the original lamp holders are no longer available, but there are good alternatives out there, which will do the match well, if you know where to look. No issues with this one as it was all in very good order.
So to the brief; give it clean up, remove some rust, replace the worn-out felt base and re-wire, without over-restoring it. After all, it was wearing its age well, and a total re-spray would have removed all the ‘patina’.
Only a basic tool kit was required with this job, nothing fancy but with things like this, I tend to use a penetrating oil on all metal moving parts as rust and fatigue can make some fixings fragile. After all, I don’t want to add unnecessary cost to the job and while the oil is doing its thing, I can always have another brew, so there’s really no excuse not to do this. Only fools rush in and all that.
After I stripped all the old wire out, paying attention to the correct cable routes, I cleaned up anything previously covered up by the old cable. New modern fabric-covered plastic flex is available at a reasonable price, so that’s what I used and while there, I took the time to earth the frame of the lamp as a ‘Class One’ device. Technically, with a plastic/ Bakelite bulb holder, this isn’t required, but as I had some three cored cable, I decided to earth the metal base as a precaution. It couldn’t do any harm.
Normally I like to preserve as much as I can of the original parts, but in the case of the felt base, it was knackered. I could have just glued it back on, but that wouldn’t have done it justice. So, after a little raid of my daughter’s craft kit (which is full of off-cuts and felt) I had the perfect green felt, ready to be cut to size and glued in place. No one wants a scratchy base and once set, no one would ever know that the thing I’d just made, wasn’t a stock item. I was quite pleased with it.
A new LED bayonet 40W (equivalent), some light polishing, and a PAT (test) and this lamp was ready to be used daily, once again.
Until the next time…


